
How To See The Beach Boys Monument in Hawthorne
Even if you’re not a fan of the group, chances are good that you’ve at least heard of the Beach Boys. The Rock and Roll Hall of Famers are…
Disclosure: This post contains affiliate links. If you make a purchase through these links, I may earn a small commission at no additional cost to you. I only recommend products or services that I believe will add value to my readers.

Even if you’re not a fan of the group, chances are good that you’ve at least heard of the Beach Boys. The Rock and Roll Hall of Famers are musical legends throughout the world, but Southern California was their home and where they got their start.
Brothers Brian, Dennis, and Carl Wilson, along with cousin Mike Love and good friend Al Jardine (David Marks would briefly replace Jardine), formed the infamous quintet in 1961 in the then modest community of Hawthorne, a figurative stones throw from the beach.
As heard in their music, the surf-sand vibes of late 1950’s, early 1960’s Southern California had a profound effect on the teens. Surf culture, endless summers and sunny beaches became the foundation of their identity and the heart of their sound.
In 2005, the city in which the Beach Boys called home honored them with a monument placed in the spot of the former Wilson home where the boys honed their legendary sound and recorded their debut hit, Surfin’, which ultimately led to them signing with Capitol Records shortly thereafter.
Whether you’re a die-hard fan or you simply appreciate being in the presence of historical sites, checking out the historic Beach Boys Monument is a must! Let’s get into the details.
Beach Boys Monument Location

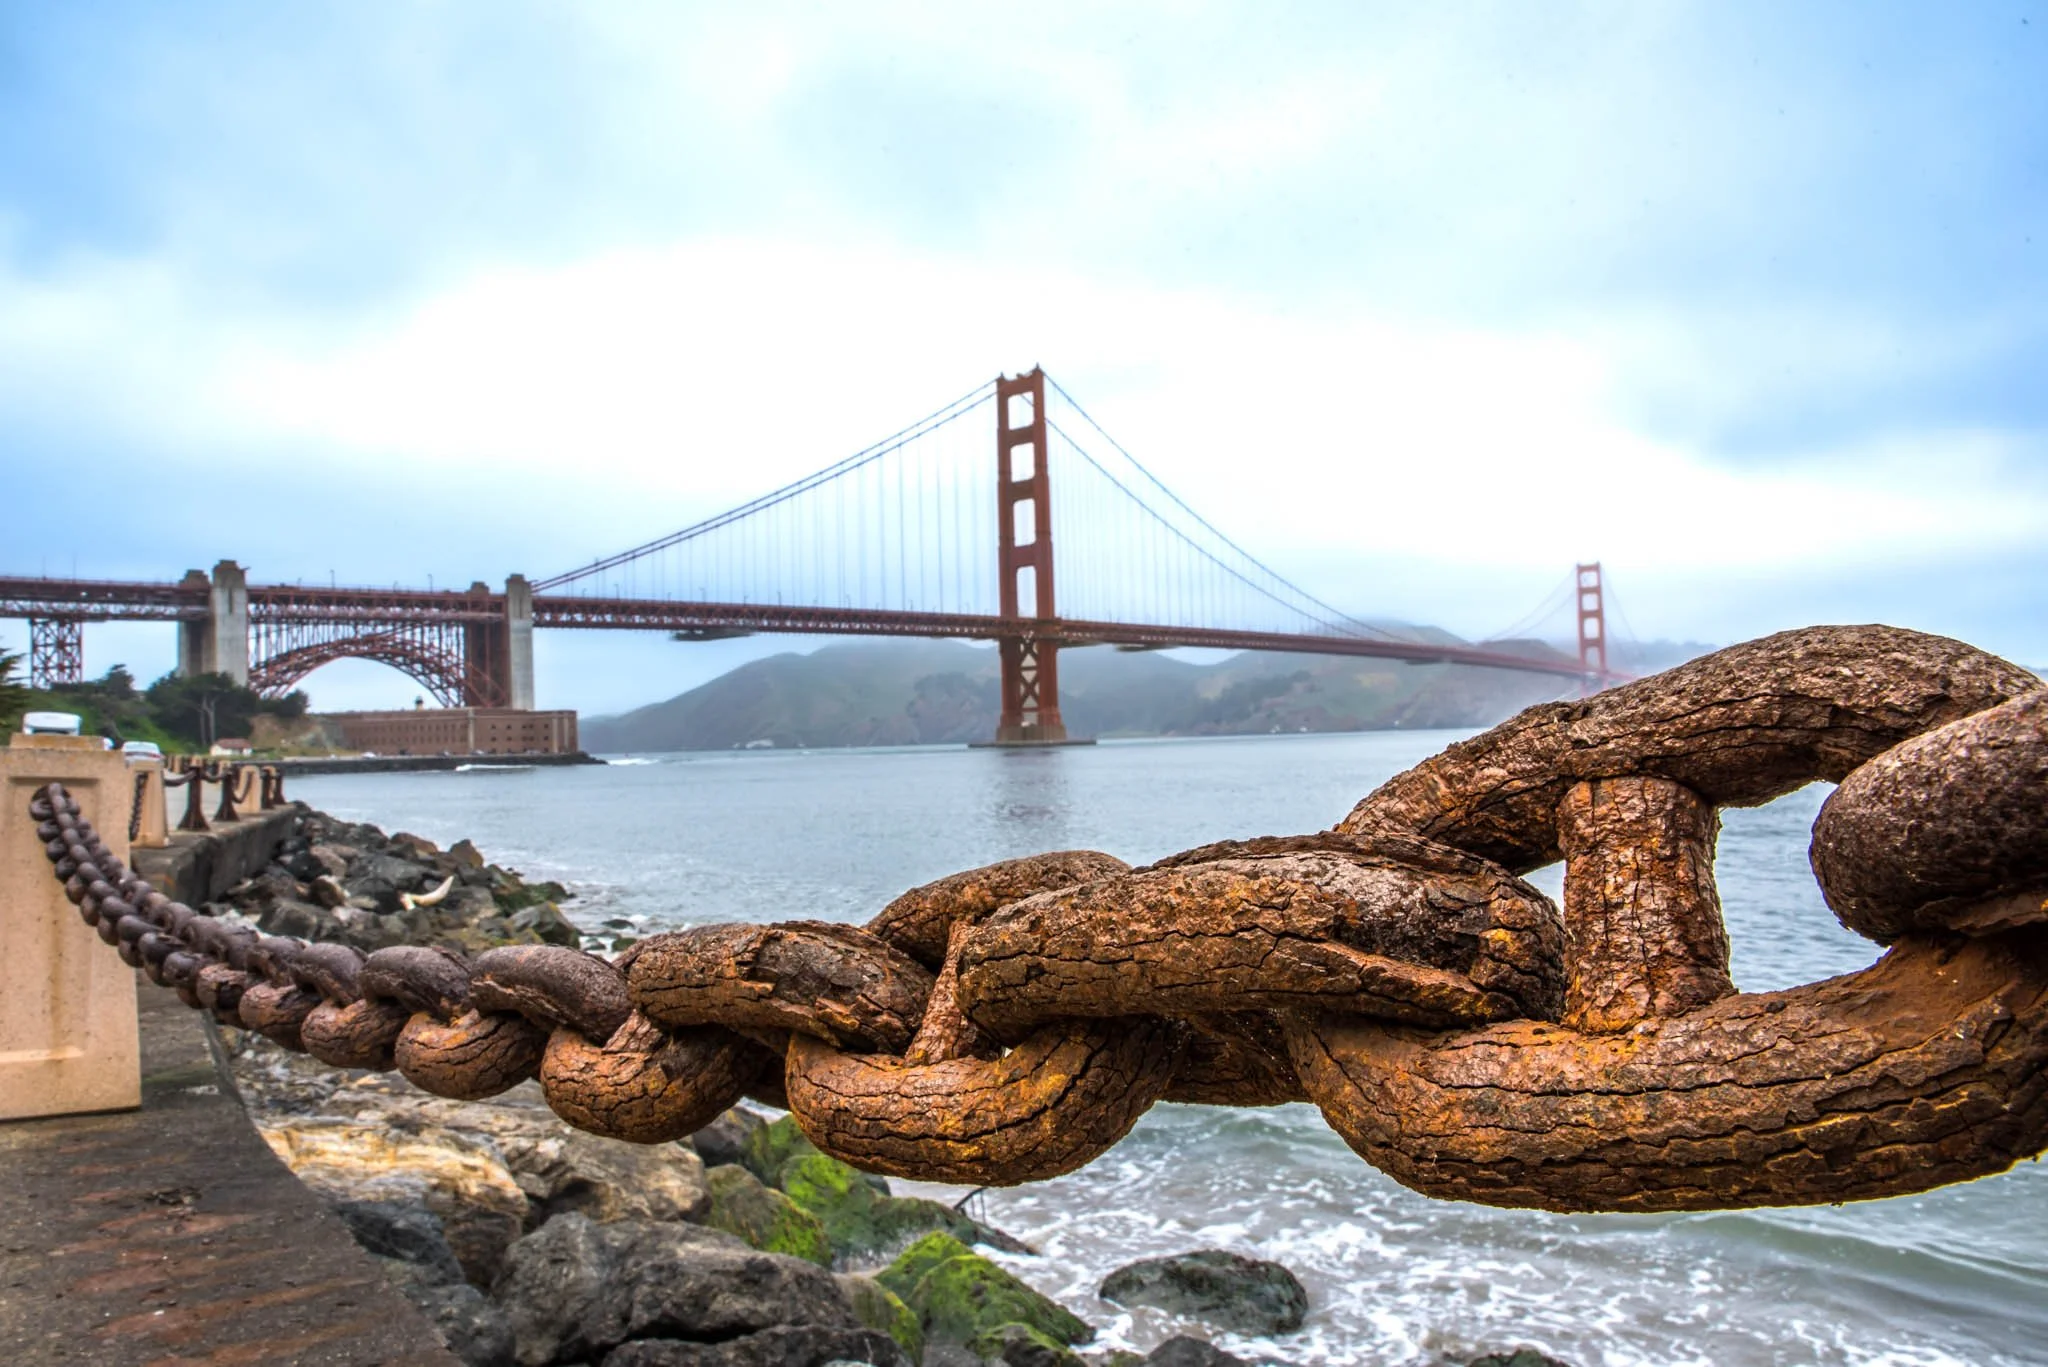
As stated above, the Beach Boys Monument is located in the city of Hawthorne, which in of itself is located in the South Bay area of Los Angeles, bordered by neighboring cities such as Manhattan Beach, Redondo Beach and El Segundo.
It’s on the corner of Kornblum Avenue and 119th Street, just off West 120th Street and nearby the Hawthorne Municipal Airport. For GPS purposes, the monument’s exact address is as follows:
3701 West 119th Street, Hawthorne, California

The Beach Boys Monument is situated right along the sidewalk in a quiet neighborhood. There is ample street parking, though the area directly in front of the monument is a red curb. Please be respectful when parking around the resident’s homes.
Behind the monument runs the Century Freeway (more on this later). Sometime prior to my visit in 2025, pretty much all of the trees and shrubby that once framed the monument had been cut down and cleared. Additionally, the freeway’s sound-wall was removed. Hopefully they plan to re-plant as it looked rather bare.
About the Beach Boys Monument

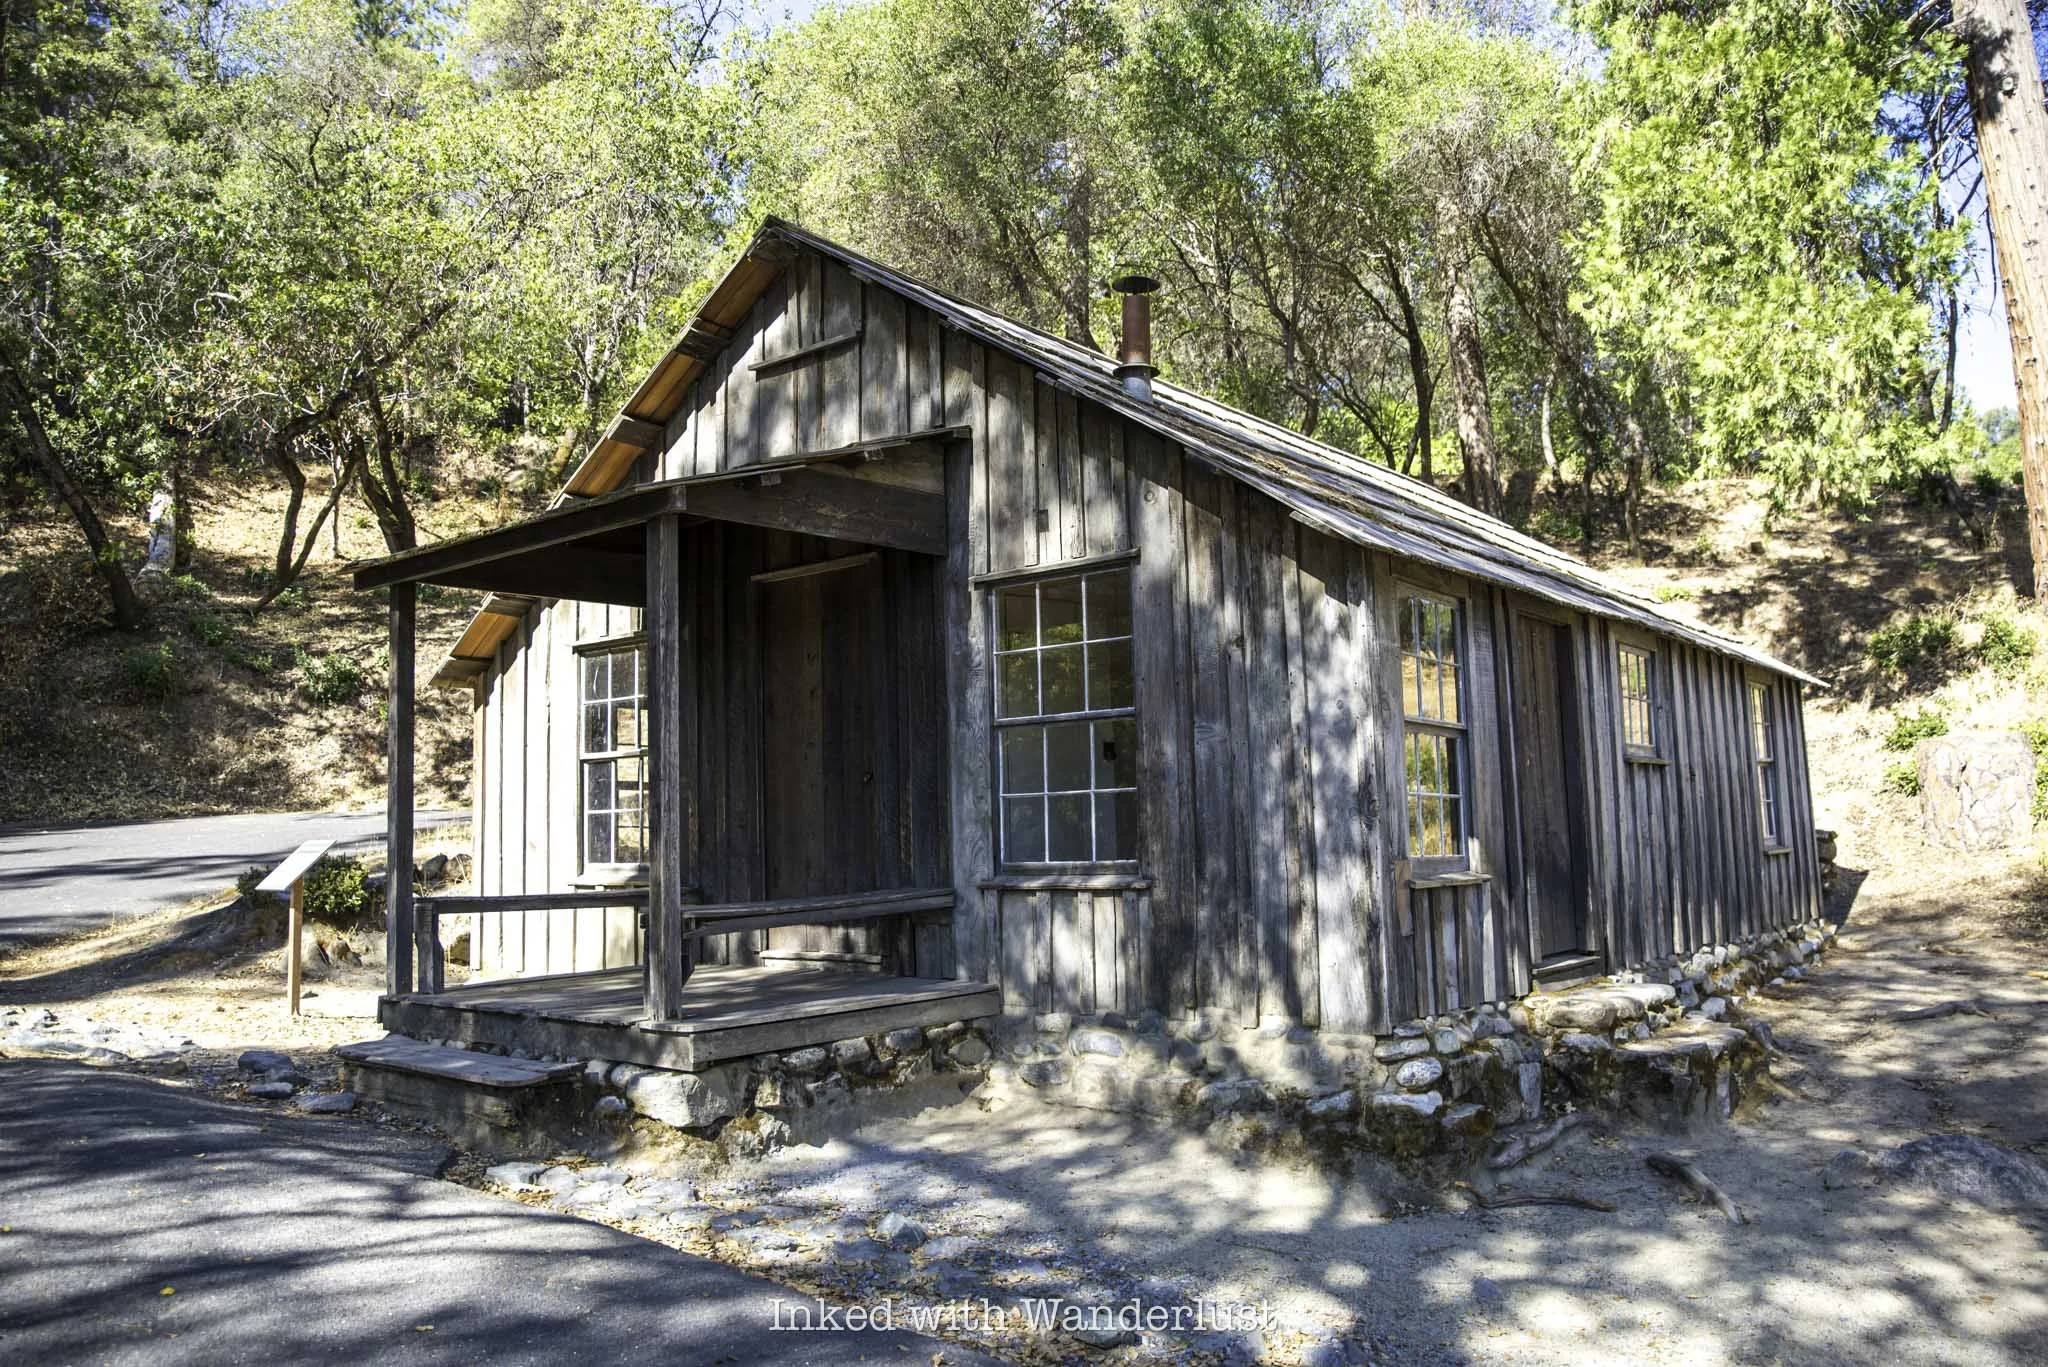
The monument was constructed at the site where the Wilson family home once stood. In the 1980’s, the home was demolished to make way for the Century Freeway (Interstate 105). It is believed that the actual plot their home sat on is now directly underneath the freeway.
Several notables, such as Dick Clark and the Rock and Roll Hall of Fame, were among those who supported bringing the monument to life and its registry as a California State Historic Landmark (which it would ultimately obtain).
It was the brainchild of construction engineer and Beach Boys mega-fan Harry Jarnagan, paid for by public donations and contributions by the extended Beach Boys family and was constructed by Scott Wilson, the adoptive son of band member Dennis Wilson (who tragically passed away in 1983).

The white marble slab centered on the landmark was inspired by the cover art of the band’s 1963 album, Surfer Girl. While the band was always a quintet (five-some), the slab pays tribute to all six members, each of which heavily contributed to the band’s success.
The original line up consisted of brothers Brian, Dennis, and Carl Wilson, along with their cousin Mike Love and friend Al Jardine. Jardine was briefly replaced by David Marks while Jardine attended dental school. Jardine would re-join the band roughly one year later.


On the lower portion of the monument, but still center, is a dedication plaque listing it as California Historical Landmark No. 1041, along with a script detailing the site’s history. The plaque reads:
“It was here in the home of parents Murry and Audree that Brian, Dennis, and Carl Wilson grew to manhood and developed their musical skills. During Labor Day weekend in 1961, they, with cousin Mike Love and friend Al Jardine, gathered here to record a tape of their breakthrough song, “Surfin”. This marked the birth of the rock group known worldwide as the Beach Boys, and the beginning of an historic musical legacy that would change the recording industry. The music of the Wilsons, Love, Jardine, and friend David Marks broadcast to the world an image of California as a place of sun, surf, and romance. Brian Wilson would become a legendary producer, arranger, and songwriter”.
In addition to the plaque and decorative marble slab, six gold 45 records embed the base of the monument, each with the name of one of the Beach Boys inscribed within. Names of donors and various friends and family of the Wilsons are engraved into the landmark’s bricks as well.
Significance of the Wilson Family Home

The site of the Wilson family home is significant due to its role in music history. It is where the band formed over Labor Day weekend in 1961 and is where their debut hit, Surfin’, was first written and recorded.
That record would ultimately lead the Beach Boys signing their first deal with Capitol Records, which in turn resulted in the recording of their freshman album, Surfin’ Safari, in 1962. The rest, as they say, is history.

The house across the street from the monument was thought by many to be the former home of David Marks, a childhood friend of the Wilsons who briefly joined the band when Al Jardine left the group.
However, during the dedication ceremony for the monument, David Marks, who was in attendance, noted how different the area looked as the construction of the freeway necessitated the street they lived on to be moved around.
According to an article by SF Gate, Marks was confused as to where his house actually was back then. If that was indeed the house, he undoubtedly would’ve recognized it. Additionally, that home simply doesn’t look like it was built in the 1950’s, but I digress.

With Dennis passing away in 1983 and Carl following in 1998, Brian was the sole Wilson band member present for the monument’s dedication in 2005. Other band members, Al Jardine and David Marks, were also present. Mike Love, cousin of Brian, did not attend.
Unfortunately, less than a month after my wife and I’s visit to the monument in 2025, Brian Wilson, the final surviving brother of the Beach Boys, tragically passed away. Of the original line up, only Jardine and Love remain.
If you happen to be in the area, I highly recommend stopping by and checking out the Beach Boys Monument in Hawthorne. It’s a piece of Southern California and musical history, not to be missed by die hard fans and casuals alike.
If you’re in need of a hotel nearby, check out my review of Lum Hotel Los Angeles. Also, the neighborhood that served as the set for the cult classic film, Friday, isn’t too far away from the monument. Learn how you can explore it for yourself here!


Explore the Donner Party Camp Site at Alder Creek Near Truckee
On April 15, 1846, the Reed and Donner families departed Springfield, Illinois, with the goal of starting a new life in California. Later, in Independence…
Disclosure: This post contains affiliate links. If you make a purchase through these links, I may earn a small commission at no additional cost to you. I only recommend products or services that I believe will add value to my readers.

A Brief Summery of the Donner Party
On April 15, 1846, the Reed and Donner families departed Springfield, Illinois, with the intent of starting a new life in California. Later, in Independence, Missouri, they would link up with several other families, expanding their wagon train to nearly eighty men, women and children. Collectively, they would become known as the Donner Party.
From point A, the Donner Party had roughly 123 days to travel 2,200 miles to California, with the goal of traversing the infamous Sierra Nevada Mountains in Truckee, now known as Donner Pass, by the end of October. If they didn’t, heavy snowfall would make that goal an impossible task.
Upon reaching Fort Bridger in modern-day Wyoming, the decision was made to take an untested route called “Hasting’s Cutoff”. The name refers to Lansford Hastings, the man who “discovered” the path. This deviation was a huge gamble from remaining on the heavily trafficked and proven Oregon and California Trails. Hastings described it as a “safe alternative” that would shave 400-miles off of the trip.

While it was true that Hasting’s Cutoff would shave off that many miles, what Hastings failed to mention was the route’s pure brutality. Instead of traversing through lush fields along a rut-worn path in Southern Idaho, this route cut through the unforgiving landscape of the Wasatch Range and the baron Great Salt Lake Desert, before entering Nevada near modern-day Elko.
What they saved in miles, they lost in time. Extreme heat, boulder-laden canyons, no grass for oxen, dry deserts, and other hazards cost the party not just time, but food rations, water, oxen and irreversible damage to their wagons. Long story short, Hasting’s Cutoff prove detrimental to the party in more ways than one.
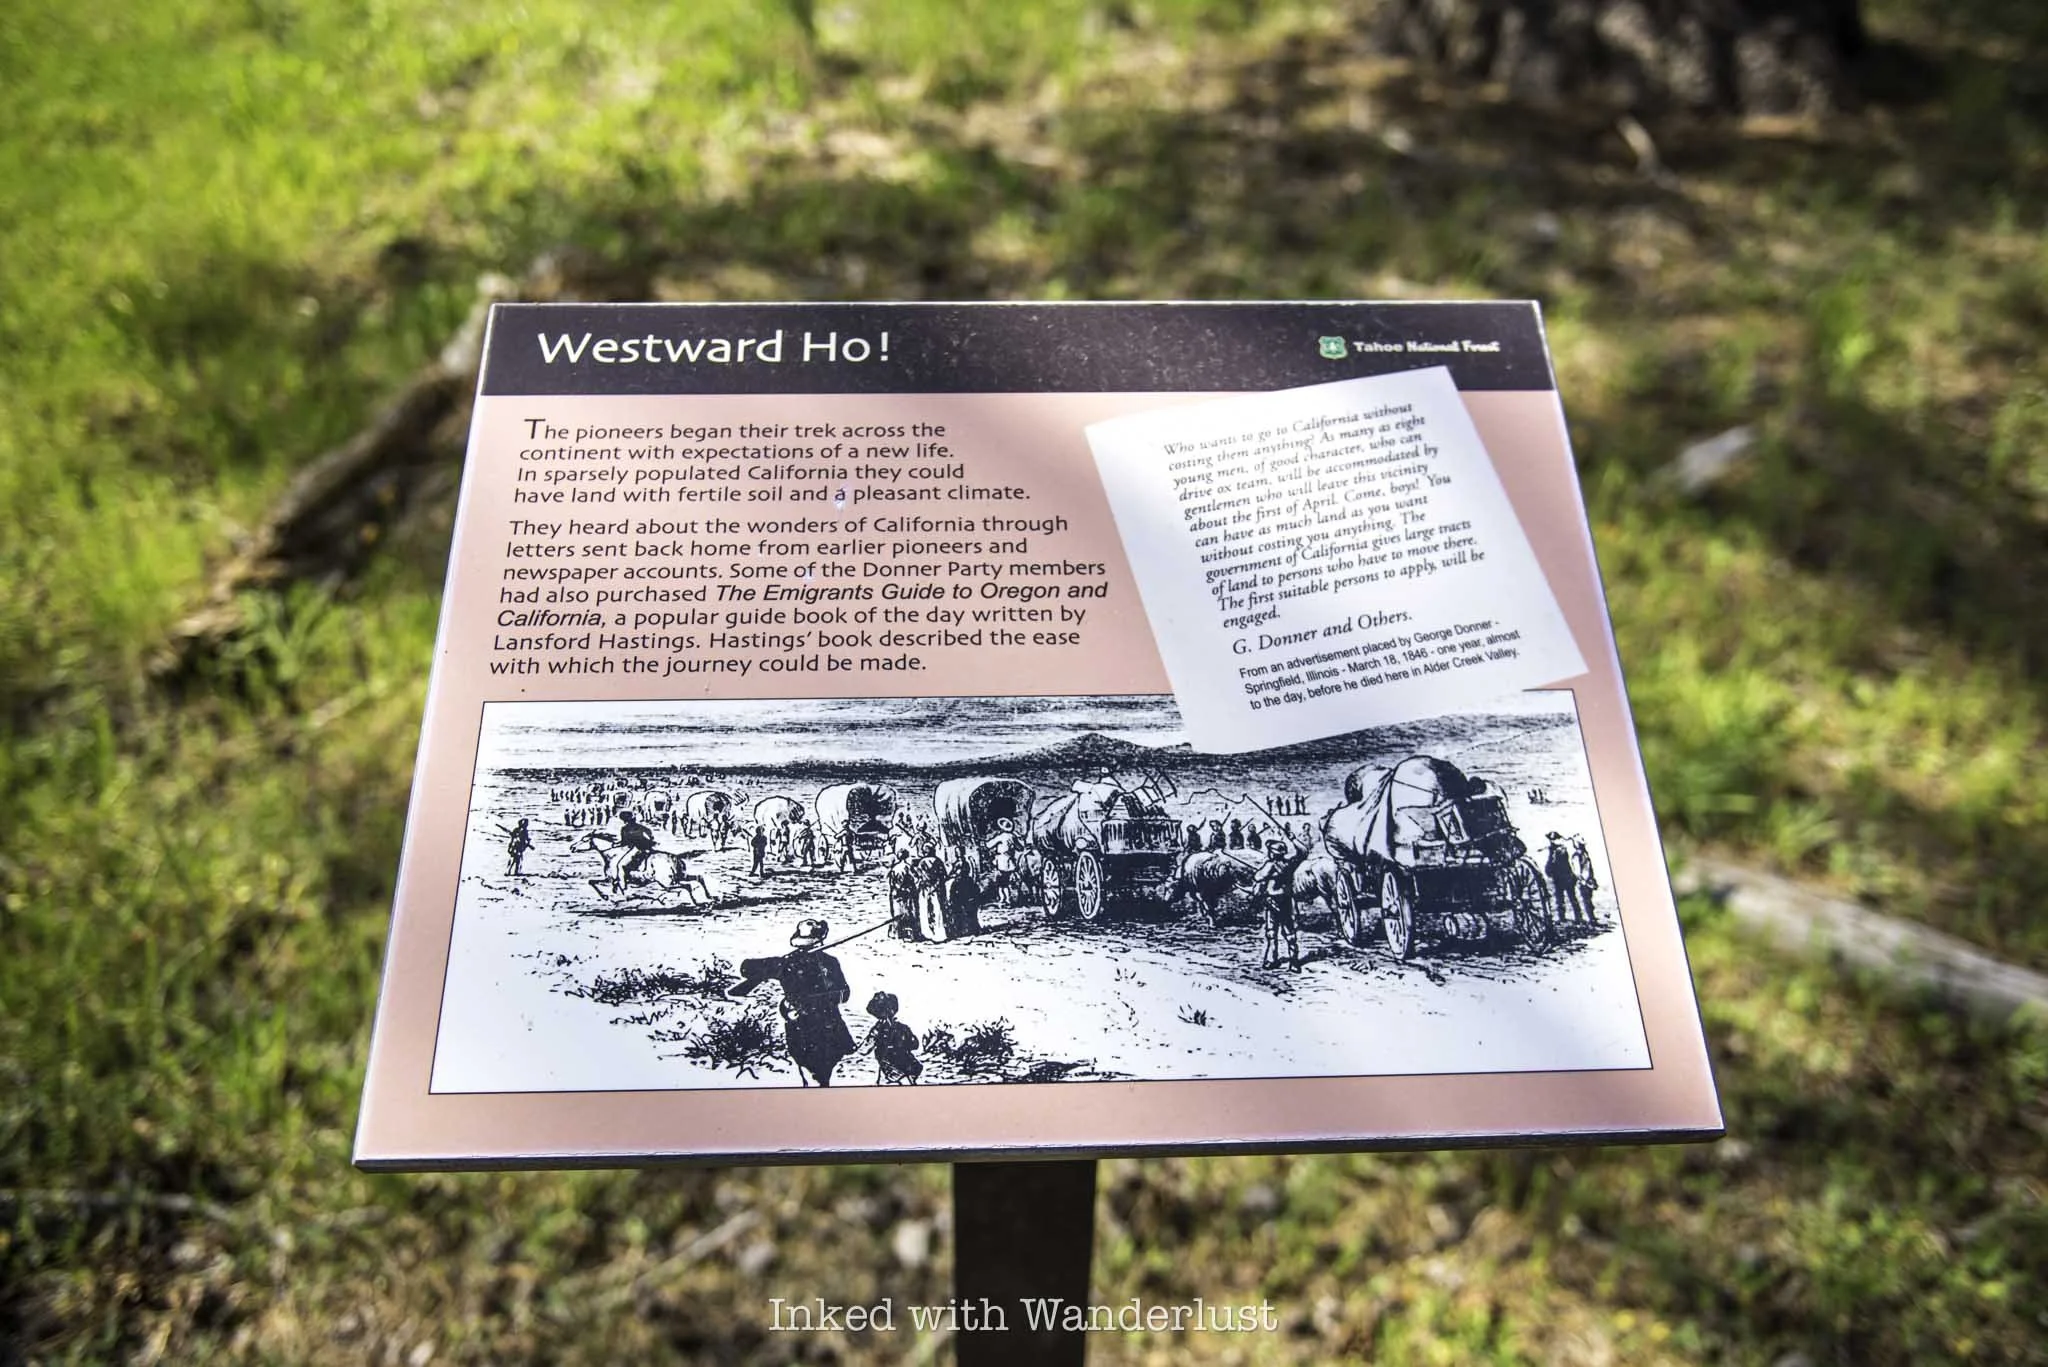
On October 28, while crossing through Alder Creek near present-day Truckee, the front axel of George Donner’s wagon broke. While attempting to repair it, he badly cut and injured his hand. With a bad hand and broken wagon axel, both Donner families would set up camp at Alder Creek while the remainder of the party continued onward.
Donner Camp Historical Site at Alder Creek

Forgive the history lesson, but its inclusion was crucially germane to this post. Many are aware of the Donner Party and the circumstances surrounding their fate at what was then known as Truckee Lake, now Donner Lake, in present-day Donner Memorial State Park.
However, seemingly just as many are unaware that no member of the actual Donner family ever made it to Truckee (Donner) Lake, at least not right away. As mentioned above, the Donners suffered a broken wagon and severe injury at Alder Creek. As a result, they stayed behind.
The rest of the families in the party (Reeds, Breens, Graves, Murphys, and others) continued for another six miles, believing the Donners would eventually catch up. They would ultimately settle near the lake in what is now the state park site, after finding the pass buried in snow, blocking their path.
Getting There, Parking, and Fees

The Donner Camp Site is completely separate from Donner Memorial State Park at about an 6.5 mile distance. From the state park, travel eastbound on I-80 for a few miles. Take the CA-89 exit and turn left, then pass through three round-a-bouts. You’ll come to the camp site on your right.
Parking is free and expansive with a large, paved parking lot. At the northern end of the lot are restrooms (vault style), along with several picnic tables scattered about. I have to say, whoever designated this site a picnic ground has quite the morbid sense of humor.
Donner Camp Trail - Interpretive Loop
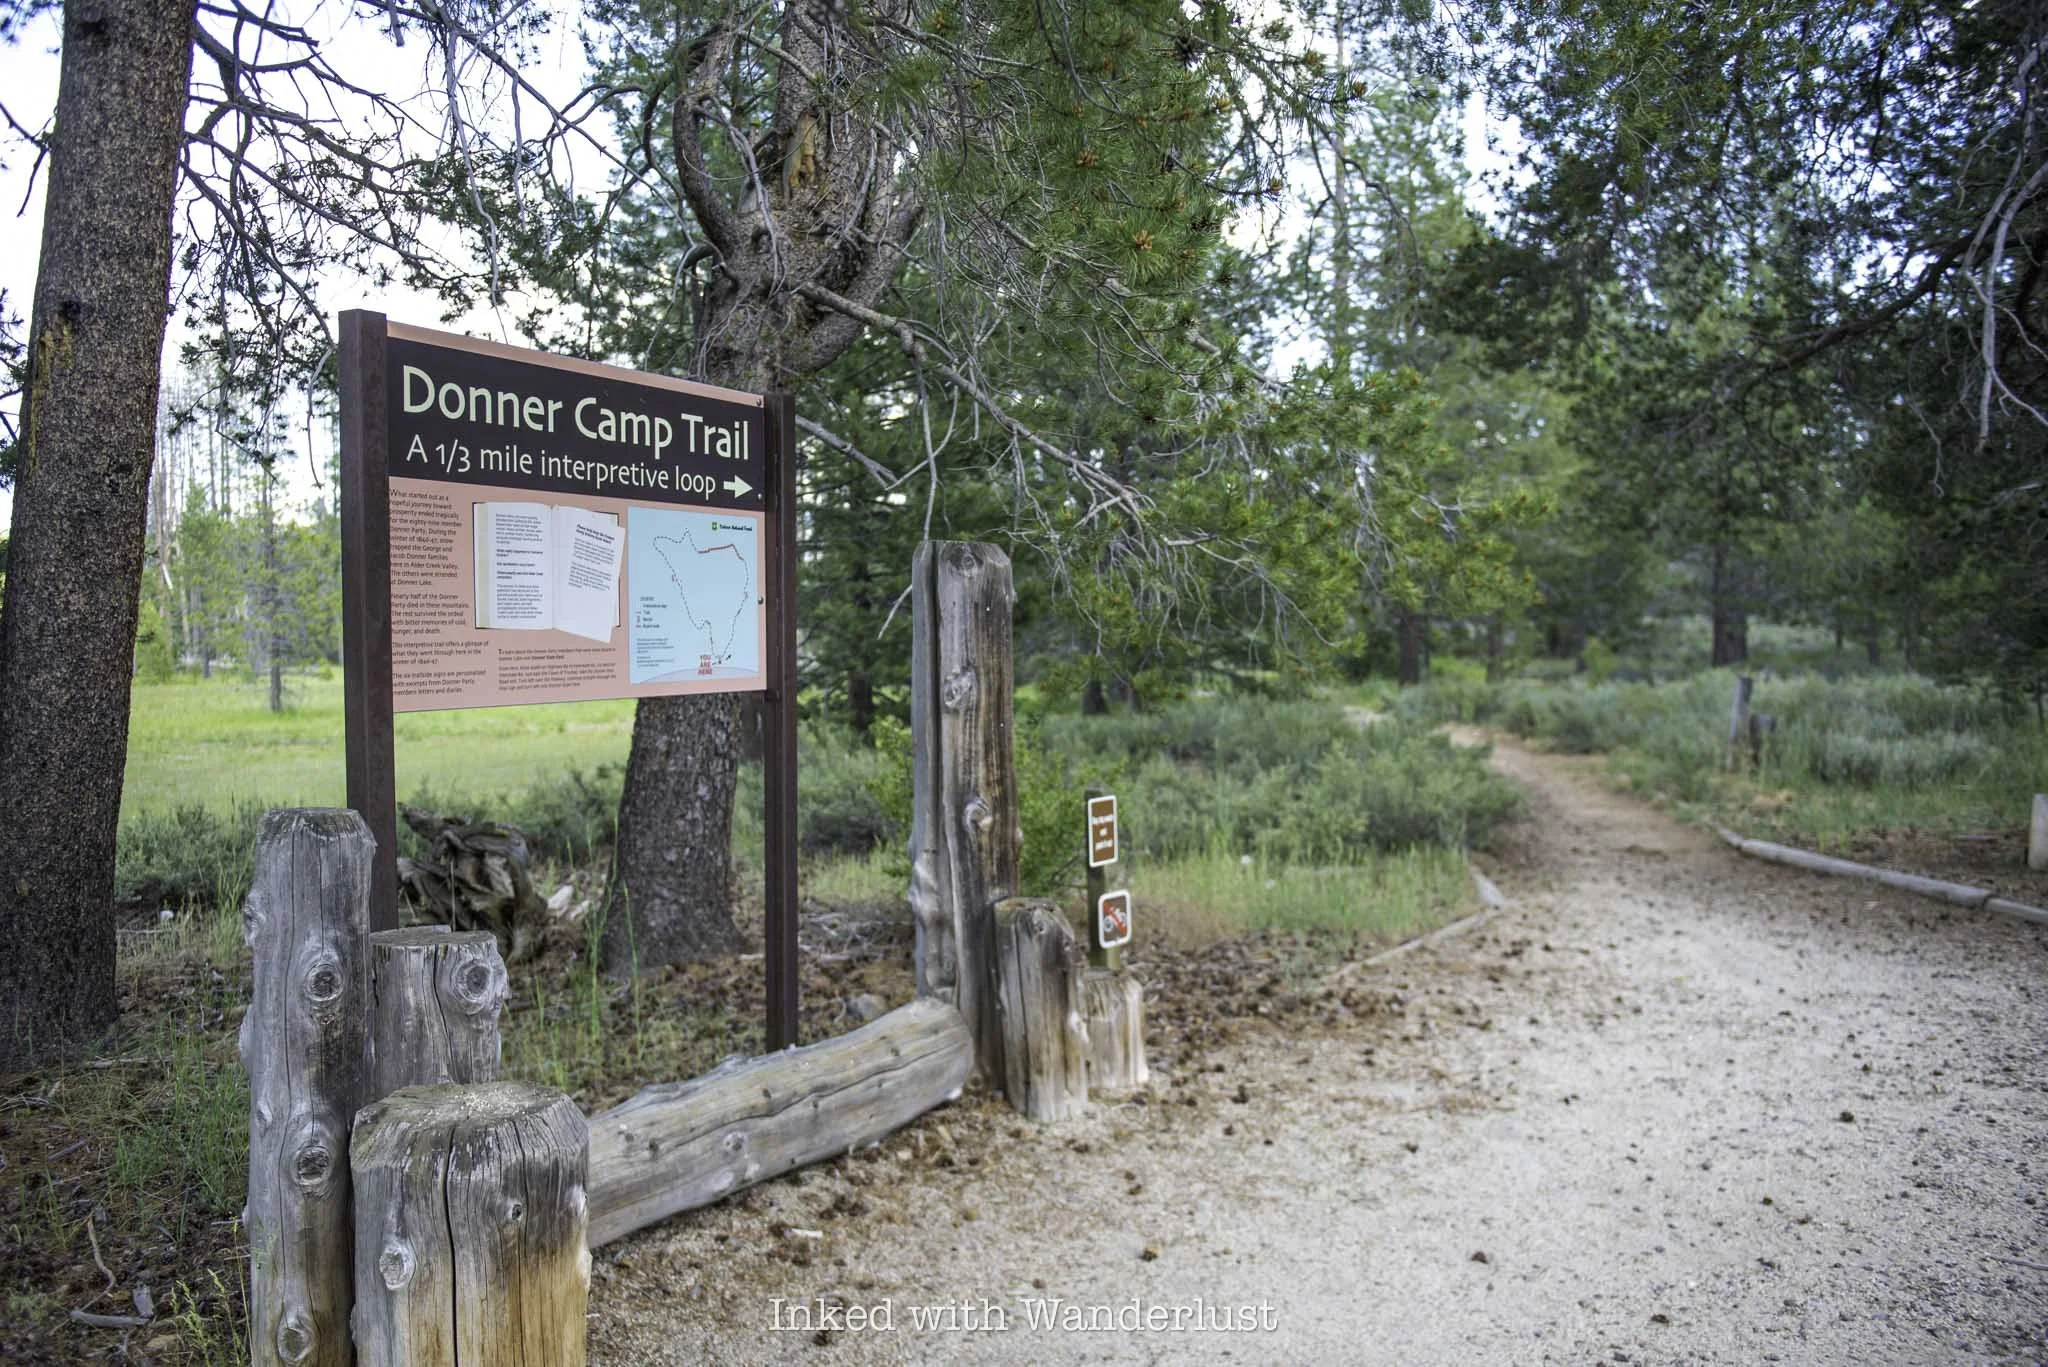
The Donner Camp trail is a well maintained, nearly completely flat loop that encircles the meadow the Donner family fought to survive in during the brutal winter of 1846/1847. It begins at the trailhead, which can be found at the southern end of the parking lot (you can’t miss it).
You can go in either direction but for the story to make sense, it’s best to begin by going right at the trailhead. Dotted along the compact dirt trail are interpretive signs, detailing the history of the Donner Party, as well as their journey and hardships.
The trail is as close to completely flat as it gets, making it an easy outing for families traveling along the freeway. I wouldn’t necessarily designate it stroller-friendly, but you could probably get away with it.
There are also many benches along the loop to rest and take in the scenery. It’s truly a stunning meadow, with towering pines and tall grass lining the trail. Alder Creek, the area’s namesake, gently meanders through the meadow. It’s hard to imagine the suffering that happened in such a beautiful place.

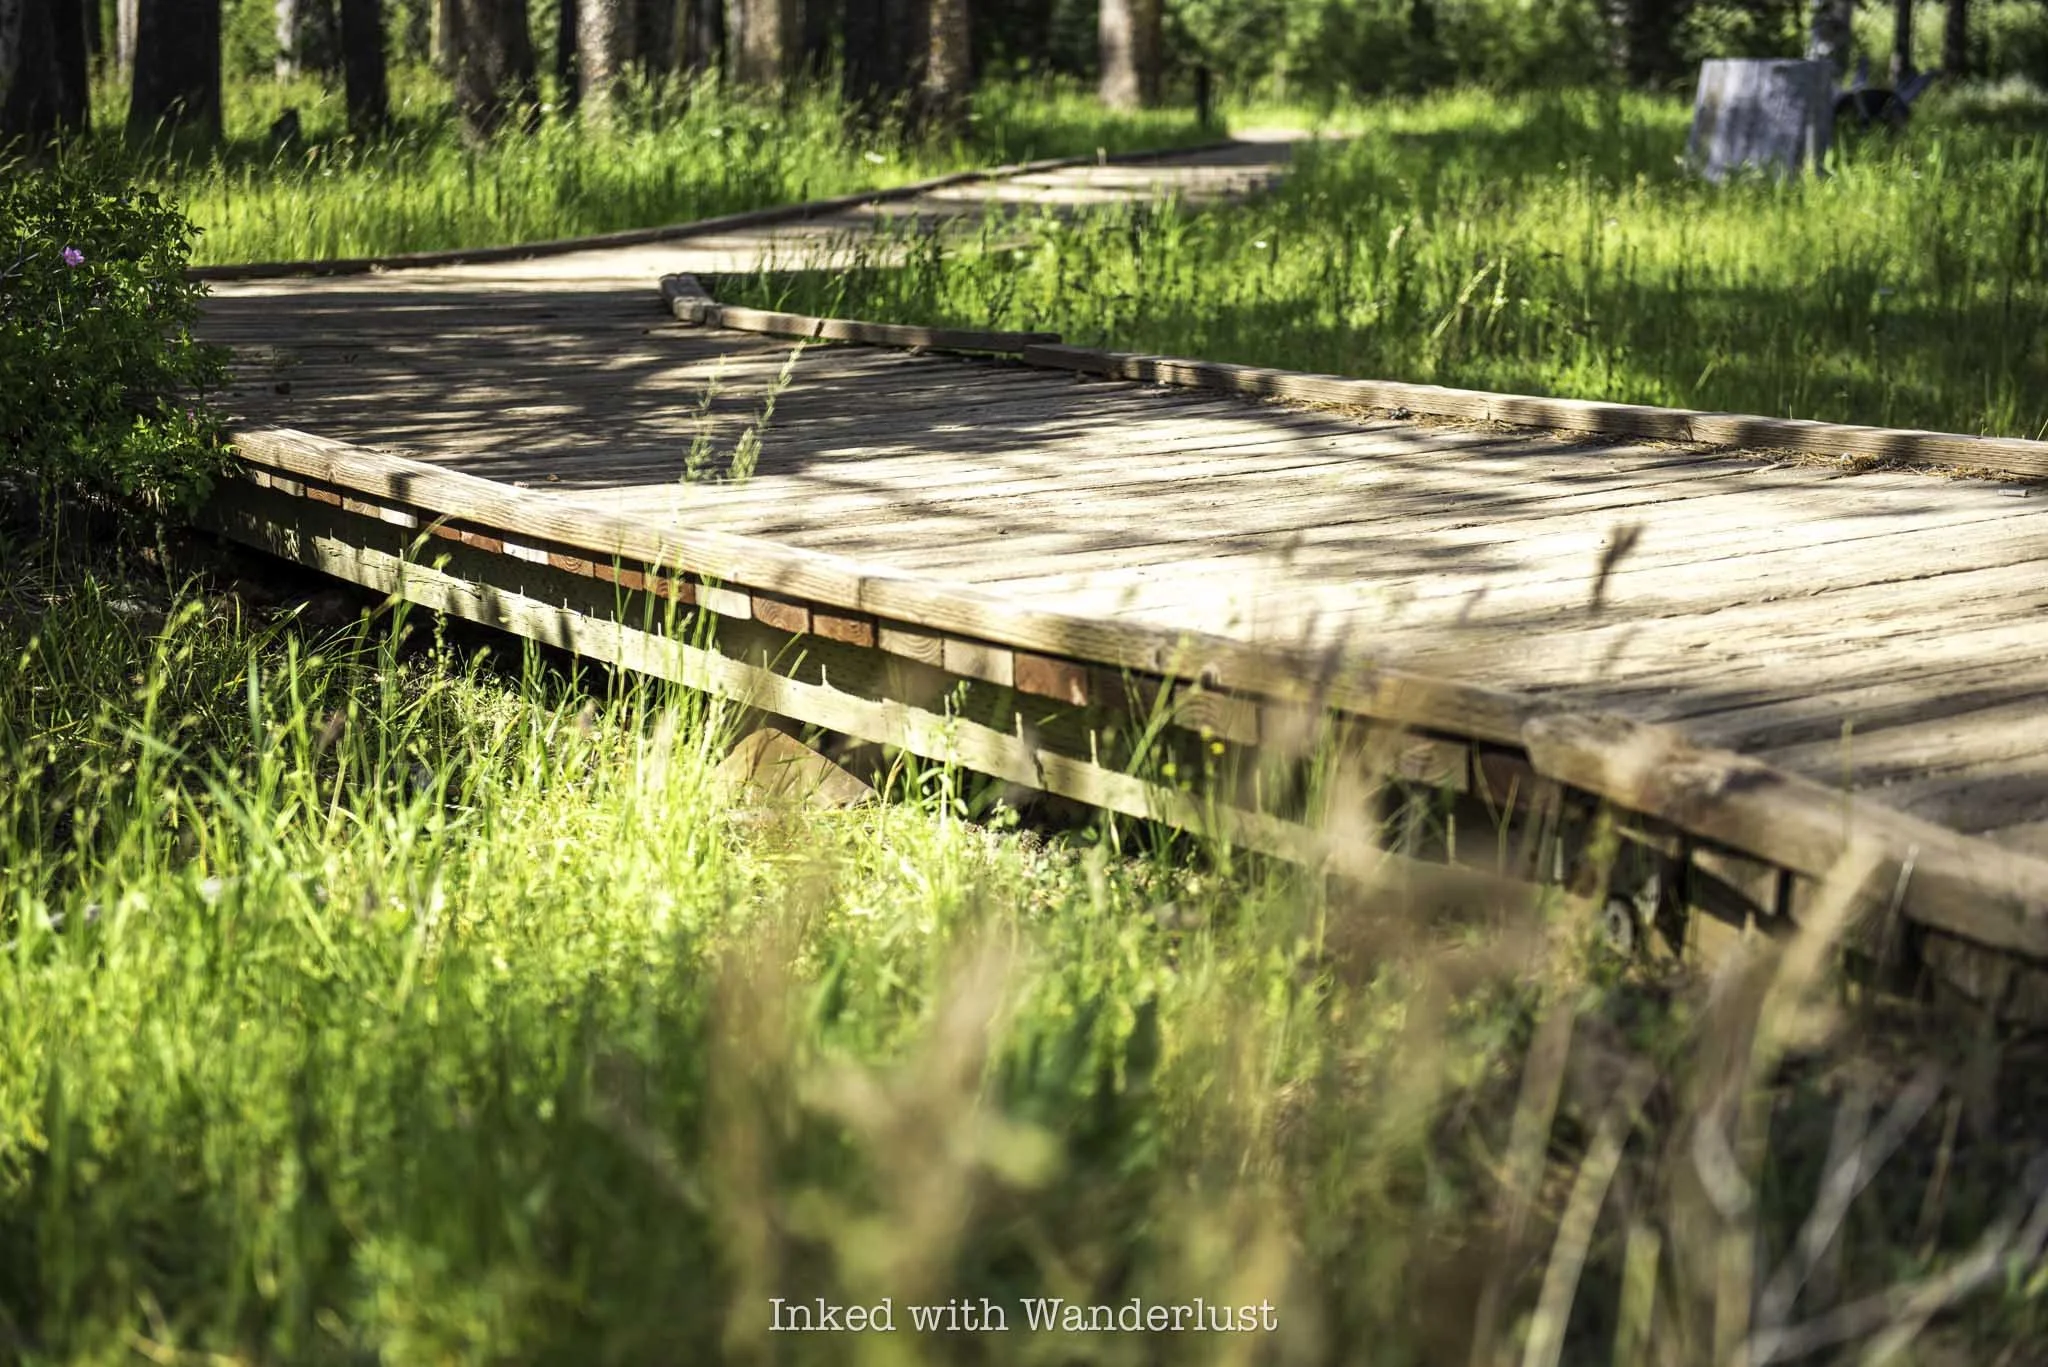
Near the halfway point of the loop, the trail goes from compact dirt to a wooden boardwalk. This section of trail traverses over a growing marsh, along with parts of Alder Creek, and the boardwalk is meant to help protect them. So be sure to stay on it.
As the loop turns back to dirt, you’ll soon come to a medium-sized rock with a plaque display, adjacent to a tall, almost featureless tree. That rock marks the spot where Jacob Donner and his family set up camp. The camp site of George Donner is marked a bit further down the trail.


As previously stated, the winter of 1846/47 was a brutal one. As the Donners watched the snow fall and it became clear that escape wouldn’t be an option, survival mode kicked in. Tall trees that once made up this area were cut down and reduced to stumps.
They’re scattered all over the meadow and are cut as high as twelve feet, indicating how oppressively tall the snowpack had gotten. Food was difficult to come by, resulting in the Donners having to boil hides and consume the gluey mass. Crushed animal bones were also boiled into a broth.

By the end of 1846, as dry wood and food became more scarce by the day, Jacob Donner, along with three teamsters, would be dead. After being unable to join the rescue party out of the mountains due to illness, George Donner would pass in his camp in March 1847. His wife, Tamsen, would pass shortly thereafter.
All told, by the time more rescuers reached the Donners at Alder Creek in 1847, seven members of the family had perished (half of them), along with several teamsters. Seven others survived, with George Donner Jr. being the sole male survivor of the family.

From the camp site, you can opt to take the spur trail leading to Prosser Reservoir. To continue on the loop, proper, continue left at the camp site, with the rock and tree to your back. The trail begins to loop back towards the parking lot, with one or two additional interpretive signs to read along the way.
Once you get back to the parking lot, you’re done. There’s another trail near the Donner Camp trailhead you can explore. I didn’t as I was short on time. If you have bikes with you, I saw several folks with bikes gearing up near the northern end of the parking lot. Perhaps there’s another trail over there.
For someone who’s been fascinated with the Donner Party and their story for so long, it was humbling and moving to stand in the spot where they camped and explore the meadow where they spent that infamously horrific winter.
Did The Donners Resort to Cannibalism at Alder Creek?

Surely, you’ve heard of the disturbing end of the Donner Party’s story in the mountains, with many reportedly resorting to cannibalism in order to survive. Reports indicate this was done to those who were already deceased, but there were several accusations of murder/cannibalism as well.
There’s much debate as to if it actually happened, but we do have journal entries and first-hand testimonials from survivors, seemingly confirming that it did occur at lake camp involving the other party members. Did the Donners take part in it as well, though?
There are conflicting reports. James Reed was said to have found George Donner’s body at the Alder Creek camp with his stomach split open and insides missing. While it could have been cannibalism, it’s also consistent with how bears consume their prey. In the mid-1800’s, grizzly bears were present in the sierras.
Additionally, it’s been said that Lewis Keseberg, another member of the ill-fated group, admitted to cannibalizing Tamsen Donner upon her death. It was said that Tamsen eventually made her way to lake camp after George’s death, where she ultimately died and was reportedly consumed. This isn’t confirmed, though, as her body was never found.
The official stance from park rangers at Donner Memorial State Park is - “perhaps it happened”. Or at least that’s how their answer to the question comes across. With multiple mutilated bodies discovered at both sites and several statements from survivors who witnessed and took part in the act, yes, I do believe it happened.
Donner Memorial State Park

West of the Donner Camp Site is Donner Memorial State Park. The Donners may not have made it to this point, but the park memorializes them and the other members of the party as well. There’s a visitor center with many fantastic exhibits and the Pioneer Monument.
The monument is a dedication to the Donner Party, specifically those who perished. It’s twenty-two feet tall, representing the twenty-two feet of snow that entrapped the Donner Party in the winter of 1846/1847.
The state park also marks the various sites where the party built their makeshift cabins. Along one trail is a giant boulder that served as the north wall and fireplace for the Murphy family cabin. On the rock face is a plaque, listing the entire Donner Party and categorizes those who survived and who perished.
No visit to either sites would be complete without the other, as both are historically significant and important to the Donner story as a whole. You can read more about the events that occurred at Donner Memorial State Park. Additionally, learn about the historic Donner Tunnels and how you can hike through them!


The Ultimate Guide to La Brea Tar Pits and Museum
The La Brea Tar Pits and Museum has long been one of the quintessential best things to do in Los Angeles. It’s an active paleontological…
Disclosure: This post contains affiliate links. If you make a purchase through these links, I may earn a small commission at no additional cost to you. I only recommend products or services that I believe will add value to my readers.

The La Brea Tar Pits and Museum has long been one of the quintessential best things to do in Los Angeles. It’s an active paleontological research site surrounded by the urban hustle and bustle of downtown LA.
There are numerous tar pits to see, in addition to the museum which houses hundreds of ice age-era animal fossils that were all found in the tar pits. The pits themselves are believed to be upwards of 40,000 years old!
In this post, I’m going to cover multiple topics about the tar pits and museum. Things such as parking, costs, what to expect, nearby attractions, and more will be discussed in the post below. Let’s get into it!
Museum Extended Closure (2026 - 2028)
Starting July 6, 2026, the complex’s anchor attraction, the George C. Page Museum, will close for a two year period for a massive renovation and modernization project. It’s expected to reopen prior to the summer olympics, which is in July 2028.
STAYING OPEN: During the museum’s closure, much of the property will remain accessible. This is mostly Hancock Park, which includes the various tar pits along the pathway. These areas are free of charge.
There are several improvements coming to the museum, including a new research center, several recently unearthed Ice Age skeletons, and expanded exhibition spaces. Given the two year timeframe, it’s doubtful the building itself will see any new additions or serious changes.
Downtown Location

La Brea Tar Pits and Museum is located in the La Brea neighborhood district of Los Angeles. The main entrance into the park can be found on the corner of Wilshire Blvd. and South Curson Ave.
However, there are multiple entrances into Hancock Park, which is where the tar pits and museum are located. Additional entrances can be found north of the museum off 6th Street or by the adjacent Los Angeles County Museum of Art.
Parking at La Brea Tar Pits

There’s a rather large lot for the La Brea Tar Pits located behind the museum. To get to it, you’ll drive onto South Curson Ave and pull into it from there. When you arrive, get a ticket out of the digital booth and place it on your dashboard.
Unfortunately, parking is not free at La Brea Tar Pits. Parking fees as of spring 2025 at $18 per vehicle. You’ll pay this at the conclusion of your visit and only debit/credit cards are accepted.

There is metered street parking available as well along 6th Street, Curson Ave., and Wilshire. However, tour buses generally take up most available parking on Curson. If you decide to park on Wilshire, keep in mind:
If you’re here Monday - Friday, do not park along Wilshire between 7am and 9am or 4pm to 7pm
If you do, you’ll be cited and towed (even if you’re on metered parking)
You can avoid parking fees all together by utilizing LA’s Metro Line. If you do and show your TAP card to museum staff, you’ll receive a $2 discount on your entrance fee. You can research nearby stations here.
La Brea Tar Pits Tickets

Tickets are only required if you’re planning to visit the museum, which I encourage you to do. In my opinion, it would be an incomplete visit without it. However, if all you want to do is check out the tar pits, parking is all you’ll need to pay.
Ticket prices to the museum are:
$18 - adults
$14 - seniors 62+ and students 13 - 17 (with student ID)
$7 - children 3 - 12
$0 - children 2 and under
Additionally, LA County residents receive free admission Monday through Friday between the hours of 3pm and 5pm. You can purchase tickets on-site or in advance through their website here.
Hancock Park and the Tar Pits

The tar pits and museum begin and end at Hancock Park, a sprawling and ever evolving complex. It was named after George Allen Hancock, a local philanthropist and developer who subdivided the land back in the 1920’s.
I didn’t count them, but there are many pits of varying sizes and you can discover all of them via the paved walking path. Remember that the park, tar pits, and observatory pit (Pit 91) are all free to access.

The main pit (or - “Lake Pit”), the most recognizable of the bunch, is right in front of the museum and is immediately accessible from the Wilshire entrance. You’ve undoubtably seen this pit in movies, TV shows, ads, and more.
Lake Pit is the largest and is a remnant of asphalt mining operations in the late 1800’s. Over time, the pit collected rain and ground water, leaving us with the “lake” we see today. The lake’s sheen, stink, and bubbling comes from a deep underground oil field.

From Lake Pit, you can make your way along the walking path that traverses the park. Along the way, you’ll discover many more tar pits (though none are as large as Lake Pit). Each pit has informational boards posted, detailing their history and what was discovered there.
You’ll also see random areas that are fenced or coned off. These are newly formed tar pits and this is done to protect fossils and other discoveries that could potentially be there.
Are The La Brea Tar Pits Still Active? - Pit 91 and Project 23

One of the most interesting pits is Pit 91. It’s located at the far end of the park and is an active fossil dig with visible fossils in the ground. They first dug into Pit 91 in 1915 and have since found numerous animal fossils here. These include:
73 Saber-Toothed Tigers
56 Dire Wolves
16 Coyotes
12 Ancient Bison
13 Western Horses
6 Ground Sloths
6 Giant Jaguars
4 Short-Faced Bears
2 Yesterday’s Camels
1 American Mastodon

As you can see, the number of predators discovered far outnumber the others. This was common at the tar pits, as animals like Ancient Bison and Western Horses went to the pits for water, not knowing the danger.
As they drank, they would become entrapped in the tar, unable to free themselves and would ultimately perish. Predators then saw what they thought would be an easy meal and ended up stuck in the tar themselves, meeting the same fate.

Shortly after leaving Pit 91, the next special exhibit is Project 23. The “23” is representative of the 23 crates containing the most recent fossils found nearby during construction at the Los Angeles County Museum of Art (LACMA) complex.
Construction crews worked closely with paleontologists, often digging just a foot at a time in order to preserve as many fossils as possible. So far, everything from mammoth tusks to mouse toe fossils have been discovered.
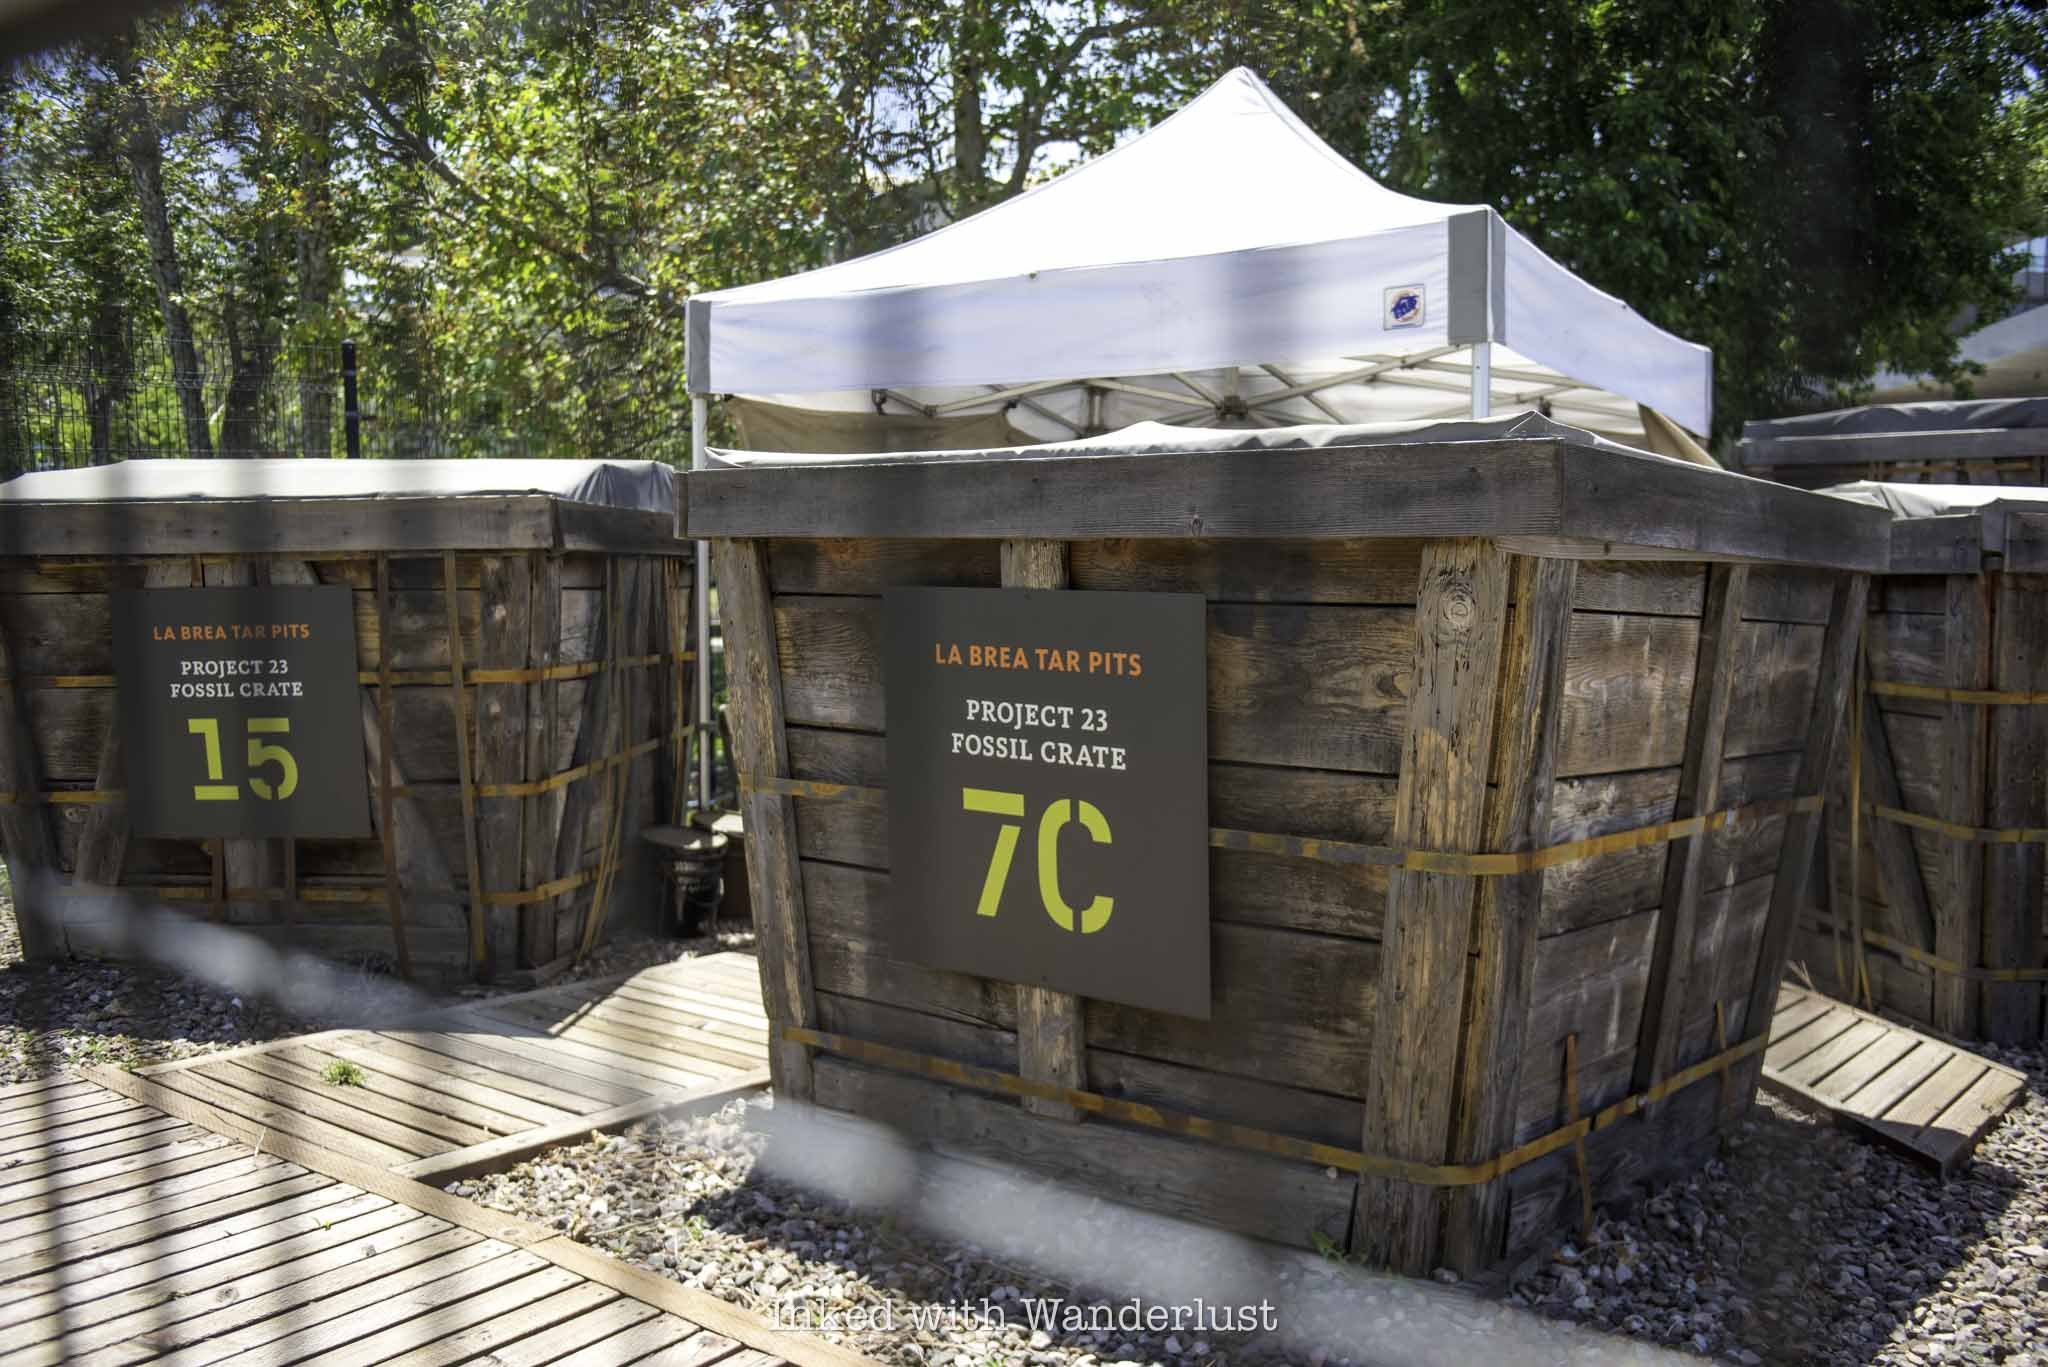
Each day, staff scientists and volunteers work on excavating each of the 23 crates. I didn’t see any new discoveries on my visit, but you might get lucky and see a new mammoth tusk unearthed. Since 2006, millions of new fossils have been discovered from these crates.

Adjacent to the Project 23 display is another tar pit, named Pit 9. It doesn’t look like much now, but this pit stands out as the site where 27 individual Columbian mammoths were discovered, in addition to 10,000 other fossils.
It’s truly amazing to be present in the same space where all of these massive, ancient animals once roamed and ruled. Without this, we would likely never know they were here, judging by the surrounding urban jungle we know today.
La Brea Tar Pits Museum

When you’re finished exploring the tar pits, it’s time to head inside the museum. If you’ve purchased your tickets ahead of time, have them ready on your phone for museum staff to scan.
The museum begins to the left of the ticket booth. As you enter the first exhibition hall, you’re immediately greeted by a large collection of complete and partial animal fossils and skeletons. The first of which you’ll see is a giant sloth and the skull/tusks of a mastodon.

Rounding the corner you’ll come into an open room with many more fossils. There’s also an interactive display giving you the opportunity to find out how difficult it is to escape when you’re stuck in tar.
Simply grab the handle and pull up. The bottom of the handle is submerged in tar. You’ll definitely feel the resistance as you pull as it gives you a good idea of how so many of these animals became stuck.

In this space, you’ll find several examples of mastodons and mammoths, both large and (comparatively) small. Remember Pit 9 where they found 27 of them? Many of them are on display right here.
This includes “Zed”, located near the end of this hall. Zed is the most complete Columbian mammoth skeleton ever discovered at La Brea Tar Pits. It’s about 80% complete, including its skull and both 10-foot long tusks!
Throughout the rest of the museum, you’ll see many more fossil exhibits, interactive displays, and even a working laboratory where you can observe staff scientists and paleontologists cleaning and conserving newly discovered fossils.

One of my favorite exhibits (aside from Zed, of course) is the wall display of the 404 dire wolf skulls. Because they hunted in large packs, dire wolves are the most discovered animal at La Brea Tar Pits, with over 1600 being discovered!
Near the dire wolves skull display, there’s an exhibit on ice age-era bird fossils, as well as complete skeletons of an American lion and saber-toothed cat. You’ll also see examples of large fossils still encased in mud and dried tar.

Beyond the fossil displays and interactive elements, there is a 3D theatre featuring the film Titans of the Ice Age. This is an additional cost of $8 per person. I passed on it, but it’s located at the end of the museum loop if you’re interested.
Additionally, there’s a nice green space in the center on the museum you can walk through. There are multiple entry and exit doors, so just choose one. We waited until the end of the museum tour to check it out.
The Future of La Brea Tar Pits

While the past is on full display at La Brea Tar Pits, they’re also looking towards the future. Depending when you visit, La Brea Tar Pits and Hancock Park could look very different than what you see in the photos above.
The Transformation is a project currently ongoing at the property to not only elevate and modernize what’s already here, but to add to it as well. New outdoor displays, upgraded pedestrian pathway, modernized museum, and more, are coming.
Construction is ongoing, as it was during my visit. Parts of the walking path around the tar pits were blocked off and there was a large structure (pictured below) being worked on. I believe that structure is going to be the new museum.

So when you visit, prepare yourself for the construction. It didn’t damper my experience at all. I’m looking forward to visiting again when this project is complete. You can read further details on it here.
From here, I encourage you to visit the adjacent Los Angeles County Museum of Art (LACMA) complex. Particularly the free, outdoor art exhibits, such as Urban Lights and Levitating Mass. Both have appeared in numerous Hollywood movies.
There’s also the LACMA museum proper, in addition to the Academy Museum of Motion Pictures. If you’re hungry, there’s almost always food trucks present in the area as well. All told, there’s enough in this one city block to keep you busy for a full day.
If you’re interested, read about this classic Los Angeles hike up to the backside of the Hollywood Sign and the summit of Mount Lee. Why view the sign from afar when you can get up close and personal to it?!

Visit Marshall Gold Discovery Site near Placerville
Of all the historical sites in the great state of California, Marshall Gold Discovery State Historic Park in Coloma is right up there as one…
Disclosure: This post contains affiliate links. If you make a purchase through these links, I may earn a small commission at no additional cost to you. I only recommend products or services that I believe will add value to my readers.

Of all the historical sites in the great state of California, Marshall Gold Discovery State Historic Park in Coloma is right up there as one of the most significant. The reason? It’s the site where gold was first discovered in 1848, two years prior to California becoming a state.
The man who made this remarkable discovery, James W. Marshall, found several shining flecks of gold along the South Fork of the American River in the tail-race of the sawmill he was building in partnership with a man named John Sutter.
This find was indeed significant, yet consequential, as it spawned the largest migration of people in the Western Hemisphere. Once word got out the (gold) rush was on, as thousands of miners made their way to the golden hills of California to earn their own fortune.
It’s important to remember that at the time Marshall made this discovery, Coloma (as well as most of Northern California) was largely inhabited by the Nisenan Indian Tribe. They called this place, Cullumah, which means “beautiful valley”.
Today, the California State Park agency runs this massive site. In it, there are multiple examples of replicated buildings, a visitor center, the burial site of James Marshall, a monument marking the spot of gold discovery, a replica of Sutter’s Mill, and more.
MARSHALL GOLD DISCOVERY SITE PARKING & FEES

There are actually two spots where you can start your day at Marshall Gold Discovery Site; the main area near the visitor center and up the hill at the James Marshall Monument. To avoid confusion, type “Marshall Gold Discovery Site Visitor Center” or “John Marshall Monument” into your GPS of choice.
I didn’t know that going in and just entered “Marshall Gold Discovery Site” into Apple directions and was taken to the hill near the monument and worked my way down from there. You can’t go wrong with either, it’s simply a matter of preference.
Up the hill at the monument is a medium-sized paved lot capable of holding a few dozen vehicles. There is no digital pay station here, just the old school iron ranger when you fill out the envelopes. Be sure to bring exact change.


Below at the visitor center, you can pay your entry fees to the staff inside (you can pay with debit cards here). Either way, be sure to place your receipt on your dashboard so you don’t end up with a ticket.
Fees at Marshall Gold Discovery State Historic Park are:
$10 per vehicle
$9 per vehicle (seniors 62 and over)
The day-use areas are open to the public at 8am, no matter the time of year. However, it closes at 6pm from Labor Day to Memorial Day and 8pm during the summer months. The visitor center opens at 9am and generally closes at 4 or 5pm.
Marshall Monument/Burial Site

As stated above, my wife and I started on the hill at the Marshall Monument. The monument is impressive, as it’s California’s first historic monument and is the final resting place of James W. Marshall himself.
At the top of the monument is a bronze statue of Marshall. In it, he’s pointing downward to the spot on the South Fork of the American River where his discovery changed the course of California history forever.
Marshall passed away on August 10, 1885, totally penniless. Since he couldn’t contain news of the gold discovery and bigger, stronger miners began to show up, Marshall was muscled out his spot before he could finish constructing Sutter’s Mill.

Ironically, neither Marshall nor Sutter profited from their discovery. In 1886, a year after his death, the monument was constructed. Four years later in 1890, the bronze statue was created and placed on top of the monument. In 2010, it was re-dedicated to honor Marshall on his 200th birthday.
From the monument, begin your slow descent down the hill in your vehicle. A mile or so past Marshall Monument is where you’ll find Marshall’s cabin that he built shortly after arriving in Coloma. He occupied the cabin from 1856 to 1870.

Adjacent to the cabin is an old pioneer’s cemetery and further down from there is the highly-historic (and beautiful) Emmanuel Church, which was built in 1855 and was the first Episcopal Church in California.
You can’t go inside either the church or the cabin, unfortunately. Though there are several windows you can look through. To my knowledge, the items displayed inside the cabin are not original.


You can park in the small pull-out adjacent to the cabin and walk to all three of these attractions. When you’re done exploring, get back in your car and continue down the road. You’ll see signs pointing the way to the visitor center.
At one point, you’ll be driving through a street lined with houses. Some of them are currently occupied, but others are not and have historical markers next to them that you can read.
Visitor Center and Sutter’s Mill Replica

When you reach the bottom of the hill you should arrive to the visitor center. I know visitor centers are sometimes skipped by visitors, but give this one a look. There are dozens of exhibits and artifacts inside detailing the history and development of the area.
The museum pays tribute to Native Americans, who previously inhabited this area. It also details the discovery of gold in the river and the gold rush that proceeded it. Additionally, there’s real-life examples of pioneer wagons, gold-panning tools, clothing and more.


All around the road cutting through Coloma and surrounding the visitor center are numerous replicated and real-life historic structure exhibits. This includes a schoolhouse, Chinese store, a blacksmith’s shop, and others.
Just down the way from the visitor center is the ruins of the Coloma Jail, which was the first known jail in the state. The cells aren’t accessible to visitors, but they’ve pulled one outside of the ruins that you can see.


Nearby, you’ll find exhibits detailing the presence of the Nisenan people who called this region home. The biggest and most significant of which are the bedrock mortars, or “grinding rock”. It’s a huge rock with dozens of near-perfectly round shaped holes seemingly drilled into it.
The Native people used these grinding rocks to ground acorns for food, which was their main diet. According to a park ranger, the depth of the holes indicate that the Nisenan people were likely in the area for 1,000 years or more.

Across the street from the Native American exhibit is where the (arguably) biggest attractions of the park are located; the replica of Sutter’s Mill (what James Marshall used to mine for gold) and a monument placed on the spot of the first discovery.
The spot where the replica sits is not the original location. It was actually closer to the river’s edge, about where the monument sits now. There’s much debate as to if that monument is even in the correct spot but according to a ranger I spoke with, it is correctly placed.


The monument sits behind the Sutter Mill replica, right on the edge of the river. It’s largely made of stacked stone and has a bronze plaque in its center which reads, “This monument marks the site of John A. Sutter’s sawmill. In its tail-race, on January 24, 1848, James W. Marshall discovered gold and started the great rush of Argonauts to California”.
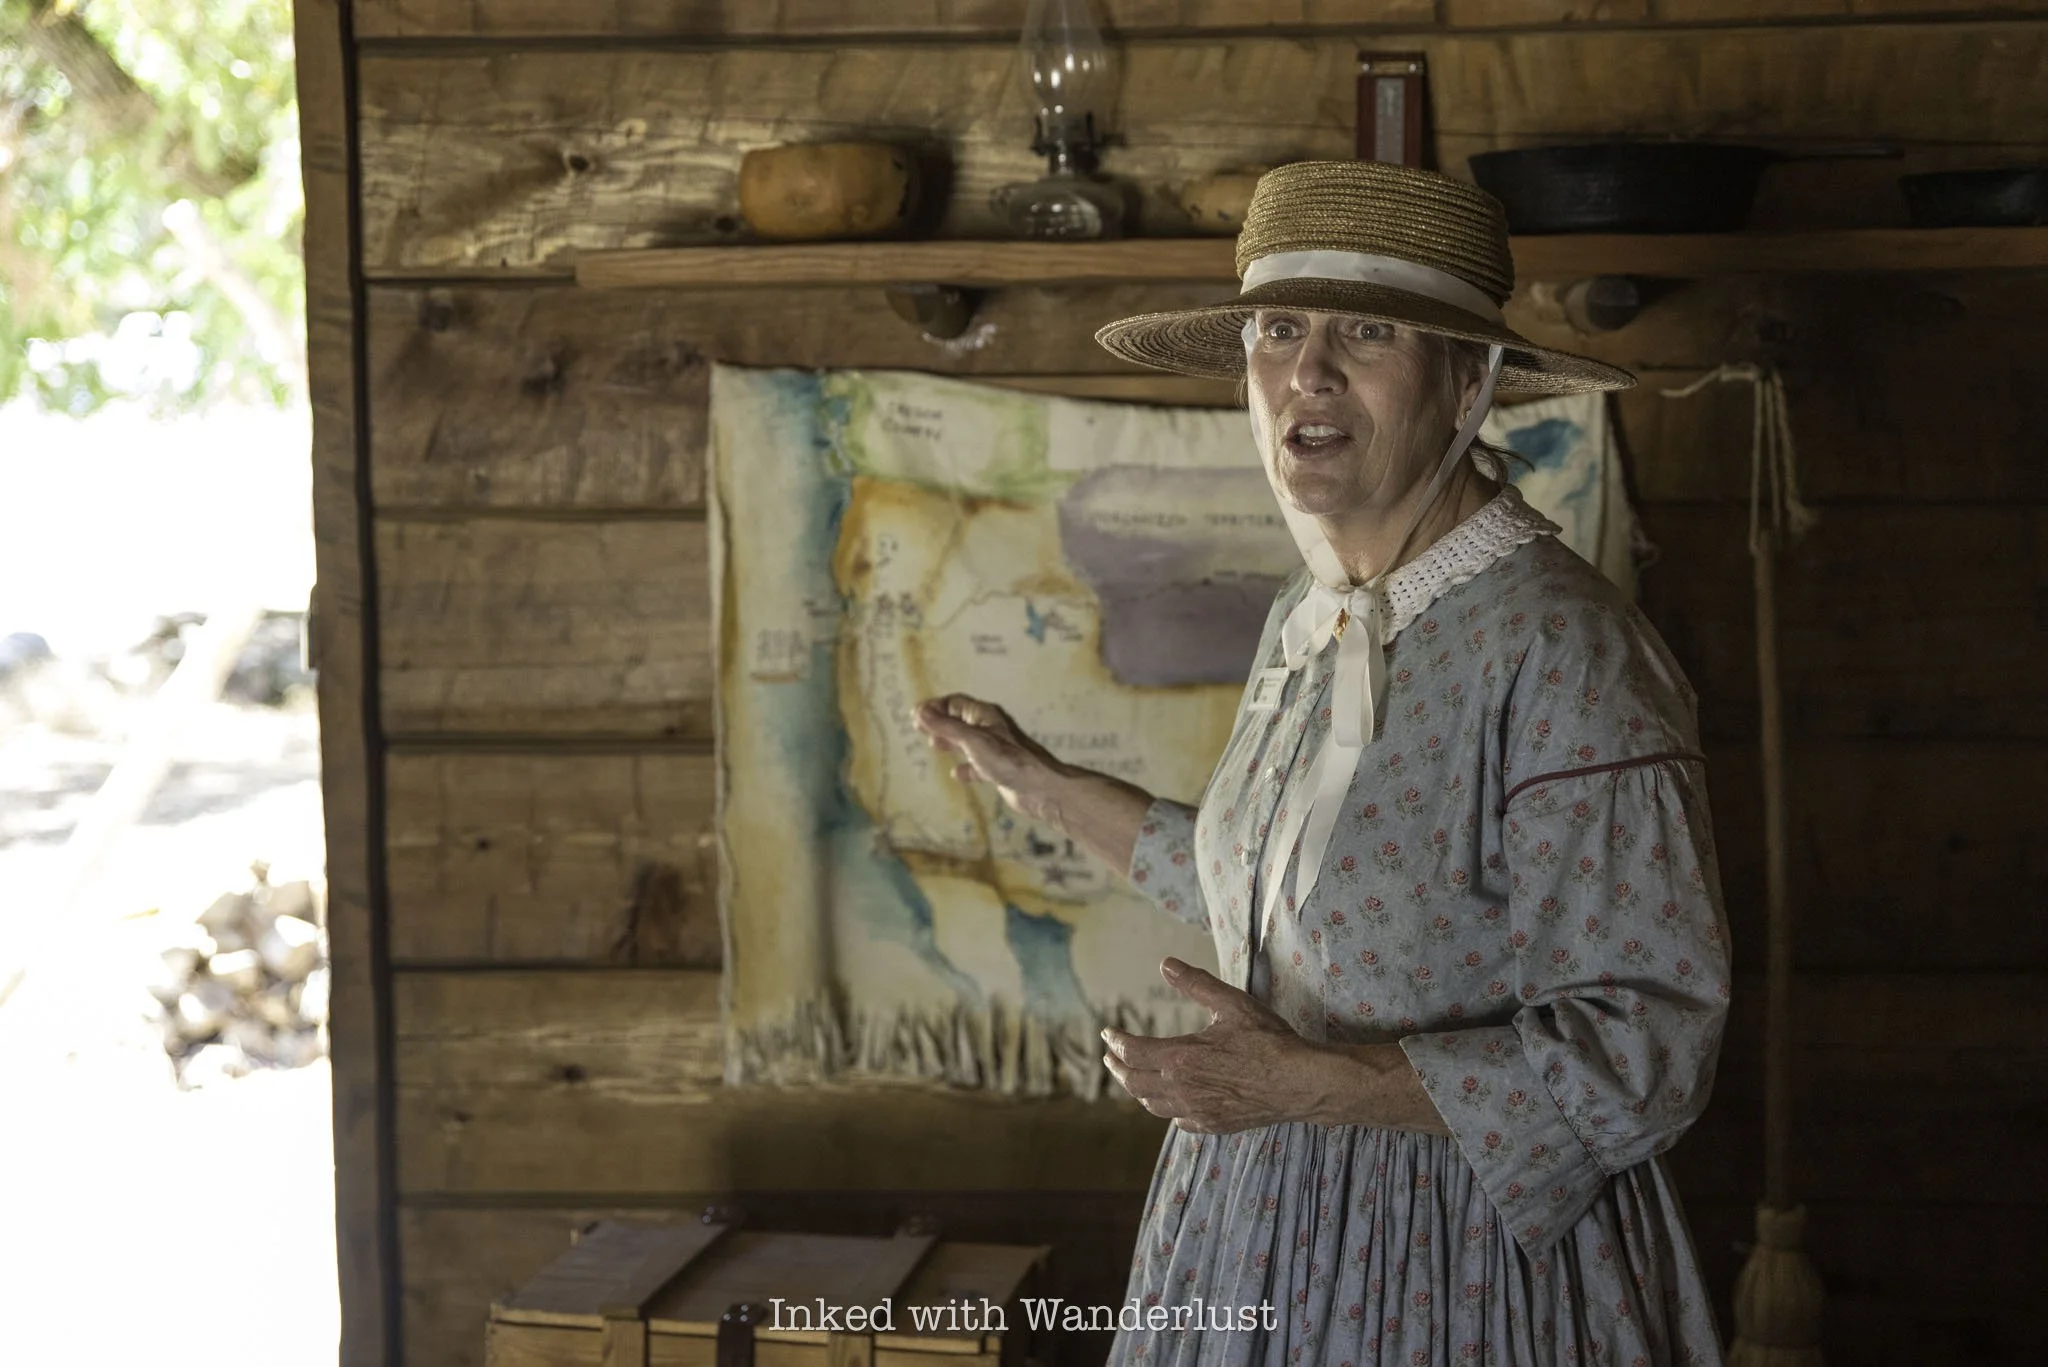
On the other side of Sutter’s Mill is the newest structure in the park, a replica of the “Mormon Workers Cabin”. This cabin is where six Mormon Battalion members Sutter and Marshall hired to build the sawmill built and lived in. The cabin was completed on January 23, 1848, one day before Marshall’s discovery.


In fact, we know the exact date of the first discovery because of the journals of Henry Bigler and Azariah Smith, two of the Mormon workers. An example of these journal entries is framed and displayed inside the cabin.
During my wife and I’s visit, there were park employees dressed in pioneer garb, offering a presentation detailing the history and meaning of the cabin free of charge. It was a nice touch and added a lot to the cabin’s historical value.
There’s so much to see and do at Marshall Gold Discovery State Historic Park that you could literally spend the entire day here and probably not see it all. The park is huge and there are many exhibits to explore.
My wife and I had no idea just how much there was here. We thought it was just the monument, the sawmill, cabin, and visitor center. Since we were merely passing through, we didn’t have the time to see it all. So we’ll definitely be making a return visit.
If you want to come here (and I encourage you to do so) be sure to reserve at least half a day to explore the park (a full day would be preferable). You could always break for lunch at nearby Hog-Wild Barbecue in Placerville. If you’ll be in the area for more than a day, I highly suggest taking a self-guided tour of nearby Gold Bug Mine.
EXODUS 13:21

Hike Through the Historic Donner Summit Tunnels
When searching for the most unique and best hikes in Northern California, many will point to areas like South Lake Tahoe, Yosemite National...
Disclosure: This post contains affiliate links. If you make a purchase through these links, I may earn a small commission at no additional cost to you. I only recommend products or services that I believe will add value to my readers.

When searching for the most unique and best hikes in Northern California, many will point to areas like South Lake Tahoe, Yosemite National Park, and famed Mono County, and for good reason. Those areas have some of the most beautiful hiking trails in the state.
Just a bit outside of Lake Tahoe proper, near the historic gold mining town of Truckee, is one of the most unique hikes you’ll come across anywhere - the Donner Summit Tunnels.
The tunnels were built in 1867 to accommodate the first train passage through the Sierra Nevada Range. Built primarily by Chinese laborers, nothing but hand drilling methods and explosives were used to carve through the granite-based Mount Judah.
The tunnels saw the first train traffic shortly after completion in 1868, and were used as recently as 1993, when they were then decommissioned. Today, the property is still owned by Union Pacific, who have been kind enough to allow people to freely explore the tunnels.
So how do you get to the Donner Summit Tunnels? What’s the parking situation like? What can you expect on this hike? I answer all of these questions and more below. Let’s get into it.
Trail Stats
Location: Donner Summit in Norden, CA
Fee: None
Open: Mostly in Spring, Summer, and Fall. Difficult to impossible to access in Winter.
For: Everyone
Cell Service: Spotty
Restroom: None
Parking: Large dirt lot at the trailhead. There are also pull-outs on the side of the road, but you’ll be backtracking on the hike
EV Stations: None
Difficulty: Easy
Popularity: Moderate
Mileage: About 5-miles, out and back
Elevation Gain: Just shy of 400 feet. The trail is mostly flat
Condition: Not maintained, but completely doable
Features: Historic trail tunnels, China Wall, petroglyphs and vast views.
Pets: Allowed on leash
Drones: No signs prohibiting it, but I saw a few people flying theirs
Hazards: Uneven ground, loose gravel, low visibility, steep drop offs, and potential wildlife encounters.
My Visit(s): July 2024

Recommended Products for this Hike
Camera Tripod (you’ll need it for the low-light situations)
Citronella Spray (a Deet-free way to keep the bugs off of you)
DJI Drone (for even better photos/video of the area)
How to Get to Donner Tunnels
Most people access the Donner Tunnels from Interstate-80, as it’s easy and straight forward. If you’re coming from the direction of Reno or Truckee (westbound), take the Donner Lake Road exit. When you get to the bottom, turn right on Donner Pass Road to head up the pass.
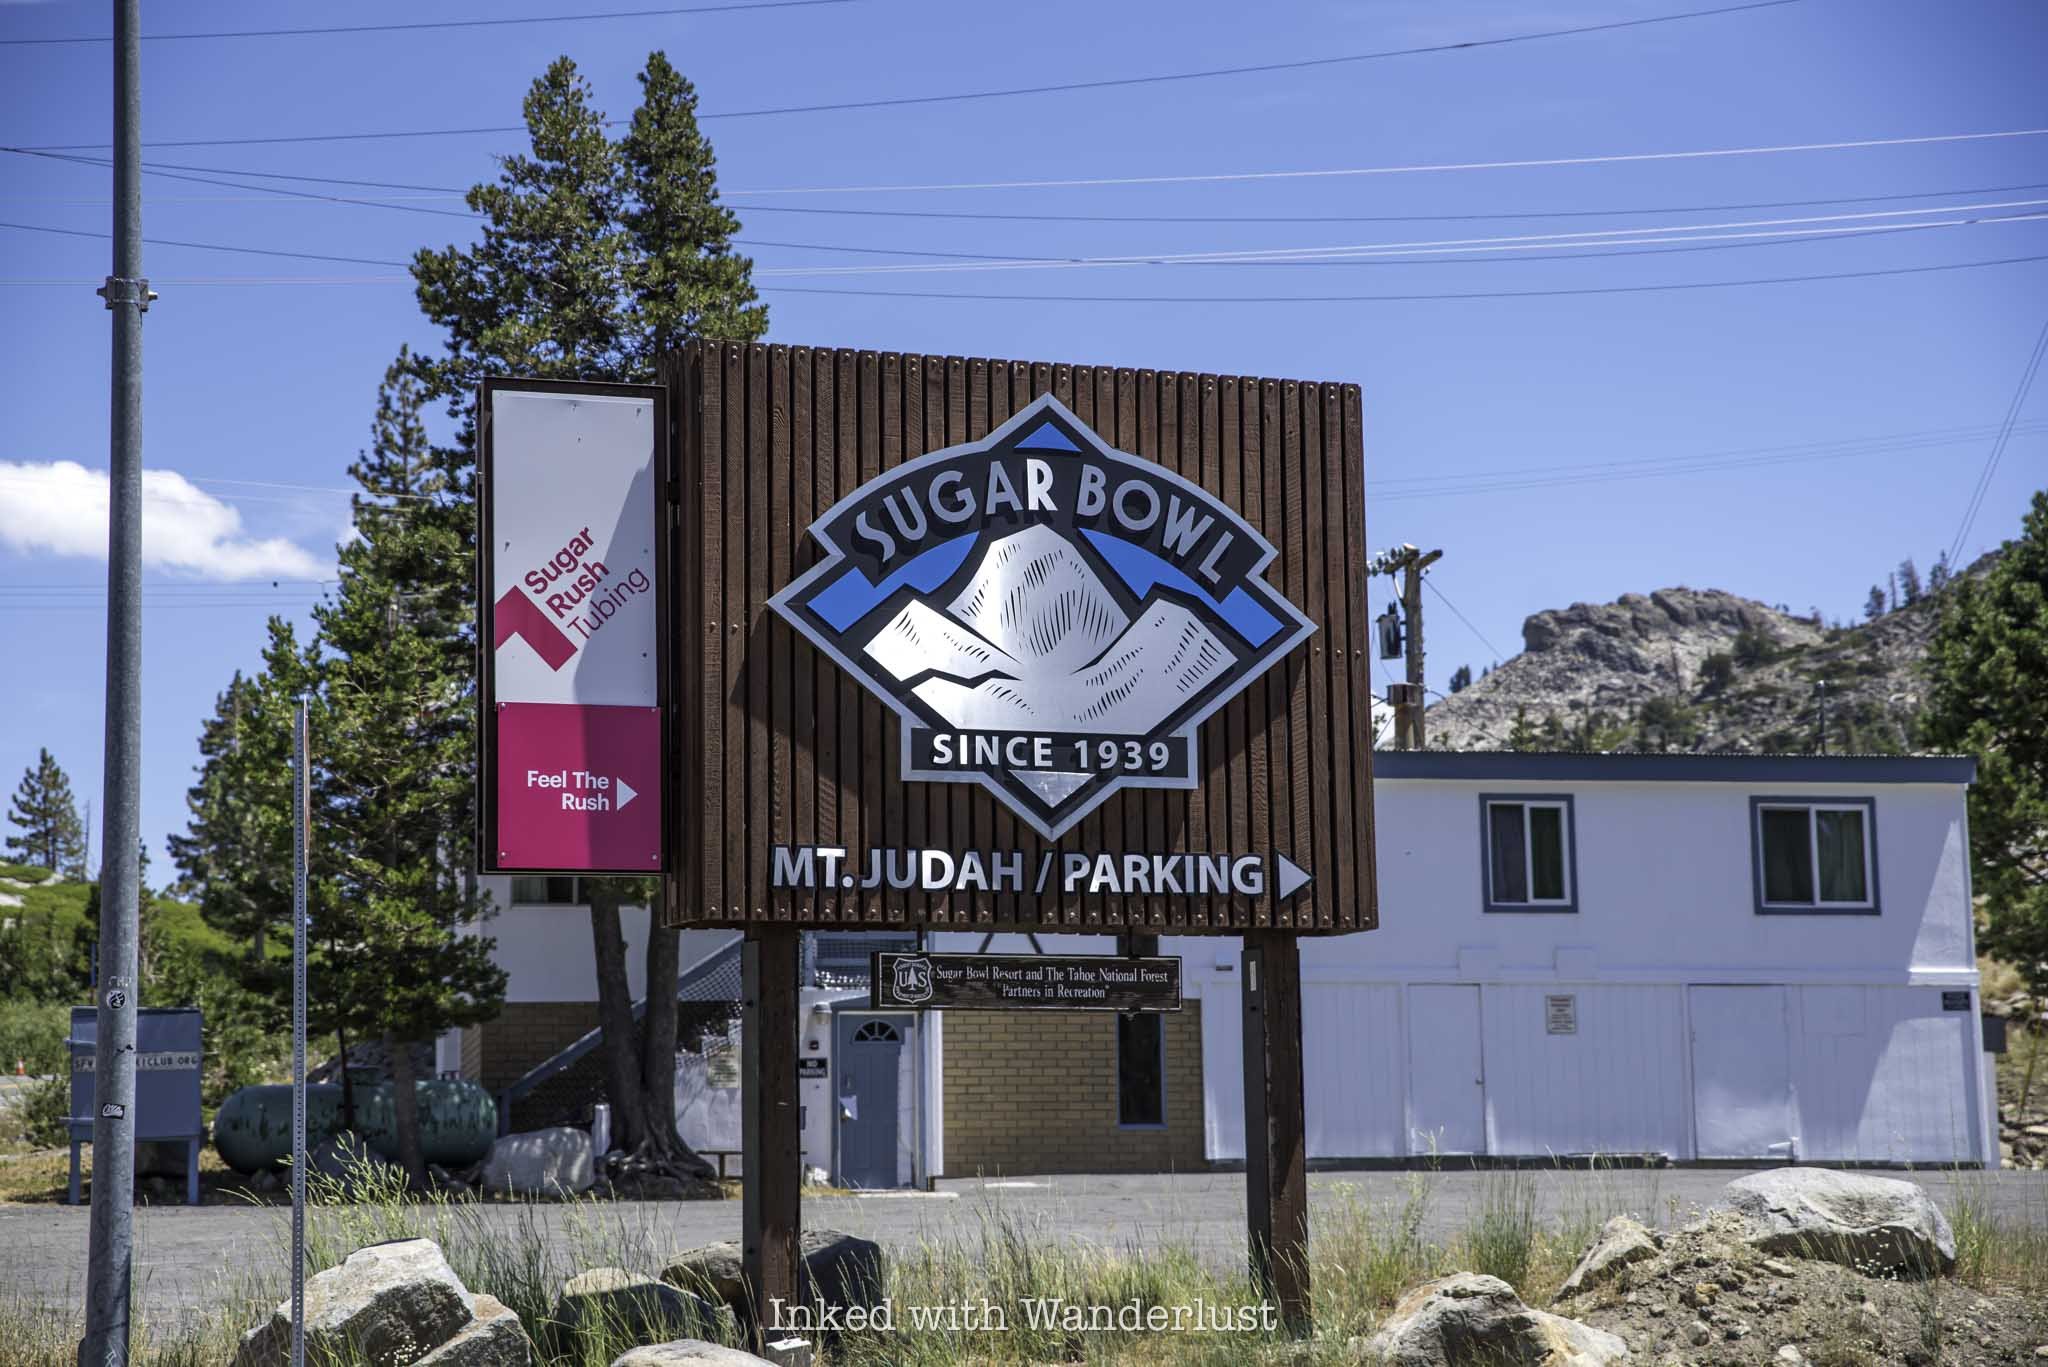
Less than a mile after crossing the Donner Summit Bridge, look for the sign in the photo above (Sugar Bowl Road). You’ll turn left here. Shortly thereafter, look for an unmarked dirt road on your right. This will take you to the parking lot.
Coming from Sacramento (eastbound), you’ll take the Donner Pass Road exit for about four miles before turning right onto Sugar Bowl Road to the parking lot. If you’re coming from Lake Tahoe, you have a couple options:
From North Lake/Sand Harbor area: Make your way to North Shore Boulevard (CA-217) and go north. Then, merge onto I-80 west for a short time before taking the Donner Pass road exit and head up the summit to the parking lot.
From South Lake/Emerald Bay area: Travel north on CA-89 and continue onto Highway 28, before turning left onto North Shore Boulevard (north). From there, follow the same directions as described above.
Donner Tunnels Parking Lot and Trailhead

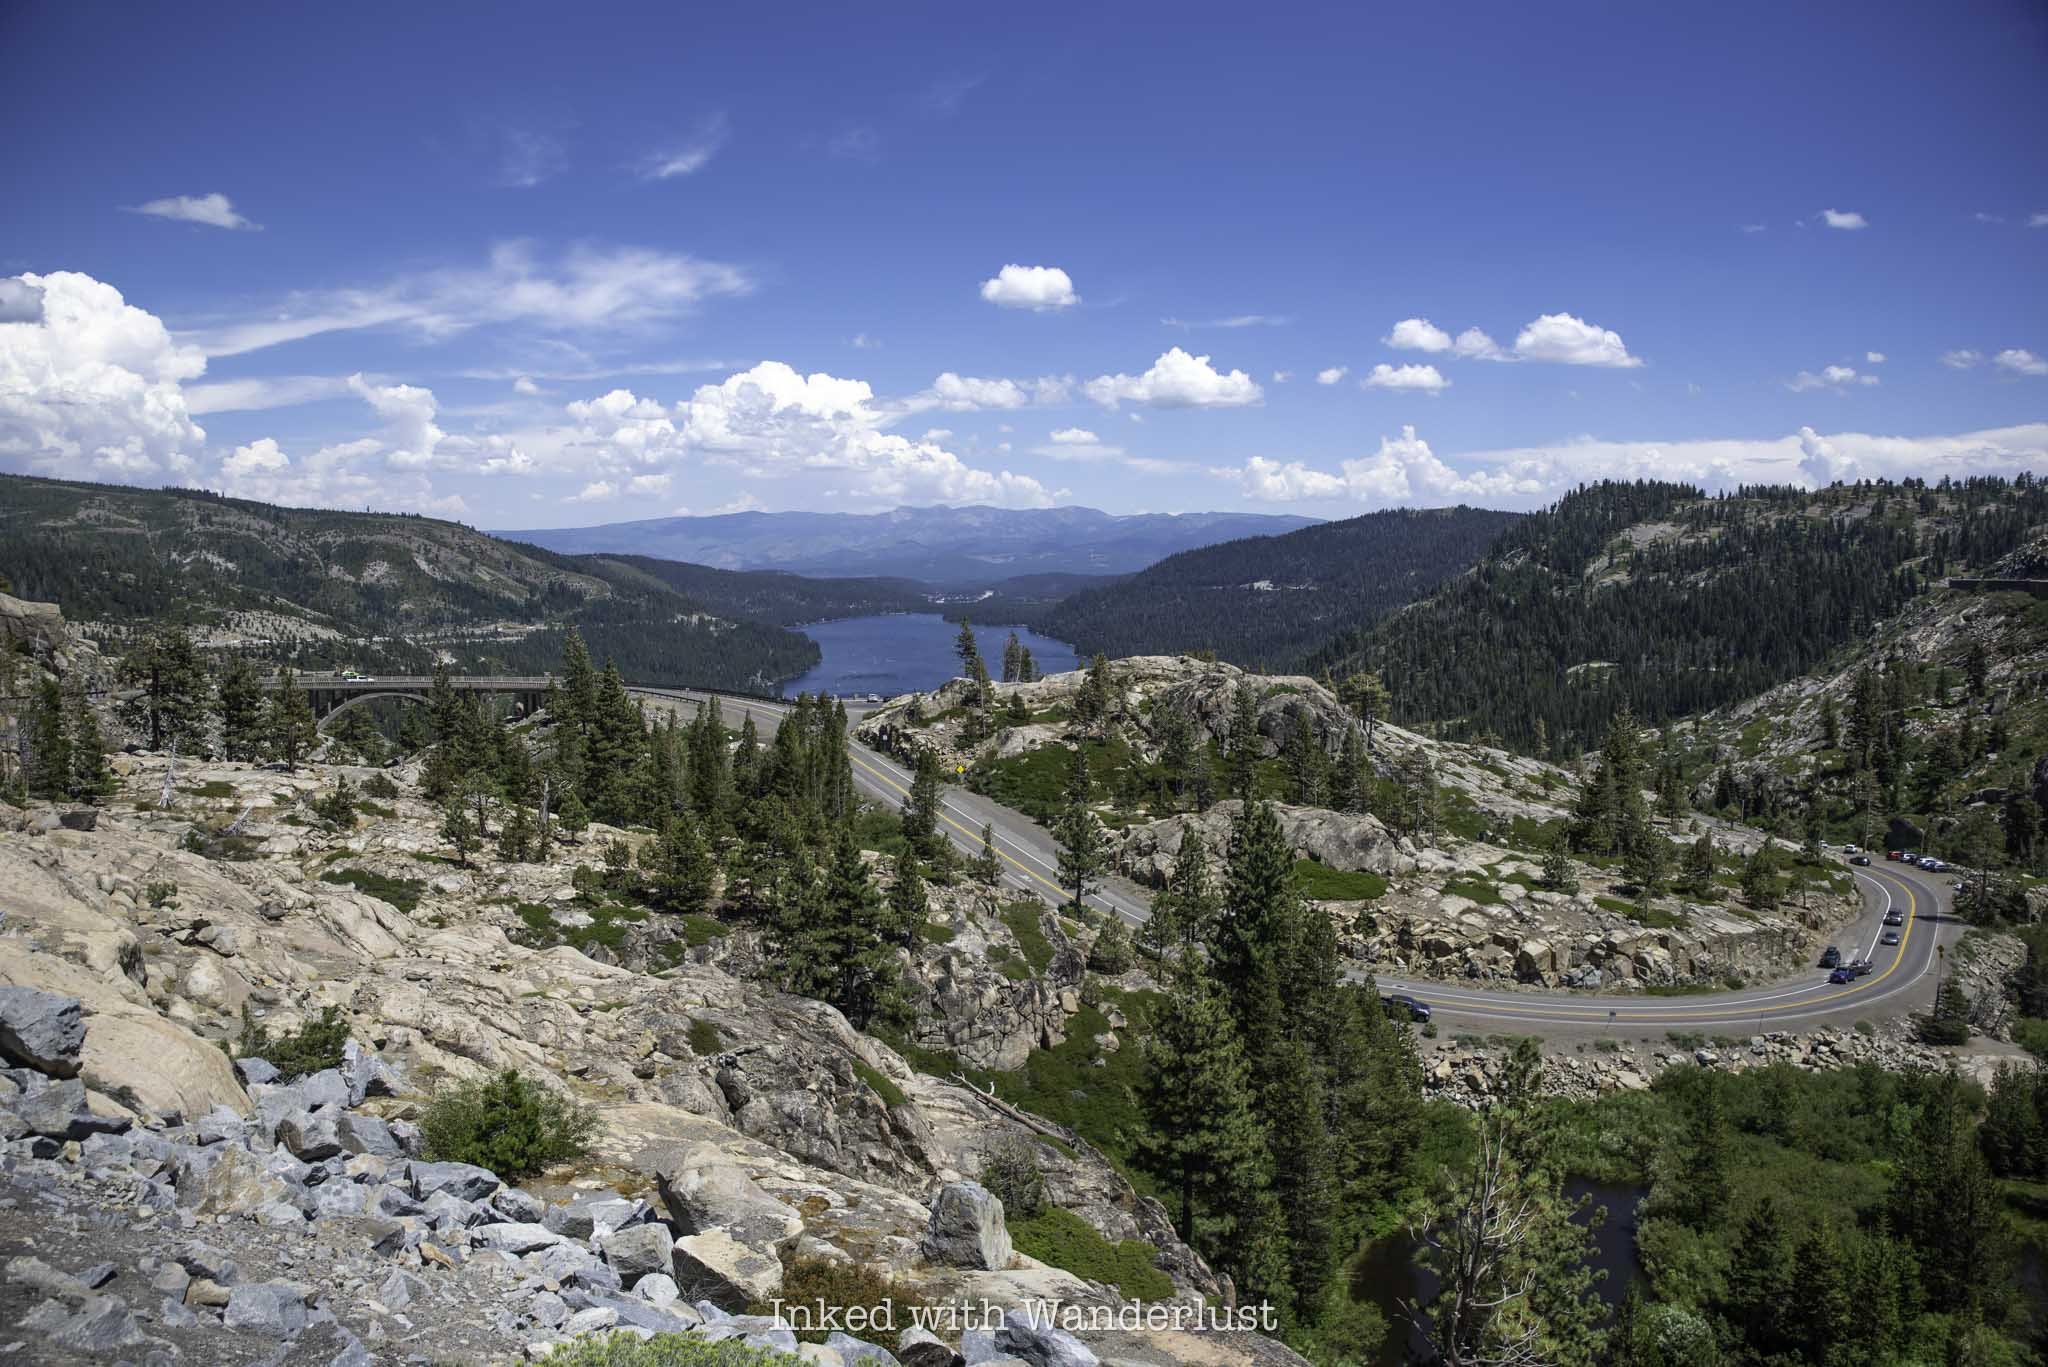
The parking lot for Donner Tunnels is a circular dirt lot with no actual parking spaces laid out. It’s essentially park wherever you can find space. If you arrive early (like I did), you’ll have no trouble finding a spot. Later in the day is when it starts to fill, as shown in the photo above.

While any vehicle can access this lot, I do need to warn you about all of the tire-busting rocks. Union Pacific doesn’t maintain this lot at all and as such, there are rocks all over the place that have the potential for ruining your day. Take it slow and you should be fine. The good news is there’s no parking fee.
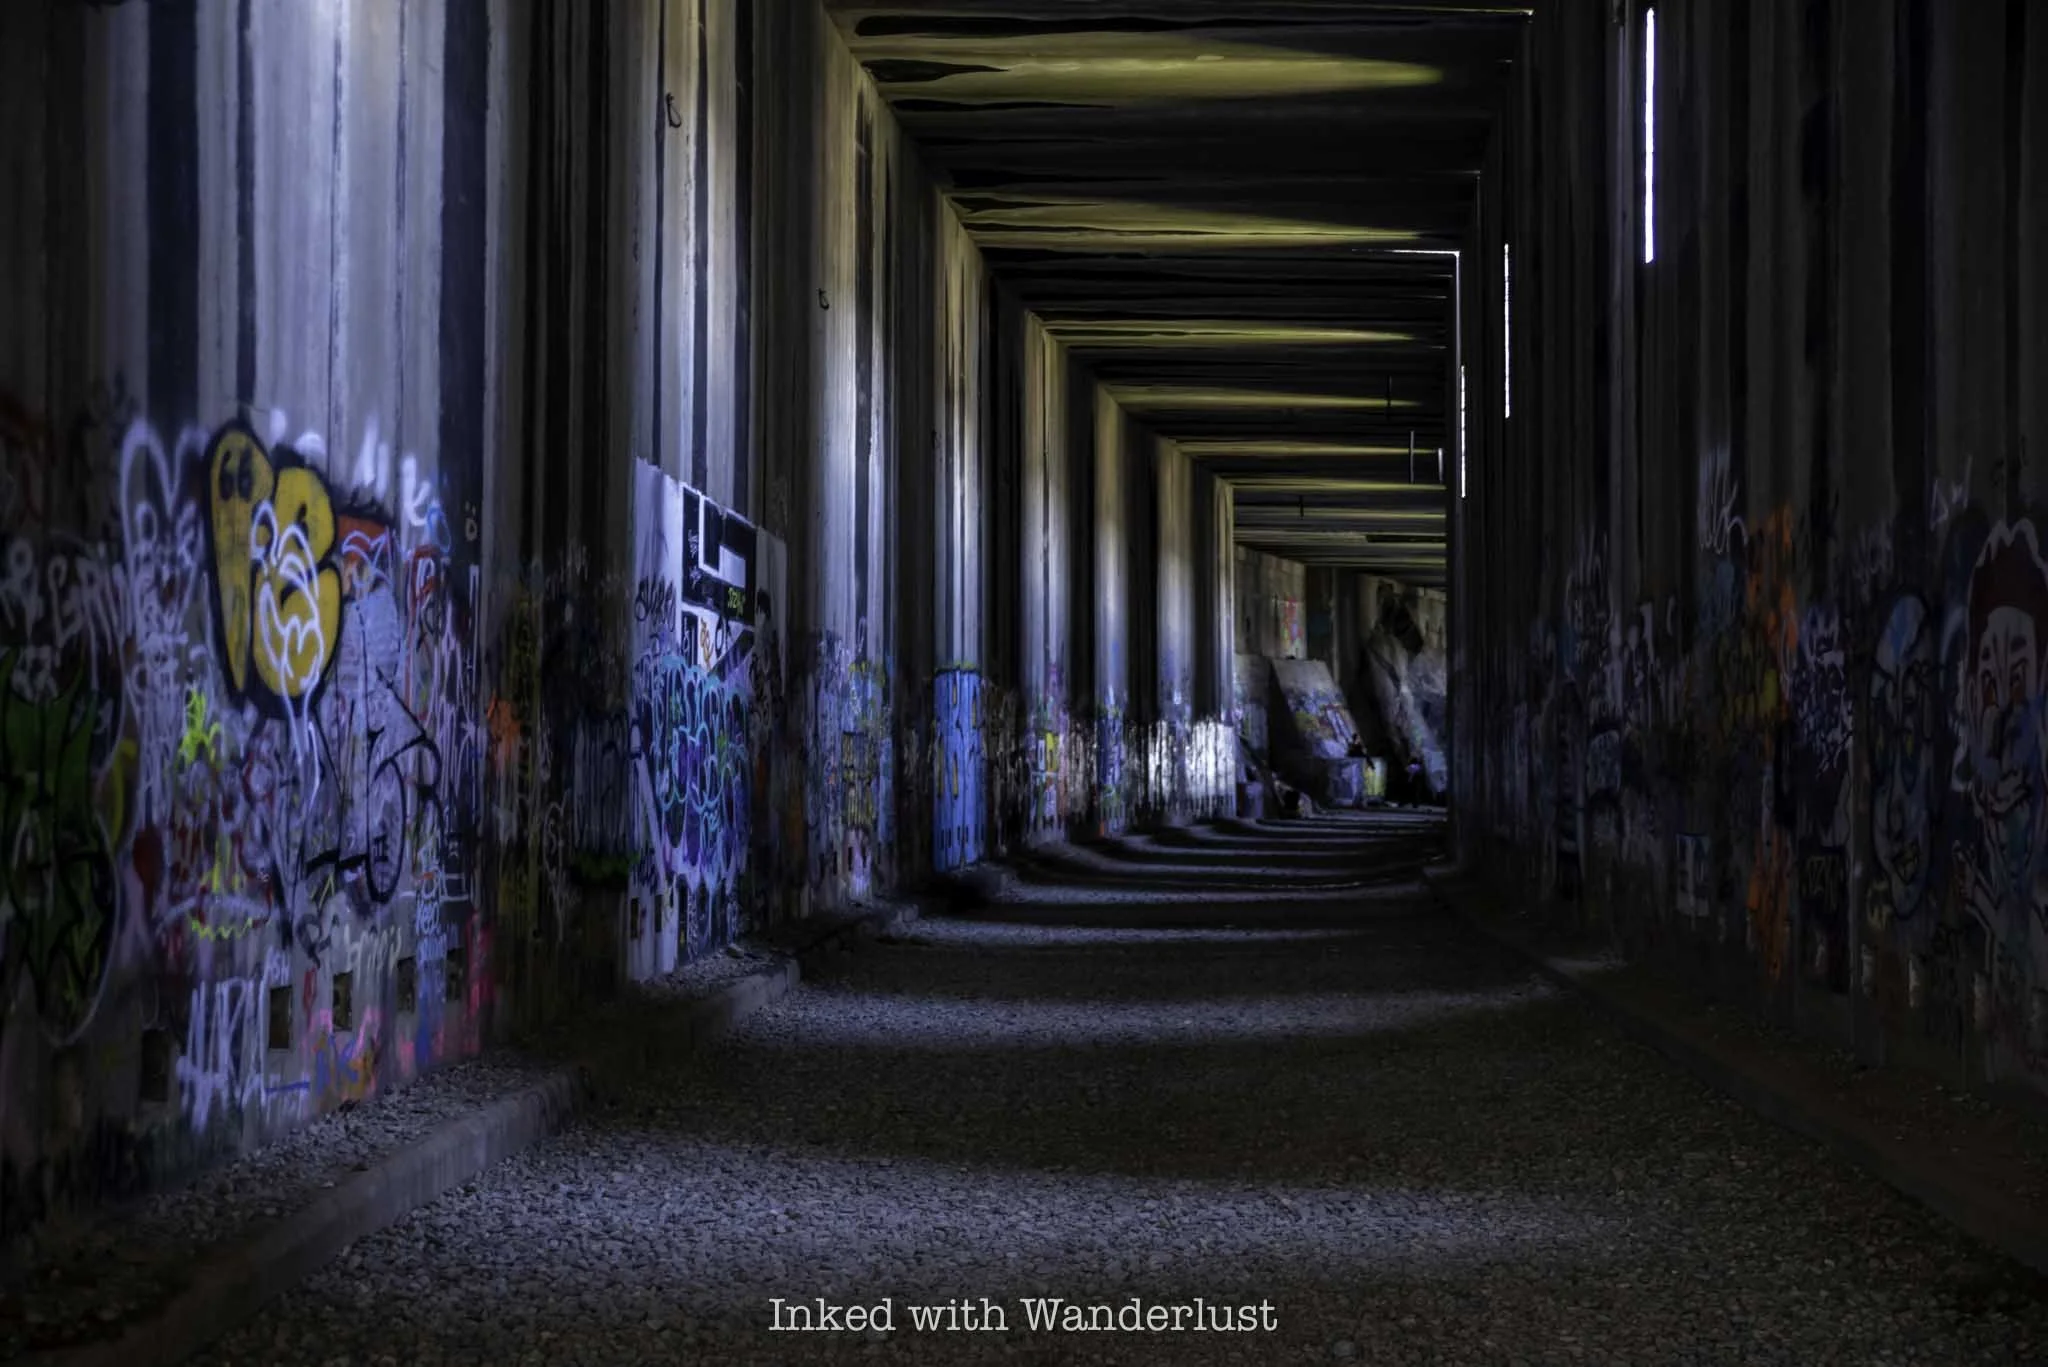
The unsigned trailhead is located just off the parking lot through a heavily graffitied red gate. You’ll find the first of several tunnels after you walk underneath the road you took to get here.
Donner Tunnels Hike

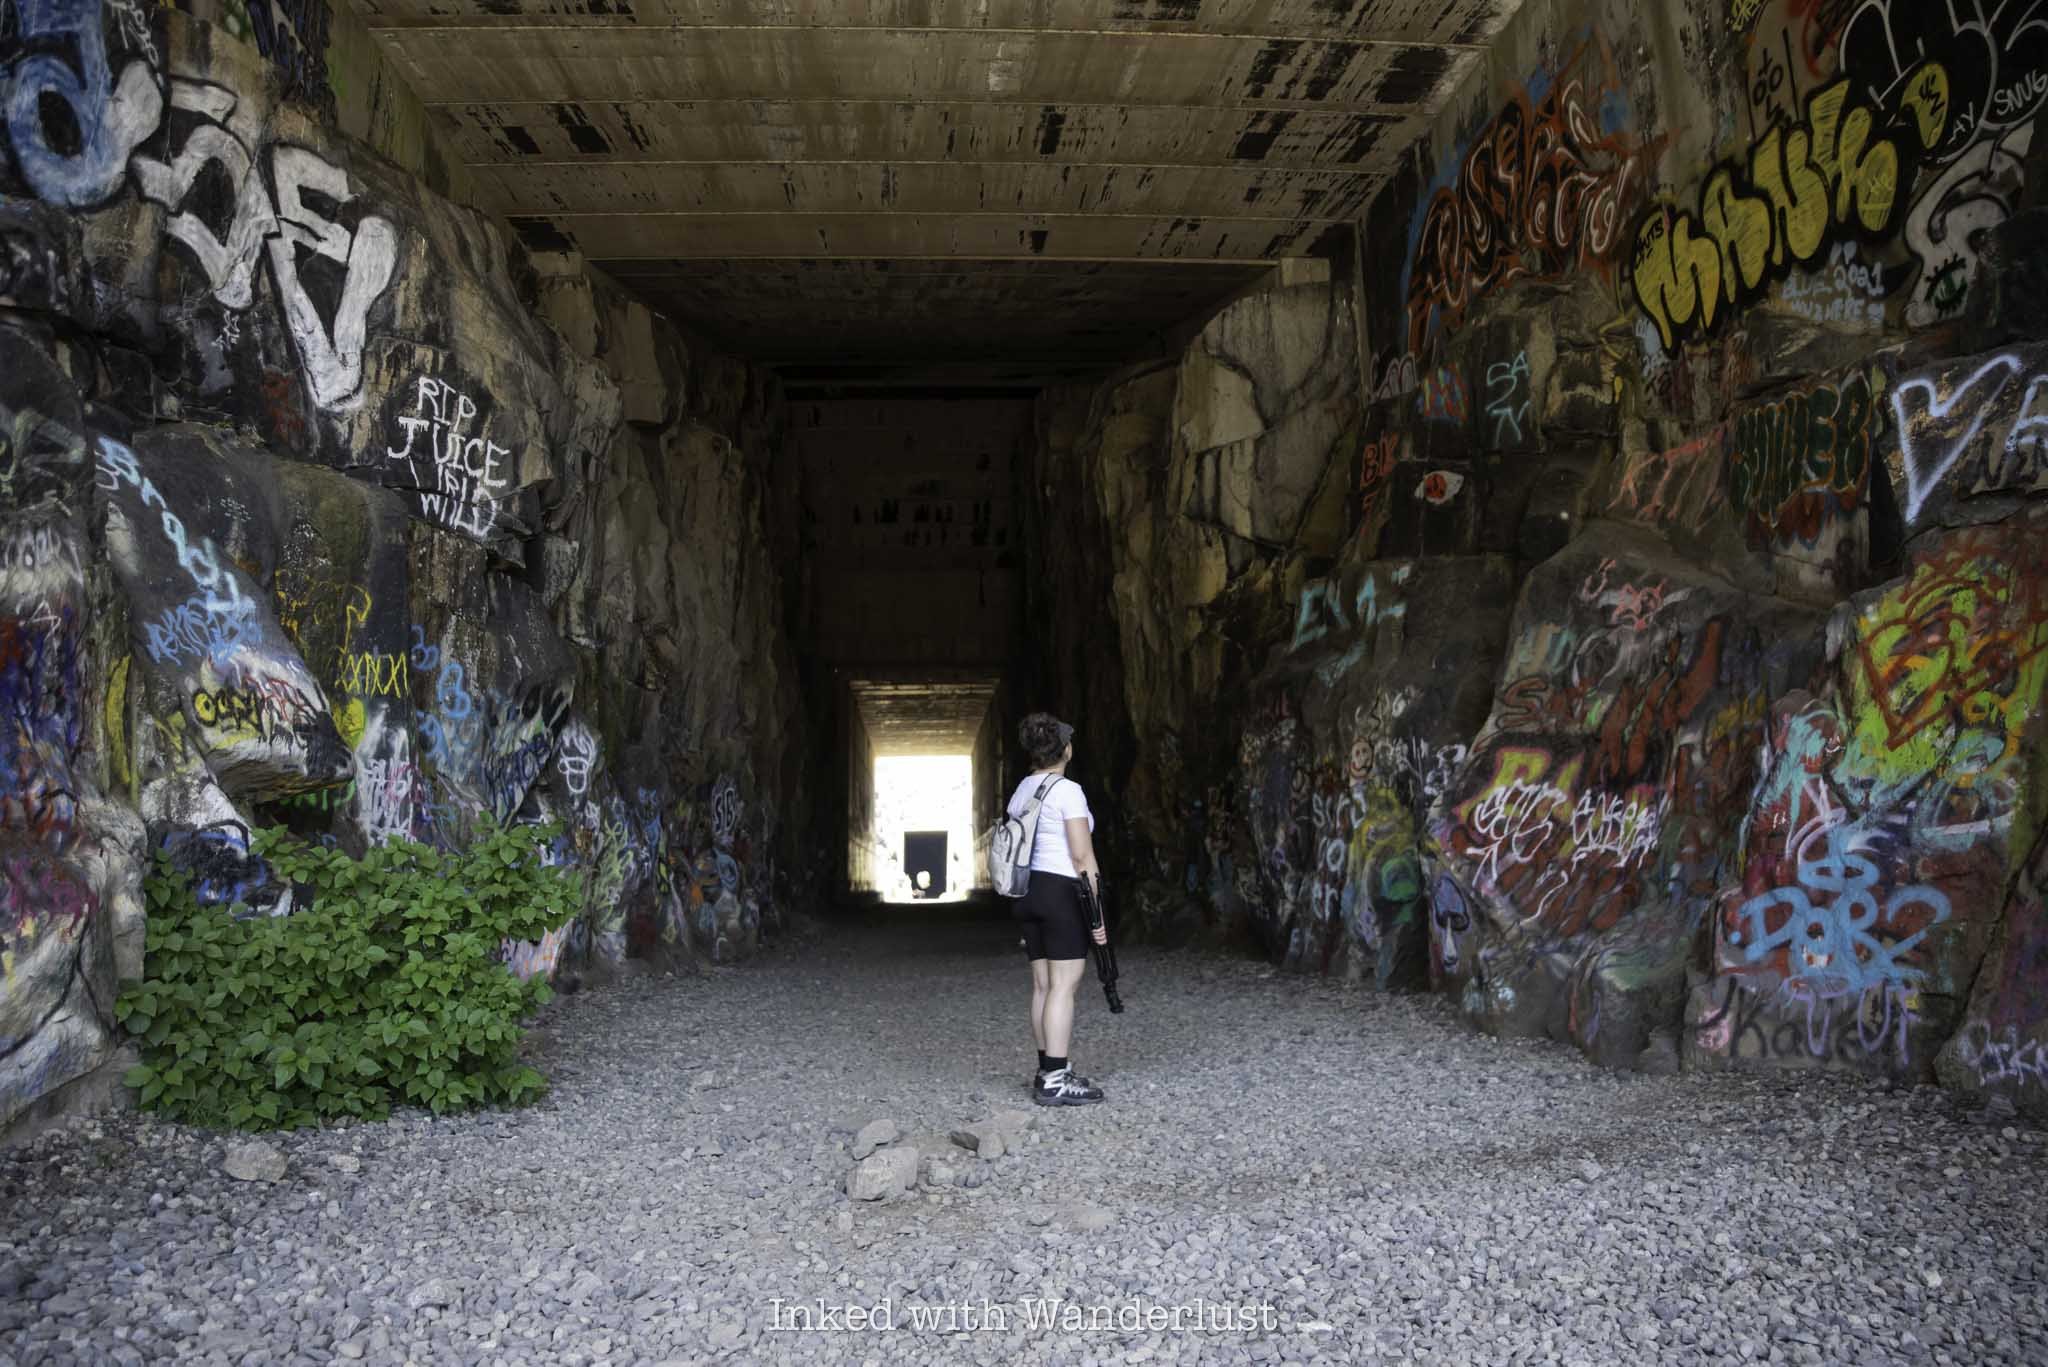
From here, you’ll work your way through a series of tunnels, each with a varying level of length (and graffiti). The first one from the parking lot is fairly long and dark, but you’ll always have the light at the end in sight.
Don’t be fooled by the amount of light in the photo above. That was me using my camera’s settings so I could show you the detail. It’s actually very dark in here and in my opinion, a cell phone flashlight doesn’t cut it. Which is why I recommend bringing a flashlight with high lumens.
In these tunnels and the upcoming ones, you’ll likely hear, smell, and possibly even see bats in the tunnels. We never saw them, but we did hear and smell them. As is the case with most wildlife encounters, don’t go looking for trouble and you likely won’t find it. In other words, don’t bother them.
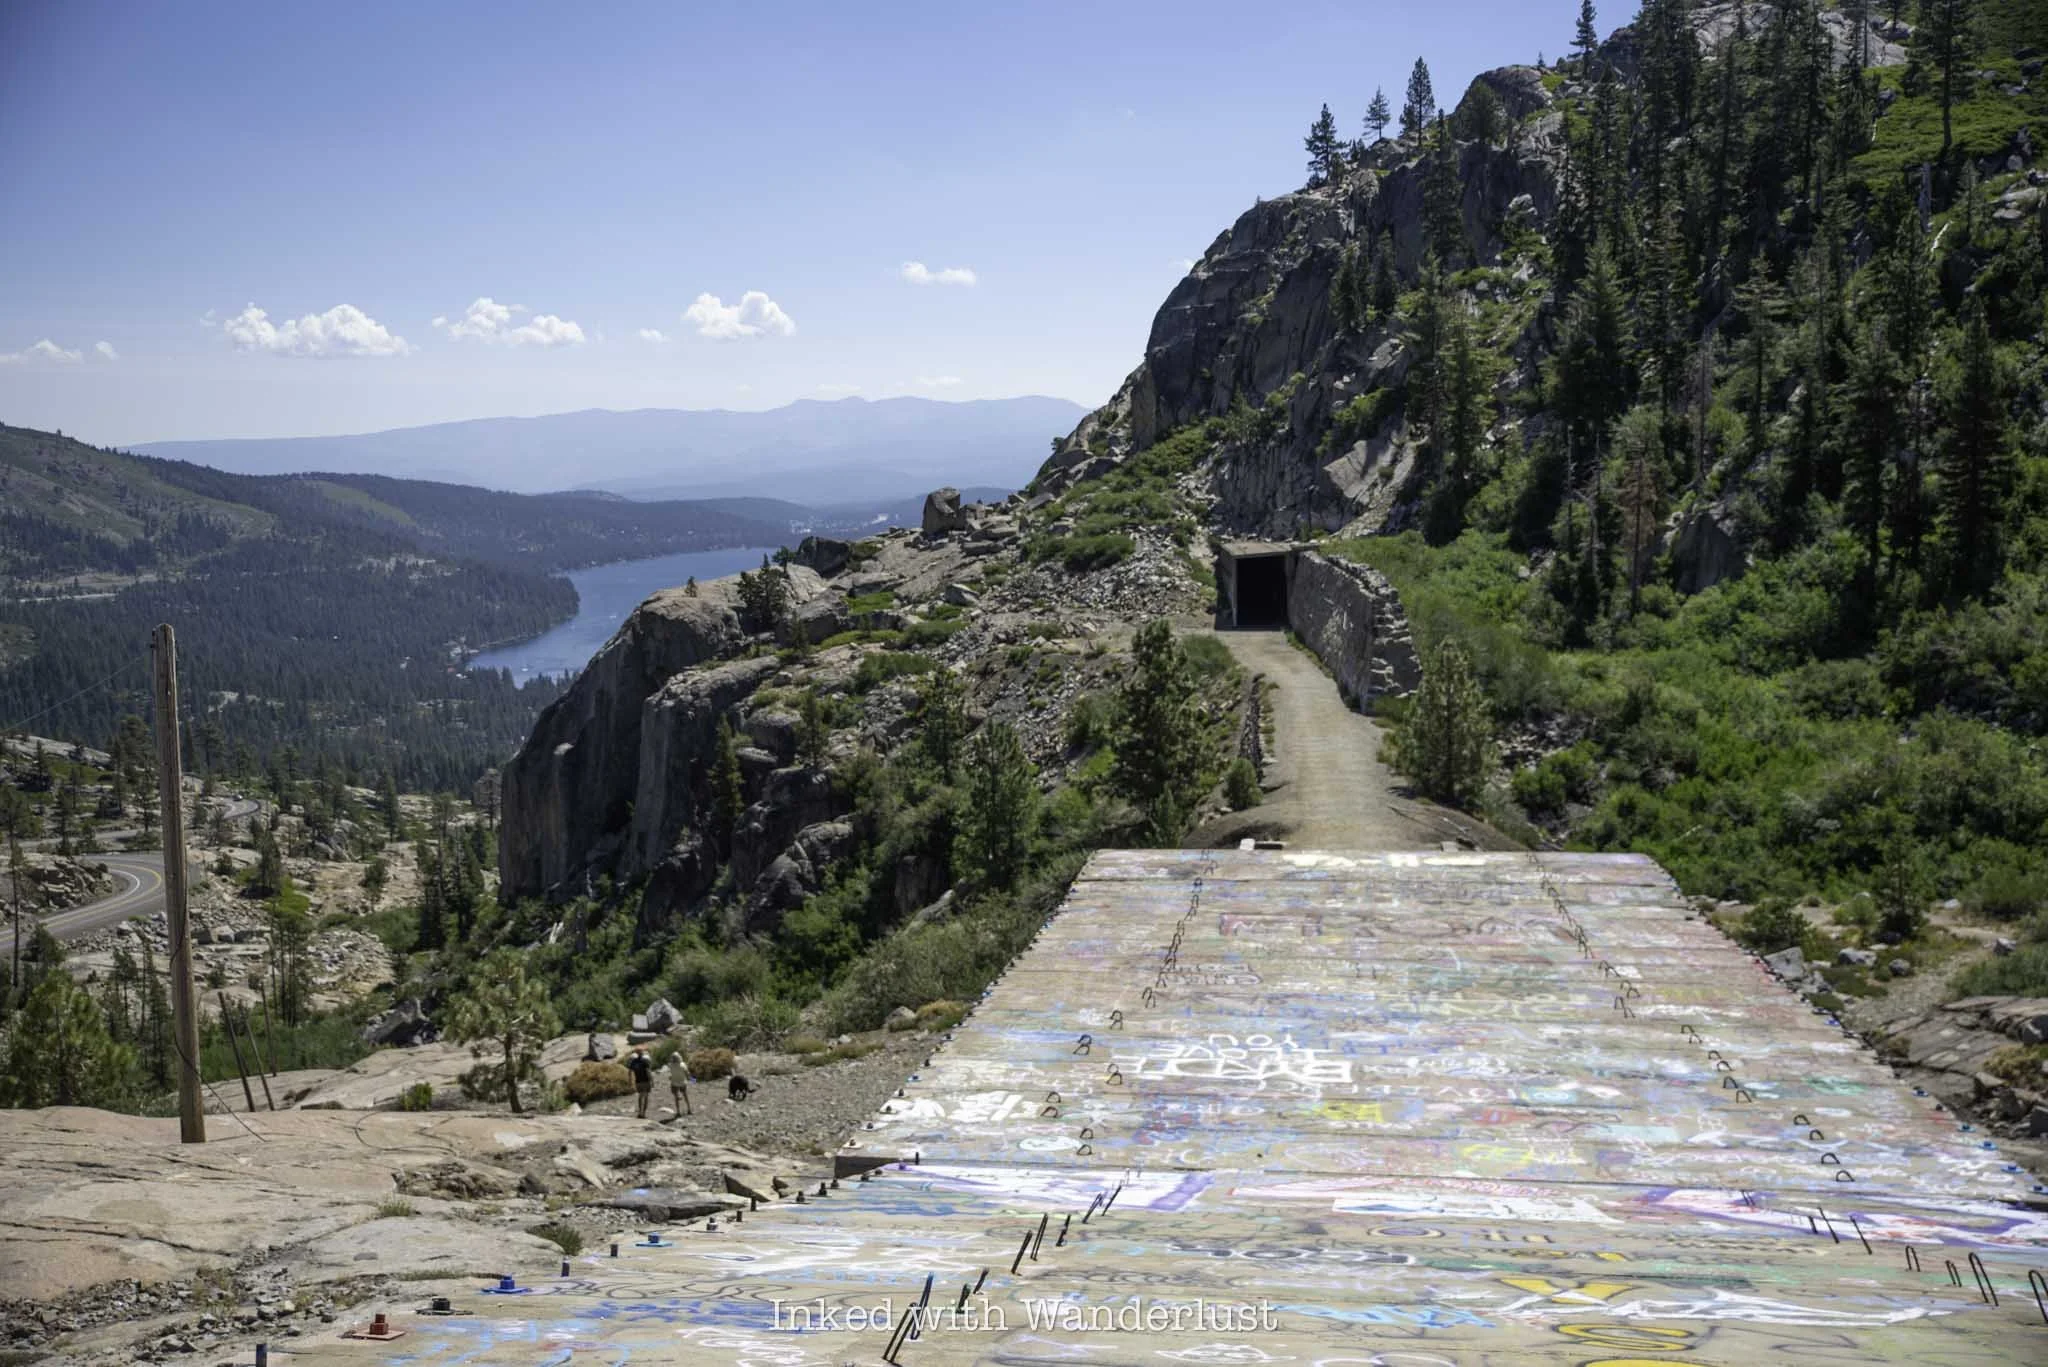
After the first tunnel, you’ll briefly enter a snow shed before walking back out into a clearing with sweeping views of Donner Lake and the surrounding mountains. On this stretch, you’ll pass by some petroglyphs on your left and walk over the historic China Wall (pictured below) before entering the next tunnel.

The China Wall is a 75-foot high hand-built retaining wall that helped keep the trains propped up as it passed between the two tunnels. Take a moment to check it out. It’s amazing what the laborers were able to accomplish without the help of modern equipment.
Also along this stretch is the ability to climb up onto the top of the tunnel you just left. You’ll get an awesome perspective for photos. Just be careful as there’s no established way up and the granite rocks are slippery. Going back down is a bit sketchy.
From here, you’ll enter the next tunnel and go through a series of several more. You’ll go through sections where enough light passes through the slits in the walls, enabling you to see without a flashlight. Then you’ll hike through sections of near-complete darkness as well.

On top of the darkness, the ground you’ll be walking on is on uneven, loose gravel with occasion larger rocks. Additionally, and particularly if you’re here while the snowpack is still melting, you’ll also have standing water and potential icy spots to traverse.

The walls of the tunnels are literally covered in graffiti. Some are actually artistically well done while other pieces are simply words/political statements or nondescript images. While I do think it’s a shame that a historical site like this has graffiti all over it, I have to admit that it does add a certain vibe to the overall experience.
If you’re bringing small children, be warned that some of the graffiti art is highly inappropriate for young eyes. Thankfully, most of it is difficult to make out, or even see in the darkness, so I wouldn’t let it stop you from bringing them. Just something to be conscience of.
The hike can be as short or as long as you want it to be. During our hike, I noticed most people turn around after the second tunnel, but I recommend sticking it out and keep going to the end of the final tunnel. If you do, you’ll be rewarded with an epic, unobstructed view of Donner Lake (especially if you climb on top of the tunnel).
In conclusion, this hike is fantastic. Even if you don’t care about the historical aspect of it, it’s worth it for the views and photography opportunities alone. Additionally, because there’s so much to explore, you could hike the Donner Tunnels multiple times over and always see something new.
When you’re finished, consider heading over to nearby Donner Camp Site and see where part of the ill-fated Donner Party attempted to wait out winter and fight off starvation. Further up the freeway is where you’ll find Emerald Pools, a stunning swimming hole. Additionally, Emerald Bay State Park is about an hour away and more than worth the drive.
EXODUS 13:21

Visit Gold Bug Park in Placerville: Mine Tour, Historic Stamp Mill, Hiking and More
Located in the historical town of Placerville in Northern California, Gold Bug Park features hiking trails, gem panning…
Disclosure: This post contains affiliate links. If you make a purchase through these links, I may earn a small commission at no additional cost to you. I only recommend products or services that I believe will add value to my readers.

Located in the historical town of Placerville in Northern California, Gold Bug Park features hiking trails, gem panning, a historic stamp mill and the park’s main attraction, Gold Bug Mine.
Originally called Hattie Mine, it was constructed in 1888 by William Craddock and John Drench. The original name, Hattie, was the name of Craddock’s oldest daughter.
The mine would change ownership several times throughout its operation and would eventually cease operations in the 1940’s.
Today, the park and mine are open to the public for self-guided tours via a handheld audio device. It may not be as impressive as Bodie, but Gold Bug Mine is a fantastically preserved example of California’s rich mining history.
In this post, I’ll discuss a variety of topics, such as what to expect during the tour, entry fees, parking and more. At the end, be sure to let me know in the comments if this is a place you and your family would enjoy visiting. Let’s get into it.
Getting There, Parking & Entrance Fees

Gold Park Park is conveniently situated almost right off US-50 and only around 45 miles from Sacramento, and 60 miles from the heart of South Lake Tahoe. It’s also an easy visit from nearby Apple Hill.
From US-50, take the Bedford Ave. exit and continue for a mile before turning right onto Gold Bug Ln and into the parking lot for Gold Bug Park.
Parking is fairly limited near the visitor center, but there is a much larger lot further up the road near the stamp mill, if needed. Both options are free, by the way.

From the smaller lot, there’s a wooden boardwalk leading to the mine entrance. To the left of the boardwalk is where gem panning takes place and to the right is the visitor center.
To get to the entrance to Gold Bug Mine, go up the stairs from inside the visitor center to the check-in desk. There is where you’ll pay your entry fees.
In this room, there are several exhibits of mining artifacts, some of which were discovered in Gold Bug itself. One such exhibit is a caged canary (pictured below) which miners used as a way to detect the presence of carbon monoxide.
With their small size and rapid breathing rate, canaries would quickly succumb to the effects of carbon monoxide, giving the miners a heads up to looming danger.

While guided tours are offered from time to time, self-guided tours are what most visitors will experience. Fees for the self-guided tour are as follows:
$12 - Adults
$10 - Senior (55+) and Military
$6 - Youth (6 - 17 years)
Free - Ages 5 and under
In 2024, Gold Bug Mine is open from 10am - 4pm, with no new tours allowed after 3:30pm. Additionally, those under the age of 18 must be accompanied by an adult.
Prior to the tour, each person will be given a handheld audio device (no headphones) and an optional yellow hardhat. To begin your tour, simply exit the room to the adjacent mine entrance.
Gold Bug Mine Self-Guided Tour

The entrance to the mine is tall enough for most people to walk through without having to bend down the entire time. Additionally, the floor is easy to traverse as it’s been boarded. It’s fairly slim in some spots, so groups going in opposite directions would need to step aside to allow the other to pass.
The 353-foot long mine drift has several yellow cards, each with a number, placed into the wall at about eye level. These cards indicate when to start playing your audio device to hear the narrator’s discussion of that particular section of the mine.

If I remember correctly, there were twelve stops in total, with each stop taking three to five minutes for the narration, plus however long we stayed to look around and take photos. You can pause and play the device as you go. There is no time limit.
We were lucky in that we had the mine to ourselves for the majority of our time there, with a small group arriving while we were working our way back out.

Based on that brief encounter with the other group, I can see it being difficult to concentrate on the narrator on your own device when there are several others playing concurrently.
While trying to listen to the last one or two sections, we kept hearing the other groups narrator from the echoing in the mine, which was a bit distracting. So arrive early or outside the summer months to avoid a crowd if that’s important to you.

At the terminus of the drift, you’ll see an ore cart that was actually used in the mine. Additionally, you’ll see several examples of how dynamite was used by the miners.
We spent a little more than an hour exploring the mine. This included time to listen to the narrator at each stop, as well as to look around and taking photos.
When finished, you’ll simply make your way out of the drift and back to the check-in desk to turn in your audio device. From here, there are several other attractions to explore, including hiking trails and the historic stamp mill.
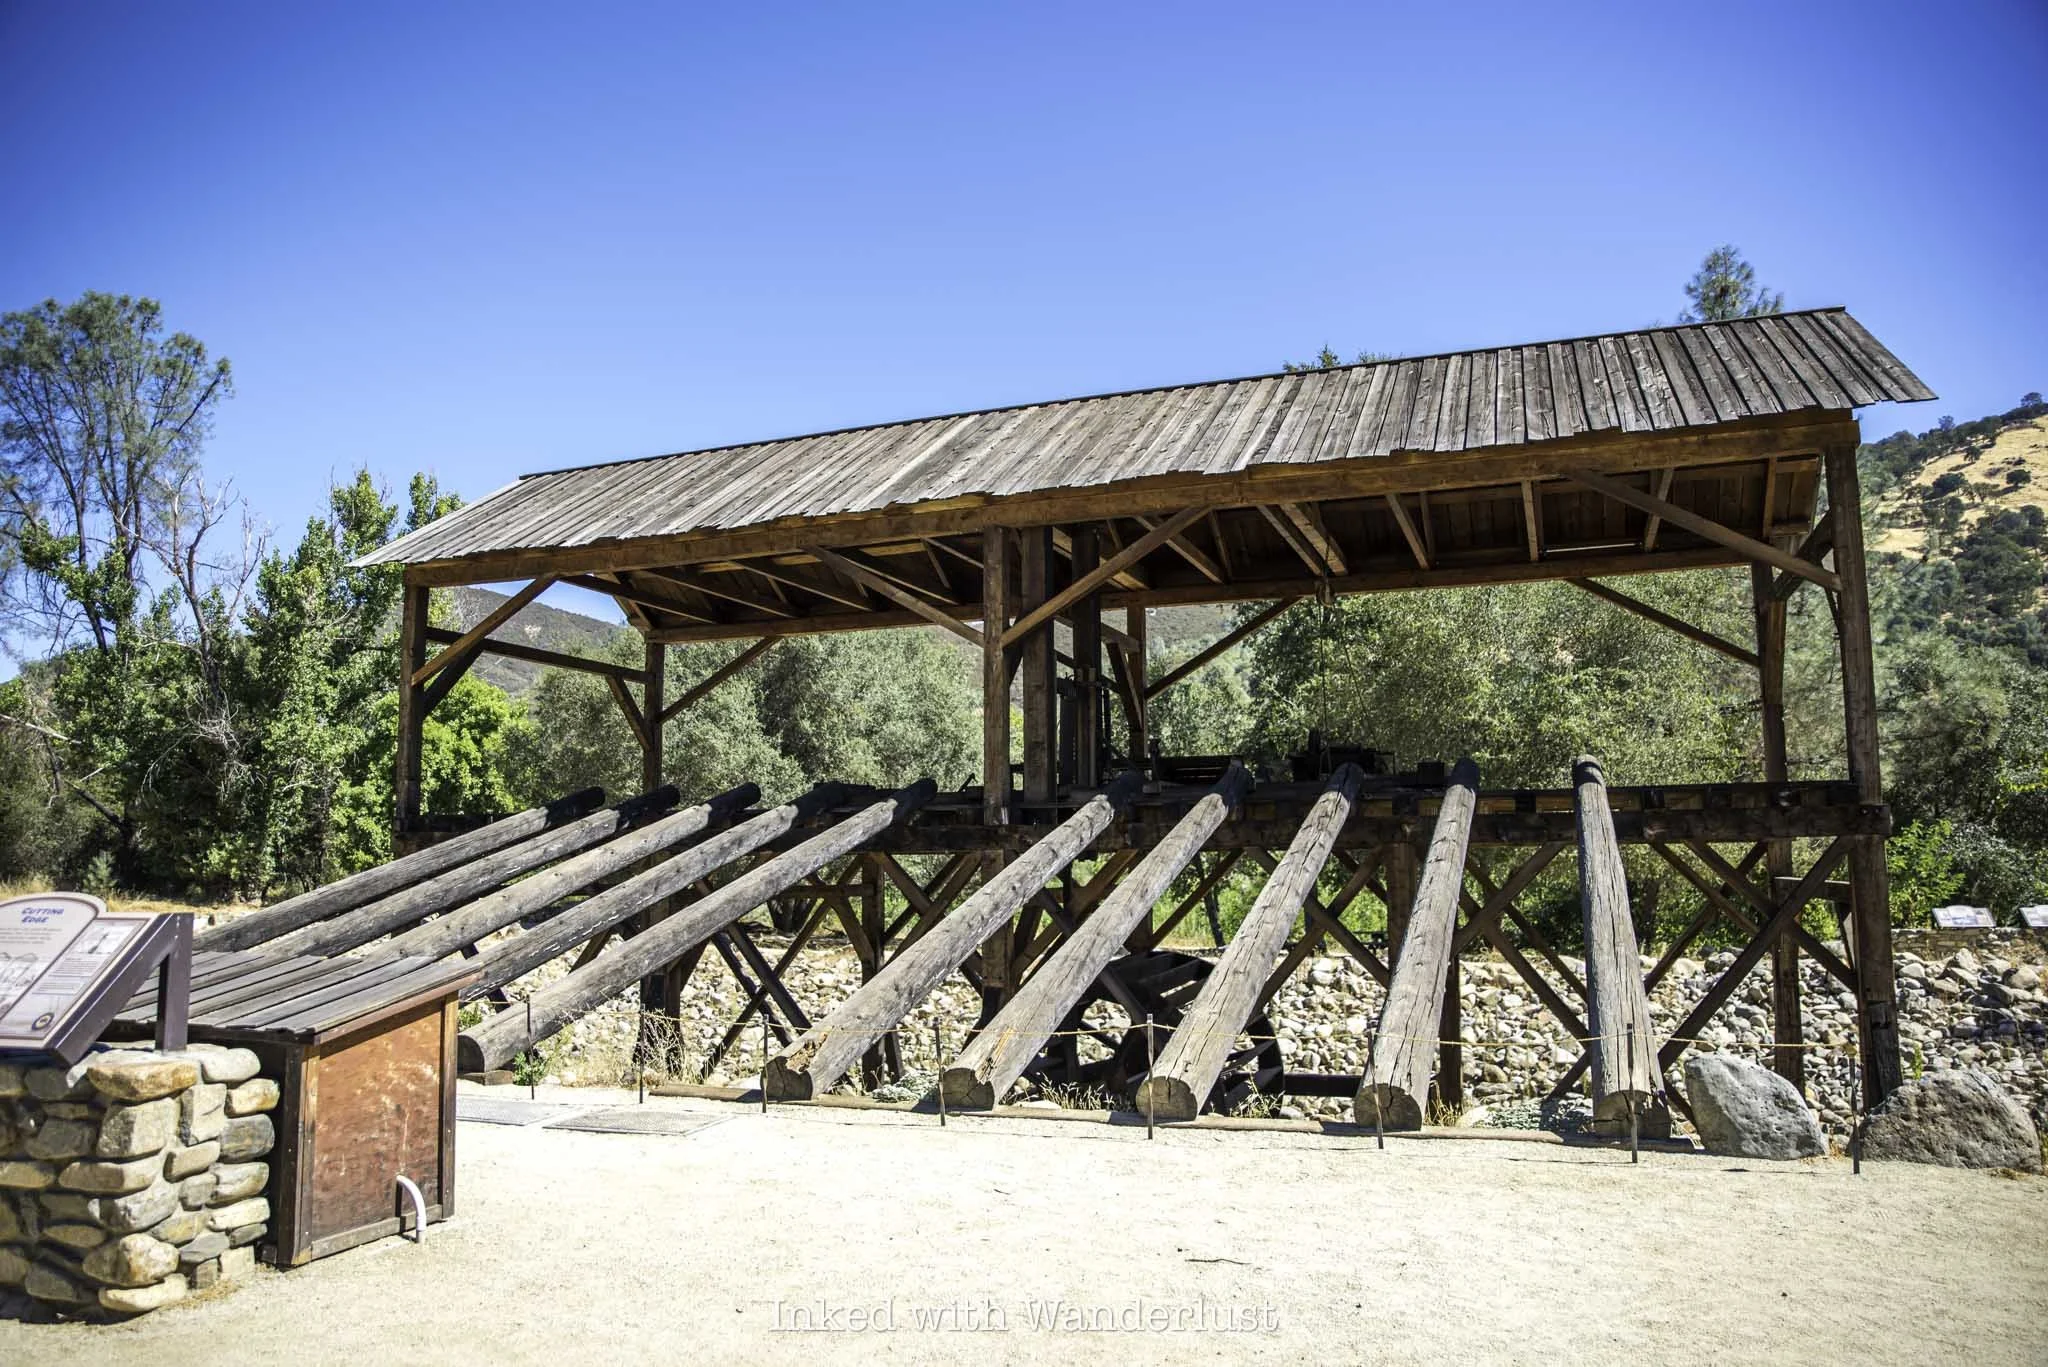
Joshua Hendy Stamp Mill & Hiking Trails

To get to the stamp mill from the mine, walk or drive further up the road to where it terminates at another parking lot. It’s housed inside a grey-colored building, the entrance of which can be found by walking up the dirt path.
The stamp mill will be recognizable right away, as its commanding presence hits you as soon as you enter the building. The interior is multi-level, allowing for multiple views of the stamp mill.

On the bottom level, there’s a working scale model of the stamp mill that demonstrates the ore crushing process, as well as several mining artifacts on display.
After checking out the stamp mill, be sure to exit the building and head further up the dirt path to see a live blacksmith demonstration. Additionally, back at the parking lot, there’s the trailhead for the Springhill Trail.

I didn’t hike it, but from the trailhead I saw these interesting, multi-colored trees so I walked to the top of the hill to check them out. The inside portion of the branches were grey, with the outside being bright red. They were incredibly cool to look at and photograph.
Gold Bug Park has something for everyone and is a fantastic example of how important it is to preserve our history whenever possible. I feel everyone, from history buffs to families, would enjoy their time here. If you have more time, consider visiting nearby Marshall Gold Discovery Site, the site of the first gold strike in California!
Planning a trip to Northern California? Read 10 Awesome Things to Do in Yosemite Valley on Your First Visit. If considering Lake Tahoe, read Emerald Bay State Park Guide. Also check out The Complete Guide to Muir Woods National Monument.

The Ultimate Bodie State Historic Park Guide (Ghost Town)
Regarded as the “Disneyland” of California ghost towns, Bodie contains dozens of historical structures, including the town’s former…
Disclosure: This post contains affiliate links. If you make a purchase through these links, I may earn a small commission at no additional cost to you. I only recommend products or services that I believe will add value to my readers.

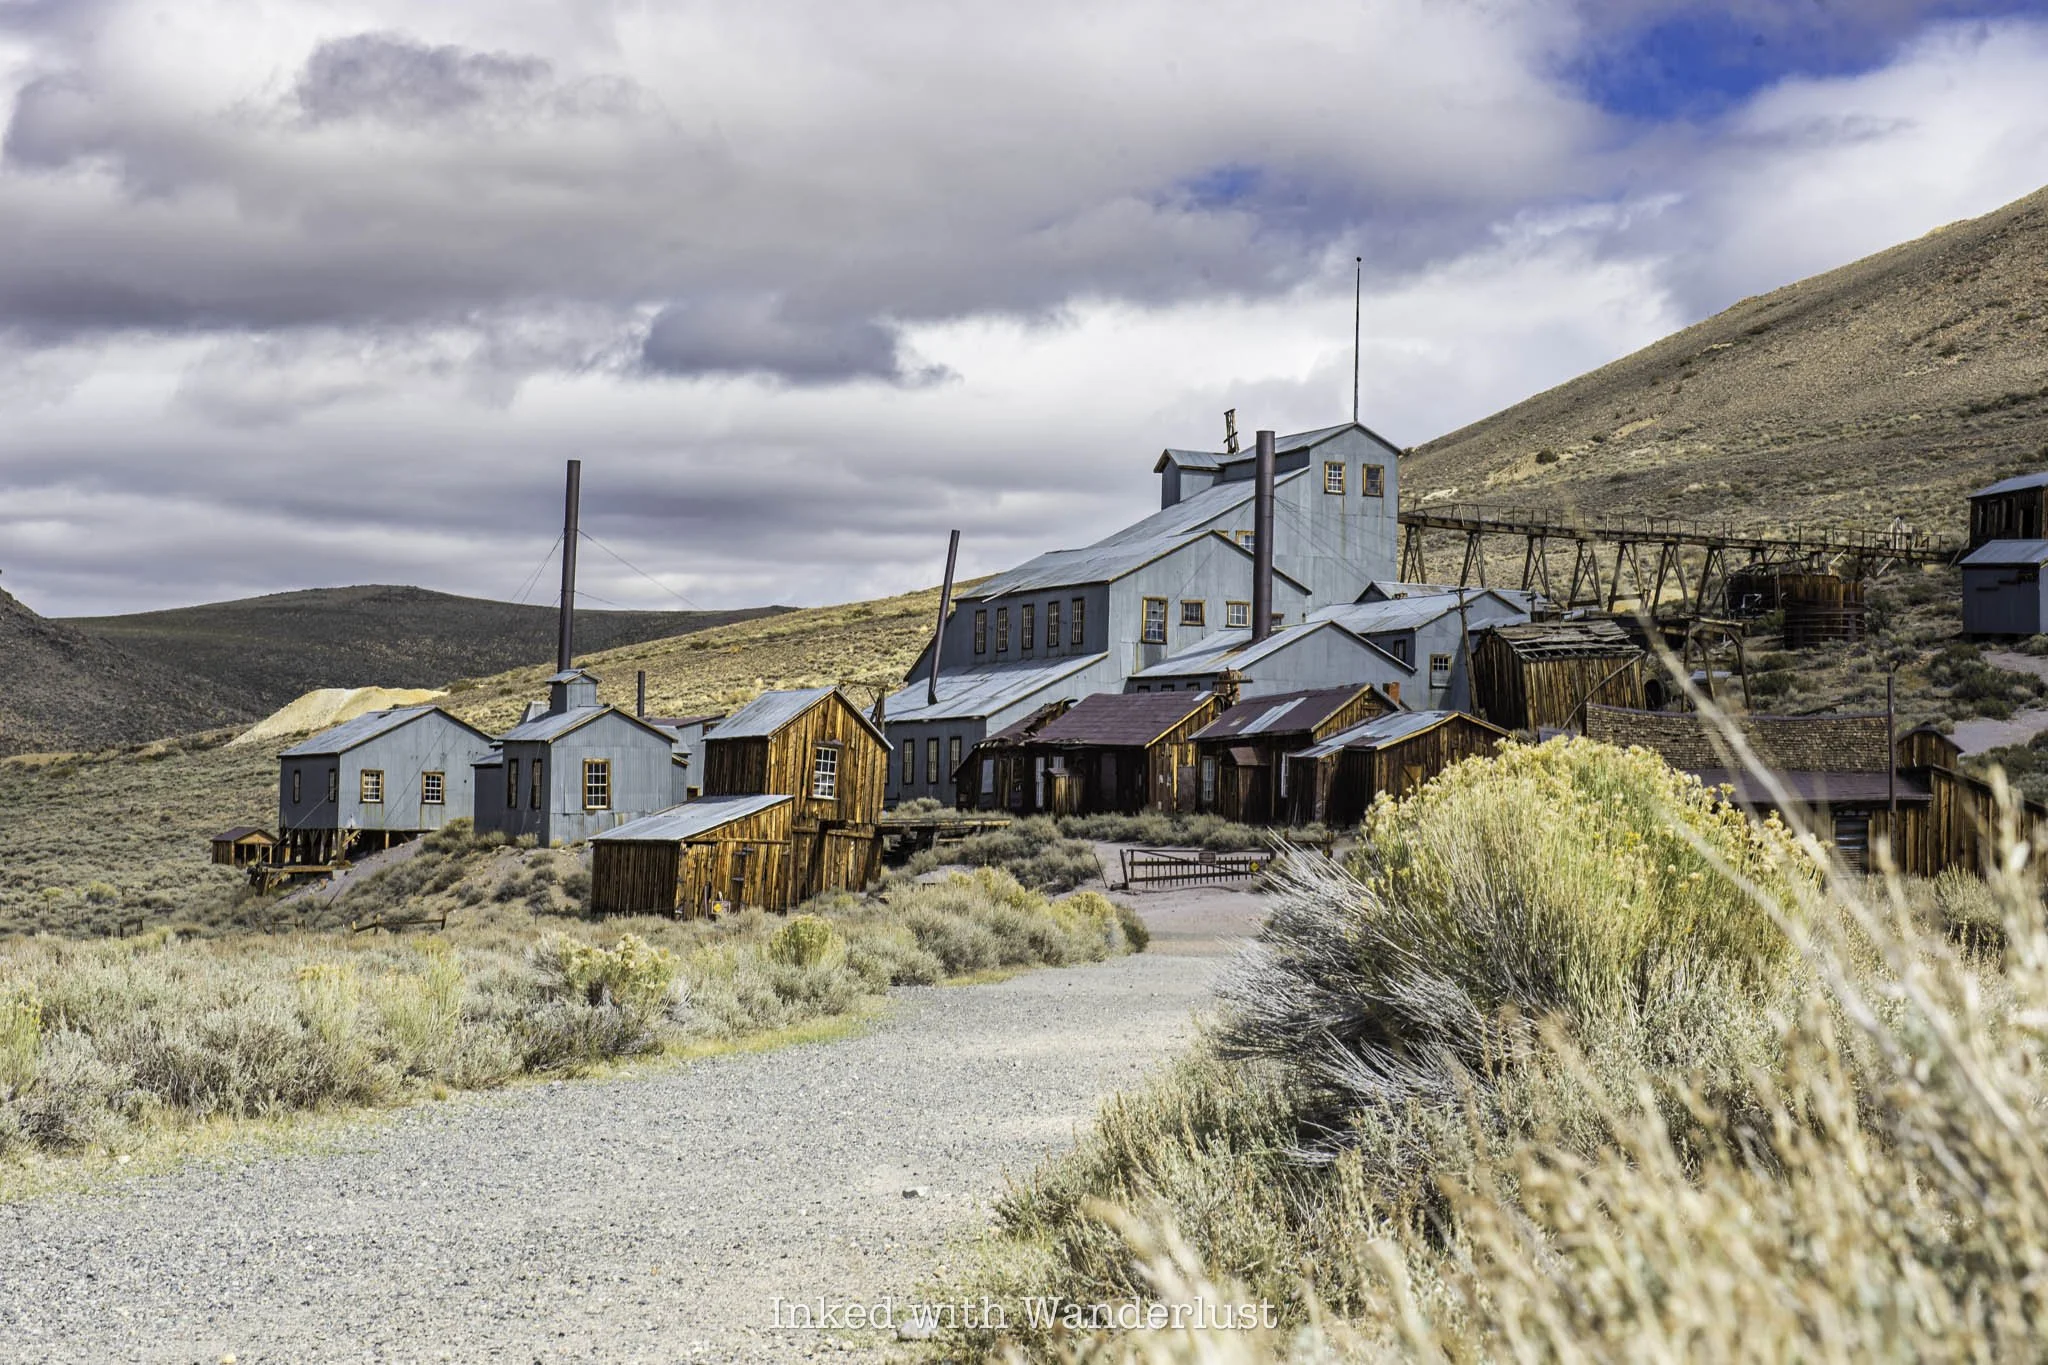
If you’ve ever wanted to know what life was like during the height of the California gold rush in the mid to late 1800s, there are few destinations more suitable of an example than the state’s most infamous ghost town, Bodie State Historic Park.
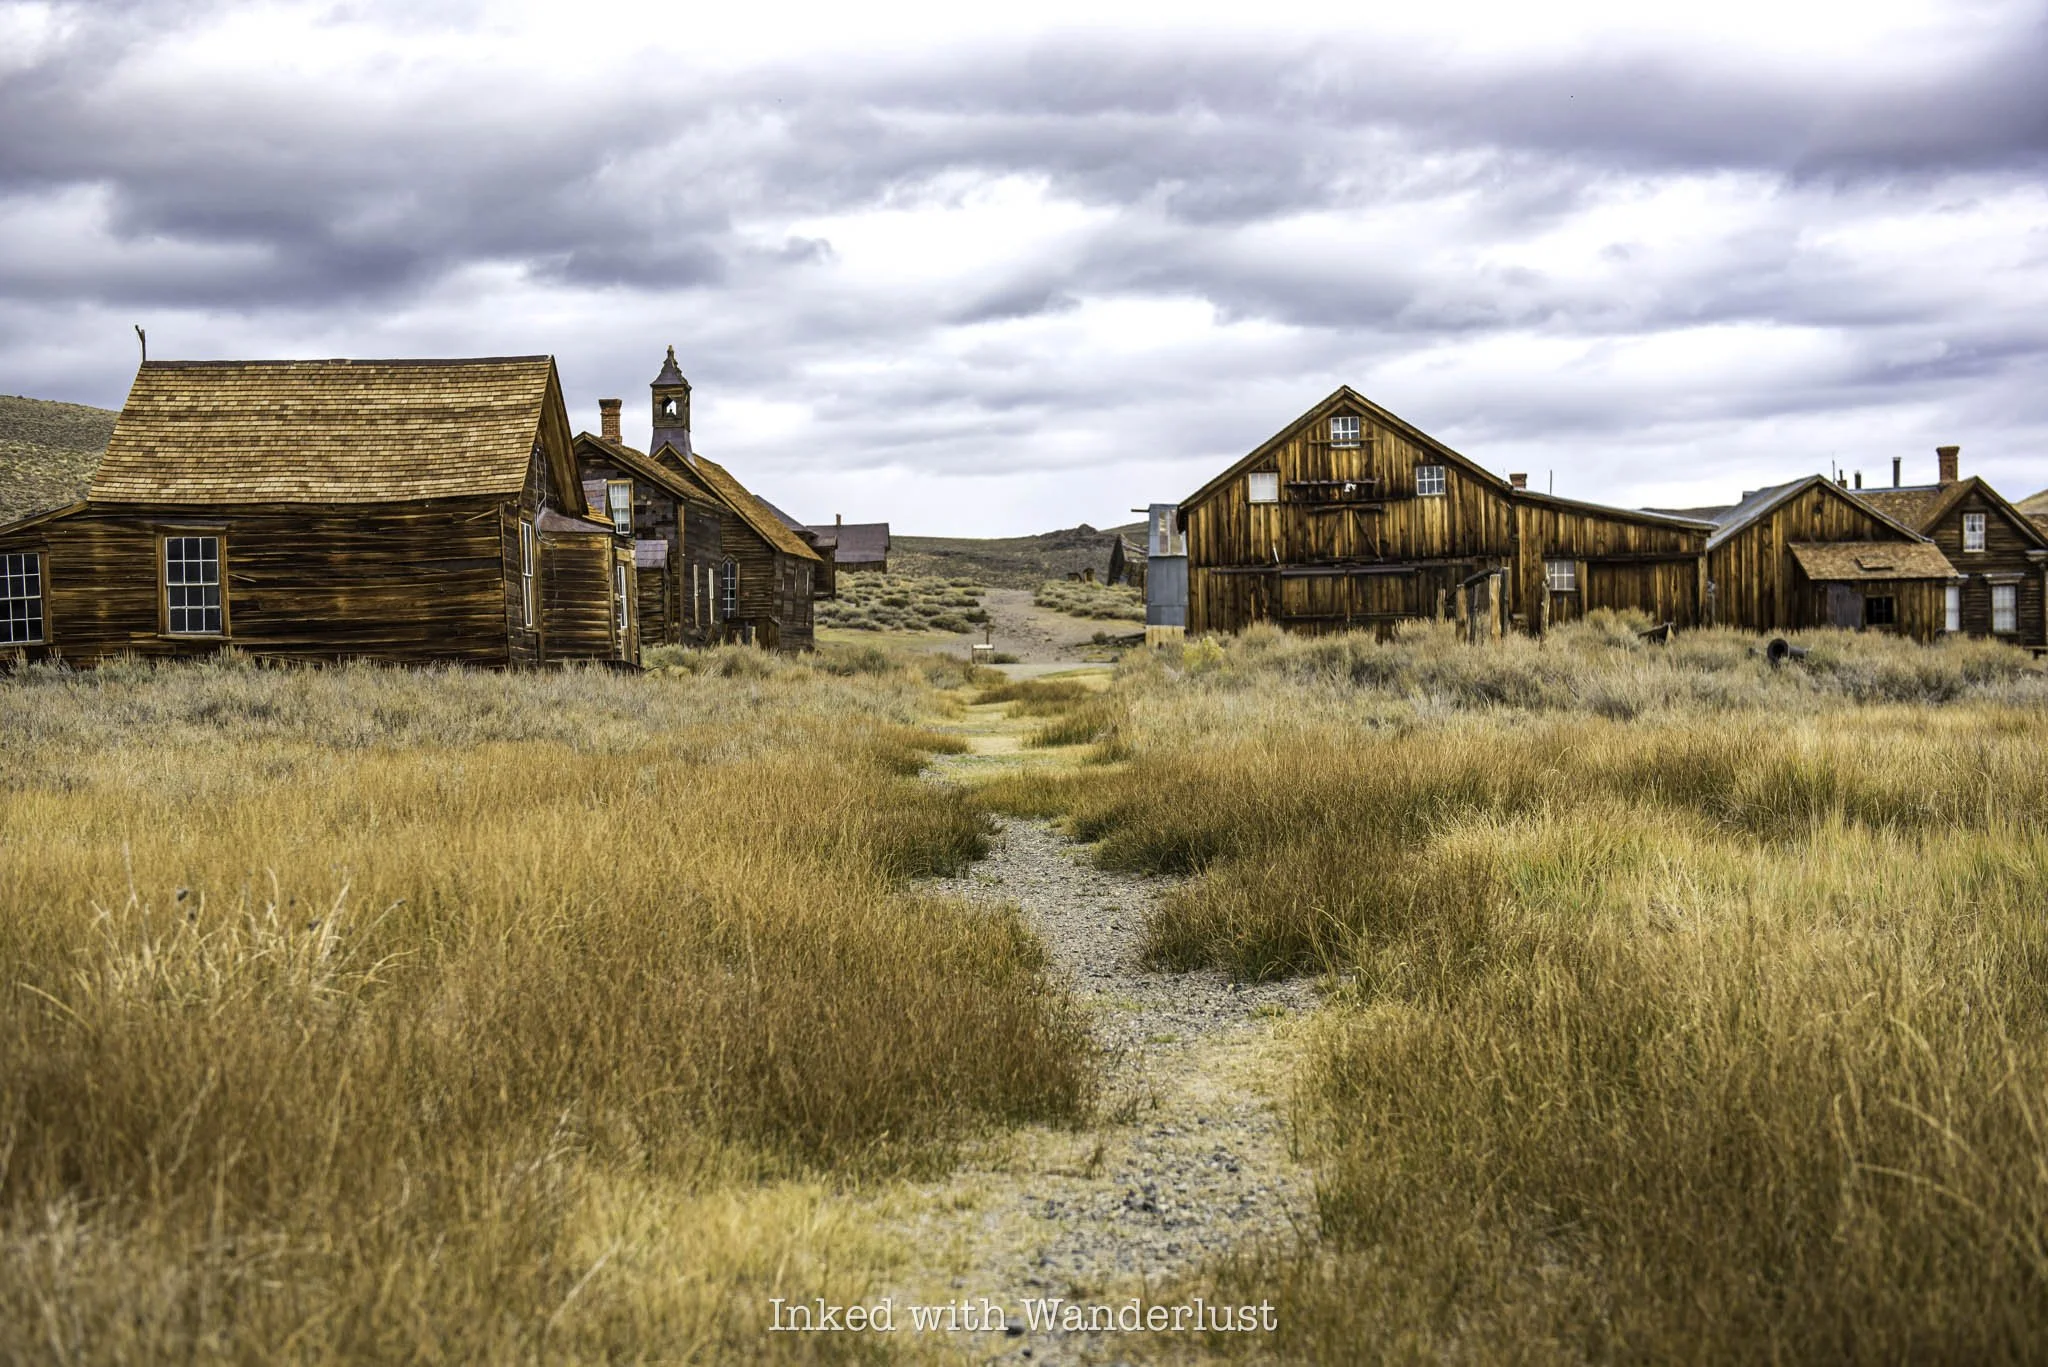
Regarded as the “Disneyland” of California ghost towns, Bodie contains dozens of historical structures, including the town’s former hotel, church, schoolhouse, saloon, as well as various homes, all preserved in a state of arrested decay (meaning they do nothing to improve the buildings, but just enough to prevent them from deteriorating).
Initially founded in 1849, a year after John Marshall’s first discovery of gold in California and just a couple years after the disastrous events of the infamous Donner Party saga, Bodie is steeped in history and thus, more than worthy of a visit.
If you’ve never been there, you’re likely wondering how to visit this spectacular place and see it for yourself. In this guide, I’ll cover all pertinent topics such as best time to visit, what you can expect, parking, fees and more. Let’s get into it!
Bodie - A Brief Historical Rundown

Bodie was named for Waterman S. Bodey, the man who made the initial discovery of gold in what is now known as the Bodie Hills, just north of Mono Lake. Those hills later revealed a monumental amount of gold and silver deposits, meaning the boom was now in full swing.
Word began to spread and soon, people flocked to Bodie by the thousands, transitioning it from a few structures with a couple dozen miners into a bustling municipality with over 8,000 people. At its peak, there were many saloons, gambling halls, banks, a jail, hotels, schoolhouse, hundreds of homes, brothels and more.
After its peak in 1881 and mining started diminishing due to operations becoming increasingly expensive, folks began abandoning Bodie, moving on to the next. By the early 1930’s, there was interest in getting the town running again by utilizing electrical power to operate the stamp mill and a cyanide process to work the mill tailings.
In a twist of fate, however, a fire started by a two year old playing with matches destroyed roughly ninety percent of Bodie. This incident, compounded with the 1942 presidential order ceasing all mining of gold and silver, resulted in Bodie losing its township and all hopes of a revival were dashed.
After years of negotiations between the state of California and owners of the Standard Oil company, Bodie was sold in 1962 and transformed into a state park, preserving this historically significant destination for generations to come.
Getting to Bodie, Parking, Hotel and Dining
Bodie is simple to get to as it’s located between Bridgeport and Lee Vining, two small California mountain towns. From Bridgeport, it’s seven miles south on Highway 395 to State Route 270 (left) and another 13 miles to the park itself. From Lee Vining, it’s roughly 18 miles north on Highway 395 to the turnoff (right).
The first ten miles of State Route 270 (also known as the, “road to Bodie”) is paved, with the final three miles converting to a dirt road. The is passable for most, some may just need to take it slow. There are no huge boulders or potholes to negotiate, but there are a few semi-rough washboarded areas.
As you can see, Bridgeport is much closer to Bodie than Lee Vining is, making it an obvious basecamp for visitors. However, I highly encourage you to at least visit Lee Vining after exploring the park, as it’s an incredible place to visit in its own right.
There are no major airports close to the park. The closest would be Reno International to the north and various Los Angeles-area airports to the south. The closest of which is 163-miles away. That said, bringing your own vehicle is paramount.
Parking

Parking at Bodie is relatively easy to come by. They have one, rather large gravel lot, capable of hosting quite a few vehicles. Parking is included with your entrance fee (which we’ll discuss in detail below).
Shortly after driving into the park, you’ll notice a small lot on your left. That one is for park employees. Continue straight for another thirty feet or so and you’ll come to the day-use parking lot on your right.
Accommodations

In short, there are none. Not inside of the park, anyway. In the aforementioned nearby towns of Lee Vining and Bridgeport you’ll find quite a few options. In Bridgeport, accommodations include the historic Bridgeport Inn, Virginia Creek Settlement (closest to the park) and a few Airbnb rentals.
In Lee Vining, you’ll find Lake View Lodge, El Mono Hotel, and Yosemite Gateway Hotel, along with numerous campgrounds along Tioga Pass (which are also close to the east entrance of Yosemite National Park, by the way).
Dining

Unfortunately, there aren’t dining options in the park either. Water fountains can be found in the parking lot, adjacent to the restrooms. As with accommodations, both Lee Vining and Bridgeport offer plenty of local eateries. I would advise bringing your own food with you, as you’ll easily spend half a day exploring the park.
In Bridgeport, I recommend one of my personal favorites, Virginia Creek Settlement, which is the closest eatery to the park at less than a mile from the Route 270 turn-off. Another favorite of mine, Burger Barn, is located in Bridgeport, proper.
Alternatively, Lee Vining also has a few restaurants of note. My go-to, Whoa Nelly Deli, is located at the southern end of town, just after the Tioga Pass turn-off. They offer a variety of hot sandwiches, along with burgers, seafood, and more.
Bodie State Park Fees and Hours

Park hours vary according to time of year. They are:
Summer Hours
9:00am - 6:00pm (March - September)
Winter Hours
9:00am - 4:00pm (October - February)
Although the park is open in winter, State Route 270 (the road leading to Bodie) is closed to vehicles due to heavy snowpack and the road isn’t plowed at all during winter. This means you can only access Bodie is by snow-shoeing or snowmobile.
Bodie sits at 8,375 feet in elevation (at the visitor center) and has unpredictable weather patterns, including the summer months, where afternoon thunderstorms occur regularly. Sub-zero temperatures and blistering white-out conditions occur in winter, as well.

Bodie State Park’s admission fees as of 2025 are:
$8.00 per adult
$5.00 per child ages 4-17
Free for ages 3 & younger
$3.00 per tour booklet
$6.00 per person (Stamp Mill tour)
While cash is accepted, they prefer payments by credit card. Additionally, change isn’t always available so if you’re paying with cash, bring exact change. If there’s no ranger at the booth, you can pay at the electronic pay station just past the booth.
Something I always recommend to first-time visitors is to purchase the self-guided tour book and the cemetery tour book as well. They’re $3 a piece, but they’re worth the extra expenditure as they provide invaluable information on the various structures and cemetery plots, respectively.
As you approach a structure, look for the number (usually staked into the ground) and match it to the corresponding number in the booklet. It’ll tell you what the structure was used for, who lived there, etc. It’s highly informative and a great way to learn about the park in depth.
Best Things to do at Bodie

There a seemingly limitless amount of things to do at Bodie. For a place that never changes, there’s somehow always something new to see. That’s why I recommend taking the time to explore the park. You won’t see everything, but it’s the best way to try.
Despite that, there are a handful of notable structures and activities offered at the park and should be a priorty during your visit, especially if it’s your first. These include:
History Talks
History talks are free, ranger or staff-guided mini tours, conducted once or twice daily, depending on time of year. They meet in front of the museum and a member of park staff will walk with you to a couple buildings, discussing the park’s history.

Methodist Church
Bodie’s Methodist church is perhaps the most recognizable, iconic structure in the park. It was built in 1882 and was one of only two churches in town. It’s the park’s sole surviving house of worship and conducted its final service in 1932, after the devastating fire that destroyed ninety percent of the town.

Bodie Museum and Visitor Center
The museum is free to enter and explore. It’s packed full of historical artifacts discovered inside the various structures and around the park. Since people traveled almost exclusively in covered wagons, they could only take what they could travel with. Consequently, folks abandoned most of their items when leaving town.
There’s also a small gift shop located inside. There, you can purchase a variety of items, including Bodie’s famous calendar, t-shirts, patches and pins, history books, random trinkets, and more. Additionally, you can purchase stamp mill tour tickets and self-guided booklets. All sales benefit the Friends of Bodie Foundation.
Stamp Mill Tour
The park’s historic stamp mill is the best preserved stamp mill in the state and only surviving ore-processing mill in Bodie. Ranger or park staff-guided tours are conducted two to three times daily throughout the season and cost $6.00 per person.

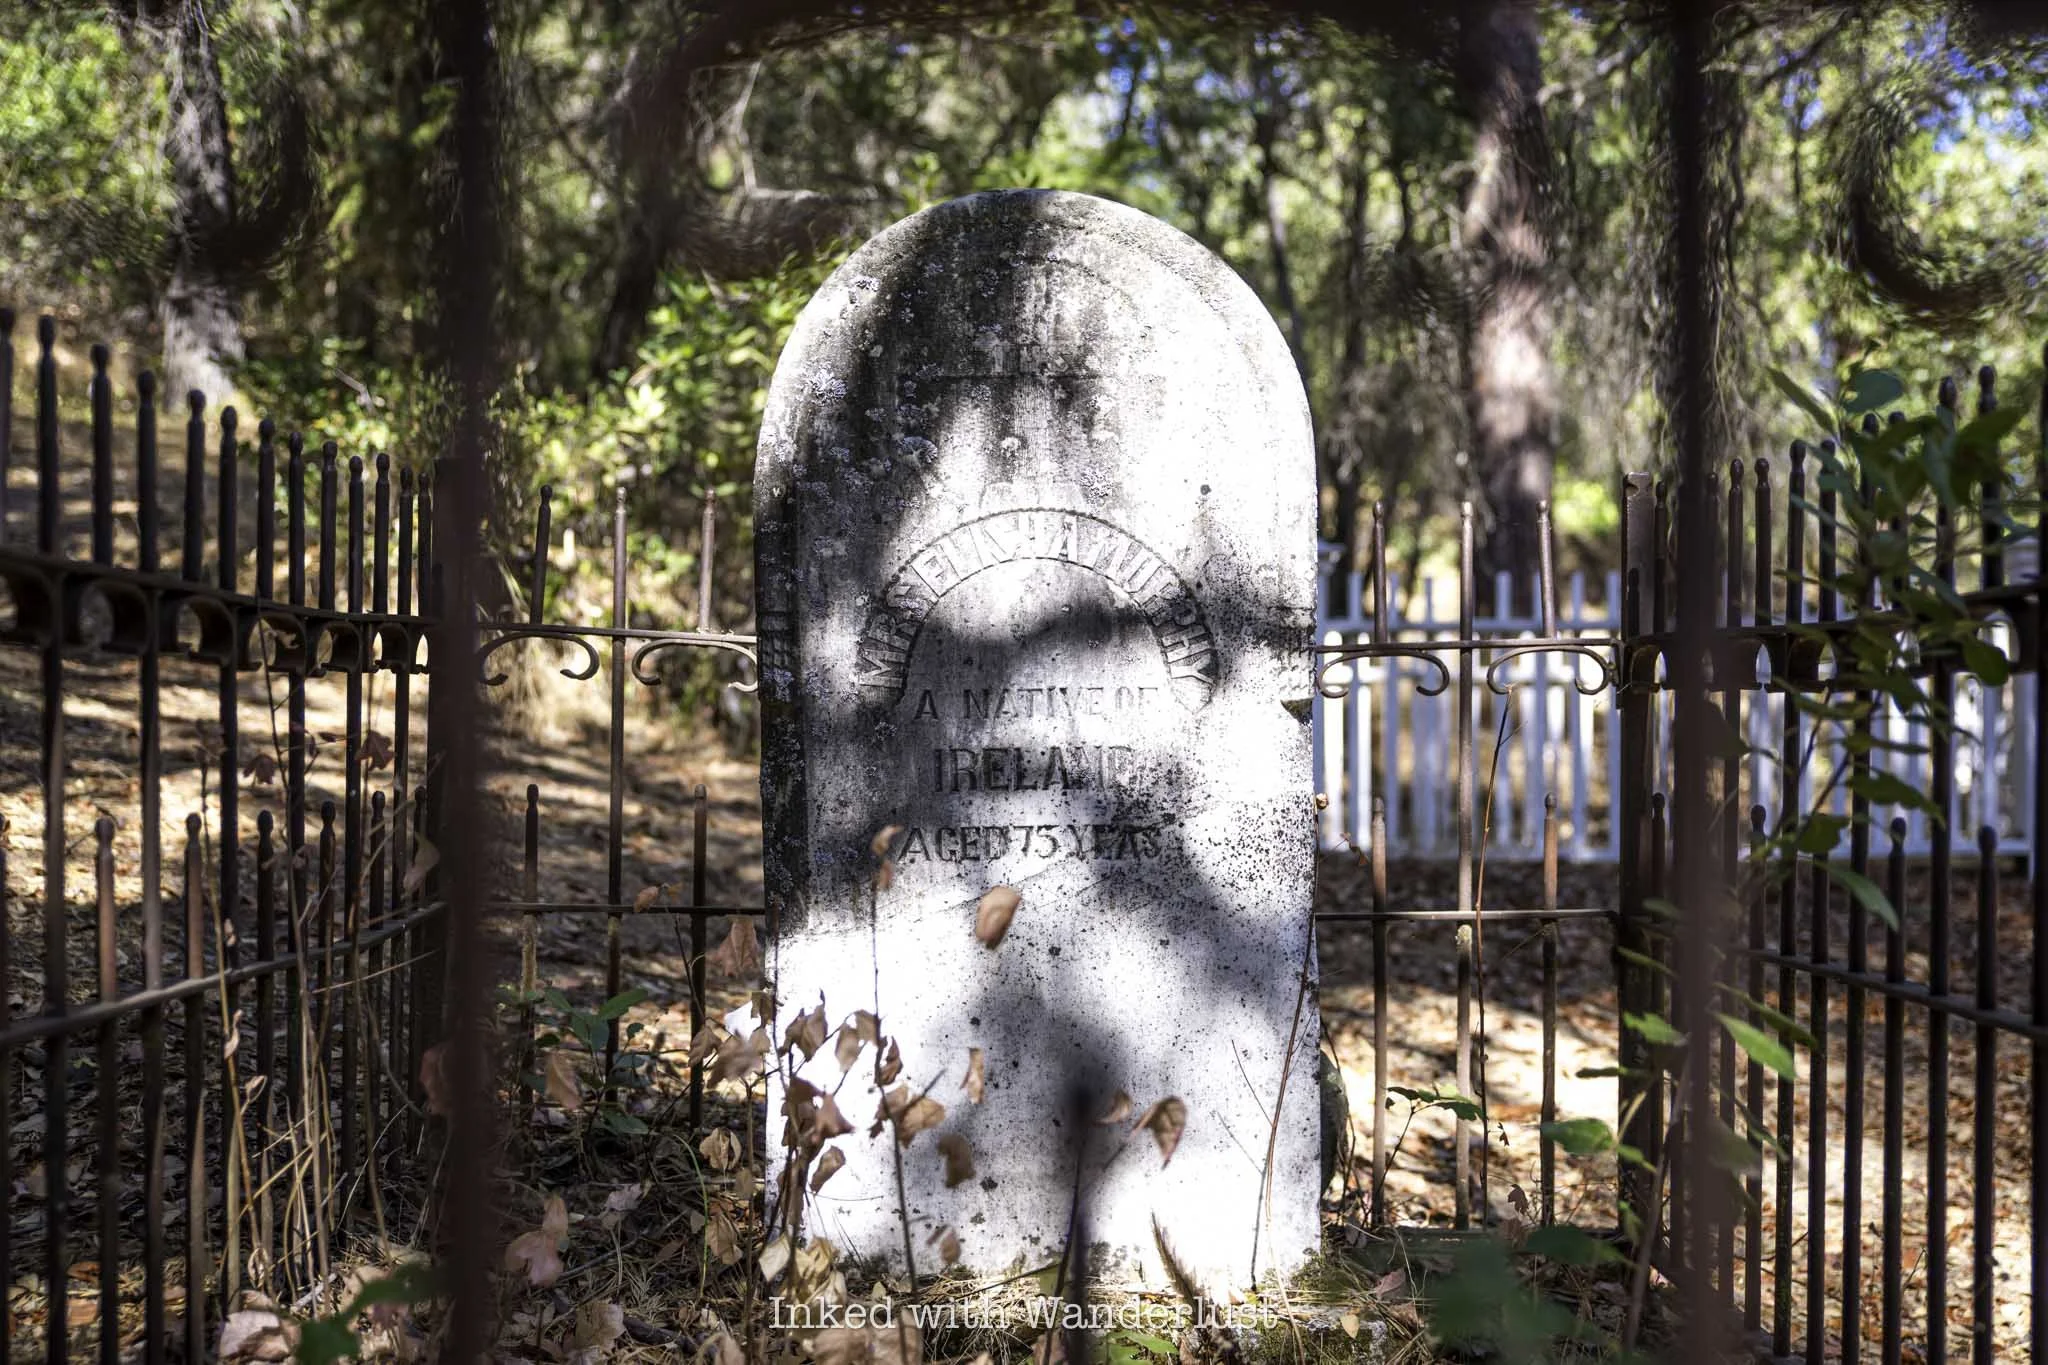
Bodie Cemetery
Bodie’s cemetery is located across the main road that leads to the parking lot and overlooks the town. In it are several dozen headstones and unmarked graves, with a few notables buried here as well. Two of which are Evelyn, known as the “Angel of Bodie” and Waterman S. Bodey, the town’s founding Father and namesake.

The Miller House
The Miller House is notable not so much for its previous occupants, but for its uniqueness in that it’s the only former home in the park where visitors can enter and explore. The bedroom and kitchen are fenced off, but you’re free to explore the living quarters and dining room.
These are just a small handful of things to do at Bodie. As stated above, the best way to get the full experience is by purchasing the self-guided tour book. You’ll gain so much knowledge from spending just a few bucks.
Best Time To Visit Bodie

Bodie is open throughout the year and is perfectly accessible throughout most of it. However, as stated above, the road to Bodie is closed to vehicles in Winter. For most people that leaves Spring, Summer and Fall.
Spring: If you get here right at the beginning of the tourist season, you’ll typically experience mild weather and lighter crowds. Weekends are busy but not to the point of being miserable.
Summer: This is the height of the tourist season and with it, brings hot days with semi-regular afternoon thunderstorms. Crowds are at their heaviest during this time so if you must come during summer, arriving on a weekday and being there early would be your best bet.
Fall: By this time, crowds begin to thin and temperatures start cooling back down. Until the end of October, weekends will still have a decent turn out with weekdays reverting to light. This is far and away my favorite and preferred time of year to go.
Winter: Crowds are non-existent. Aside from the on-site park staff, you’ll likely have the park to yourself. The museum and stamp mill are closed, but you’ll have the chance to see a side of Bodie most never do. Get your hands on a snowmobile and you’re set (if you happen to have one and would be willing to transport me out there, be sure to hit me up!).
The Bodie Curse
As previously mentioned, Bodie’s a protected site and as such, stealing and/or damaging items or structures in the park is prohibited. You’ll face fines, be trespassed, arrested or something a bit more sinister…get cursed.
The story varies wildly from person to person but they all seem to agree on one thing, bringing anything home from Bodie could bring you misfortune. Per local legend, rangers often receive packages containing stolen items such as dolls, old cans and rocks, accompanied by letters from apologetic senders.
The letters typically state that they’ve had nothing but bad luck since returning home with the stolen item. After sending the item back, however, life returns to normal. Regardless of whether you believe the curse is real or not, it’s important to respect Bodie, and everything in it, to ensure its longevity.
“Take nothing but pictures…leave nothing but footprints”.
Things to do Near Bodie

There are many other attractions and destinations both near Bodie and within a couple hours drive. In fact, most people visit Bodie as a stop on their overall road trip along the famed Highway 395. If that’s you, or you’re staying nearby, there are plenty of other wonderful sights to see.
If you’re using Lee Vining or Bridgeport as your base, you’re close to the majority of these (tap/click the link to read my guides on these destinations):
Conway Summit
Twin Lakes
Sierra Strange - Coffee and Oddities
* Denotes a link to a separate post
This post was originally published in 2021 and has been recently updated for accuracy and additions.

Fort Point National Historic Site: Parking, History, Fees and More
Nestled at the entrance to Golden Gate Bay in San Francisco lies a hidden gem of American history - Fort Point National…
3 minute read | contains affiliate links
Nestled at the entrance to Golden Gate Bay in San Francisco lies a hidden gem of American history - Fort Point National Historic Site.
Steeped in military heritage and offering breathtaking views, this site transports visitors back to the era of the Civil War.
In this post, we'll delve into the captivating history of Fort Point, exploring its significance and the unique experiences it offers to those who visit.
Topics such as parking, the fort’s history, fees, how to get there and more will be discussed. Let’s get into it!

Exciting news for our readers!
We’re excited to Introduce the all-new "Inked with Wanderlust" online store!
We're thrilled to bring you a fantastic collection of wanderlust-inspired merchandise. Celebrate your love for travel and exploration with our stylish apparel and accessories, designed to ignite your sense of adventure.
Discover a range of unique designs that capture the spirit of wanderlust, from cozy hiking-themed t-shirts to charming accessories that make your wanderlust spirit soar!
Visit our online store today and start your journey of style and adventure. Happy exploring!
Fort Point History

Constructed between 1853 and 1861, Fort Point stands as a testament to the nation's military defense strategies during the mid-19th century.
Its primary purpose was to protect San Francisco Bay from potential attacks. Named after the rocky promontory on which it was built, Fort Point was initially armed with hundreds of cannons and a garrison of soldiers.
During the American Civil War, Fort Point played a vital role in safeguarding the Pacific Coast. Despite its strategic significance, it never saw direct combat during the conflict.
Its mere presence deterred Confederate vessels from venturing too close to the Bay Area, thereby safeguarding the Union's interests until 1886, when all troops were withdrawn.

In the mid-20th century, there were plans to demolish the fort in order to make way for the construction of the Golden Gate Bridge.
However, due to the efforts of preservationists, the fort was spared and bridge was purposely built around it. In 1970, it was designated a National Historic Site, ensuring its protection.
Today, the fort serves as a tangible reminder of the nation's turbulent past and the enduring strength of the United States.
Parking at Fort Point

Fort Point National Historic Site, located underneath the southern end of the Golden Gate Bridge, offers visitors a fascinating glimpse into the city's rich history.
As you plan your visit, a key consideration is parking. As I’m sure you know, parking anywhere in San Francisco can be quite the task. Thankfully, at Fort Point, there are a few viable options.
On-Site Parking

Fort Point National Historic Site has dedicated on-site parking for visitors. There’s a handful of spaces directly adjacent to the fort.
Limited street parking is also available along Marine Drive, just outside the entrance. I suggest arriving early to secure a spot.
If you intend to park here and are utilizing GPS, be sure to punch in the exact address OR its full name (Fort Point National Historic Site). The address is:
201 Marine Drive, San Francisco, CA, 94129
If you only punch in, “Fort Point”, like I did, it’ll likely take you to the Battery East parking lot (which isn’t necessarily a bad thing).
By inputting the address or full name, it’ll take you to the parking spaces along Marine drive.
Crissy Field Parking Lot
Situated a short walk away from the fort, the Crissy Field parking lot offers ample space. It provides easy access to the site and is often a preferred choice due to its proximity.
Parking here is free on weekdays but there is a fee on weekends. They are:
$1.20 per hour
$7.00 for the day
The payment kiosks accept credit or debit cards, as well as coins.
From this parking lot, it’s 1.6-miles to the fort and takes roughly thirty minutes by foot.
While it isn’t the closest lot, it’s situated near many other attractions in the Presidio. If you’re visiting them as well, parking here may be the most strategic option.
Battery East Parking Lot

Located east of Fort Point, the Battery East parking lot is another viable option. Although it requires a short downhill hike to get to the fort.
If you feel up to hiking, I highly suggest parking here. The views of the Golden Gate Bridge from this trail are outstanding. Especially in the spring when local floral is in bloom.

There are parking fees at this location. They are:
$3.00 per hour
$10.00 for the day
There are two pay stations located at each end of the lot and they only accept credit or debit cards. Be sure to place your receipt on your dashboard.
It’s about 3/4’s of a mile (one-way) to the fort and takes roughly 15-minutes to get there.
Fort Point Fees & Hours of Operation

At Fort Point, there are no admission fees (or parking fees if you park along Marine drive).
That’s the good news. The bad news? The fort isn’t open every day of the week. The fort’s hours of operation are:
Open Thursday - Monday, 10am - 5pm (roof access closes at 4:30)
Closed Tuesday, Wednesday and on Thanksgiving, Christmas and New Year’s Day
These hours pertain to the interior of the fort. The exterior can be accessed seven days a week.
If you’ll be here on a day when the fort is closed, I still recommend going as the views of the bridge from here are amazing.
However, I highly suggest timing your visit to a day when the interior is open to get the most out of Fort Point.
The Interior of Fort Point

When you step through the iron gates of Fort Point, the first thing you’ll likely take notice of is the beautiful contrast of 1800’s and 1900’s architecture as the Golden Gate Bridge intersects with the fort nearly directly above you.
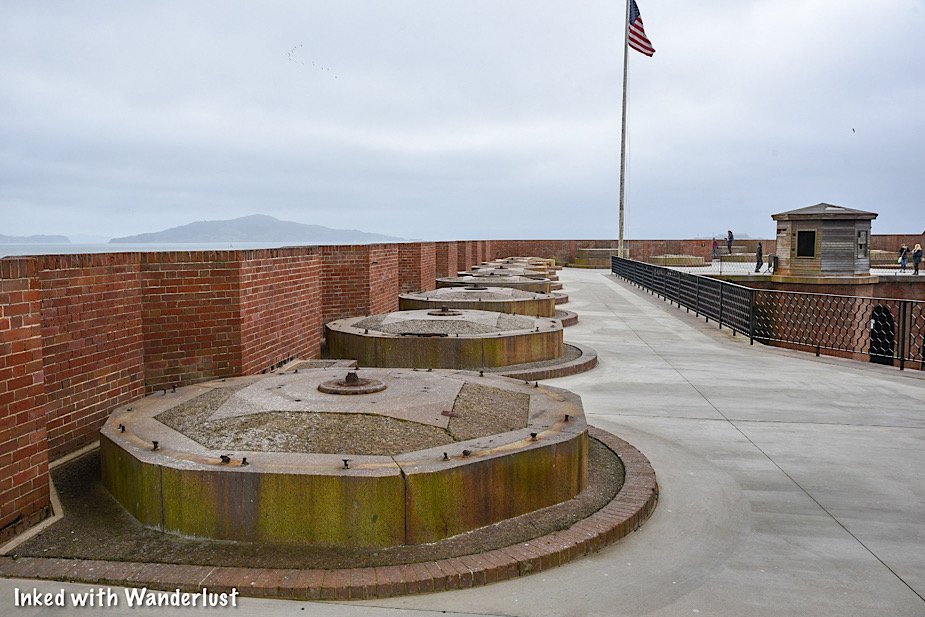
There are several levels to the fort, most of which (including the open top roof) are accessible to visitors.
Something to note is that only the bottom level is wheelchair accessible. The remaining levels must be accessed via the spiral staircase leading up to the guard towers.

There are many artifacts on display, such as canons and several images showing what the fort looked like prior to the construction of the bridge.

As you move up the levels, you’ll find several rooms that were once living quarters for the soldiers and officers with exhibits on display.


You’ll also notice dozens of look-out holes along the brick walls that once allowed soldiers to maintain surveillance of the bay and utilize artillery, if needed.

Make your way up to the roof and treat yourself to amazing views of the Golden Gate Bridge and the bay. Dotted along the roof are foundations that once housed artillery batteries.
If you can, try to picture the bay without the bridge and put yourself in the point of view of the soldiers as they wondered if that would be the day the Confederacy attacked.


When you’re finished exploring, simply make your way outside the fort and move on to your next adventure of the day.
If you’re interested in additional sites that detail the area’s rich military history, consider reading a few more of our posts to help map out your trip. They are:
“The Ultimate Guide To Visiting and Touring Alcatraz Island”*
“San Francisco’s Embarcadero: Best Things To Do, Getting Around and More”*
“Muir Beach Overlook: A Breathtaking View Of The Pacific Ocean”*
“Kirby Cove: The Most Gorgeous View Of The Golden Gate Bridge”*
*Denotes a link to a separate post
Please support this website by subscribing to our newsletter below.
Thank you for reading.

How To Visit the Stand by Me Bridge in Burney
The 1986 Hollywood film, ‘Stand By Me’, wasn’t exactly a box office hit but over the years it has since gained a strong cult fan…
Disclosure: This post contains affiliate links. If you make a purchase through these links, I may earn a small commission at no additional cost to you. I only recommend products or services that I believe will add value to my readers.

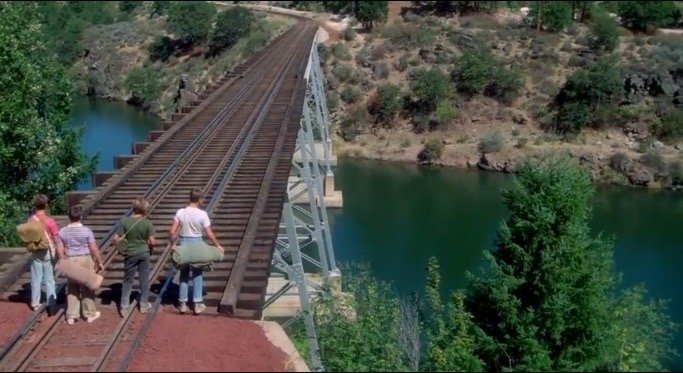
The 1986 Hollywood film, ‘Stand By Me’, wasn’t exactly a box office hit. Over the years, though, it has gained a strong cult following. If you’re a part of that following (and since you’re reading this i’m assuming you are), you undoubtedly remember that infamous bridge scene.
You may not realize this, but that scene wasn’t filmed in Oregon. It was filmed just down the road from Burney Falls in Burney, California. While it was taken out of service early into the new millennium, it still stands to this day and can be easily visited by anyone who wishes to.
So where is it? How do you get there? I’ll answer these questions and more in the post below. Let’s get into it.
Buy me a coffee?
If you found this blog helpful, consider leaving a tip through the Buy Me A Coffee button below! Whether it’s $1 or $5, every bit helps offset small travel costs like coffee, water, lunch, parking, or park entry fees. Your support means the world—thank you!
A Quick Word…
While you’re still permitted to visit the location of the bridge, the bridge itself has been blocked off. Walking on the bridge is prohibited due to the 2021 death of a Reno, NV man.
How to Get to Stand by Me Bridge

The Stand by Me bridge is located just a short drive away from the central part of Burney, California. From famed Burney Falls, it’s just a couple minutes away.
If you’re coming from Burney (whether the town or the waterfall):
Head north on highway 89 (if you’re at Burney Falls, take a left out of the park).
Shortly after crossing over Lake Britton, and driving through the overpass, take a (very) hard right onto Eagle Mountain lane.
You’ll continue on the dirt road for about a quarter mile before arriving at the bridge on your right.
If you’re coming from the opposite direction, such as McCloud or Dunsmuir, you’ll simply go south on highway 89 before taking a left onto Eagle Mountain lane.

Distance from additional cities and parks include:
Burney Falls: 2.5 miles
Lassen National Park: 43 miles
Redding, CA: 67 miles
Reno, NV: 168 miles
Medford, OR: 138 miles
Brownsville, OR: 338 miles
The dirt road going to the bridge is navigable for just about any vehicle. My compact made it just fine. Though there are some potholes to keep an eye out for. There is no official parking lot, but there’s an open area of dirt on the side of the road that serves that purpose. Just find a spot that makes sense.
2025 Update: I recently visited again and it looked like the road was improved. The potholes that were there during my previous visit were repaired.
The Stand By Me Bridge

The first thing you’ll likely notice is the blockade placed in front of the bridge. Prior to 2021, walking across the bridge was permitted. Since 2021, a Reno man was killed after jumping from the bridge and a barricade was placed at either end, prohibiting pedestrian access.
Thankfully, there are open slots between the cement blockade and barbwire where you can get a clear photo of the bridge and landscape behind it. Additionally, you can easily access the underside of the bridge as well.
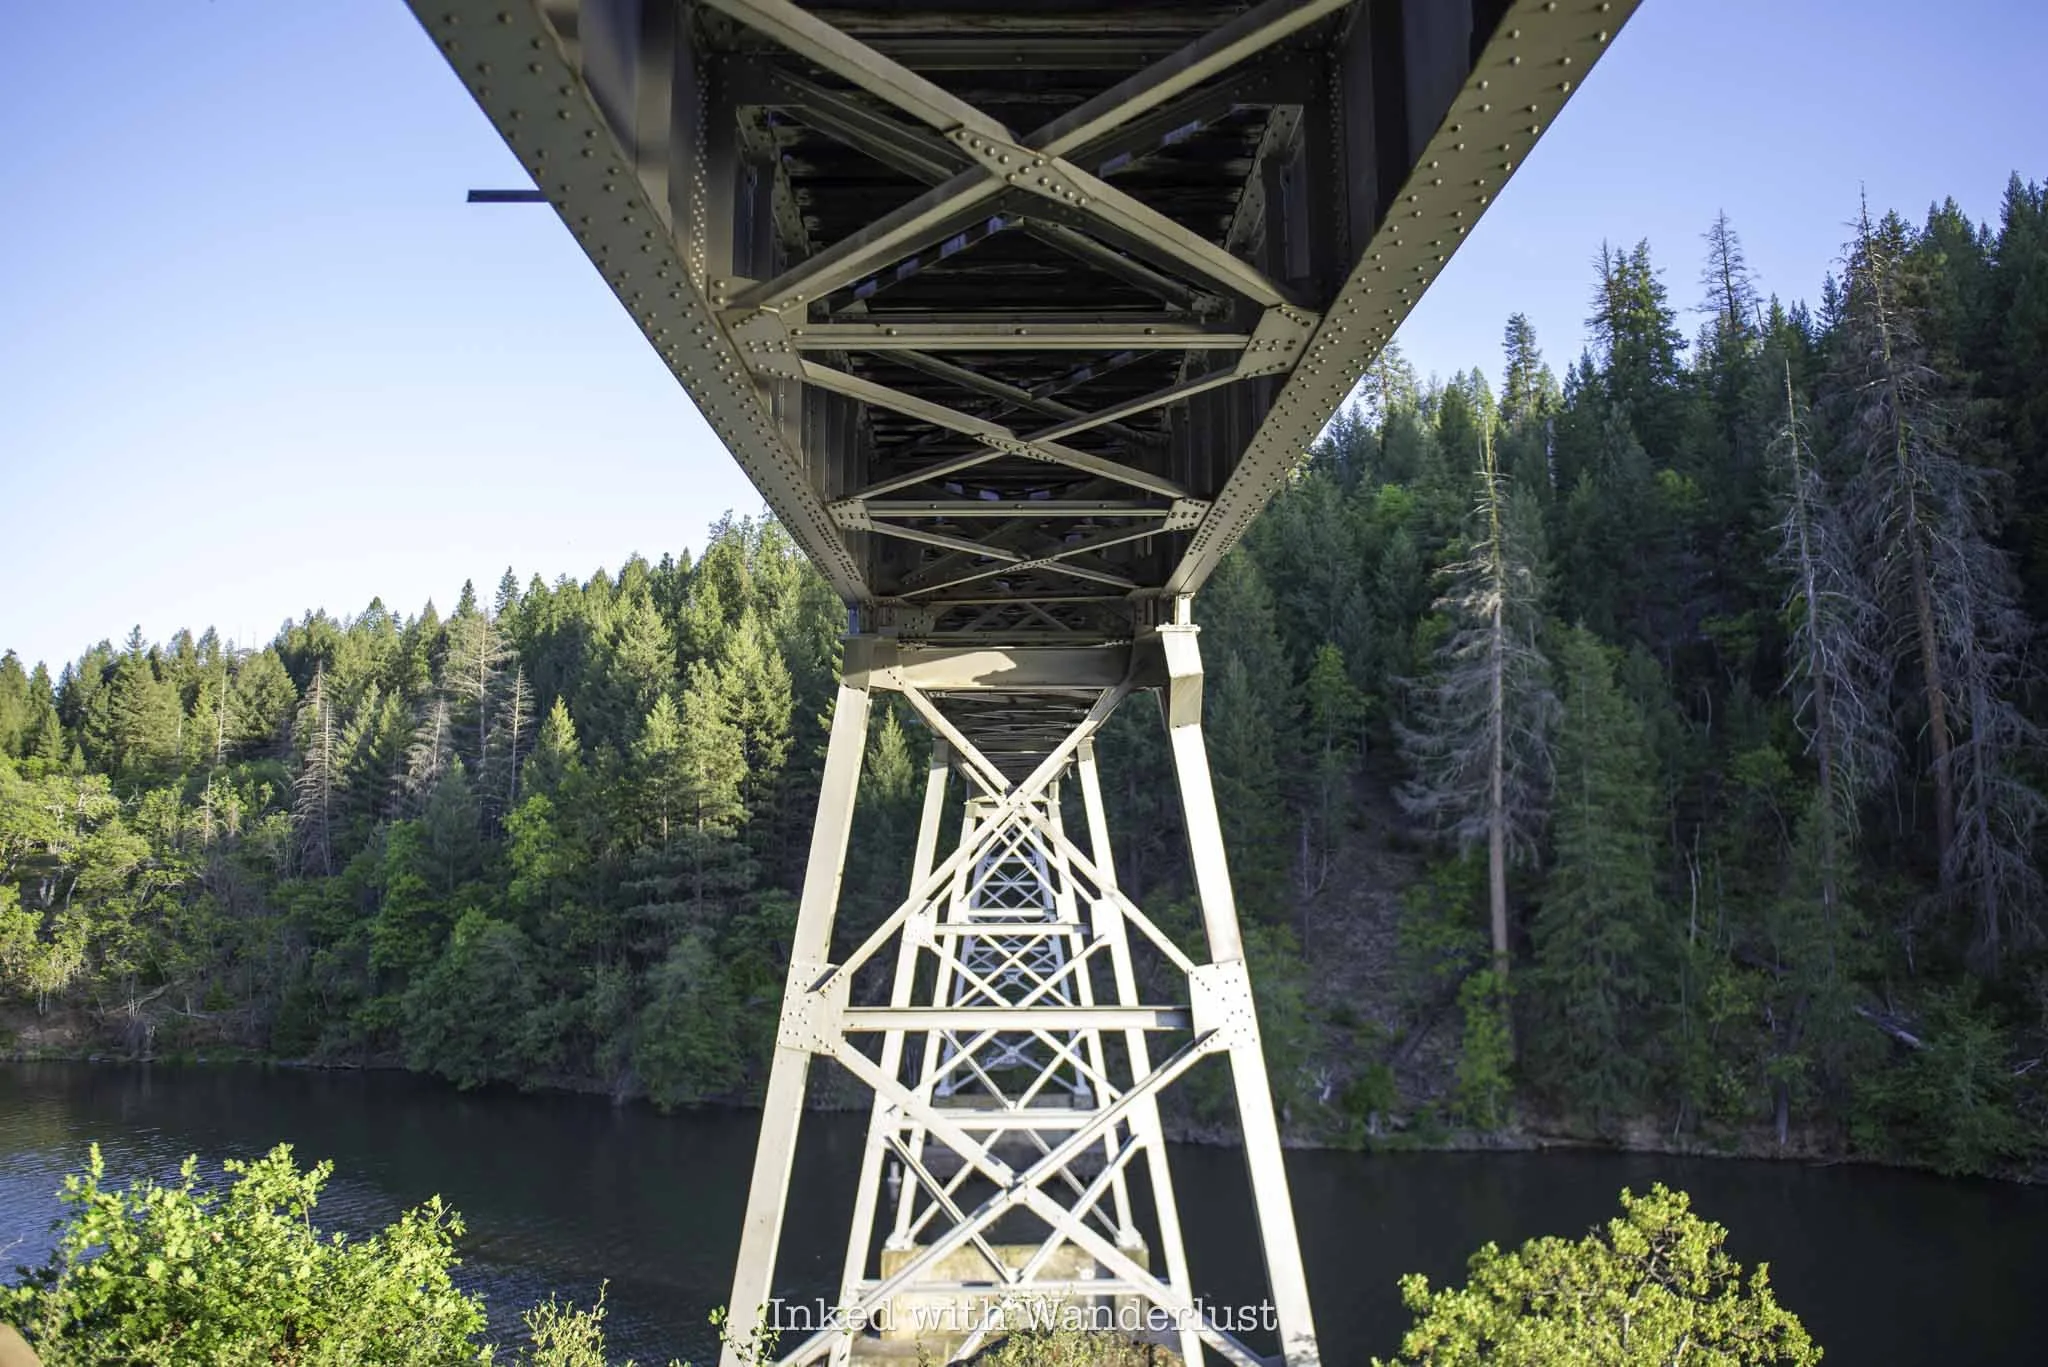
2025 Update: Apparently, somebody took exception to these blockades, as one half of the fence and barbed wire was torn down. The cement blocks remain in place, though.
Despite the bridge being blocked off, it’s still worth a visit. Particularly if you’re a fan of the movie. Even if you’re not a fan, it’s a historic bridge with amazing views of the lake and surrounding hills. You can get those views on either side of the bridge.
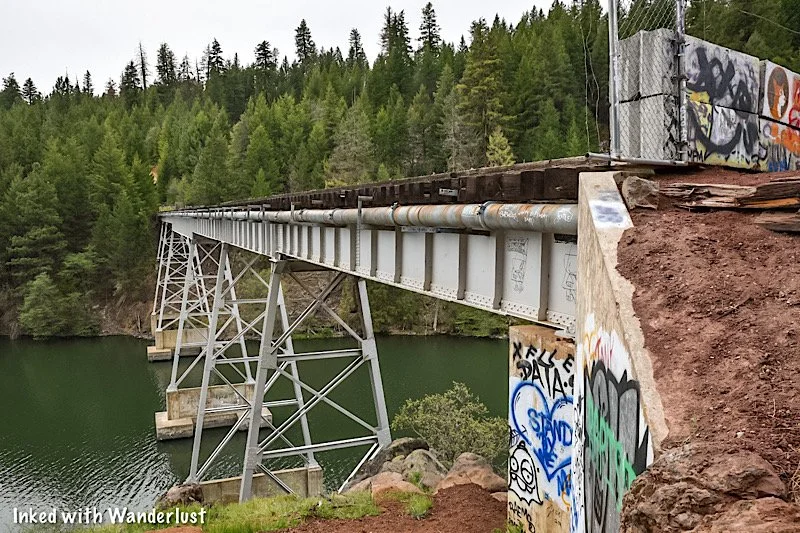

I can’t say for sure, but it’s likely possible to access the bridge from the other side via the Burney section of the Pacific Crest Trail (PCT). Along the Burney Falls Scenic Loop there’s a point in which you can access the PCT. I’m not sure of the milage, though. I suggest hiking for a couple miles until you see what looks like old train tracks and follow those towards the water.
2025 Update: At some point between my first and second visits, another blockade was placed at the opposite of the bridge.
Once you’ve finished checking out Stand by Me bridge, I encourage you day trip out to Dunsmuir, roughly one hour from here. On the way, stop at McCloud River Falls to see three beautiful waterfalls in one trail. When you get to Dunsmuir, a hike to Mossbrea Falls and Hedge Creek Falls are a must. Follow up with dinner at Yaks on the 5!
Buy me a coffee?
If you found this blog helpful, consider leaving a tip through the Buy Me A Coffee button below! Whether it’s $1 or $5, every bit helps offset small travel costs like coffee, water, lunch, parking, or park entry fees. Your support means the world—thank you!
PSALM 91

Tour The Historic Mono County Jail In Bridgeport
Found just off of Bridgeport’s Main Street, behind the historic courthouse, sits one of the oldest still-standing buildings in Mono…
Contains affiliate links | 2 minute read
Found just off of Bridgeport’s Main Street, behind the historic courthouse, sits one of the oldest still-standing buildings in Mono County, the historic jail.
Originally built in 1883 and made up of mostly concrete and iron, this wonderfully preserved jail gives visitors a small glimpse into what being imprisoned was like near the turn of the century.
The craziest fact of this jail is that it was in use as recently as 1964, when it closed. It still sits in its original location, with the modern county jail built directly adjacent to it.
These days, the county keeps the front door open to anyone who wishes to explore it. In this guide, we’ll cover topics such as fees, where to find it and much more.
Be sure to check out our post, “7 Things You’ll Love About Bridgeport”, for more amazing things to do in Bridgeport!
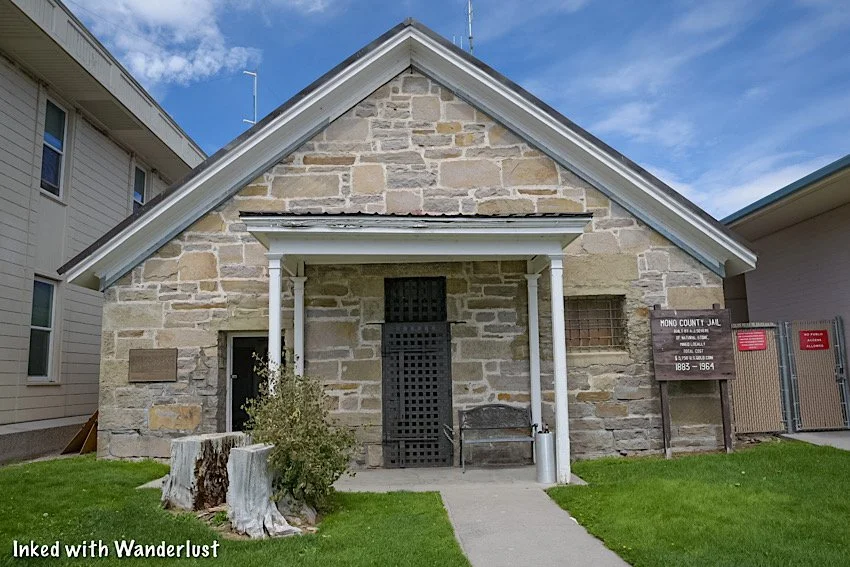
Quick Stats
Location: Bridgeport, California
Fee: None
Permit: None
Open: Open during daylight hours
For: Everyone
Restroom: None
Parking: Along the street
EV Stations: Nearest ones are down the street behind the Shell station
Difficulty: Easy, but not fully ADA compliant to protect historical integrity
Popularity: Low
Time: An hour or less
Condition: Well-maintained
Pets: Not allowed inside
Our Visit(s): September 2022

Getting There
As mentioned above, the historic jail is located in the tiny mountain town of Bridgeport, CA. It’s on Bryant street, directly behind the courthouse (a historic building in its own right).
If you’re coming into town from the north, you’ll turn left onto School street, then turn right onto Bryant street. The jail will be on your left.
If you’re coming from the south, you’ll turn right onto Sinclair street (just after Rhino’s Bar & Grill) and turn left onto Bryant street. The jail will be on your right.
Free parking is available along the street on either side. If for some reason there’s nothing there, you can find a spot along the main drag and walk to the jail.

Touring The Historic Jail
Tours of Mono County Historic Jail are self-guided and free of charge. So feel free to take as much or as little time as you wish.
There are no posted hours of operation, but I was told that the jail is usually open daily during daylight hours. It’s usually closed on major holidays, though.
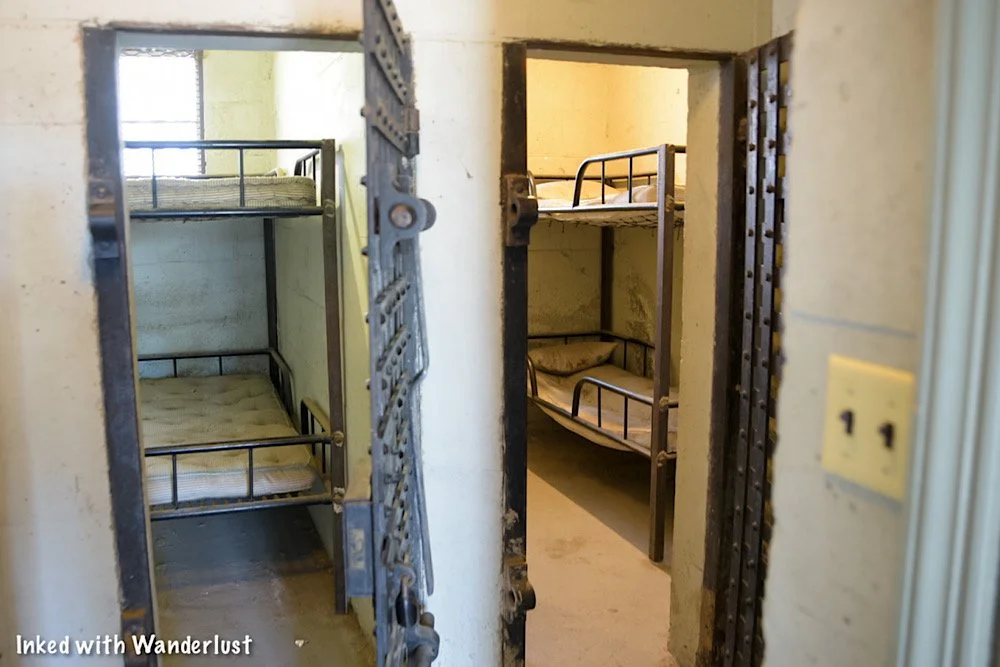
Here are some stats of the historic jail:
Construction on the historic jail was completed on December 12th, 1883.
It’s original cost was $5,750.
The building is only 32 x 34 feet.
Its stone walls are two feet thick, twelve feet high, and are made up of hammer-dressed stone.
The iron cells were reused from the old jail.
The iron doors were constructed of 1.5 inch bar stock.
The iron gratings in the windows are one inch bars, set deeply into the stone blocks.
The jail remained in operation until 1964.
After learning these facts and experiencing the jail for yourself, you’ll quickly realize that this place wasn’t build for comfort. Not even a little.
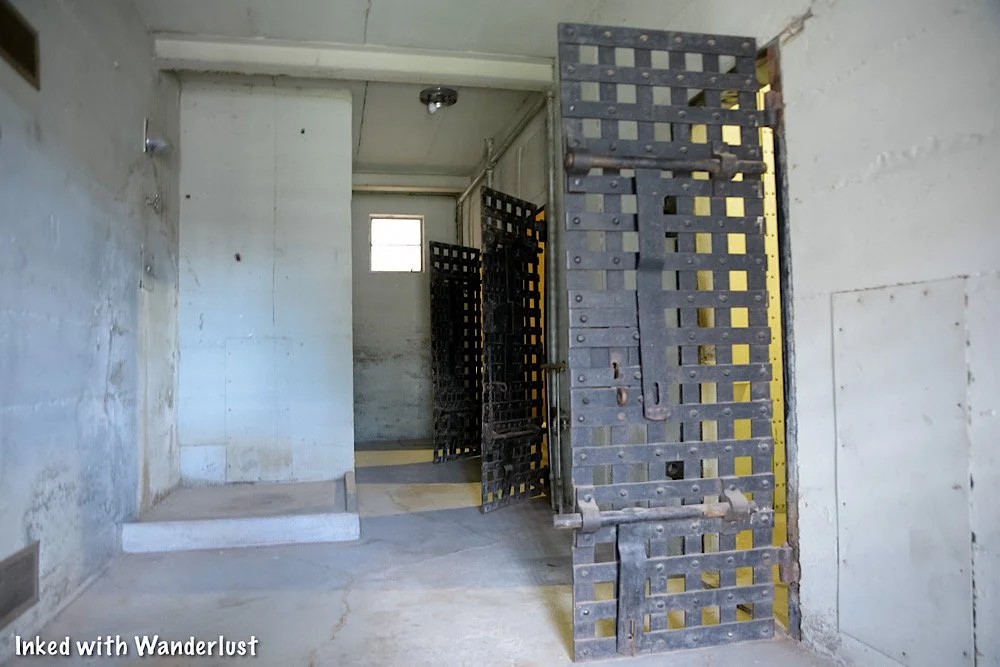
There are around half a dozen or so jail cells of varying sizes, all of which are open for you to enter and explore. You can also see the two shower stalls that all inmates had to share.
Inside the cells are examples of bunks and bedding inmates were given to sleep on. I can’t say for certain if these were actually used in the jail or if they’re just examples, though.
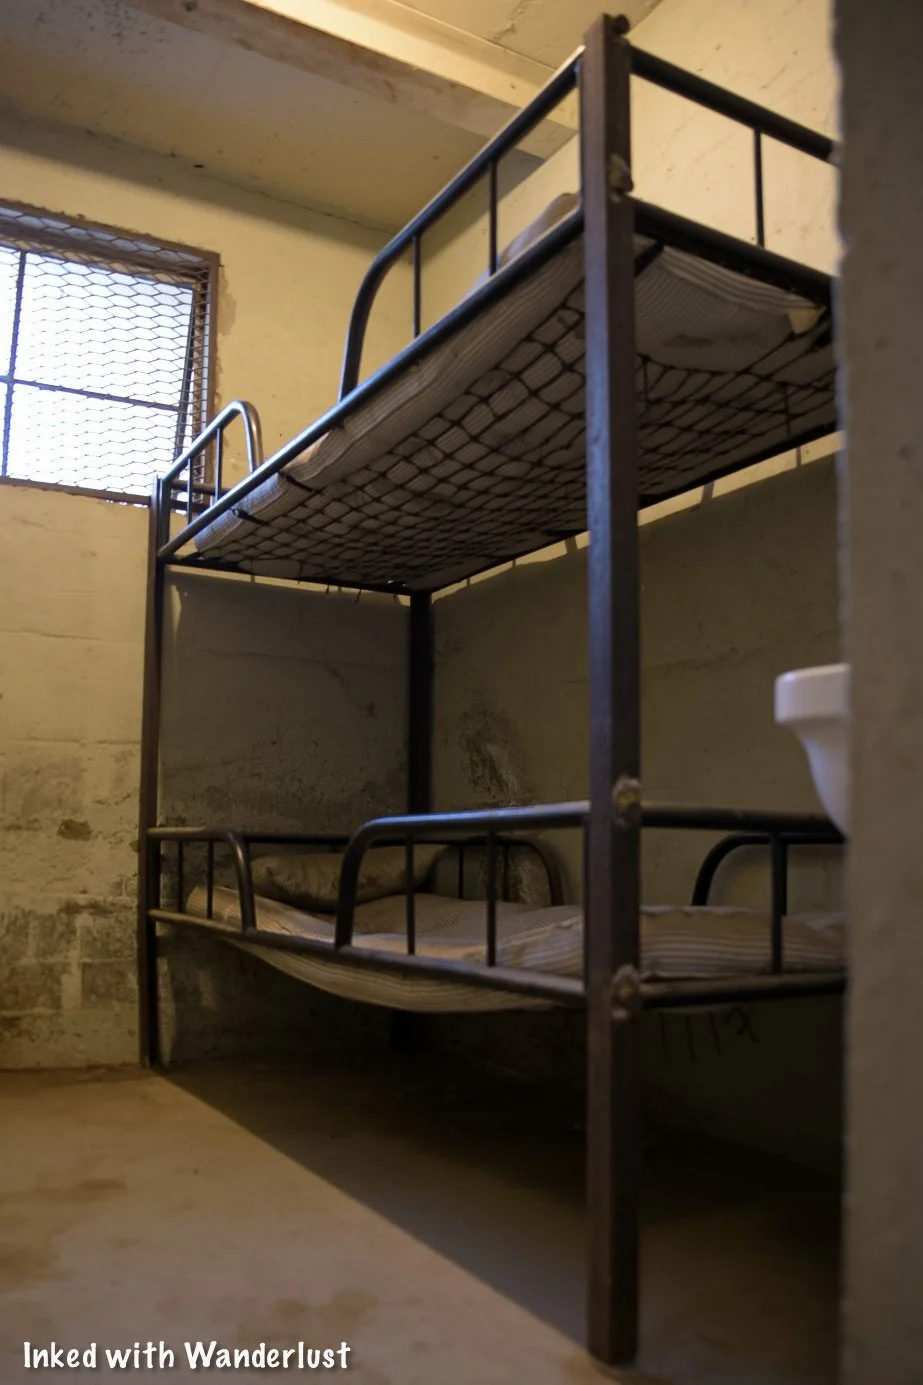

It won’t take you very long to explore the jail. There’s only two main rooms consisting of six or so cells, two shower stalls and the administration area when you first walk in.
When you’re done checking it out, simply head back to your car and enjoy the rest of your day. While you’re in Bridgeport, be sure to check out the other amazing things to see.
If you’re not sure what else there is to do here, check out our post, “7 Things You’ll Love About Bridgeport”.
If you’re looking for a bite to eat (specifically a juicy burger), check out our post about our favorite burger joint in the area, Burger Barn.

Your Thoughts…
Are you or someone in your family history buffs? If so, we believe you (or them) would love this quick roadside stop. Tell us about any other historic structures in the area that you know of. We love hearing from our readers!


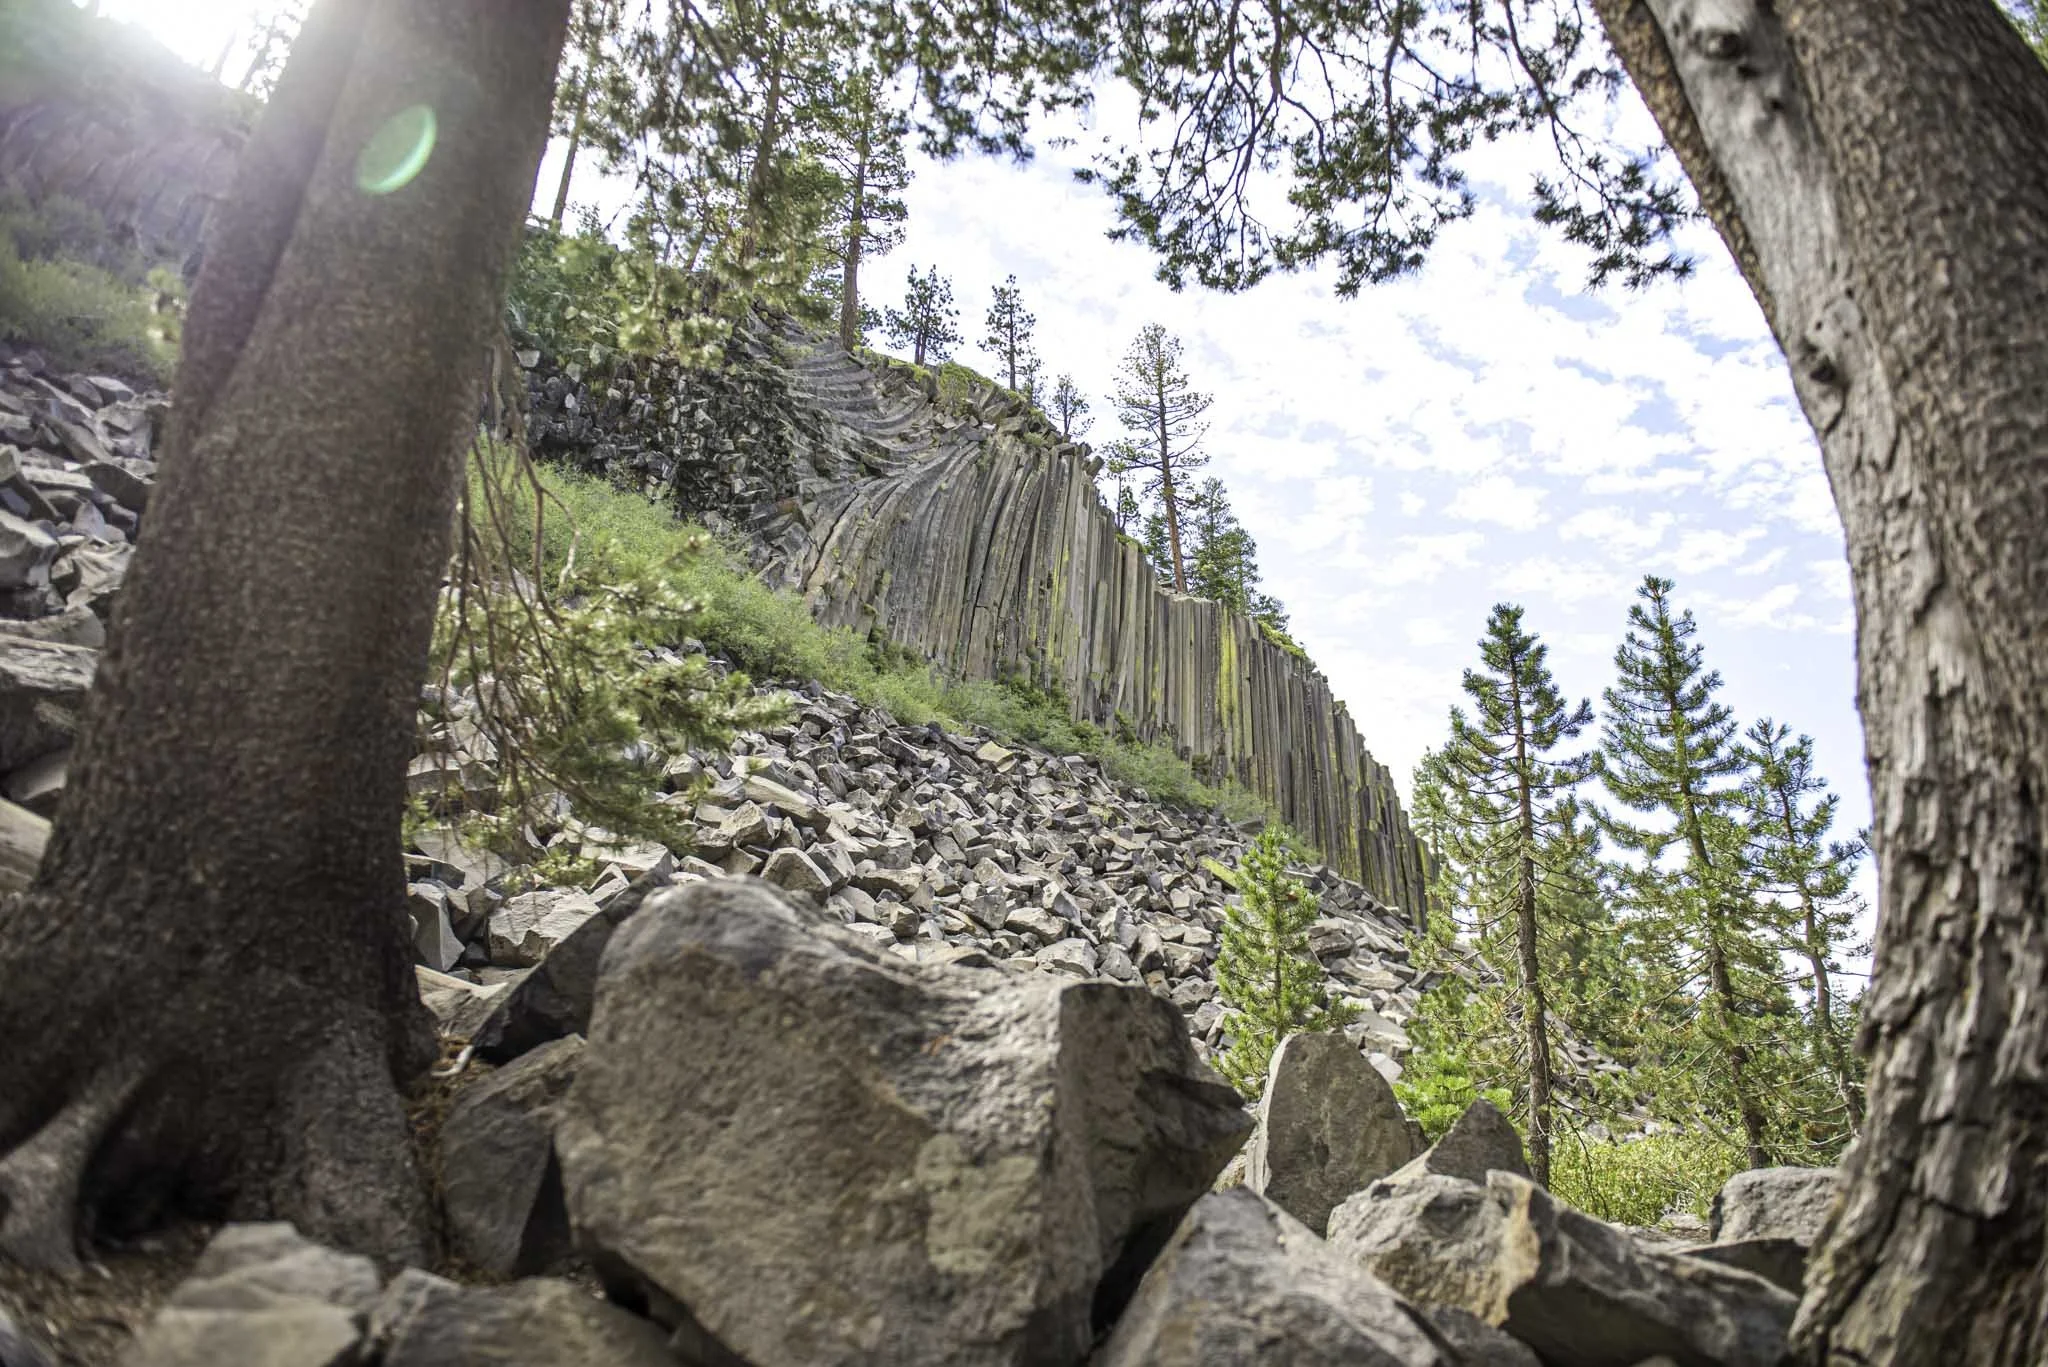

Please support our website by subscribing to our newsletter below.
Thank you for reading.
Check Out These Amazing Destinations!


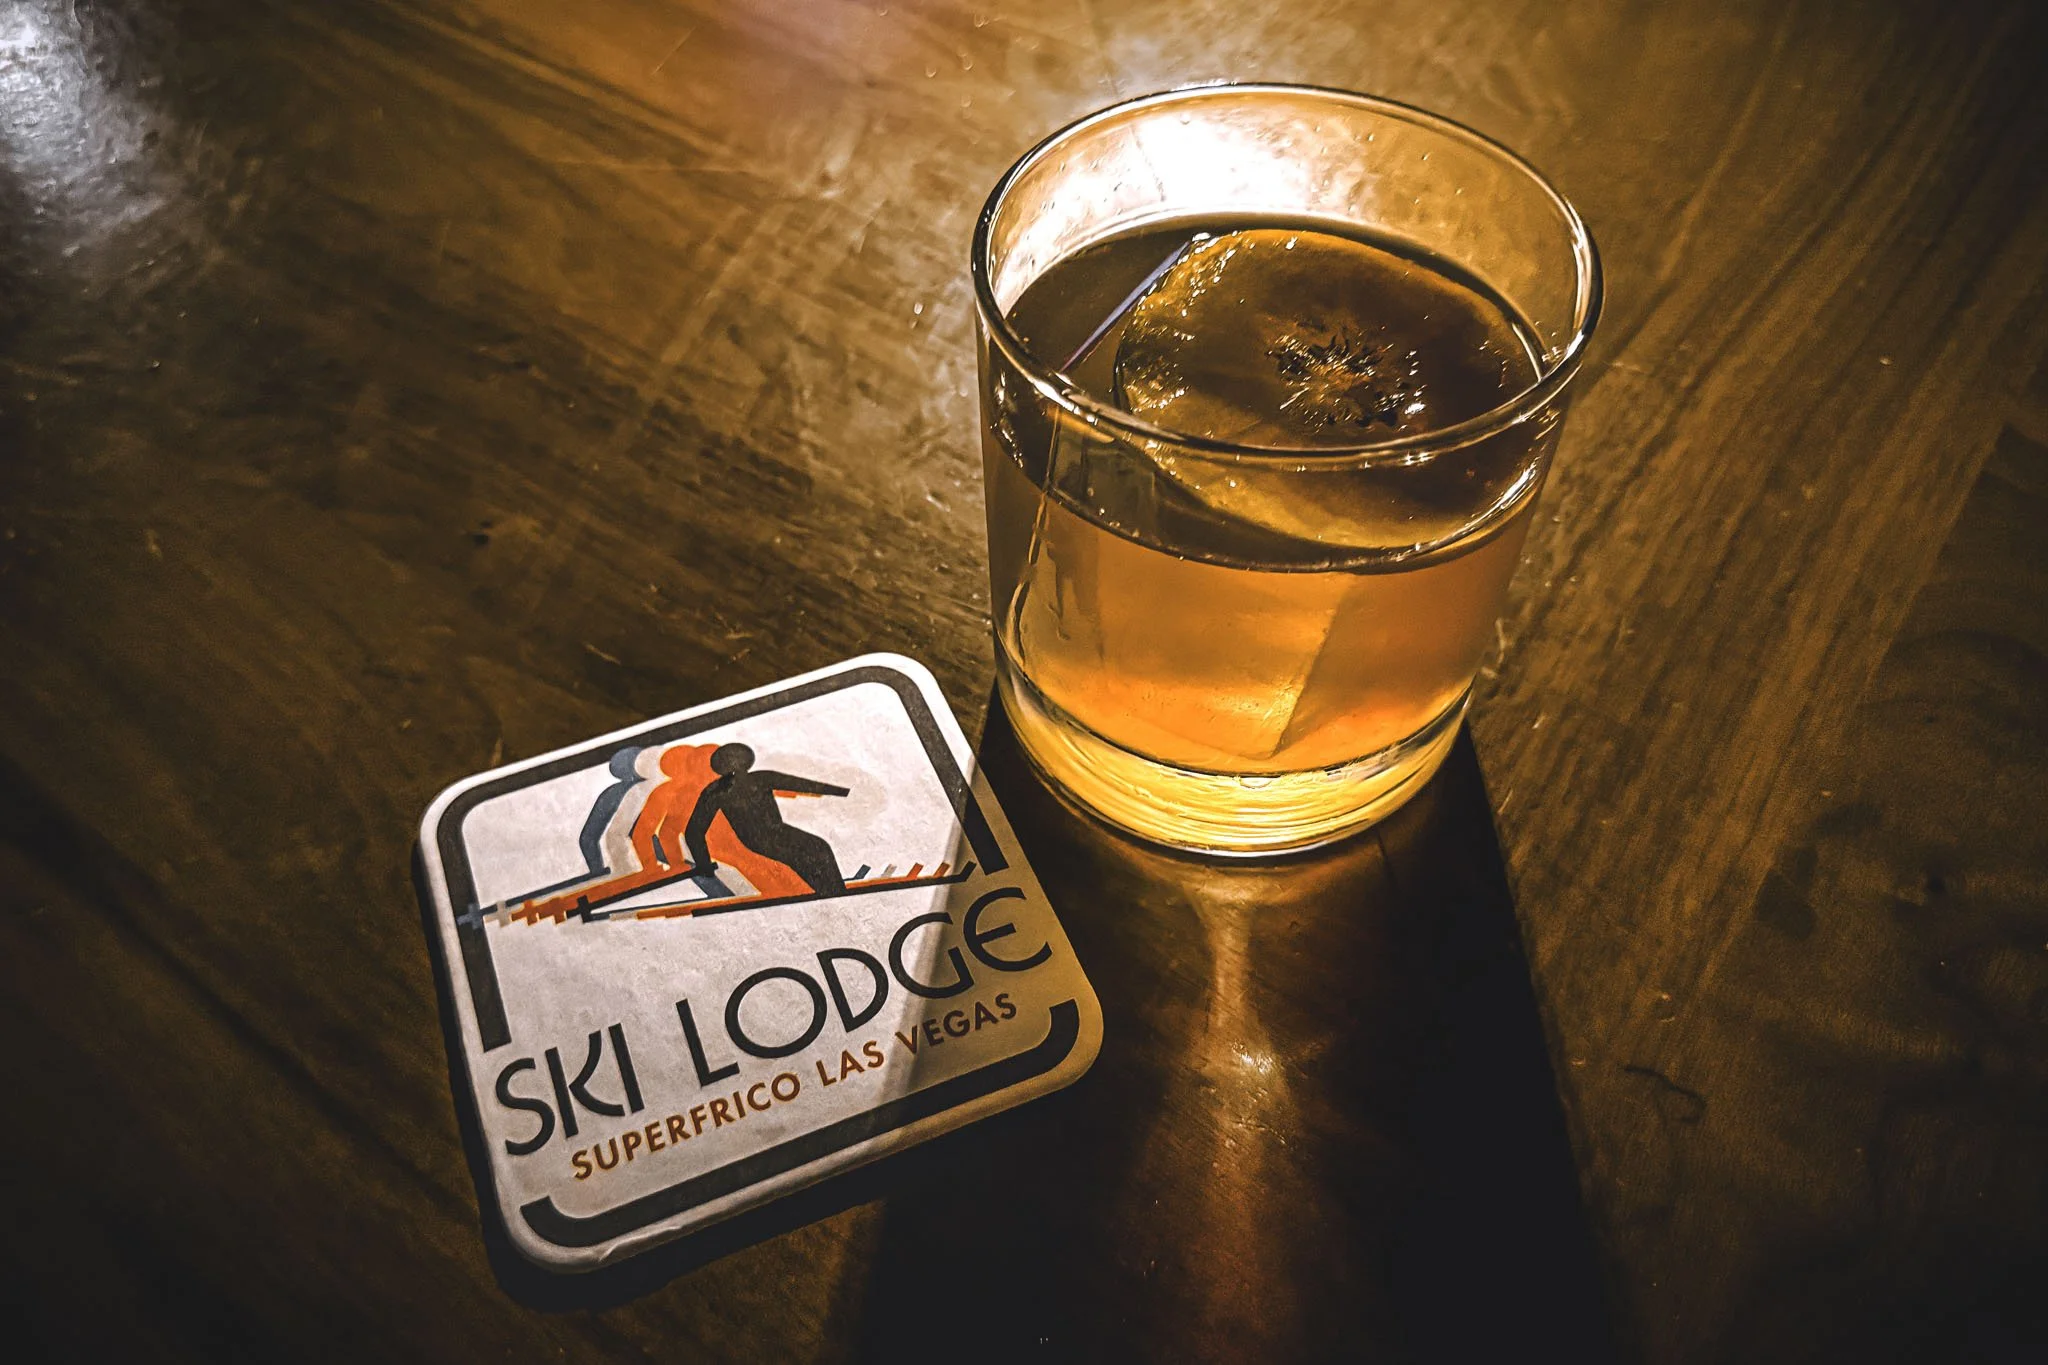

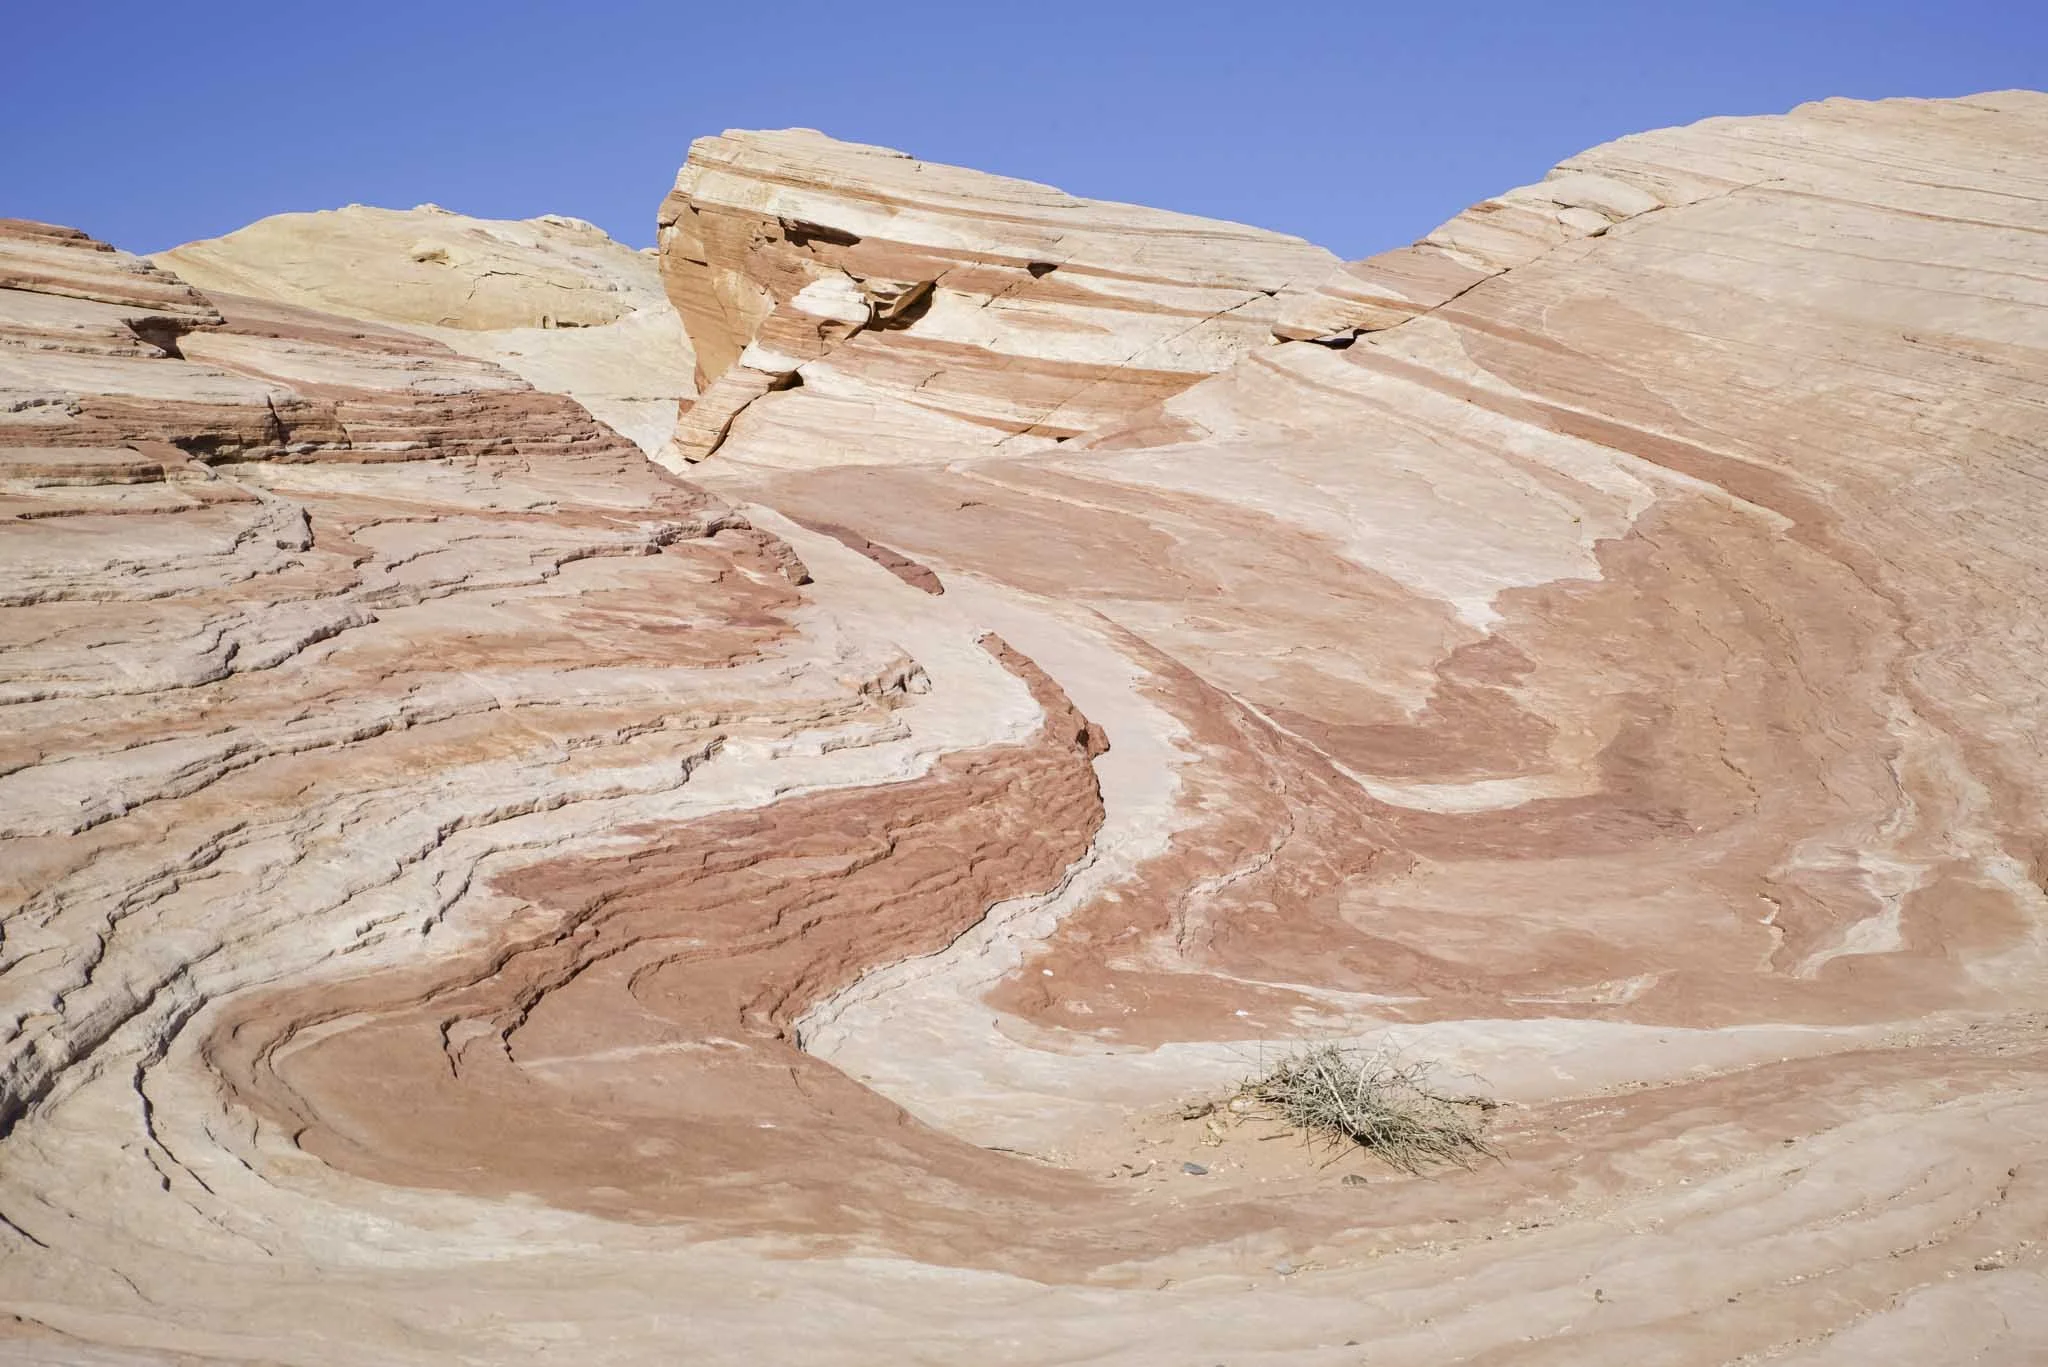

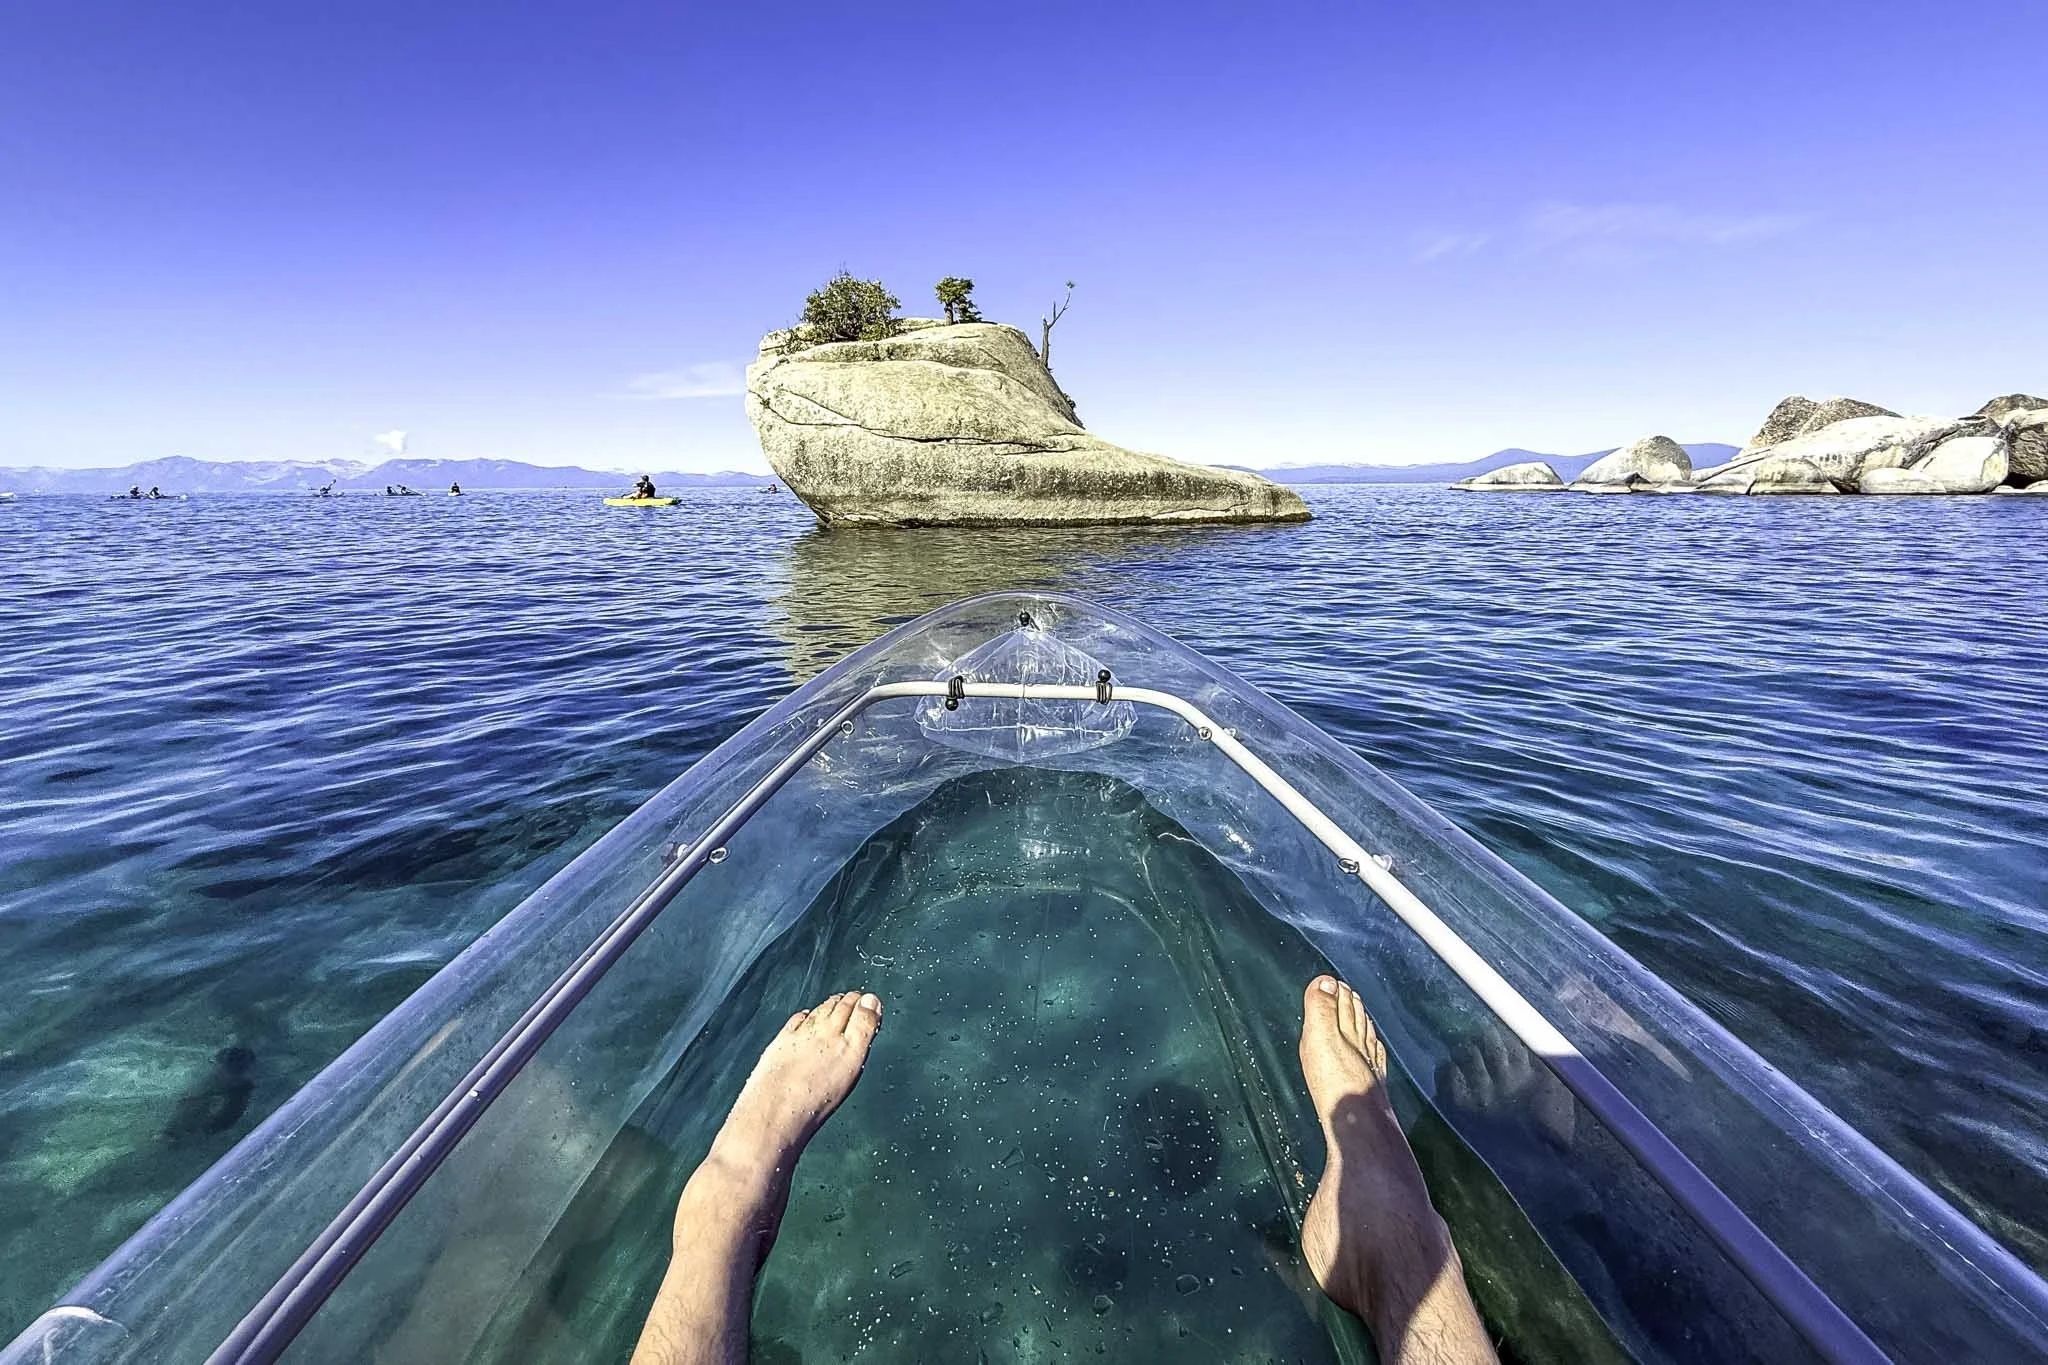


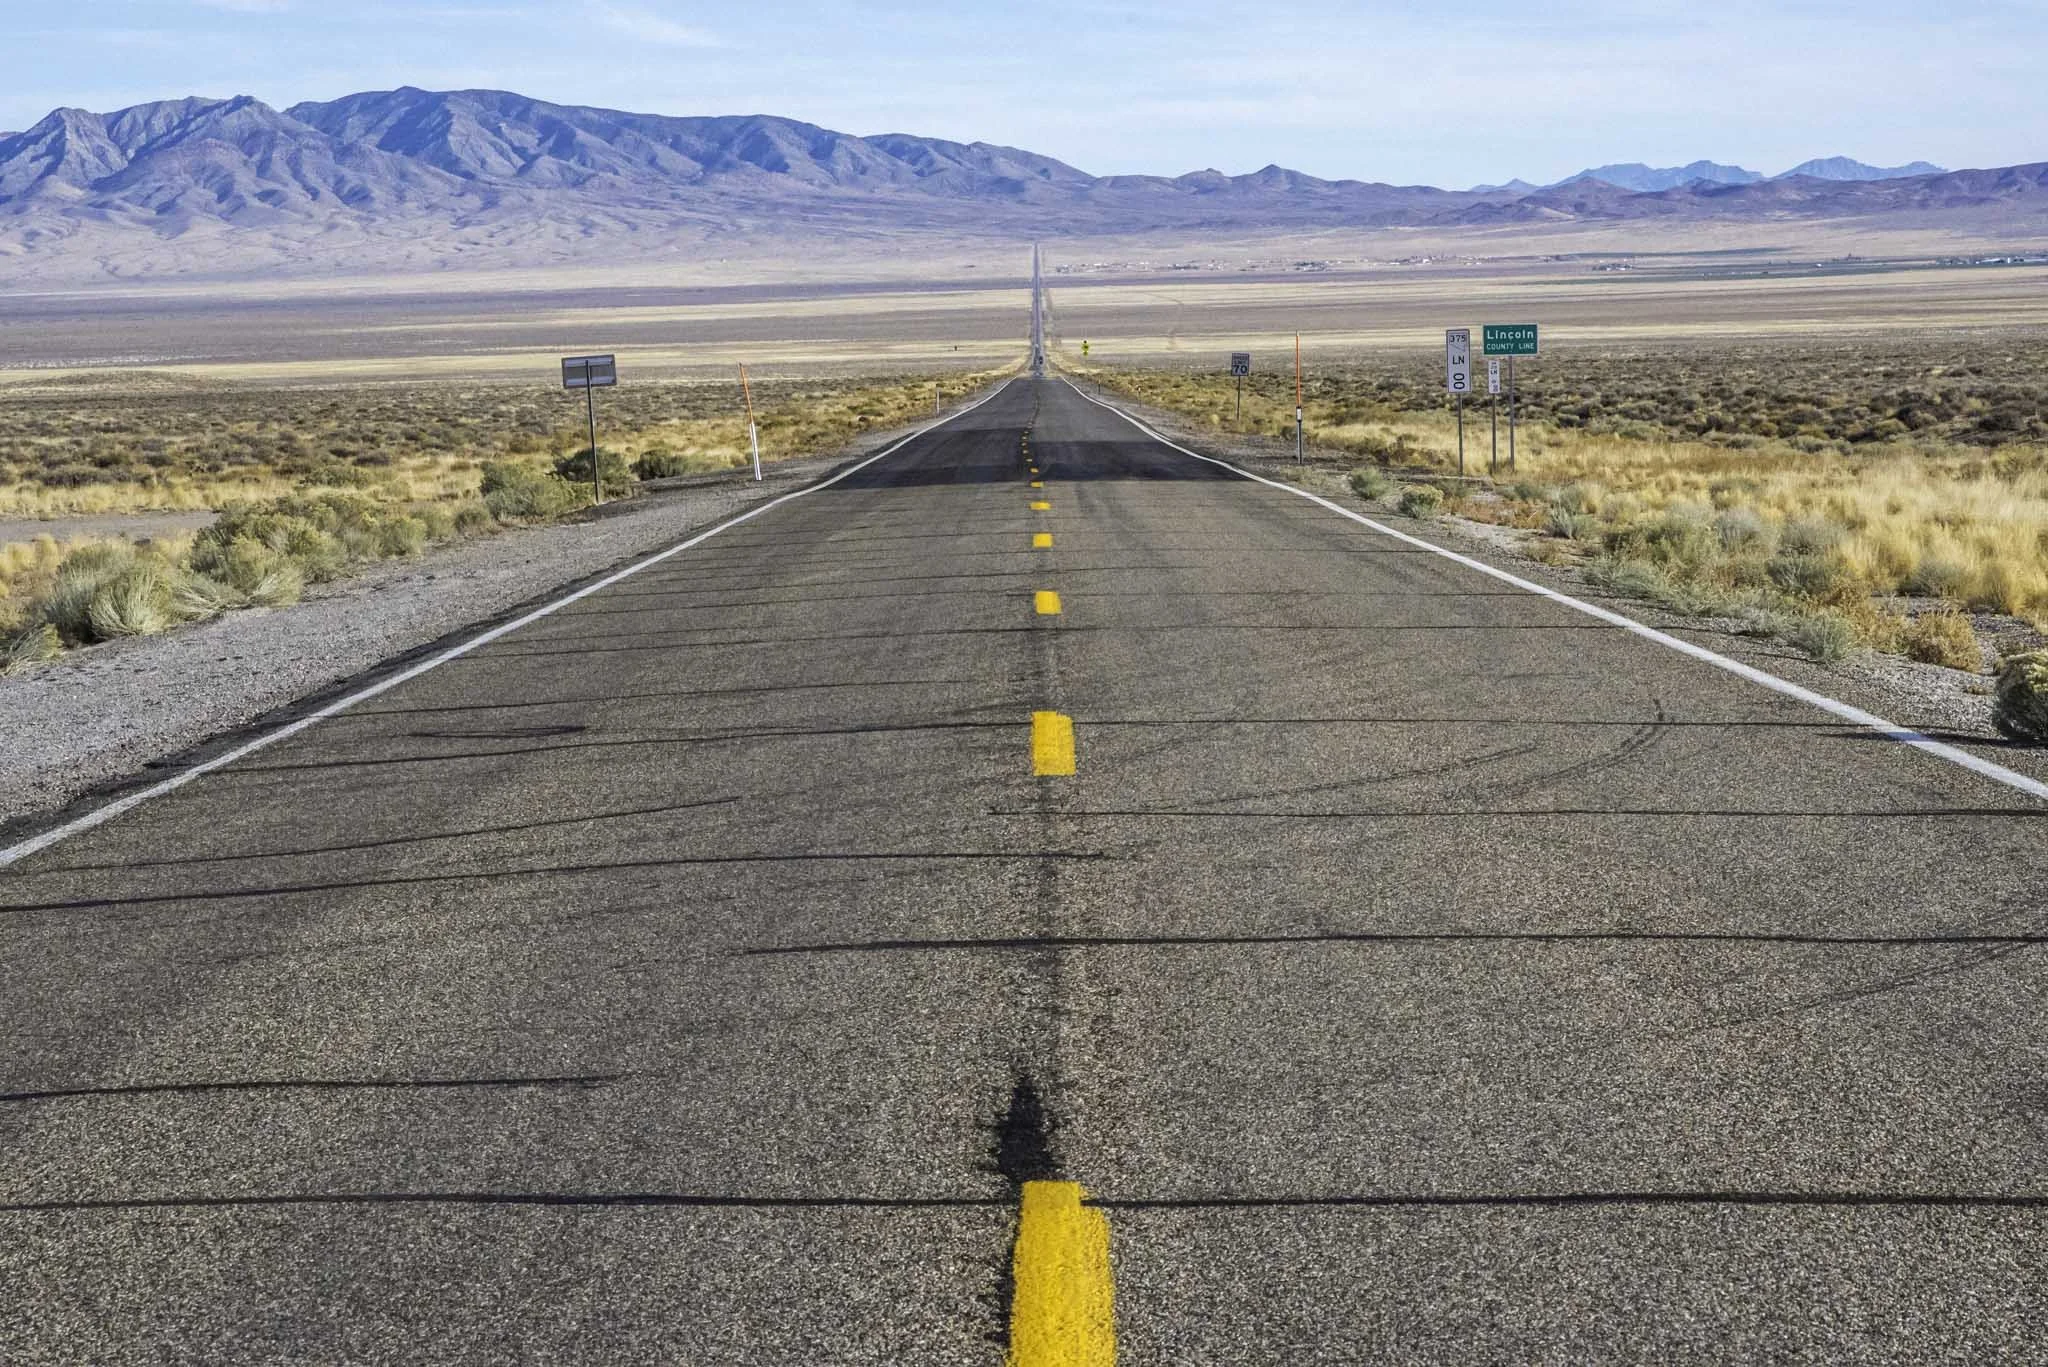


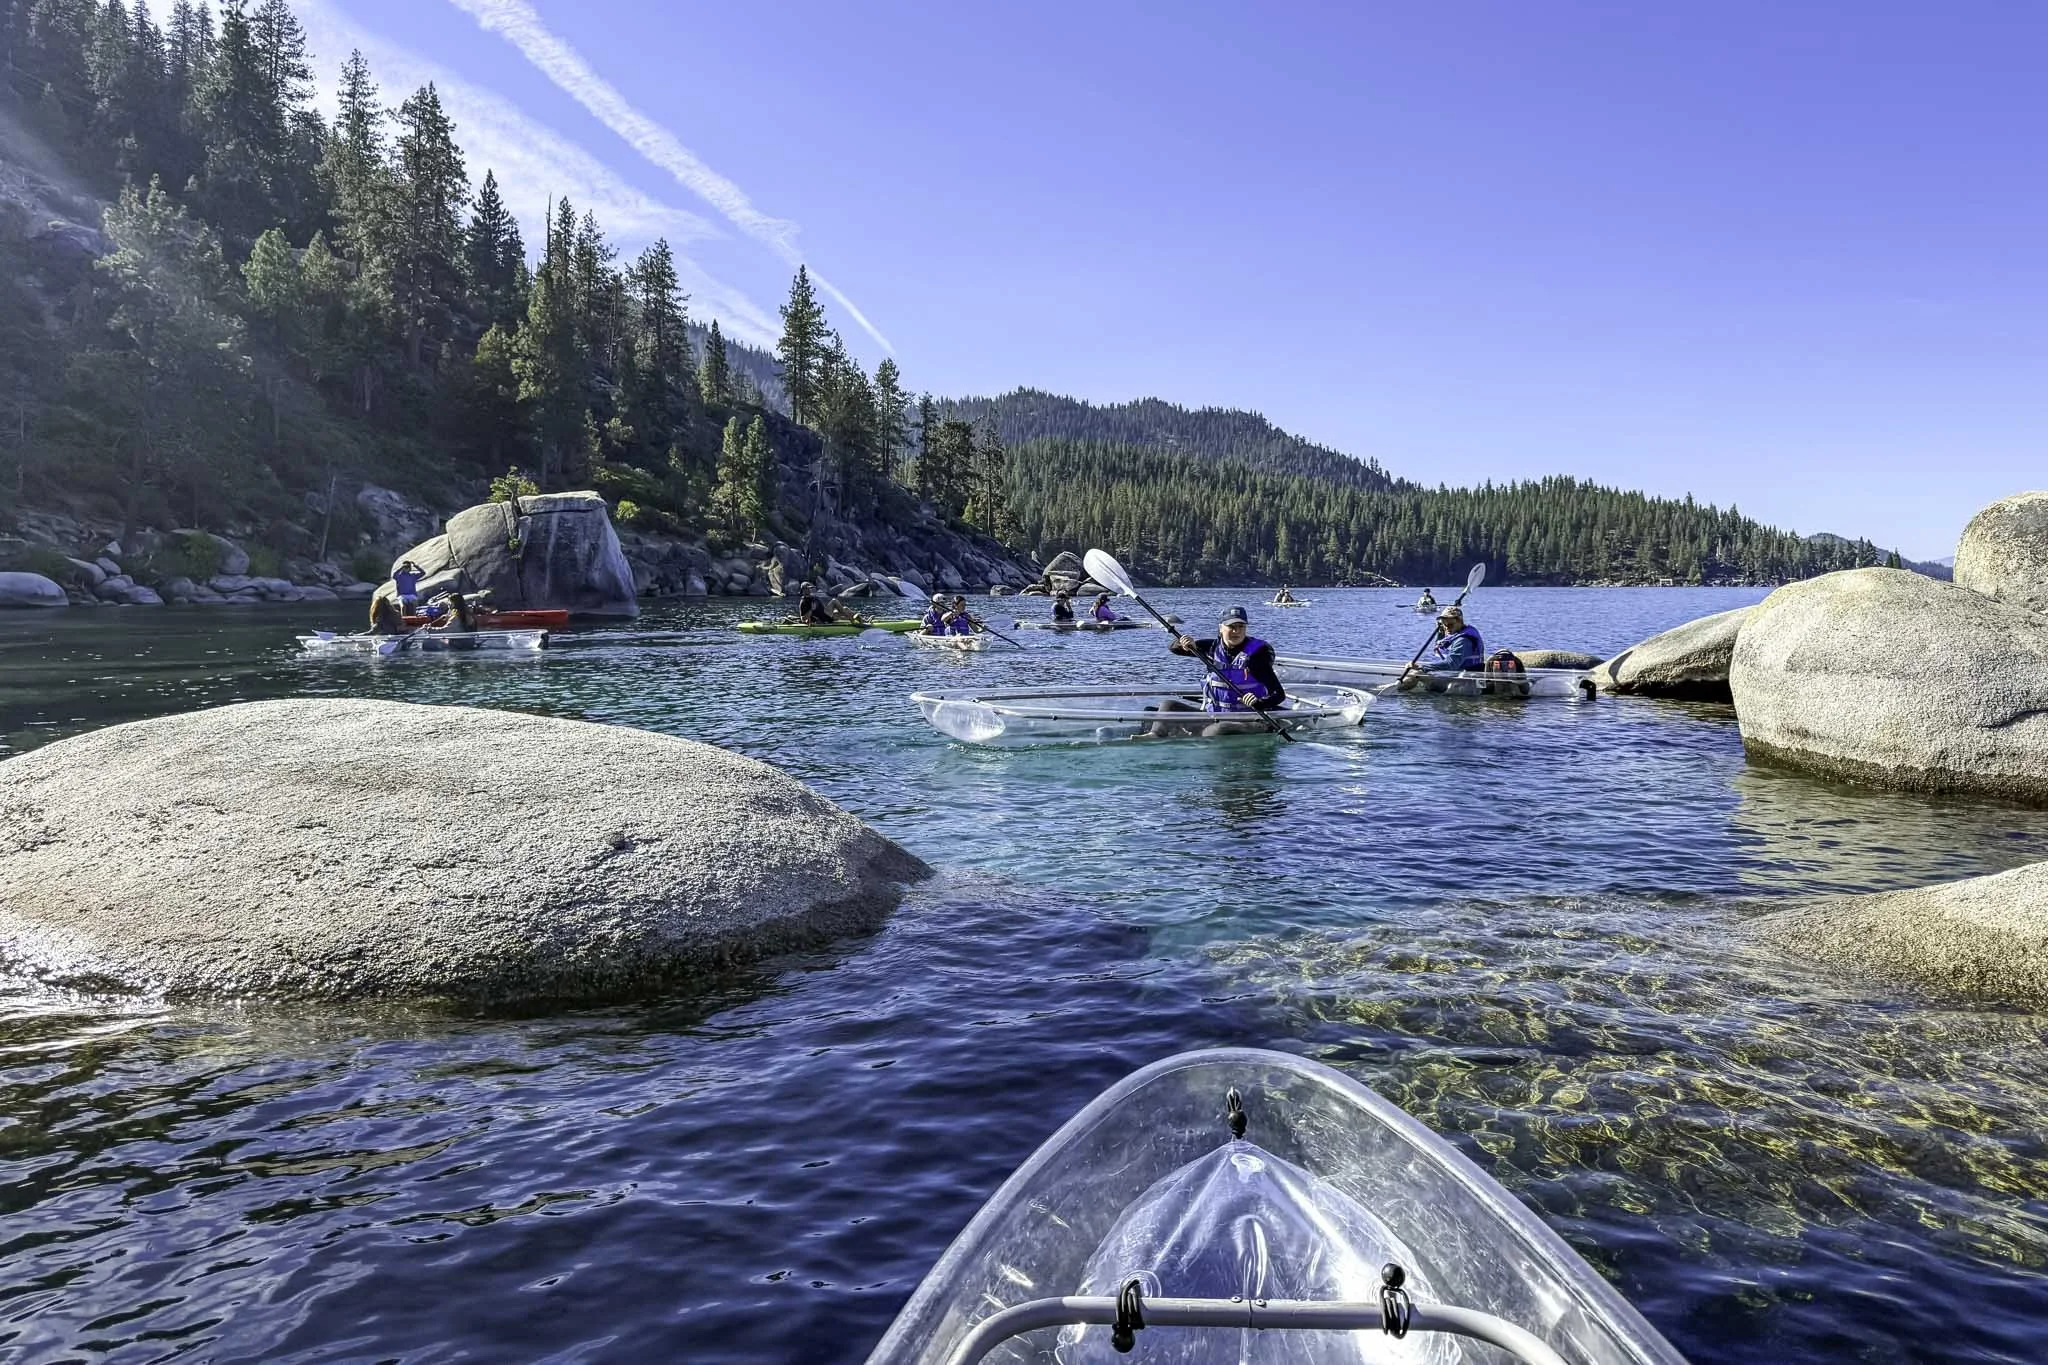


How To Visit Vikingsholm Castle In Emerald Bay State Park
Located along the beach and at the head of Emerald Bay State Park, Vikingsholm Castle is a fine example of Scandinavian…
3 minute read | contains affiliate links
Located along the beach and at the head of Emerald Bay State Park, Vikingsholm Castle is a fine example of Scandinavian architecture right here in Lake Tahoe.
This Nordic estate sits on 232-acres of pristine beach line, beautiful turquoise water, Fannette Island (the only island in Tahoe) and the only waterfall in Tahoe that flows directly into the lake.
Unlike most state parks and attractions like Vikingsholm, you cannot drive up to it. A visit to Emerald Bay and Vikingsholm requires you to either hike or boat in.
In this guide, we’ll cover all the necessary information you’ll need to plan a visit for yourself. Topics such as the hiking trail, parking, when to go and more will be covered.
Let’s get into it!

Exciting news for our readers!
We’re excited to Introduce the all-new "Inked with Wanderlust" online store!
We're thrilled to bring you a fantastic collection of wanderlust-inspired merchandise. Celebrate your love for travel and exploration with our stylish apparel and accessories, designed to ignite your sense of adventure.
Discover a range of unique designs that capture the spirit of wanderlust, from cozy hiking-themed t-shirts to charming accessories that make your wanderlust spirit soar!
Visit our online store today and start your journey of style and adventure. Happy exploring!

Quick Stats
Location: Emerald Bay State Park, Lake Tahoe
Fee: $10 parking fee
Permit: None
Open: Year round, but road is sometimes closed in winter
For: Hikers, beach-goers, swimmers, kayakers, etc
Restroom: At the trailhead and at the beach
Parking: Medium-sized lot
EV Stations: None
Difficulty: Moderate
Popularity: High
Mileage: Two-miles, round trip
Time: A couple hours to a full day
Elevation Gain: 377-feet
Condition: Well-maintained and signed
Features: Vikingsholm Castle, waterfall and beach
Pets: Not allowed
Drones: Not allowed
Hazards: None other than usual wilderness dangers
Our Visit(s): August 2022
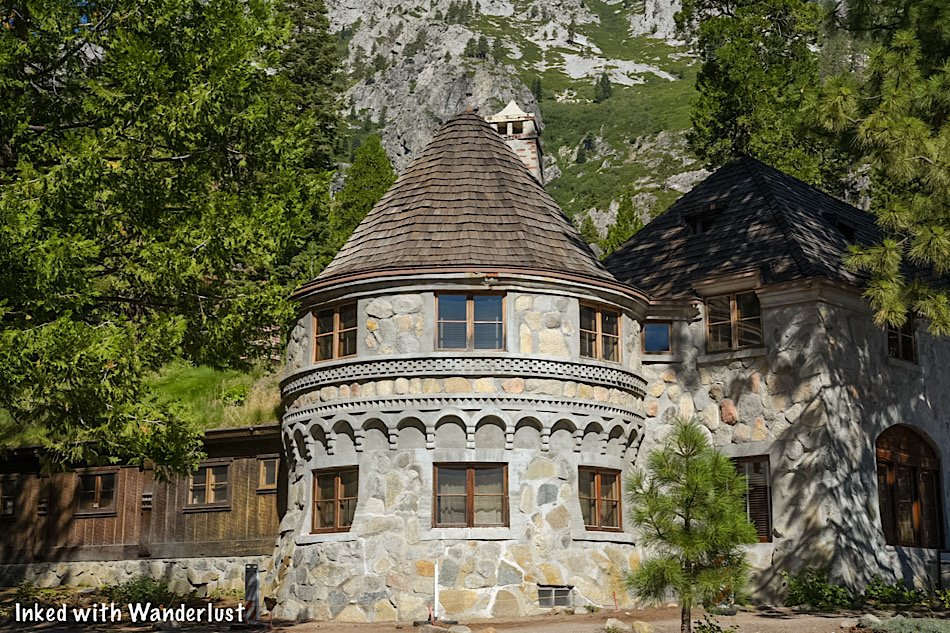
Parking and Location

Vikingsholm Castle is located in Emerald Bay, the crown jewel of Lake Tahoe. It’s one of the most popular destinations along the lake and thus, gets crowded quickly.
The key to a successful visit is to arrive early. Emerald Bay does have it’s own parking lot but for the crowds it sees, it’s inadequate at best.
We arrived just after 8am to a near empty lot. By 8:30am, while we were still gathering our things, the lot was nearly full. So arrive early. Earlier if you’re here on a holiday.

If you see this sign, you’ve arrived too late. It won’t re-open until enough space has been made and you’re not allowed to park on the side of the road.
You’ll either need to circle around a few times until spaces become available or try back again later in the day.
If you find space near the Eagle Falls trailhead, you can park there and walk to it but keep in mind, the road is very narrow and borderline hazardous for pedestrians.


The fee to use this lot is $10 for the day. This fee covers other California state parks in Tahoe during the same day (D.L. Bliss State Park is just down the road).
The pay stations accept cash or credit/debit cards. After paying, you’ll be given a receipt. You’ll need to display this receipt on your dashboard.
*Note: If you’re paying with cash, have the exact amount. The pay stations do not give change.

Just to the right of the pay stations is a booth. Head past this to access both the trail and the viewing deck for Emerald Bay.

Soon after passing the booth you’ll see a viewing deck on your right. This platform provides a commanding view of Emerald Bay and Fannette Island.

A lot of people simply get to this point, take their pictures and leave. If your intention is to visit the castle, then rejoin the trail and continue forward.
The Trail to Vikingsholm Castle

We’ll first address the difficulty of this trail. At more than a few spots, trail signage indicates how steep and borderline difficult the way back up can be.
From my perspective, the hike back up wasn’t bad. It was a constant incline and a little steep in some spots, but overall I didn’t have a problem with it.
That being said, if you have certain physical limitations, be honest with yourself. The way in is a breeze, but the way out can be difficult if you’re not acclimated to trails like this.


As stated above, the way in is a breeze. If you’re here early, the majority of the trail will have a plethora of shade and you’ll have sporadic views of Fannette Island.

As you near the end of the trail, you’ll reach a junction. If you go left, you’ll be on the Rubicon Trail. To continue to Vikingsholm Castle, go right.
Soon after this juncture, you’ll see the public restrooms for Emerald Bay on your right. Soon after that, you’ll see the back side of Vikingsholm Castle on your left.
Vikingsholm Castle

Vikingsholm Castle is sight to behold and one you’ll have to see for yourself to truly appreciate. How well it blends in with its natural surroundings is a wonderful example of how construction can compliment nature.


Vikingsholm Castle was designed by Swedish architect, Lennart Palme, in 1928. Palme was the nephew of the property owner, Lora Josephine Knight.
Construction of the castle was completed in 1929 and was used my Mrs. Knight and her family as a summer home (one of the first of which in Lake Tahoe).


The castle was owned by Mrs. Knight until her death in 1945. The castle traded hands a couple more times until the State of California acquired it in 1953.
Considering the jaw-dropping beauty of Emerald Bay, it’s crazy to imagine that someone once lived here. I know we would love to have Emerald Bay all to ourselves for the summer.
Tours of Vikingsholm Castle

Unfortunately, we didn’t partake in the tour of the castle as by the time the first one embarked, it was time for us to get going.
Tours of the castle are offered daily and take you through the interior. You’ll follow a knowledgable guide who’ll detail the history of the castle, its development and impact on the area.

Tour information is as follows:
Tours are guided
They are 30-minutes in length
They’re offered daily, early June - late September
Tour times are between 11am - 4pm
$15 per adult, $12 per child 7-17, free for under 7
Tickets can be purchased at the Emerald Bay Visitor Center
For more information on the guided tours, you can check out the Sierra State Parks Foundation.
Also, if you want further details of the history of Emerald Bay, Vikingsholm Castle and the people involved, we highly recommend checking out their official website.
Additional Activities in Emerald Bay

There’s more to do in Emerald Bay than just touring the castle. Many people make the trek down here to hang out on the beach and recreate on the lake.
There’s a dedicated (but small) swimming area near the center of the beach. There’s no swimming allowed outside this border due to the amount of vessels going through the bay.

Paddle boarding and kayaking are also popular activities. There’s a dedicated rental stand (Kayak Tahoe) where you can rent either one for an hour or for the day.
While I was here, I took the opportunity to try kayaking for the first time. It didn’t take me long to get it down so if you’ve never done it, don’t let that stop you.
If you’re interested in reading about my kayaking experience to Fannette Island and the Tea House, check out our article about it here.
Your Thoughts…
Have you visited Emerald Bay, Vikingsholm Castle or Fannette Island before? Do you have any additional tips about visiting this park? Let us know in the comments below. We love hearing from our readers!
Please support our website by sharing it with your family and friends.
Thank you for reading.

Explore Sutro Baths and Hike The Lands End Trail in San Francisco
Located in the northwestern corner of the beautiful city of San Francisco, a coastal oasis awaits eager visitors and hikers alike; Lands End…
7 minute read | Contains affiliate links
Located in the northwestern corner of the beautiful city of San Francisco, a coastal oasis awaits eager visitors and hikers alike; Lands End.
From the moment you leave your vehicle, you’re treated to near non-stop stunning views of the city’s coast, Golden Gate Bridge, Pacific Ocean, and Marin Headlands.
If that wasn’t enough, you’ll also get to check out many historic sights and subjects such as the USS San Francisco Memorial, Sutro Baths, Cliff House, and more!
You can spend your visit just exploring the ruins of the Sutro Baths or extend your visit by hiking this short, but beautiful stretch of California’s infamous, Coastal Trail.
So how do you get to Lands End? Is the trail dog friendly? How many miles is it? We’ll answer all these questions and more below. Let’s get into it!
Lands End Information
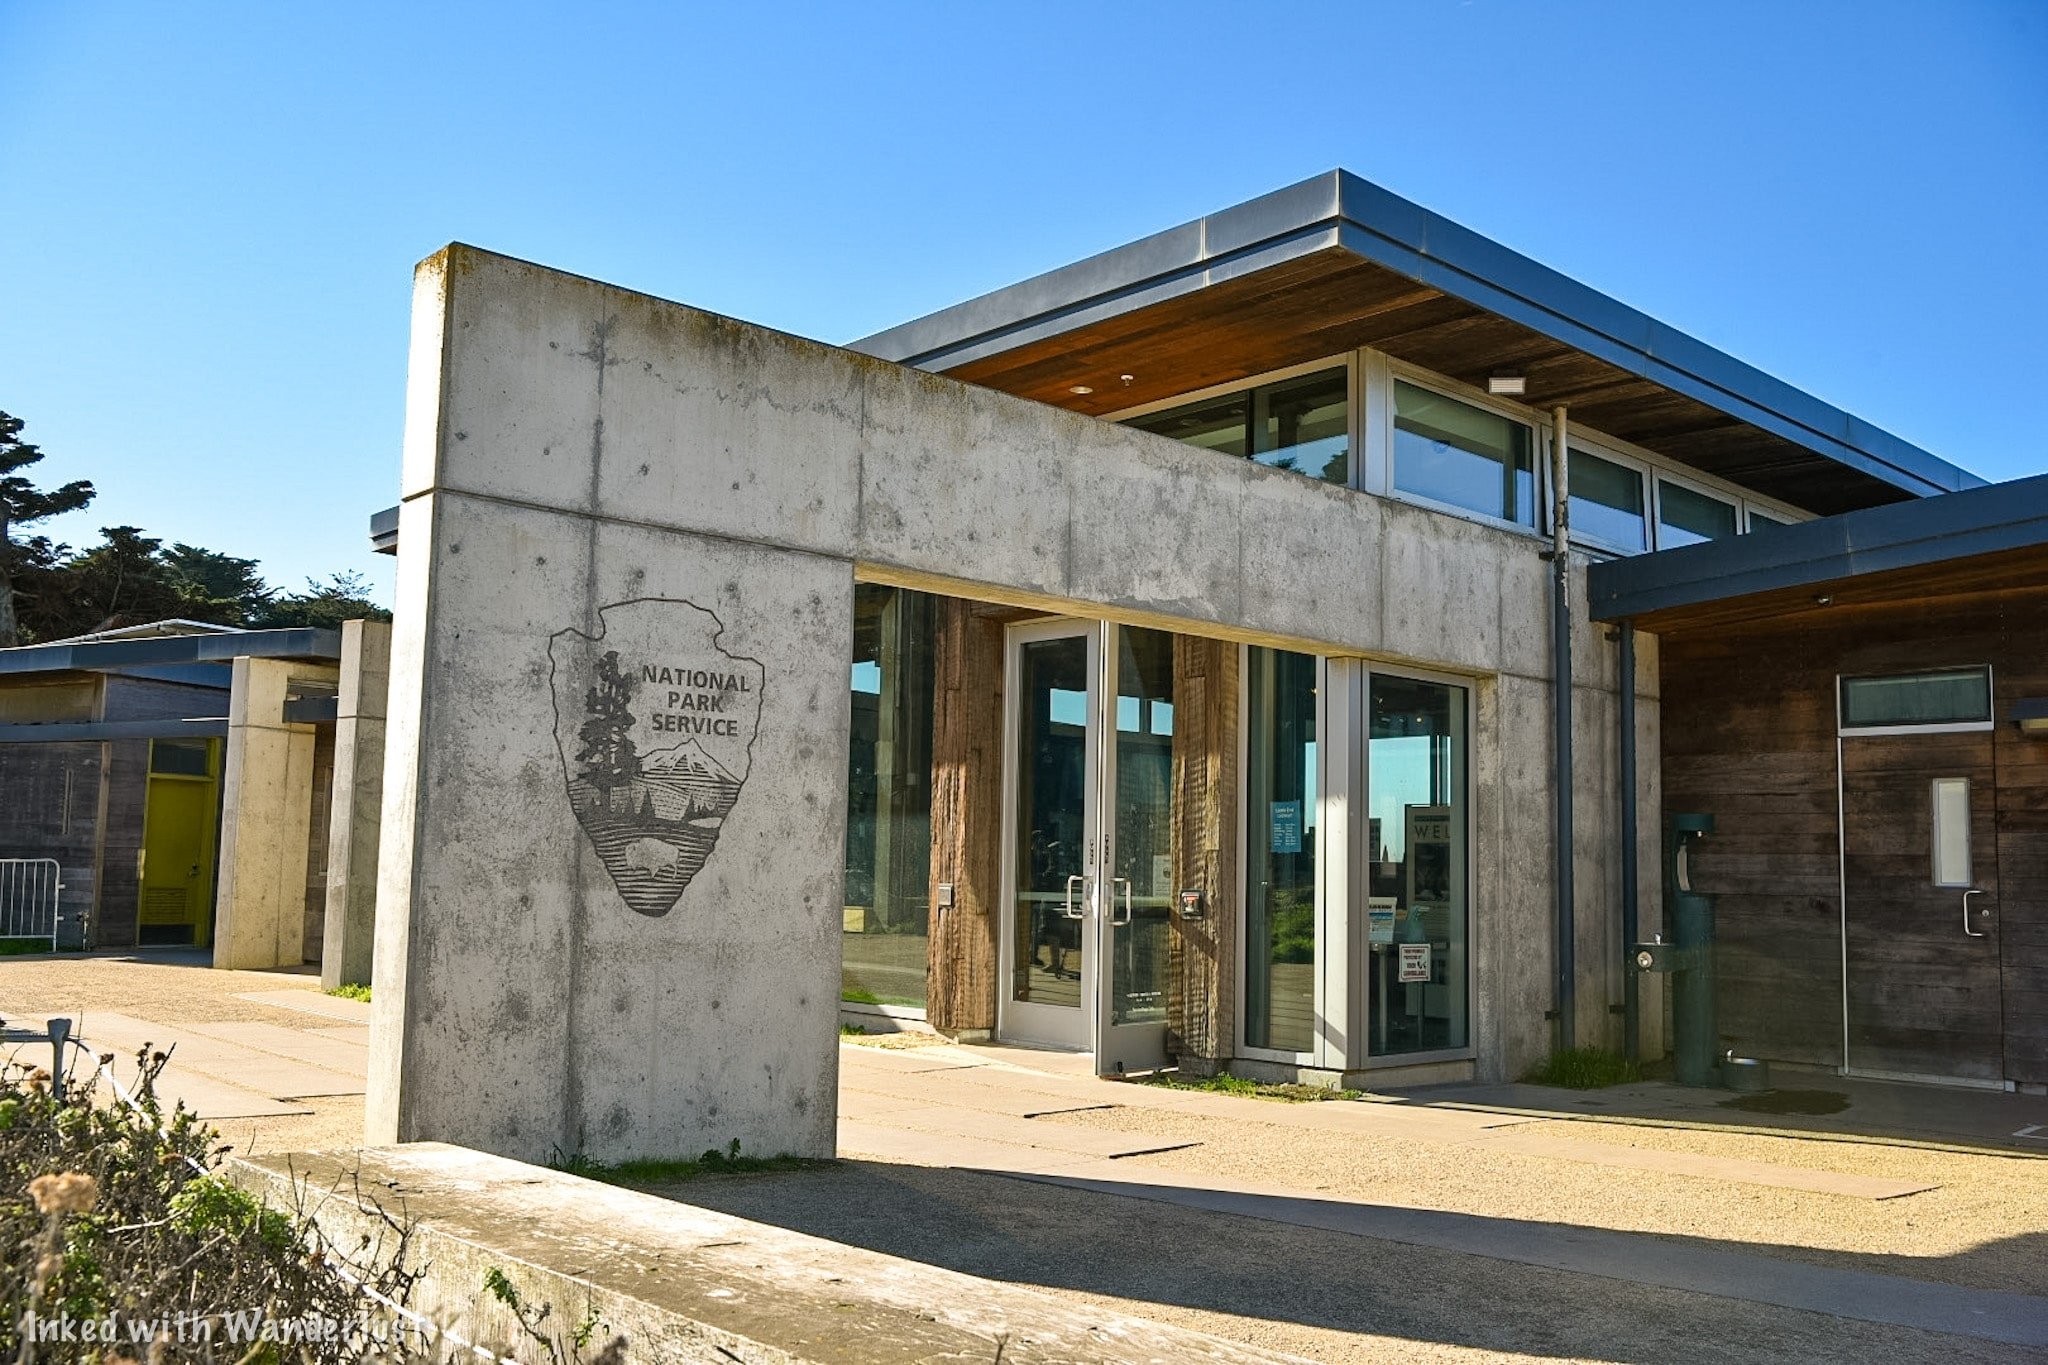
Lands End Lookout
The parking lot for Lands End is located in the Sutro Heights district of the city, just off of Point Lobos Ave.
Here, you can access the Visitor Center, Cliff House, Sutro Bath ruins, and the trailhead for the Lands End trail.

For GPS purposes, here is the address:
680 Point Lobos Ave. San Francisco, CA, 94121
Sutro Baths Ruins

From the parking lot, you’ll see a stairwell descending towards the ocean. This stairwell will take you down to the Sutro Baths ruins.
The Sutro Baths complex was a massive saltwater swimming pool owned by Adolph Sutro. They were built in 1894 and remained opened until 1964.

The complex was sold to real estate developers with the idea to build ocean-side condos, but a fire in 1966 put an end to that plan.

Now run by the National Park Service, all that remains of the baths are the concrete foundations, walls, and stairwells.


It may seem like nothing, but the ruins are fun to explore. You’re free to climb and walk on them but be careful! One misstep and you’re in the ocean.


To the right of the ruins is a tunnel carved into the rock. It isn’t long and there’s not much to see at the end, but it’s still a cool feature of the area.
Sutro Baths Upper Traill
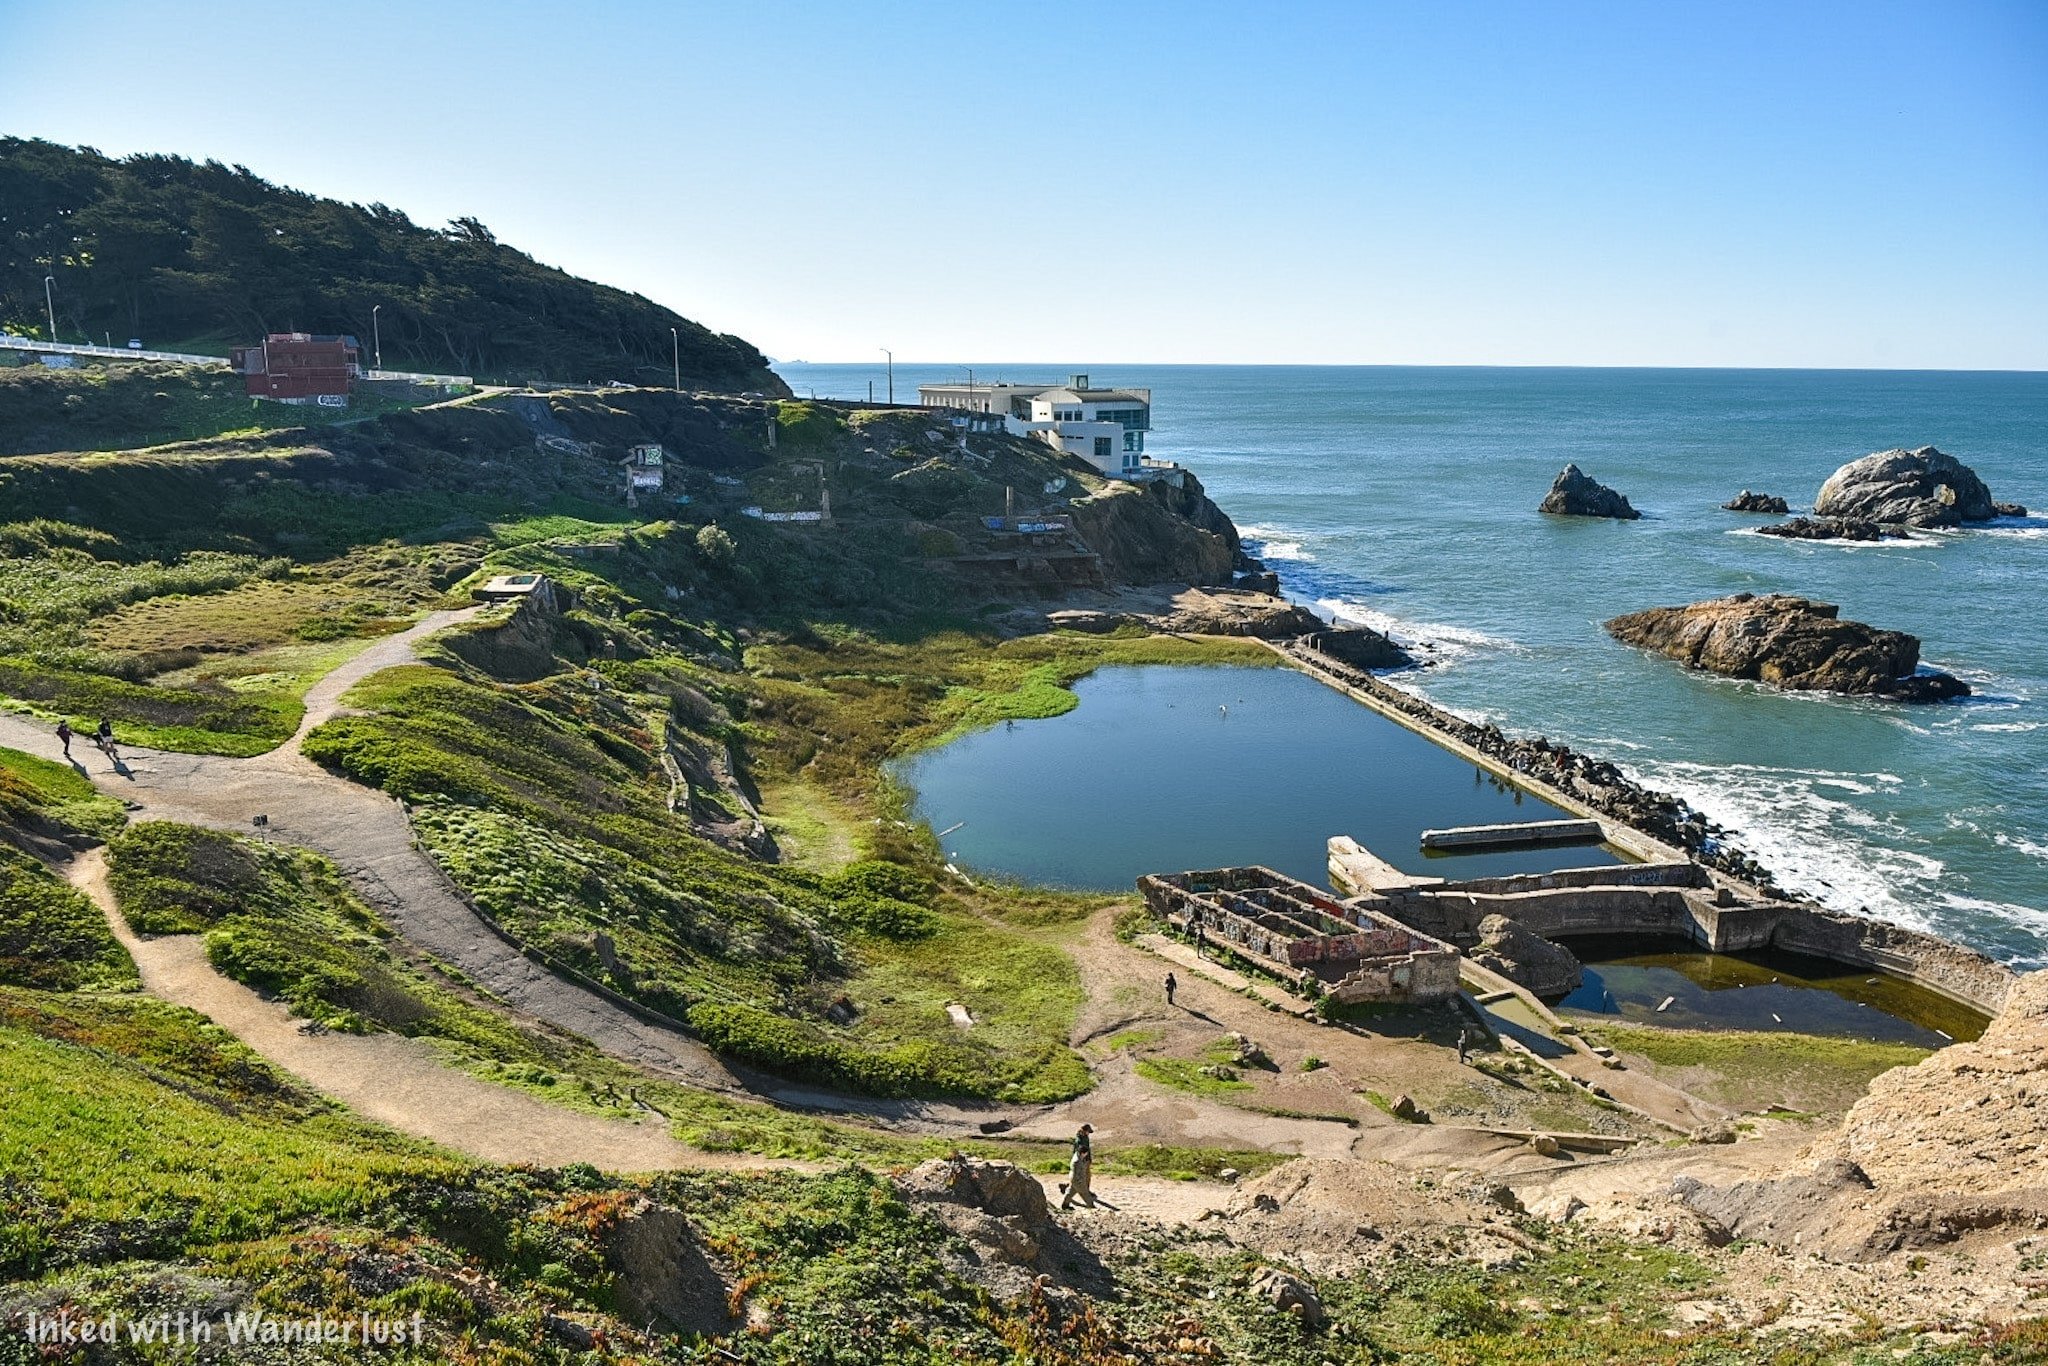
On the concrete path to the ruins, you’ll notice a dirt path that spurs off up and to the right. This is the Upper Trail.
The view from above will give you an idea of just how massive the Sutro Baths complex really was.
Lands End Trail

Trailhead near Sutro Baths.
Trail Information
The trailhead on the lookout side of the trail is adjacent to the parking lot. If you’re facing Sutro Baths at the top, go right.
You can access the other side of the trail by parking near the Legion of Honor building and walking down the pathway along the road.

Trailhead near Legion of Honor off of Lincoln Highway.
The Lands End trail is a section of the infamous, Coastal Trail. A near 1200-mile trail stretching from Mexico up to Oregon.
The Lands End portion is 1.5-miles, one-way, along a mostly dirt path winding along beautiful coastal bluffs lined with Cypress trees.


The trail is easy-to-mild in difficulty, but does present a few moderately challenging stairwells at certain points.
The trail starts out (from the lookout side) on a wide path under Cypress trees, before opening up to an amazing view of the Golden Gate Bridge.


About halfway through, the path narrows and turns into a more traditional hiking trail. For the most part, the trail is very shaded.
*Bathroom Alert: In short, there are none. Not on the trail, anyway. There are bathrooms at the Lands End Lookout visitor center and occasionally, there’s a portable restroom near Fort Miley at the dead-end.
Trail Detours & Features
If you just want to go from one end to another, you can. However, along the way, you’ll encounter a few cool detours you should consider taking.

Lands End Point
At around the half-mile point (coming from the lookout side), you’ll see a sign pointing towards a set of steep steps (pictured below).
This stairwell will take you down to three great detours; Lands End Point, Mile Rock Beach, and Lands End Labyrinth.

Halfway down the stairwell, where it flattens, veer to right to Lands End Point. It features a spectacular view of the Golden Gate Bridge.
It makes for an excellent spot to take a break and take some photos. You could also enjoy a picnic here with your partner.

You’ll see remnants of a foundation that held some kind of military artillery. To the left of that is the Lands End Labyrinth (our photo didn’t turn out well at all. Sorry).
*If you’re interested in more locations around the city with military history, check out our articles about Kirby Cove and the Muir Beach Overlook.
Mile Rock Beach
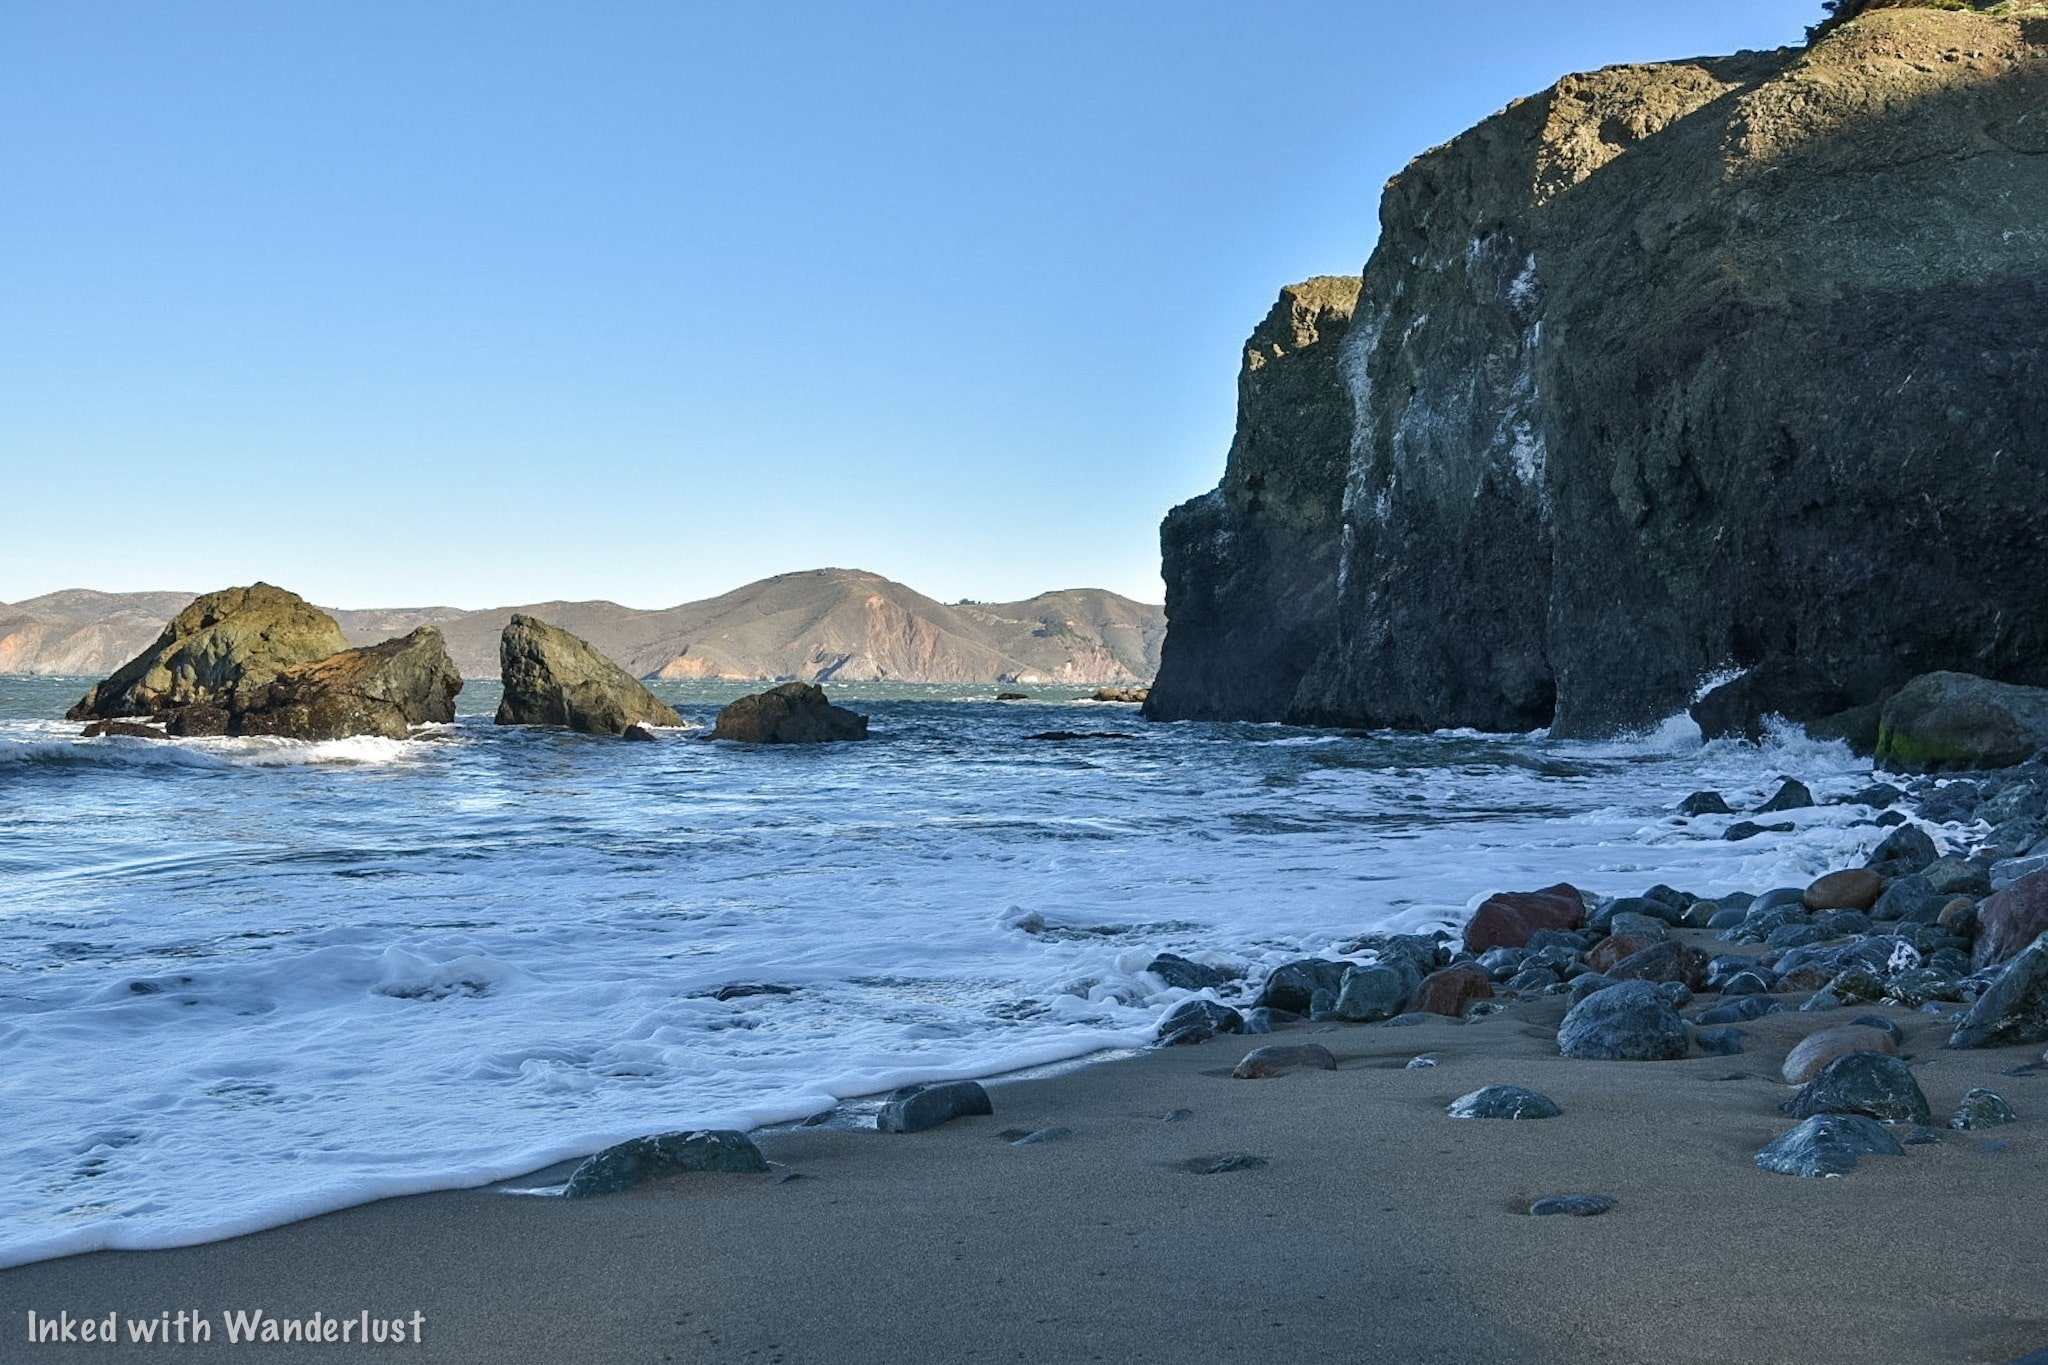
Taking the second set of stairs will take you to Mile Rock Beach. There’s also a short, but sketchy, path from Lands End Point you can take.
The beach is small, but beautiful. What it’s most known for are the seemingly hundreds of rock stacks along the cove.
These were left by many visitors over the years and the rocks used in the Labyrinth above the beach were taken from here.
Eagles Point

Eagles Point isn’t a detour as it’s directly off the trail, but it’s worth mentioning as it provides the closest view of the bridge on the trail.
If you’re starting on the Lincoln Highway side of the trail, you’ll see it right away as it’s just past the trailhead sign on your right.
Legion of Honor

Legion of Honor is a museum located near the trail in Lincoln Park. They display a collection of ancient and European artifacts from the last 4,000 years.
The Beaux-arts building was built in a way to commemorate Californian soldiers who were killed in battle during World War 1.
We would recommend visiting before or after your hike. For more information or to purchase advance tickets, go here.
USS San Francisco Memorial

This memorial was built to honor the memory of the men who died on the USS San Francisco during the Battle of Guadalcanal.
The memorial was built out of materials from the actual ship. You can see the holes made by enemy bullets all around it.

Coming from the Sutro Baths side of the trail, you’ll soon come to an opening on the trail with the Golden Gate Bridge on full display.
To the right of this viewing area, you’ll see a steep set of concrete steps on your right (you can’t miss them). Take these to the top and go right.
Additional Information

When To Go
The Lands End Trail and Sutro Baths are accessible throughout the year, so there’s no real bad time to go.
The summer months will obviously be the hottest and will have the heaviest crowds. Aside from that, it’s pretty much your preference.
It was late November when my Dad and I hiked this and we experienced minimal crowding and perfect weather.
Most of the crowds we saw were at the Sutro Baths and it was close to noon by the time we reached that point.
Cliff Warnings
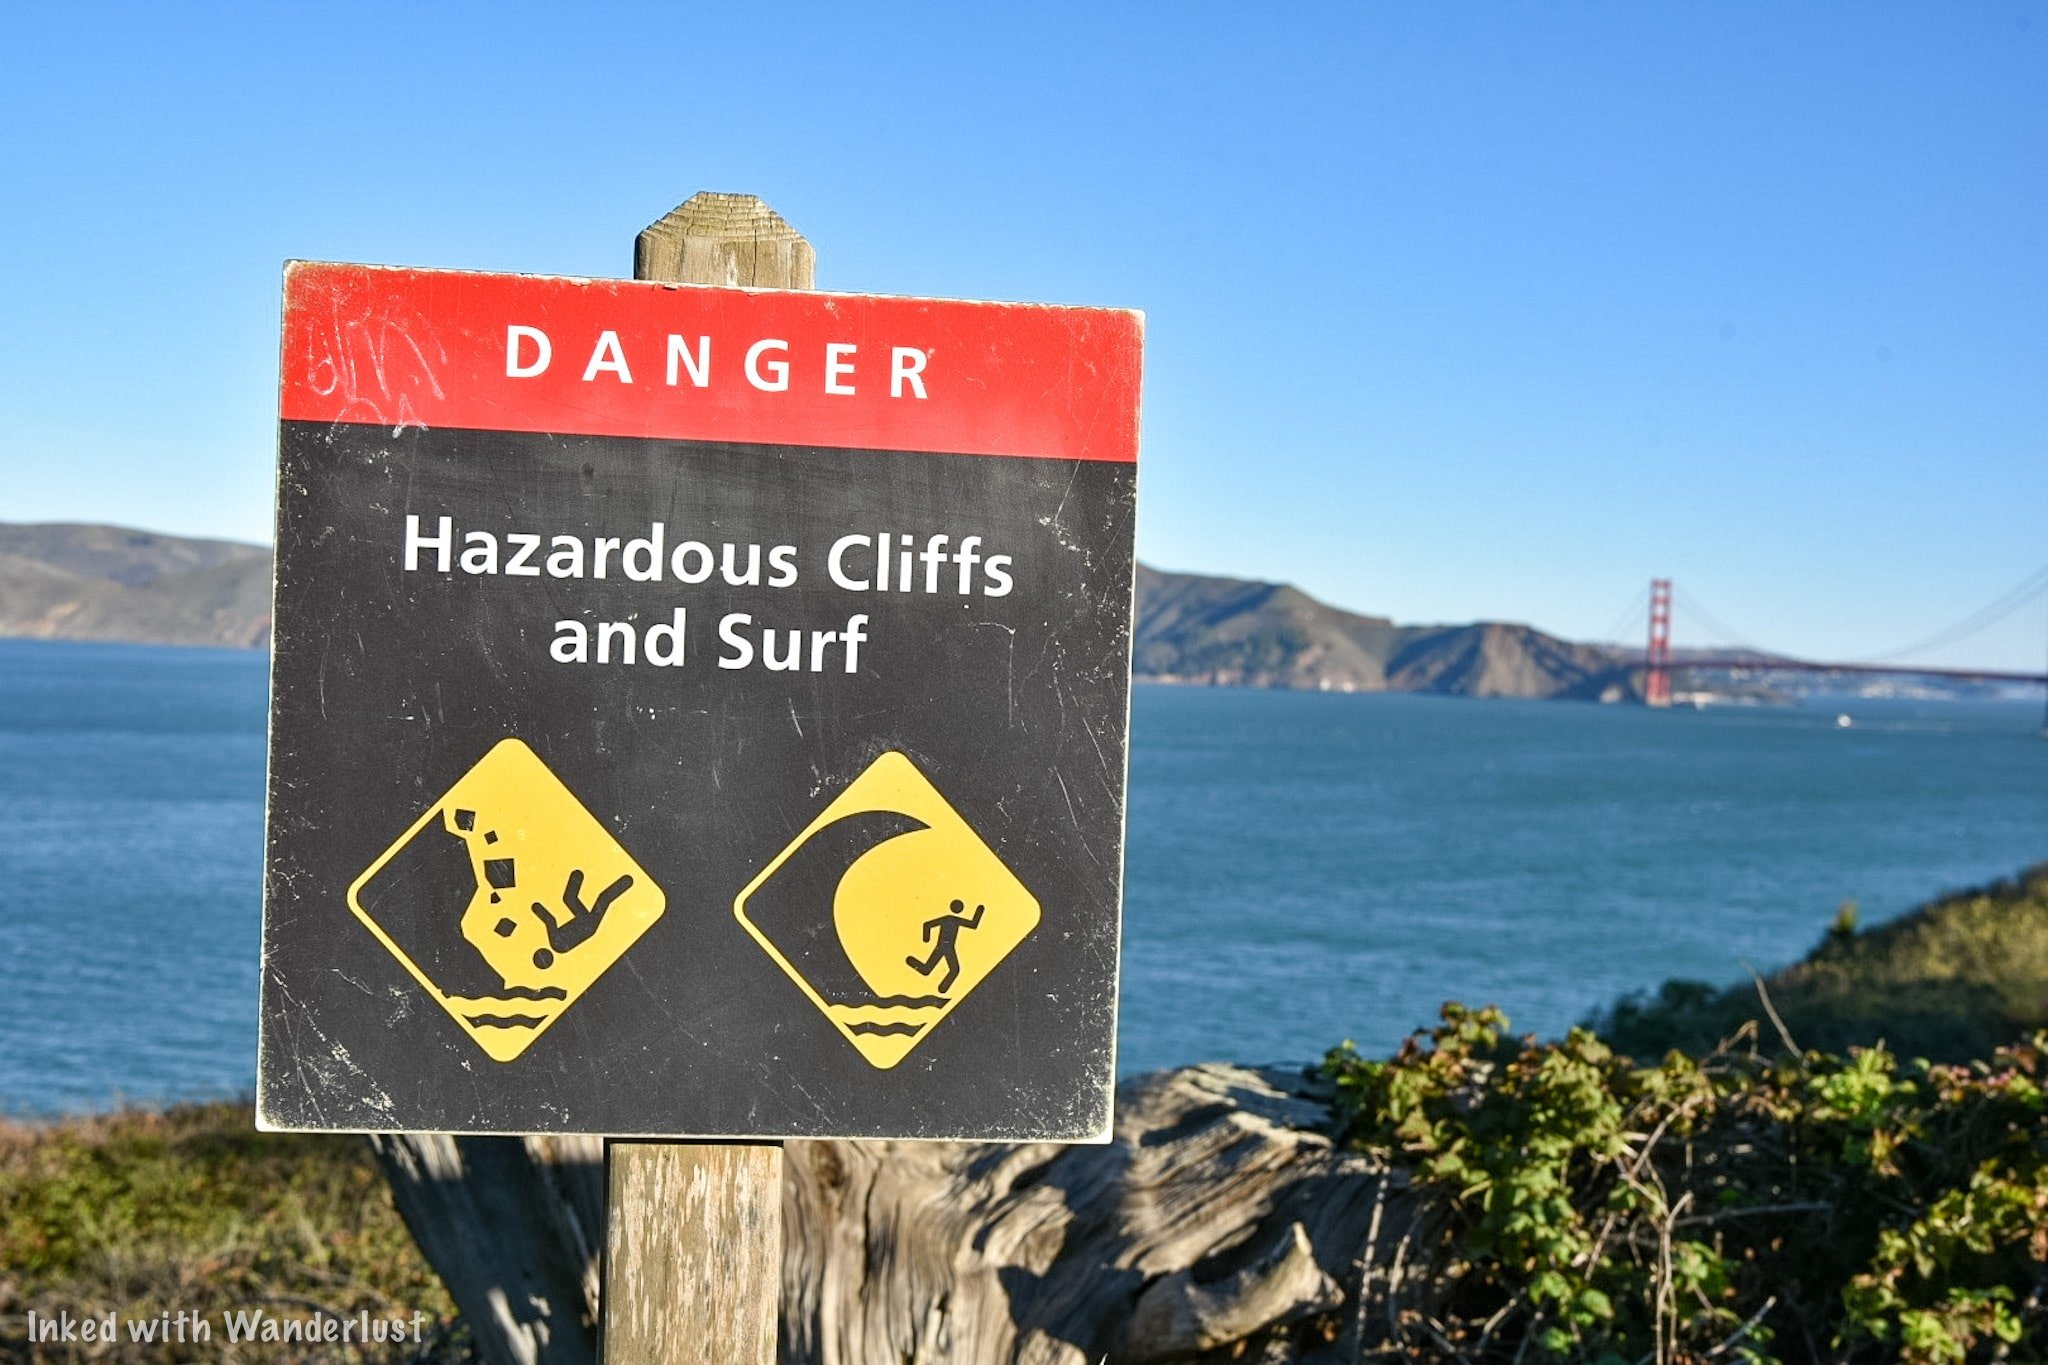
Scattered throughout the trail and at Sutro Baths, you’ll likely notice signs such as the one pictured above. It’s best to heed these warnings.
Unfortunately, there have been many deaths along this trail. One being a 17-year-old girl who lost her life after falling over a cliff.
When my Dad and I were here, someone had fallen off a cliff after entering a restricted area near Sutro Baths.
Thankfully, he was recovered by Fire & Rescue Personnel and survived his injuries, but it could have been much, much worse.
Is The Trail Dog and Bike Friendly?

Dogs, leashed or not, are welcomed all along the trail and at Sutro Baths. Bikes, on the other hand, are a bit more complicated.
Bikes are allowed between Lands End Lookout and the cut-off for Mile Rock Beach. From there, there’s a bike trail that splits from the main one.
The new trail you’ll be on parallels Lands End Trail, but higher up and will eventually terminate near the Legion of Honor building.
A Quick Note…
We’re often asked about the equipment we use to capture the photos on our website. Below, you’ll find Amazon links to them.
If you decide to purchase, Amazon will give us a small commission. This helps us keep the site running and doesn’t cost you anything extra.
“Understanding Exposure” by Bryan Peterson (this book is an excellent resource for anyone getting into photography)


It is our hope that this article was helpful to you in planning your next adventure. If so, please share it with your family and friends on Facebook or Pinterest.
You can further show support by subscribing to our newsletter below. In it, you’ll receive a once weekly newsletter containing announcements, new post alerts, news, and more!
If you have any questions, comments, or suggestions, please engage with us in the comment section below.
Thanks for reading and safe travels!

The Ultimate Guide To Visiting and Touring Alcatraz Island
Welcoming more than 1.4-million people annually since opening its doors to tourists in 1973, Alcatraz is one of the undisputed top rated attractions…
Welcoming more than 1.4-million people annually since opening its doors to tourists in 1973, Alcatraz is one of the undisputed top rated attractions in San Francisco.
Its rich, yet complicated history makes it appealing to anyone with even a remote interest in the subject. While its gone through multiple stages of claims and ownership, what it’s most famous for is its service as a Federal Penitentiary.
From 1933 to its closing in 1963, Alcatraz, or simply, “The Rock”, housed some of the most notorious inmates in the United States, including; Al Capone, George “Machine-Gun” Kelly, Bob Stroud, and Roy G. Gardner.

Though many have tried, Alcatraz was considered inescapable. Most escape attempts ended in surrender or death of the escapee. Five inmates, however, were never found. Assumed to have drowned in the frigid waters of the bay.
These days, visitors are welcomed and tours of the cell house and island are offered daily. With the click of a mouse, you can visit this historic place for yourself.
This guide will cover everything you’ll need to know, including; making reservations, prices, tour types, and history. You’ll also get sneak peaks of what you’ll see during the tour of the cell house tour.
NOTE: This post is long. At the top of the page, you’ll find jump links to the four major sections of the post. While we encourage you to read the whole thing, if you’d rather skip to what you’re most interested in, just click or tap to go to that specific section.
History of Alcatraz

Military Period (1850 - 1933)
Alcatraz’s notoriety started back in 1850 when, at the behest of a joint Navy and Army commission of implementing a “triangle of defense” to guard San Francisco Bay, President Fillmore signed an executive order to secure land around the bay for such use. This included Alcatraz.
Construction on the lighthouse was completed in 1854, beginning its service as the first lighthouse on the Pacific Coast. By 1859, 87 men of Company H, Third US Artillery took post on the island and by 1863 would take their first prisoners by seizing a confederate ship and imprisoning its crew.
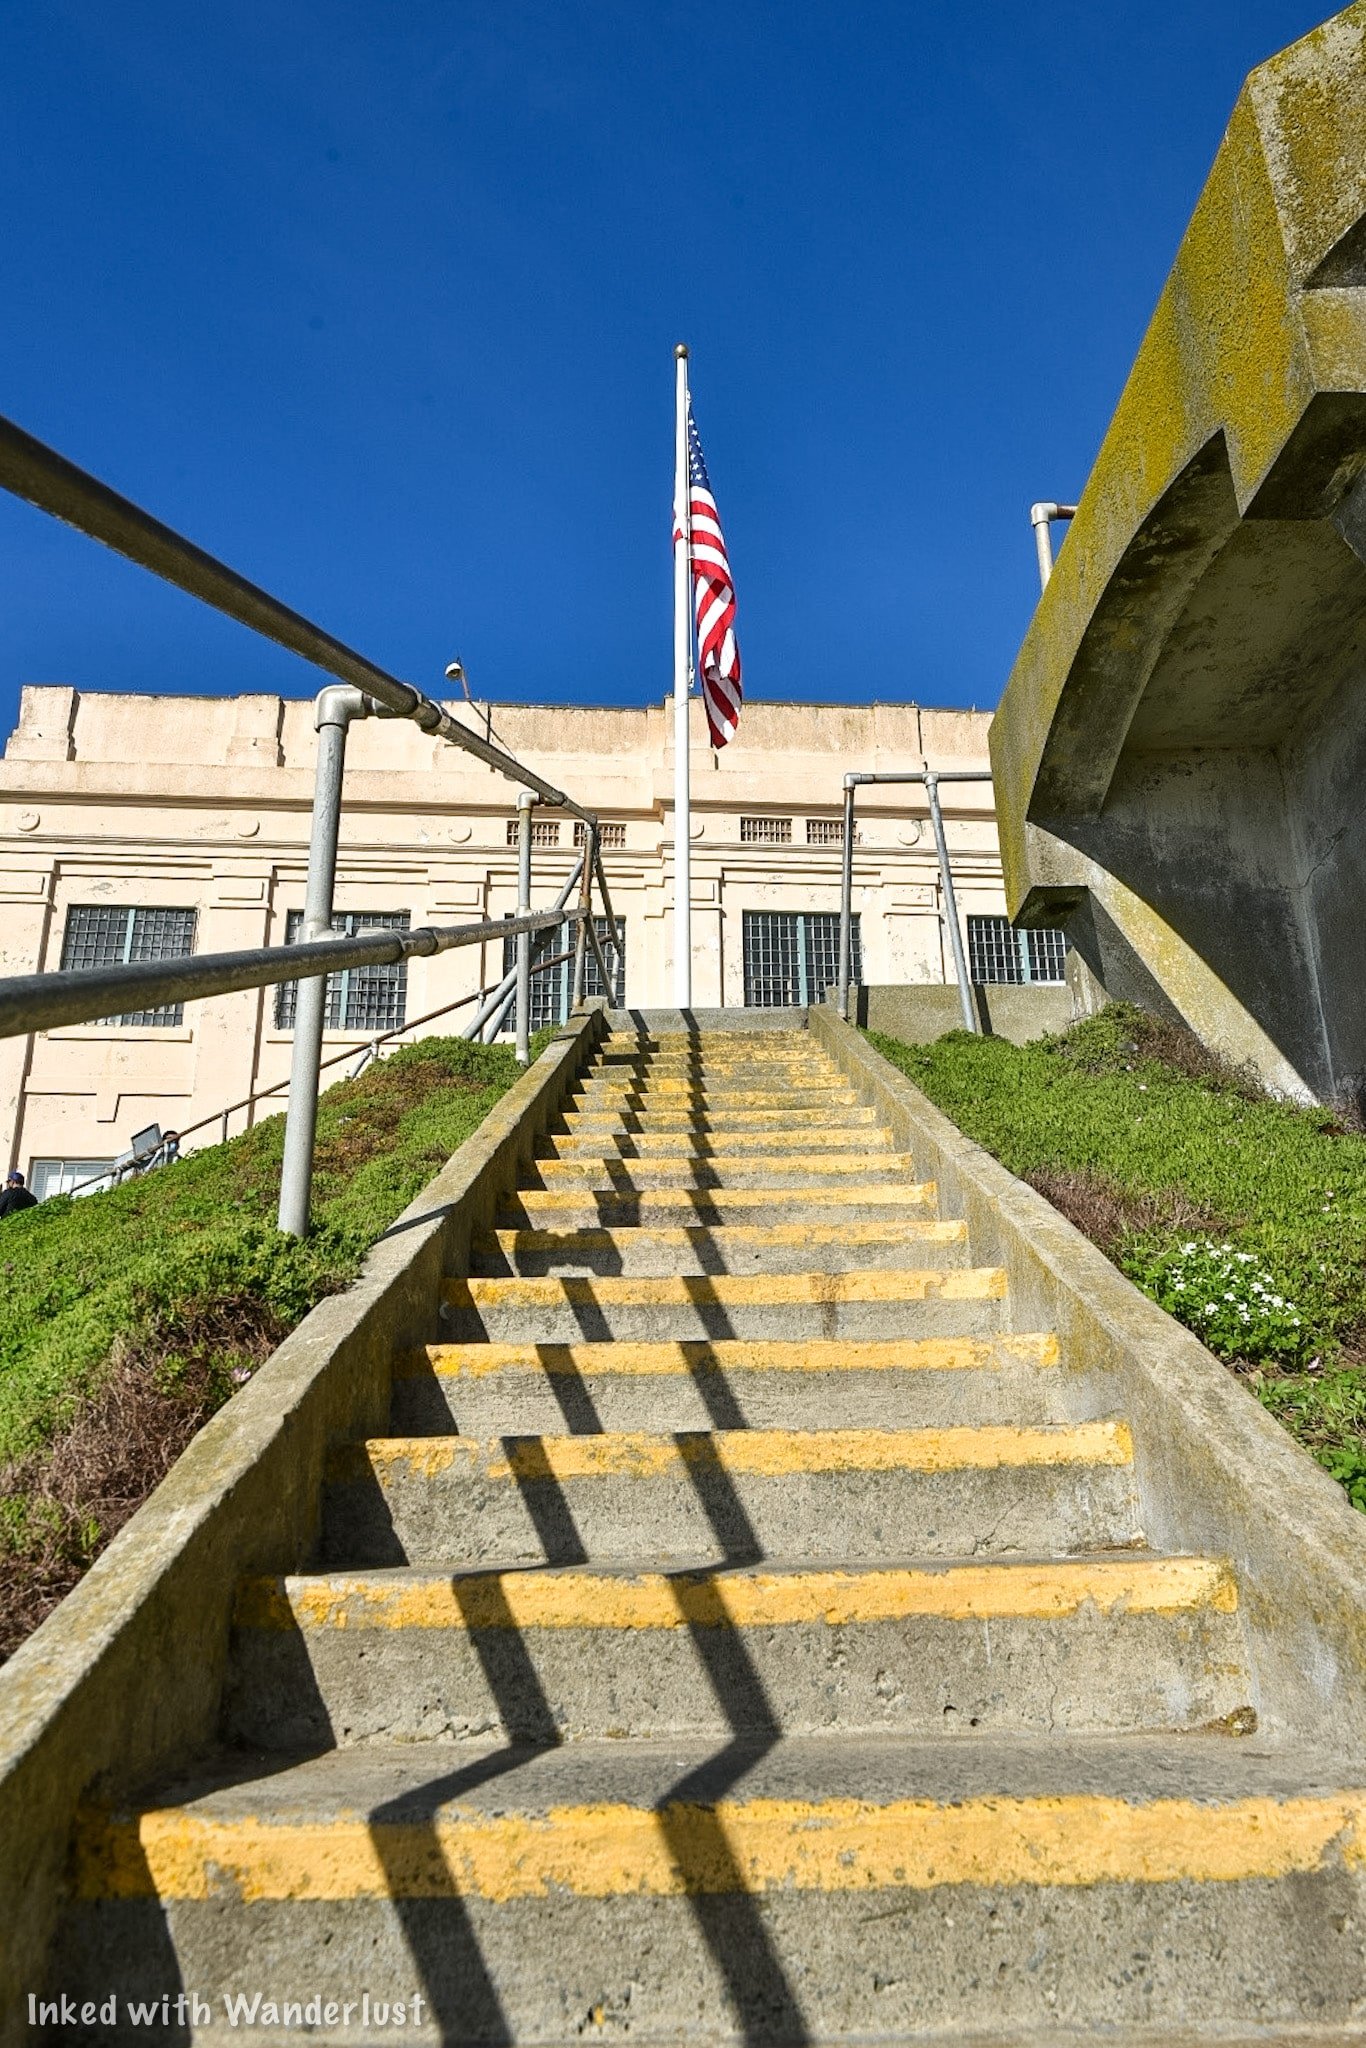
The prison was heavily used during the Spanish-American War and by its conclusion in 1898, Alcatraz would be severely overcrowded. This resulted in the building of the upper prison on the parade ground at the turn of the century.
In 1912, the new cell house (the one you see today) was built. It was constructed using convict labor and finished in the same year. This would be the final cell house built under Military supervision.
By 1930, the Federal Government was in need of a tough prison that could house a criminal population that was either too dangerous, too difficult, or had a high potential for escape. So in 1933, Alcatraz was transferred to the Feds and began its service as a Federal Penitentiary.

Federal Penitentiary Period (1934 - 1963)
The whole goal of the Federal Government was to have a prison that criminals feared. ‘The Rock’, fit the bill and quickly earned a reputation of being tough, miserable, and impossible to escape from. The cells were small (even by prison standards) and frills were minimal.
A man by the name of James A. Johnston would be appointed as its first Warden and would go on to serve for 14-years, nearly half of its operating years. Warden Johnston implemented many rules and other security features such as fortified bars, strategically-placed guard towers, and a dozen inmate counts per day.

Though it had a reputation of being “escape-proof”, some inmates challenged this as several attempts were made, most of which resulted in surrender or death of those involved. There are two notable attempts we will briefly cover.
Battle of Alcatraz
In 1946, several inmates planned and executed an escape attempt that quickly went awry and resulted in the deaths of all inmates directly involved and two guards. Not to mention over a dozen additional guards getting severely injured.
The three main inmates never made it out of the cell house and, after refusing to surrender, died in a hail of gunfire in a small utility corridor by Guards and U.S Marines. If you would like to read about it from the point of view of an inmate who was there, read:
Inside Alcatraz: My Time on the Rock: by Jim Quillen (highly recommended)
Frank Morris & The Anglin Brothers
Probably the most famous escape attempt, due to a Clint Eastwood film being made about it, is the one by Frank Morris and brothers John & Clarence Anglin. The men spent several months chipping away at the deteriorating walls around the vent at the rear of their cells.
They also made dummy models of their heads out of paper, plaster, and real hair, placing them in their beds to fool guards into thinking they were asleep. Sometime after final count on June 11th, 1962, the three men made their move by squeezing through the vent and to the roof through the utility corridor.

They successfully made it to the island’s north shore without being detected, hastily constructed a raft made from 50 raincoats, and headed out into the frigid waters, never to be seen again.
The official conclusion from the Warden was the men drowned. In reality, no one knows for sure. The water temperatures in the Bay are notorious for being very cold with strong currents. Their fate remains a mystery to this day.
Book - Escaping Alcatraz: The Untold Story of the Greatest Prison Break in American History
While successful in building an image feared by criminals, Alcatraz would prove itself to be too costly. The salty ocean air was slowly deteriorating the prison. Rising maintenance costs and other ongoing expenses proved to be too much. By order of Attorney General Robert F. Kennedy, Alcatraz was closed in 1963.
Tribal Occupation Period (1969 - 1971)
In 1969, an activist group called, “Indians of All Tribes”, landed on Alcatraz with the intent of reclaiming it as Native-American land. They did so in the name of an 1868 treaty that allowed for Indians to reclaim unused federal land. They wanted to redevelop the island into an Indian cultural center and school.
As is often the case, the federal government didn’t agree with their interpretation of the treaty and swiftly began negotiating with the group. It soon became clear that the group would settle for nothing less than complete ownership of the island. Soon, the group of activists on the island would swell to over 300 people.
When negotiations went nowhere, the Feds cut power to the island and used other tactics in an effort to remove the activists. In 1970, after the death of his young Daughter on the island, the leader of the group, Richard Oakes, left the island.
Eventually, more activists would leave and by 1971, just a handful of men, women, and children remained. At this point, the Feds moved onto the island and removed them. While technically defeated, the actions here inspired many Indian related protests at locations across the country, including Mount Rushmore and Plymouth Rock.
If you want to read about the Indian occupation in greater detail (and we suggest you do), read this article. They give a great account of what happened, why it happened, and the end result.
National Park Period (1973 - Present)

During Alcatraz’s operational years, there were only a few ways you could go to the island; you were either working there, incarcerated there, or visiting an inmate. That changed in 1973 when Alcatraz was transferred to the National Park Service and began offering public tours.
The NPS has done a wonderful job maintaining the island and keeping the facilities as authentic as possible while allowing the public to get up close and personal to what was once described as, “hell on earth”.
You, too, can visit and tour Alcatraz for yourself. However, there is a lot to know and you’ll need to be prepared. Now that we’ve gone over the general history of the island, lets get to the information you’ll need to know in order to go.
(Click to go back to top)
Visitor Information

Buying Tickets
Much like anything else, there is a fee to tour the island. The fee you’ll pay includes your entrance to Alcatraz, the cell house tour, and the round-trip ferry ride. Prices for the day tour are as follows (subject to change):
$41.00 - Adult (12 years old and up)
$38.65 - Senior (62 years old and up)
$25.00 - Child (5 - 11 years old)
$119.60 - Family Pack (Two adult & two child tickets)
As far as purchasing tickets go, you have two options:
Online: This is the preferable and easiest way. Often times, it’s the ONLY way. Tickets are known to sell out months in advance. So purchasing your tickets right when you decide on a date is the only sure-fire way. Alcatraz City Cruises is the official concessioner for Alcatraz tickets. You’ll see many others but they’re middle-men and you’ll end up paying more.

Purchase Day-Of: As stated above, tickets have been known to sell out far in advance. We’re not saying it’s impossible to get day-of tickets, but it’s not worth risking the disappointment. If you decide to go this route, head to Pier 33, scan the QR code at the entrance with your phone, see if there’s availability and if there is, make your purchase.
After you make your purchase, you’ll be emailed a receipt with a QR code (your tickets are contained within it). Simply screenshot it with your phone and present it to the ticket booth upon arrival. They’ll scan it and send you on your way. As always, be sure to print a copy just in case your phone dies.
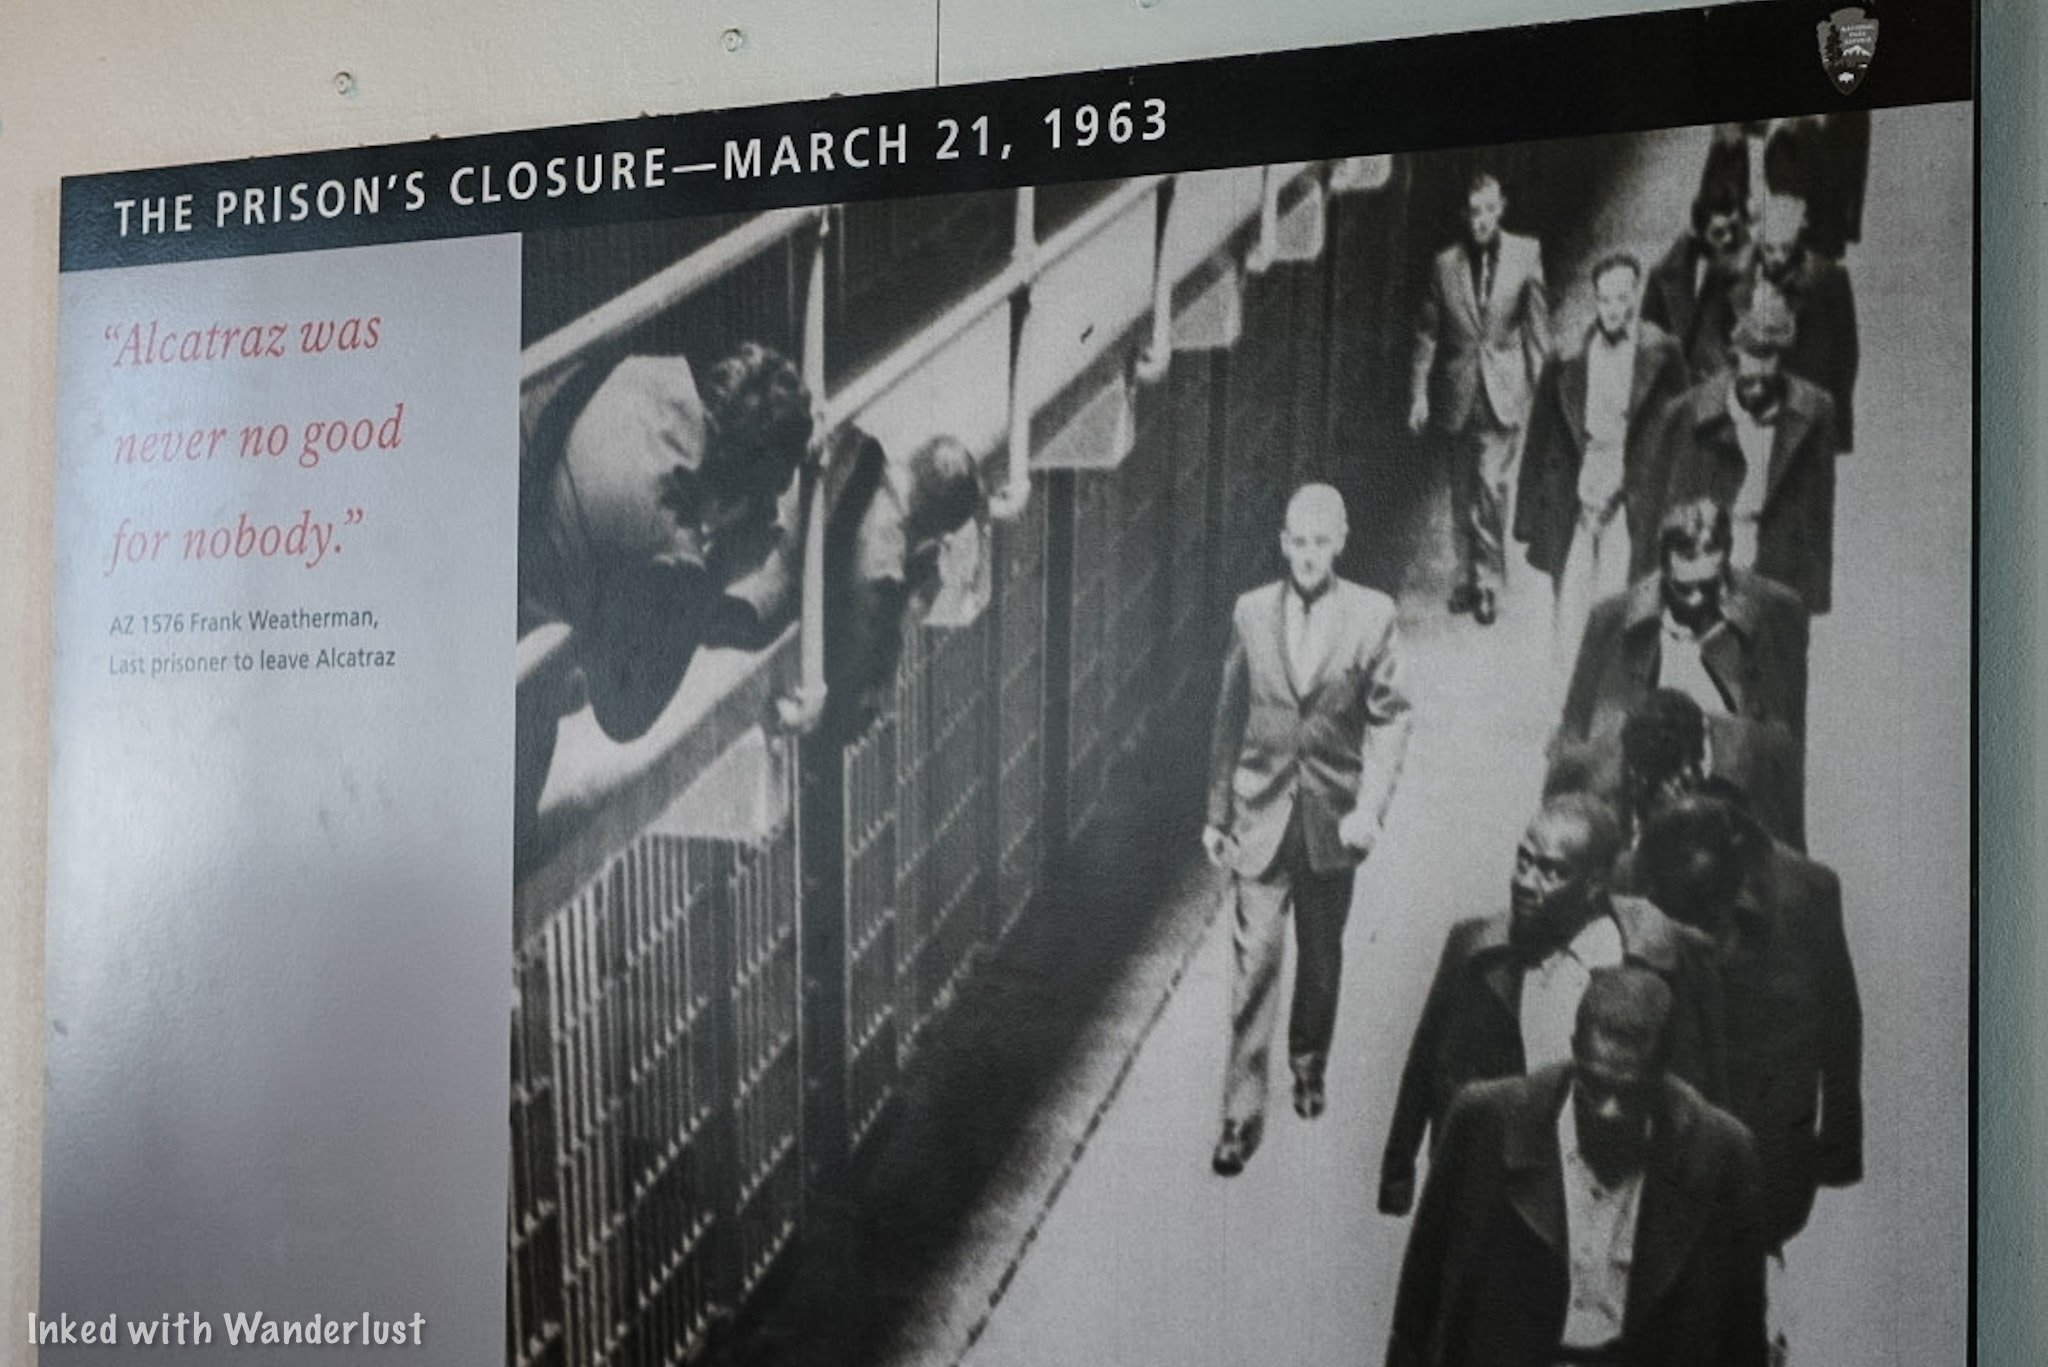
Types of Tours
While the day tour is the most popular, there are two other types of tour you should be aware of:
Night Tour: Limited to just a few hundred visitors per night, the night tour gives you the opportunity to see a sure-to-be spectacular sunset over the Golden Gate Bridge and experience the island in the dark. Prices are similar to that of the day tour but cost just a bit more.
Behind the Scenes Tour: Ever walk by a spot on the tour with the dreaded, “closed to the public”, sign? Here’s your chance to go to THOSE areas. While pricey, you and a group of no more than twenty are taken to areas of Alcatraz seldom seen by the public. Areas such as special gardens, the underground jail, and the tunnel that stretches from one end of the island to the other.

Best Time to Go
There’s really no bad time to visit San Francisco but in our opinions, September - November is best. Temperatures are warm but not unbearable and crowds are minimal.
Winter is when you’ll get the best deal on hotels but you’ll also be contending with regularly occurring rain showers. Spring is good due to mild temps and rain is nearly non-existent.
Summer, as you guessed, would be our least desirable time of year to go. It’s hot, crowded, and everything is pricier than usual. If you can help it, try either spring or fall.
Pier 33 - Alcatraz Landing
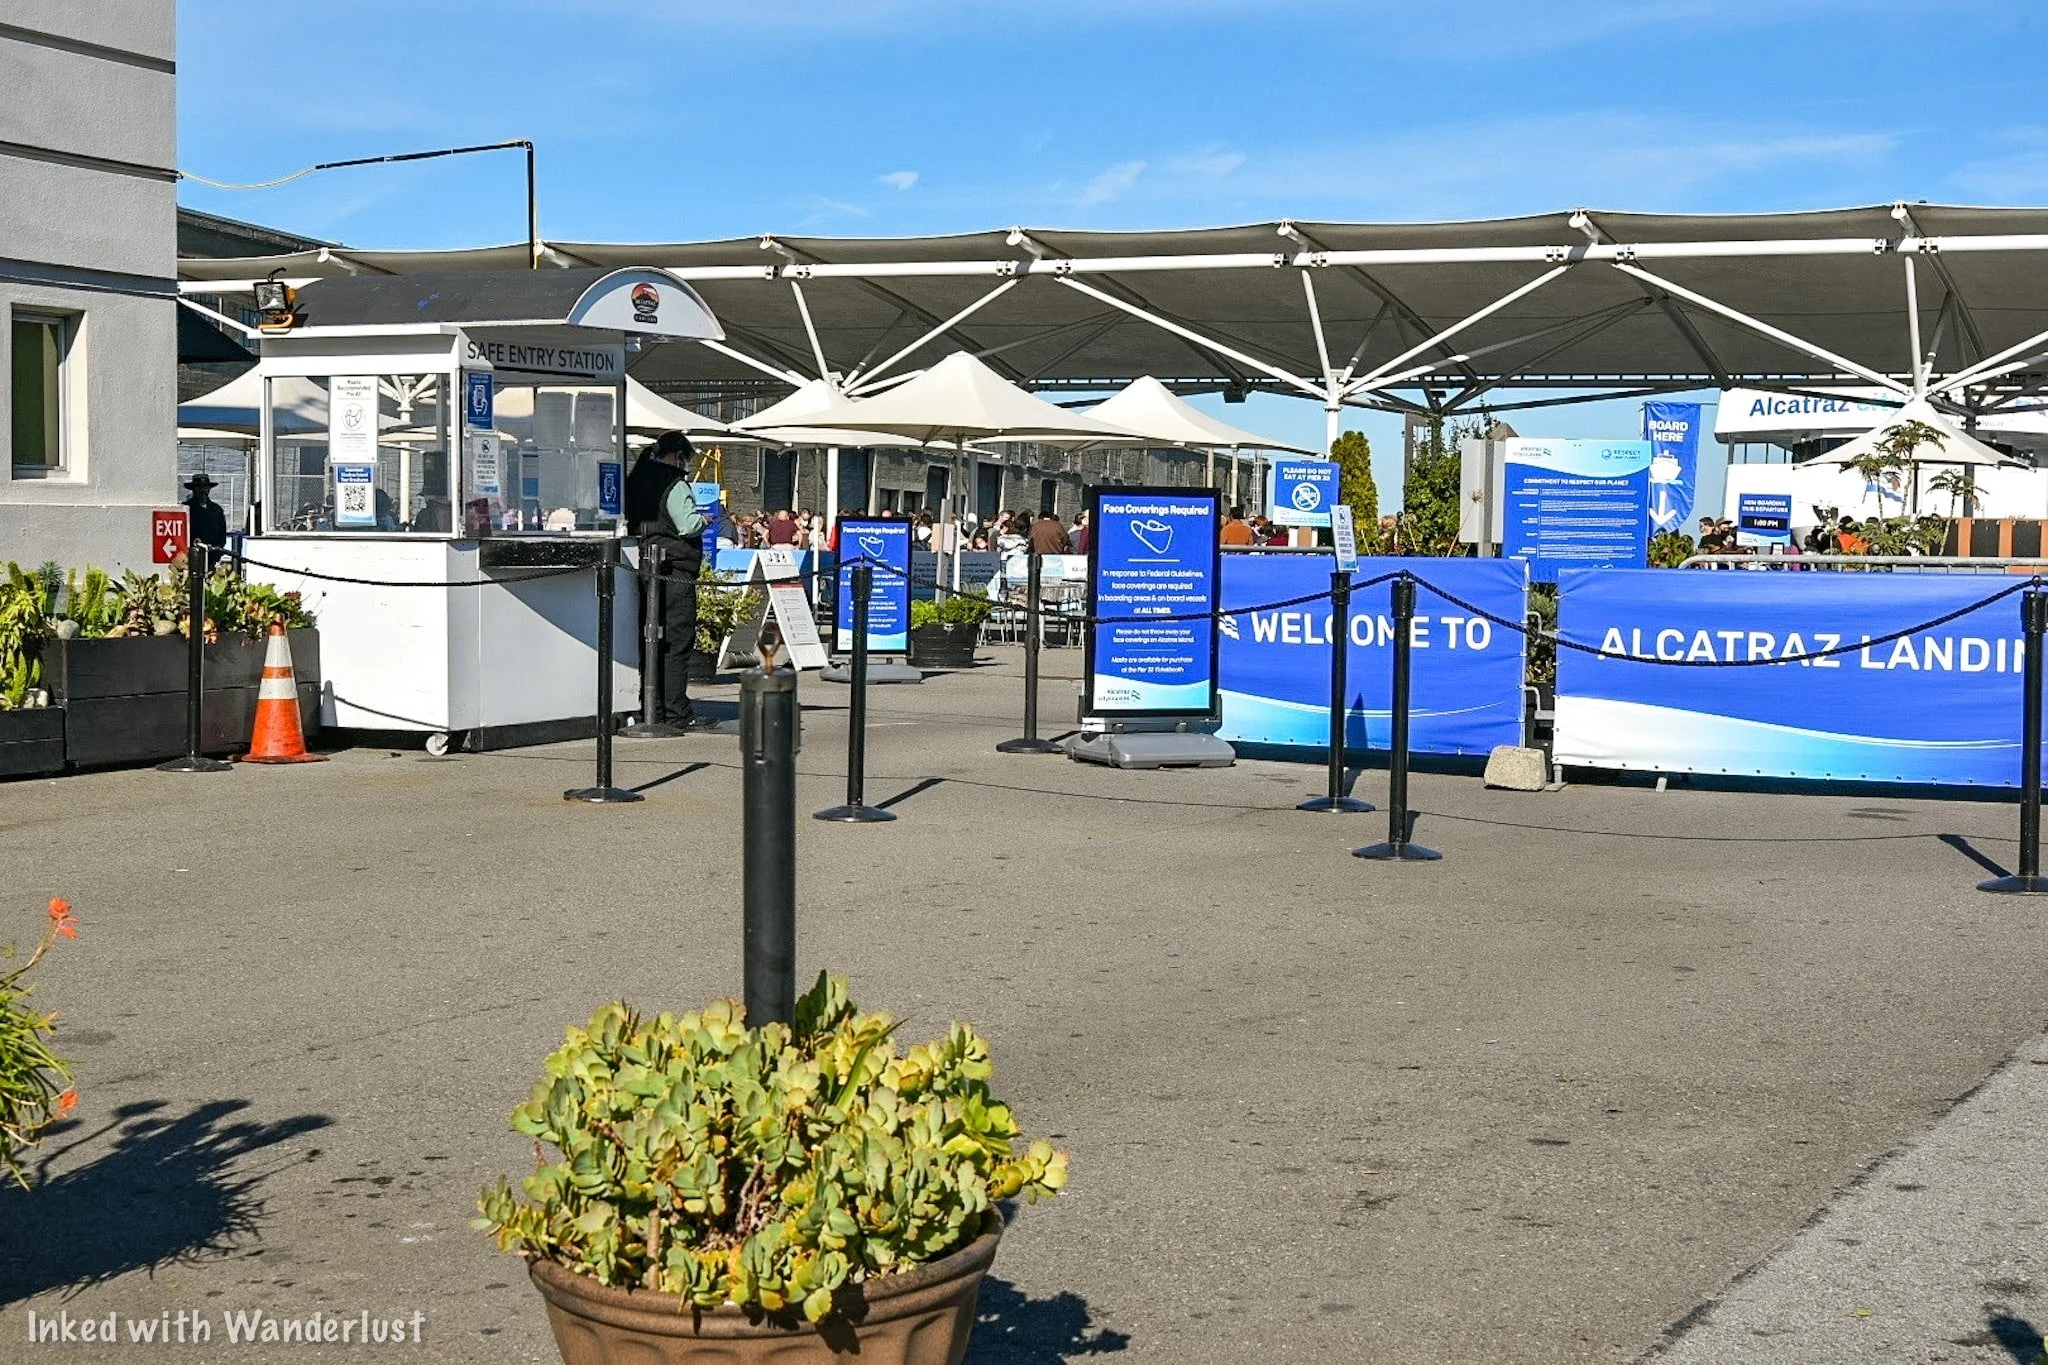
Location
Your journey to Alcatraz begins and ends at Pier 33 on the Embarcadero. The simplest and best ways to get there is by either walking, taking public transit, or a ride sharing option.
If you need to drive, parking can be found at Pier 29.5 (adjacent to Pier 33), across the street from the Exploratorium, a parking garage across from Pier 39, behind the ferry building, and other locations nearby. They all charge their own fees.
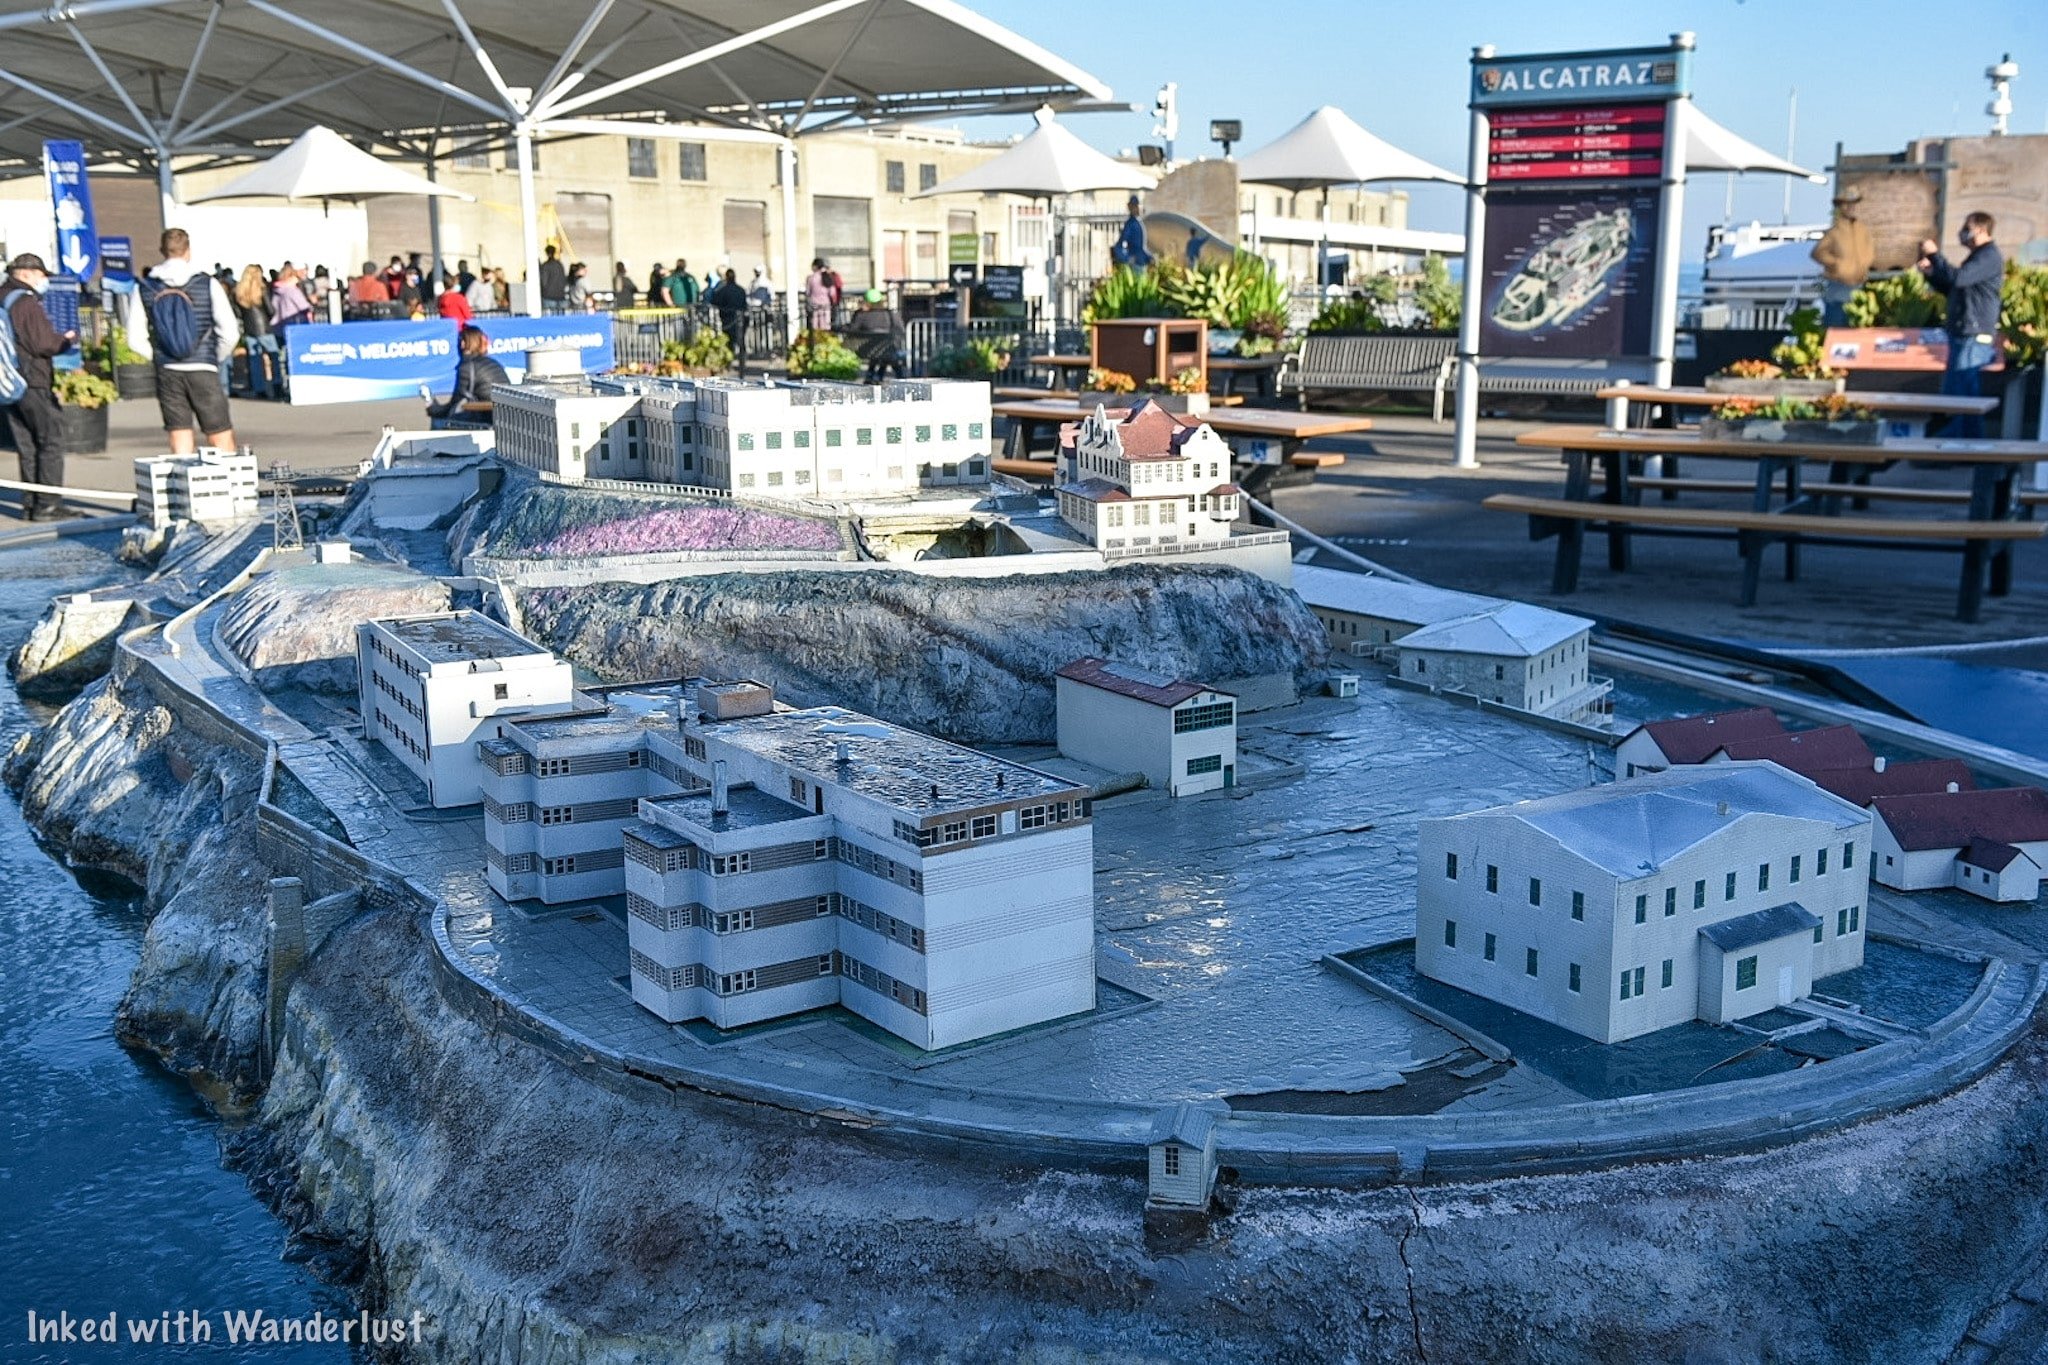
The boarding area contains multiple informative displays and a scaled model of what the island looked like when the prison was operational. There’s plenty of seating scattered about and portable restrooms.
You’ll see the boarding queue up front and at the entrance will be a sign indicating which group is boarding (your group is the time you selected during your ticket purchase).

You can arrive as early or as close to your departure time as you like. However, it is recommended to arrive one hour prior as the vessel is loaded on a first come-first serve basis. You could end up having to wait for the next one if it’s full.
*Side Note: It is here where you can request a Braille and American Sign Language transcript of the cell house tour.
Arriving at Alcatraz
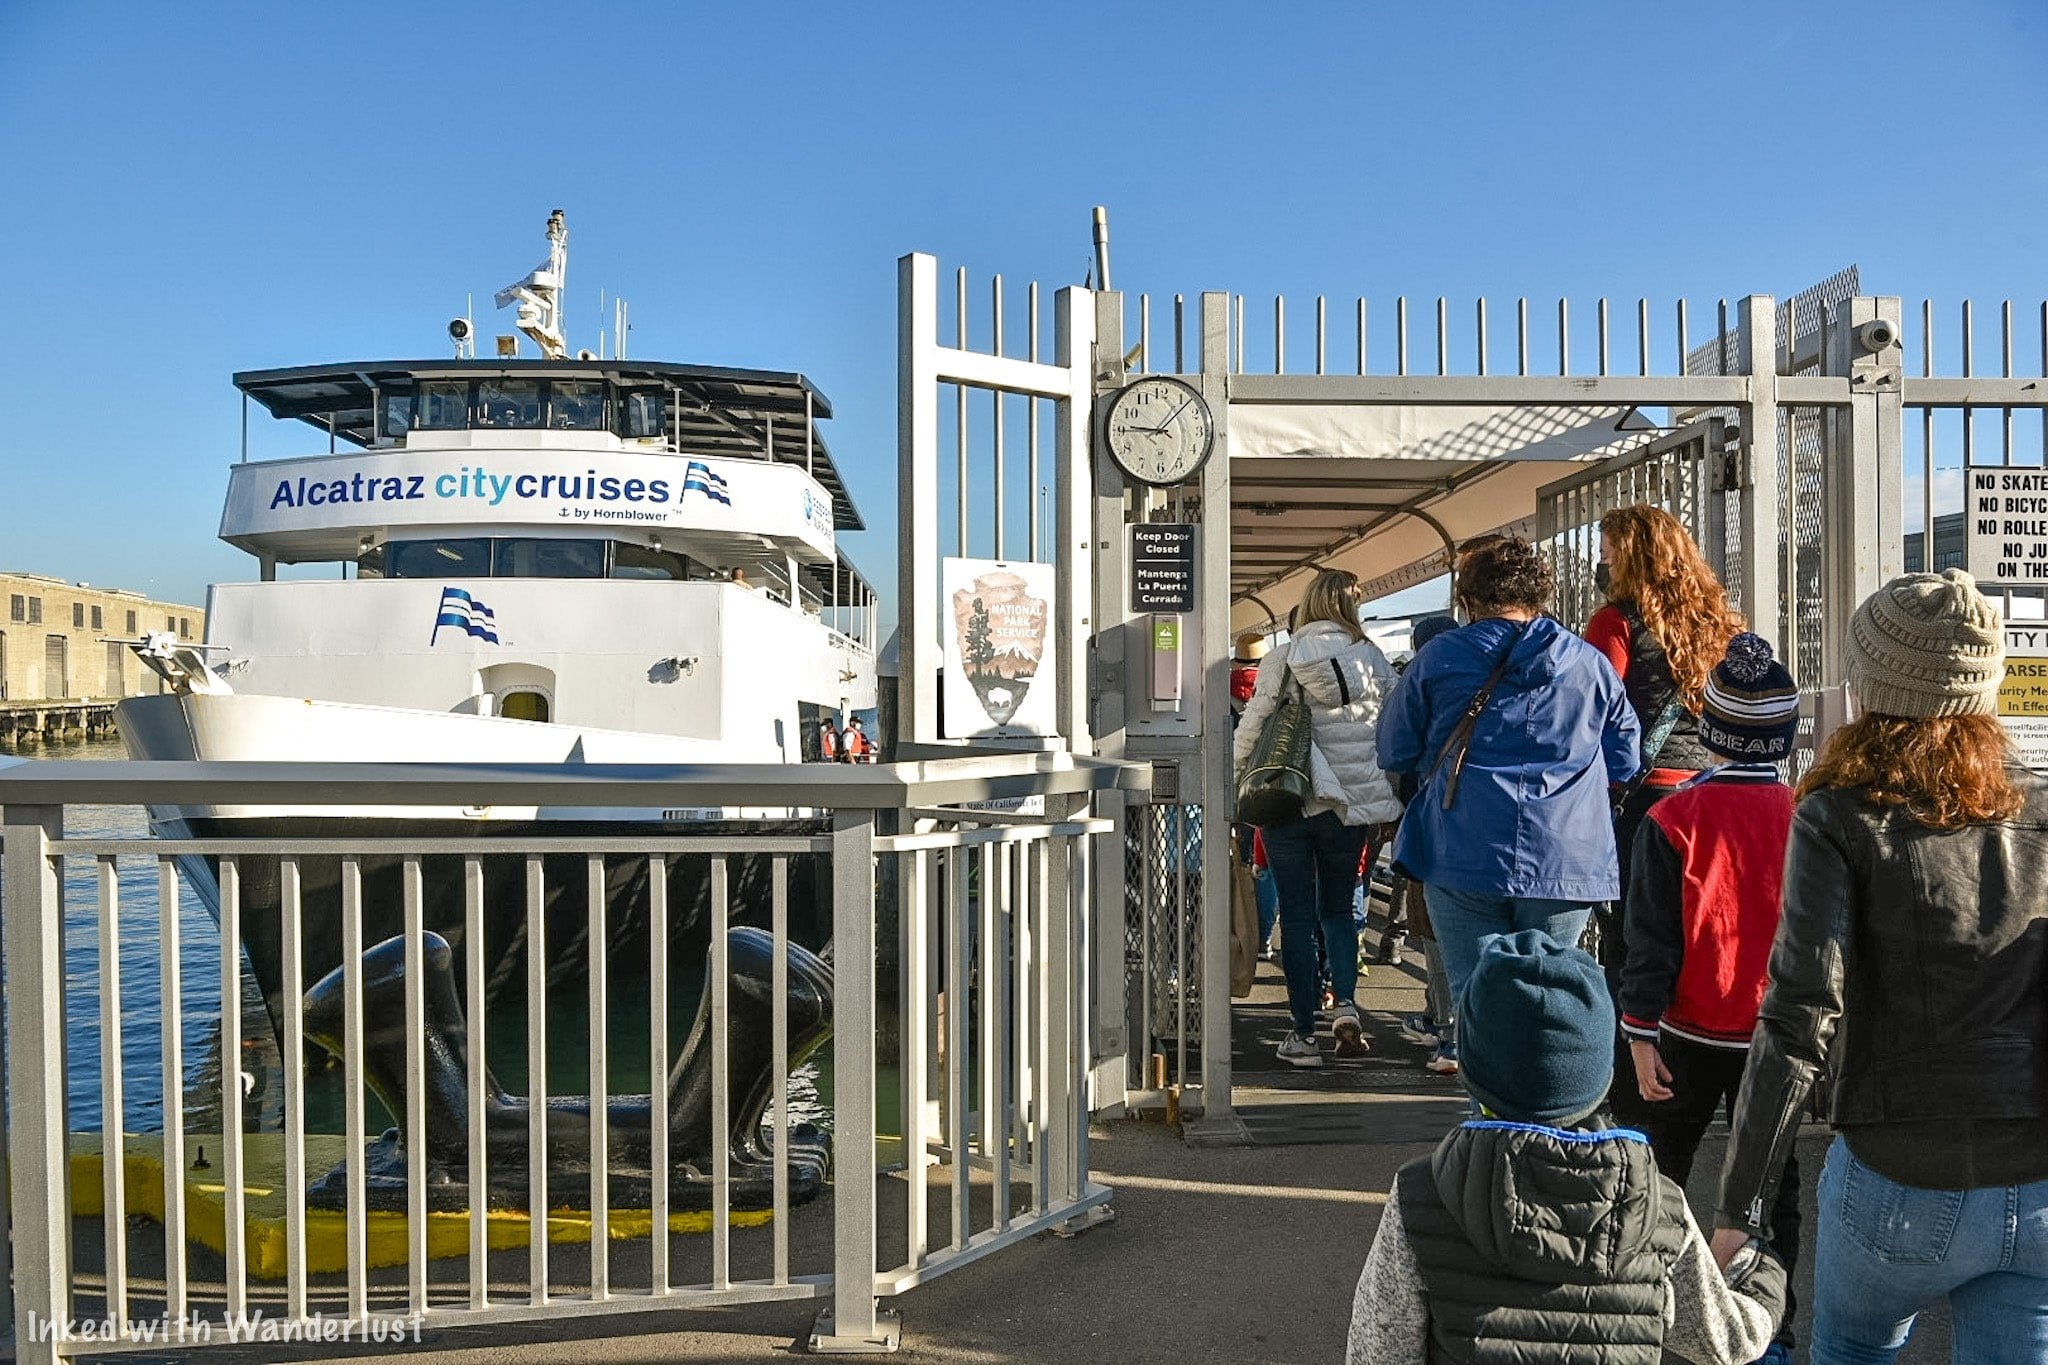
The Ferry Ride
The ride to Alcatraz is scenic and short, maybe 12-15 minutes. In fact, you’ll spend more time embarking and disembarking. If you’re going on a particularly busy day, be prepared for a cramped ride.
*Side Note: As of December 2021, masks are required in all boarding areas, on the vessel (ferry), and in all interior areas on the island. Vaccination status is NOT being checked.
Building 64 will likely be the first thing you’ll notice as you pull into the dock. The upper section was where the military barracks were. Soldiers protecting the bay and guarding the prisoners slept here.
The lower section was part of the fortification protecting the bay. Looking closely, you’ll notice large square holes around the lower section. Those were canon ports.
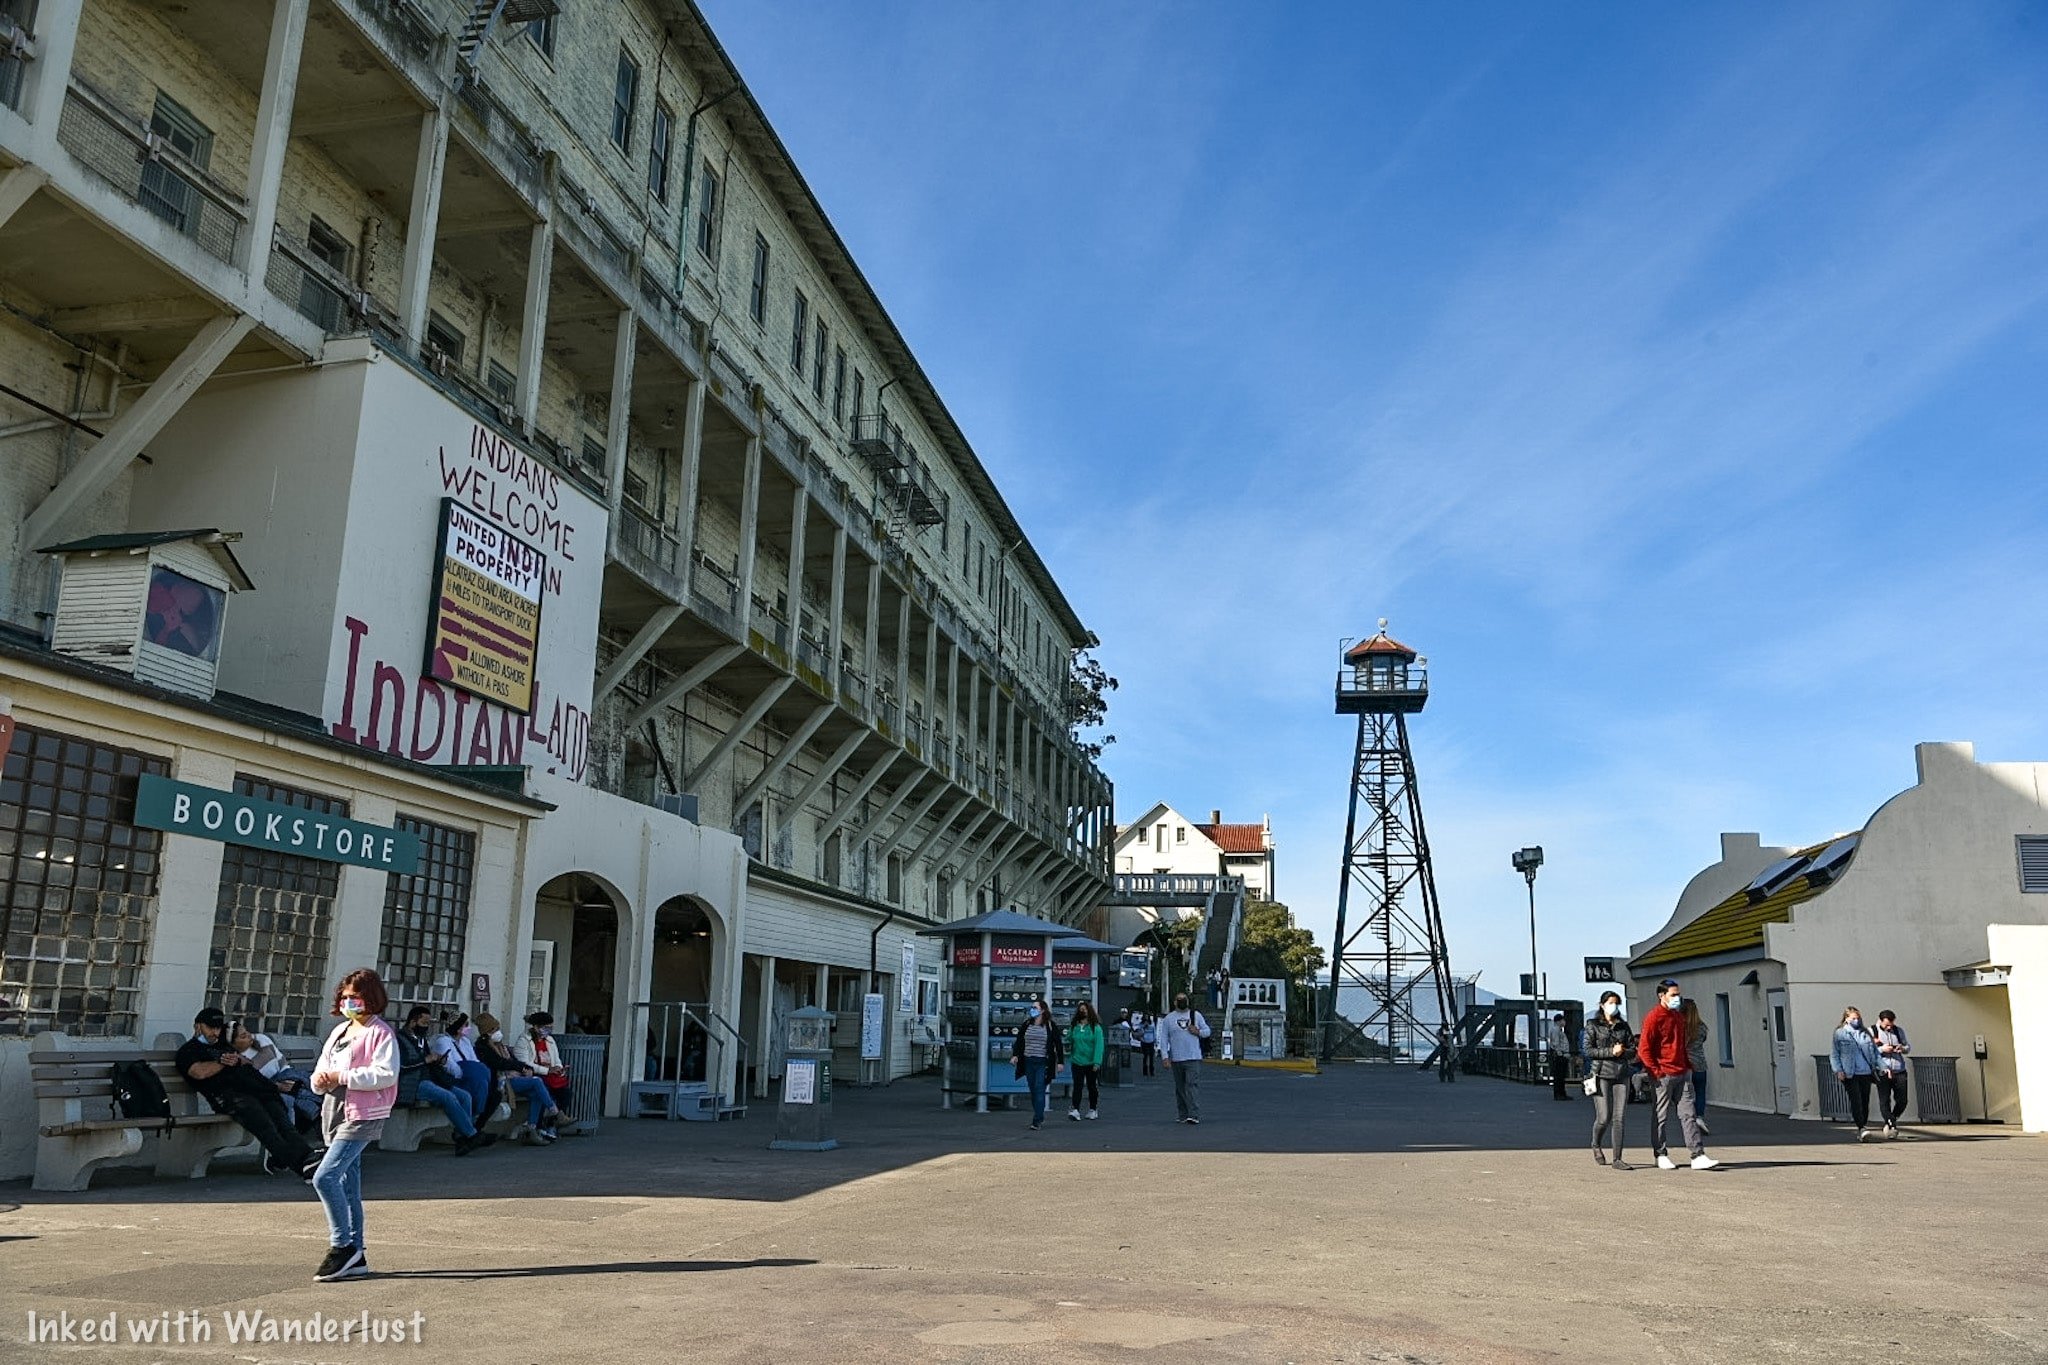
Before taking off, stop and listen to the Ranger presentation held in front of the bookstore. In it, the Ranger discusses the Indian occupation that took place on the island. You’re asked to take part in this but it isn’t required.
The small building across from the bookstore is the first of three restrooms on the island. There’s another adjacent to the entrance of the cell house and one more across from the administration building.
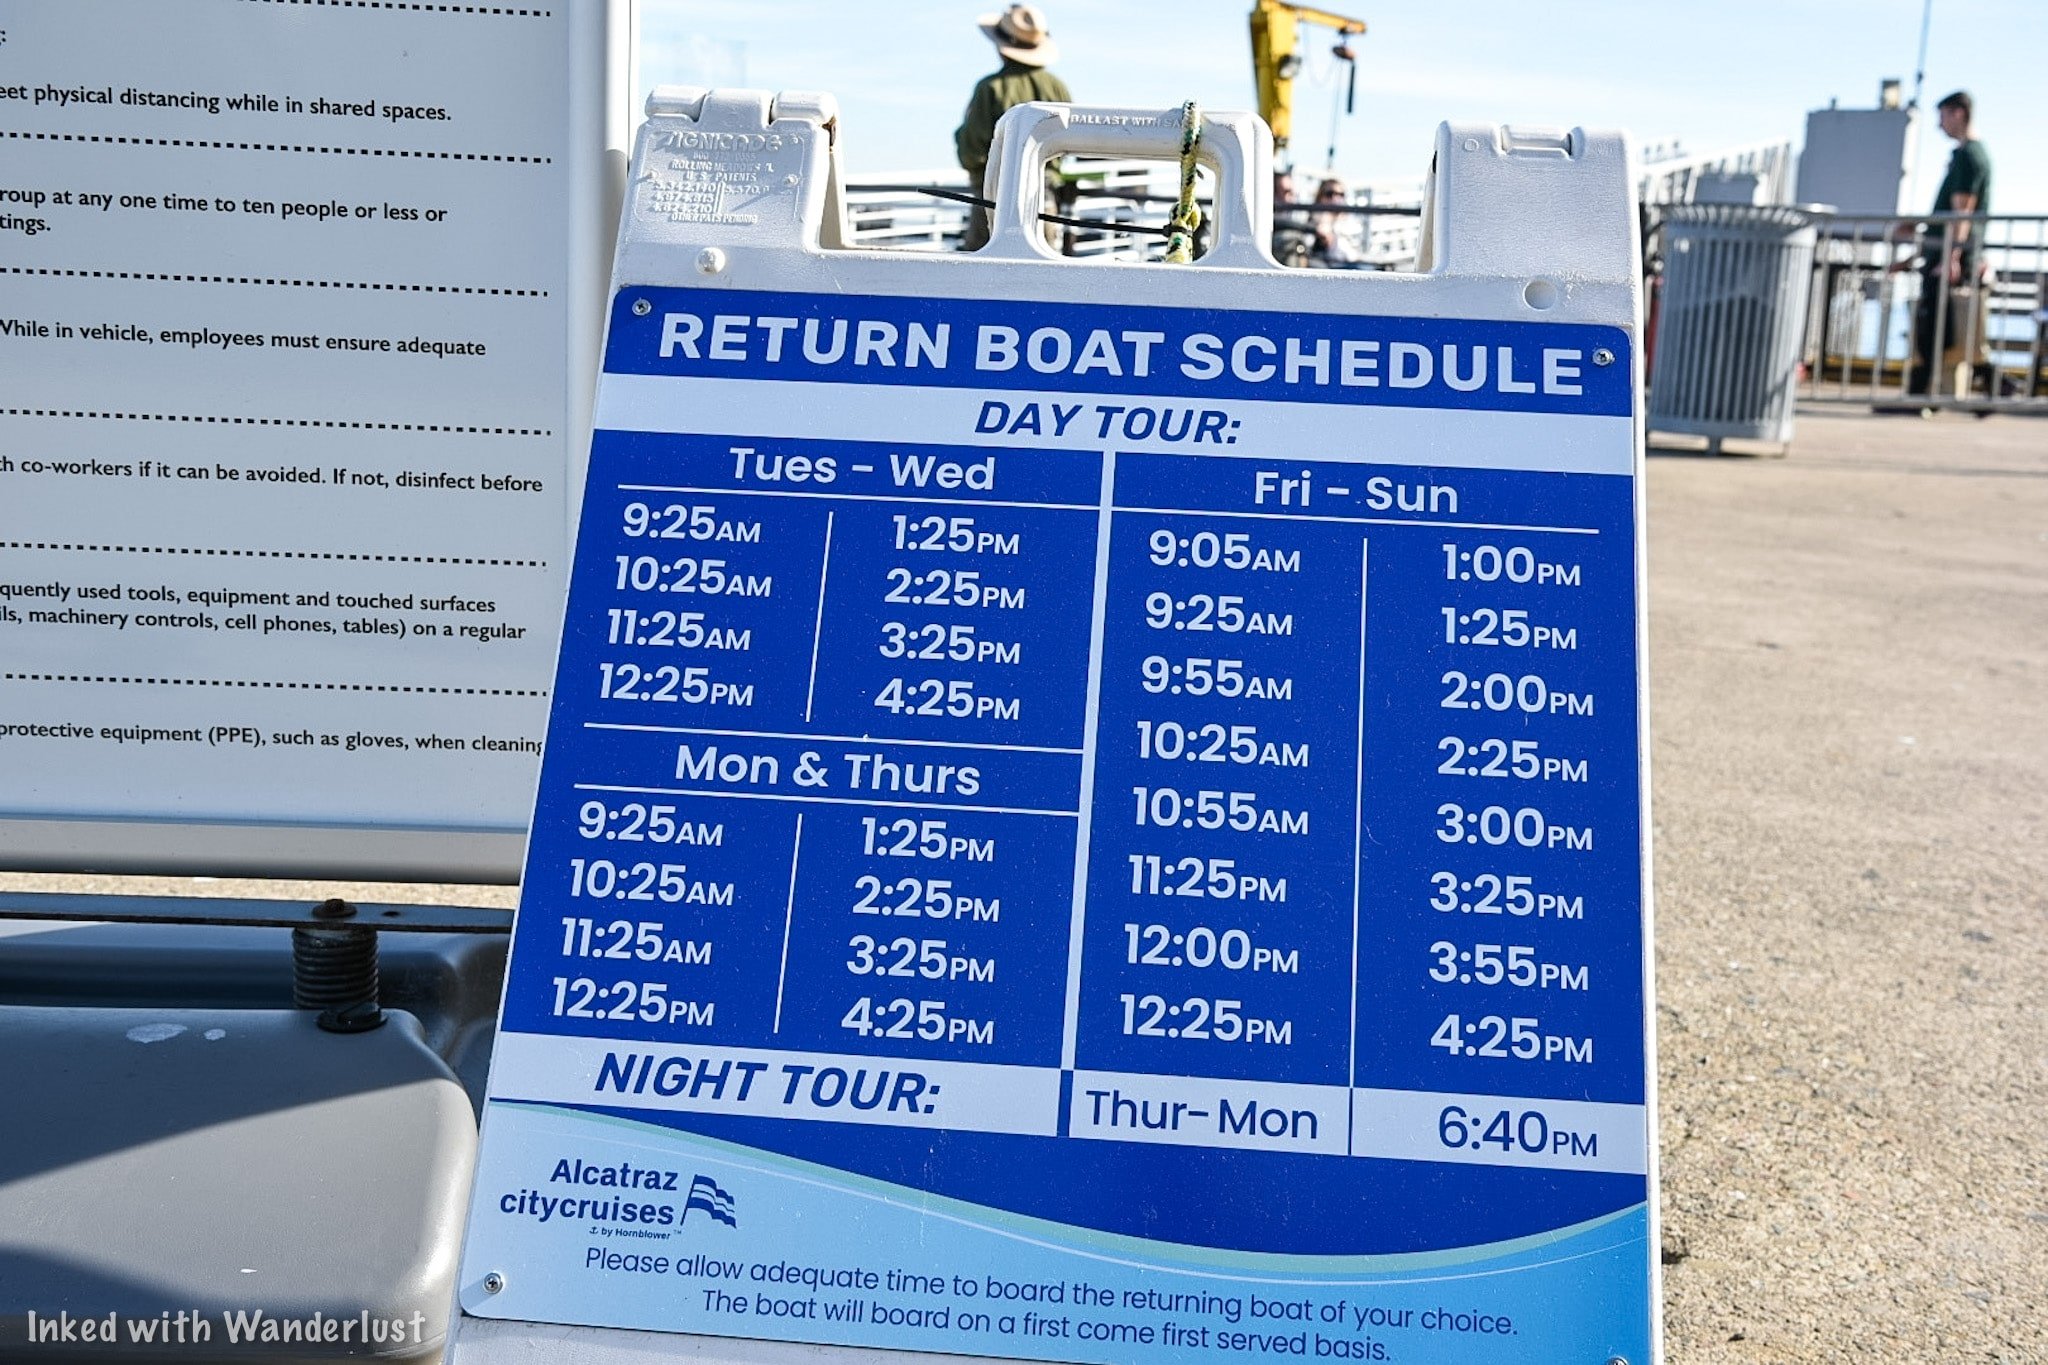
*Side Note: Take note of the sign displaying ferry return times. They vary according to day and the type of tour you’re on. Unless you grabbed a brochure, it would be a good idea to take a picture of this so you’ll know the next available ferry.
(Click to go back to top)
Cell House Tour
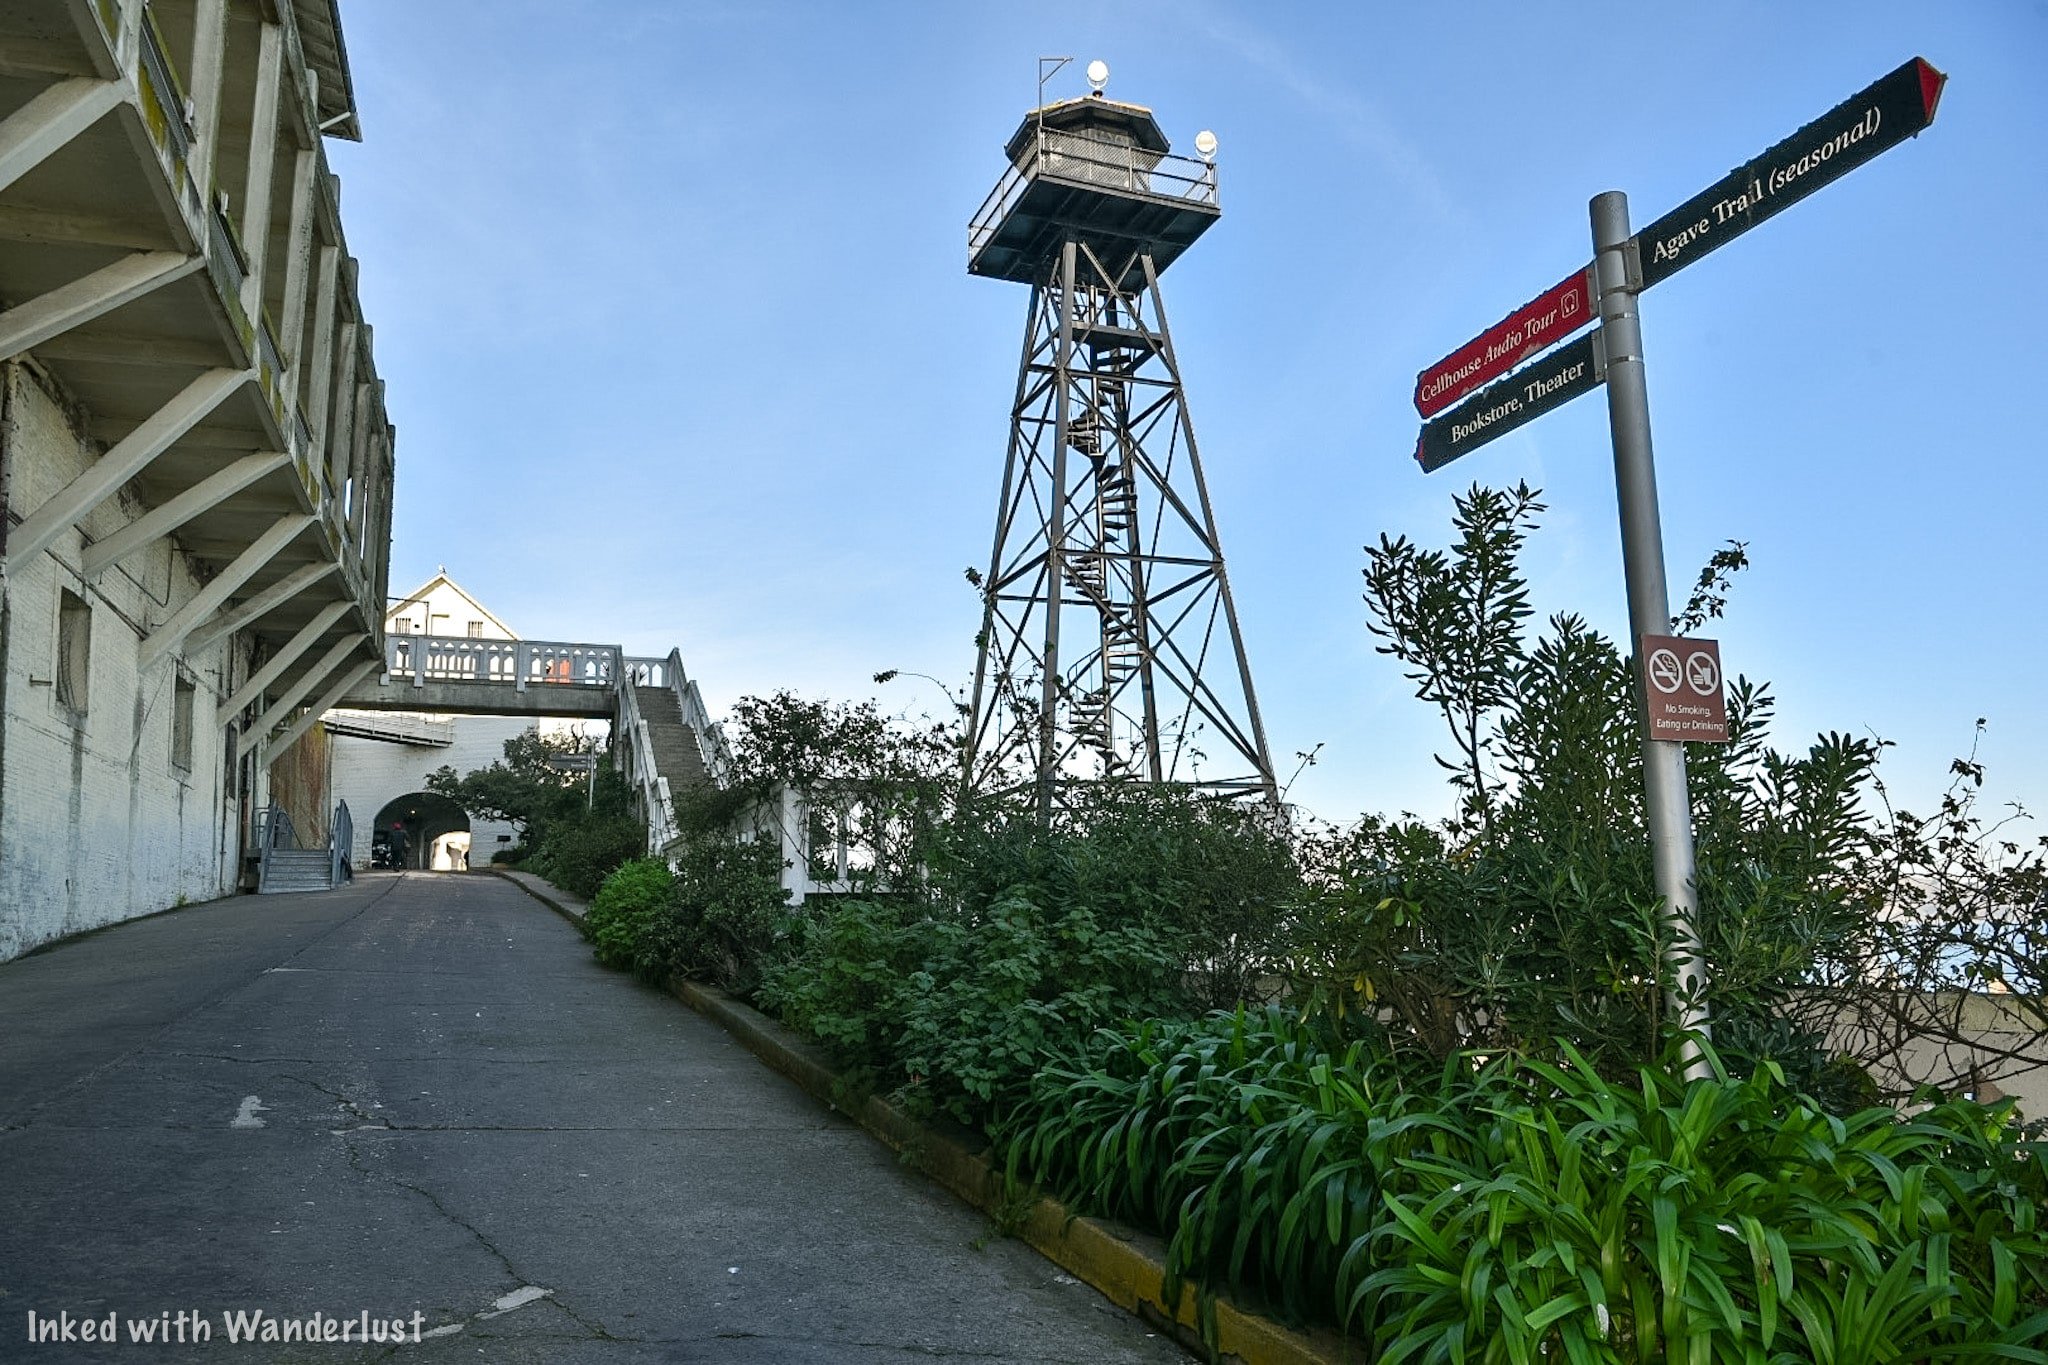
Getting There
To start the tour, walk parallel to Building 64 on East Road towards the guard tower. Before the tunnel (Sally Port), you’ll see a door on your left. This is the theater exhibit room. It wasn’t in operation when we were here, but we’ve seen it before and it’s worth checking out.
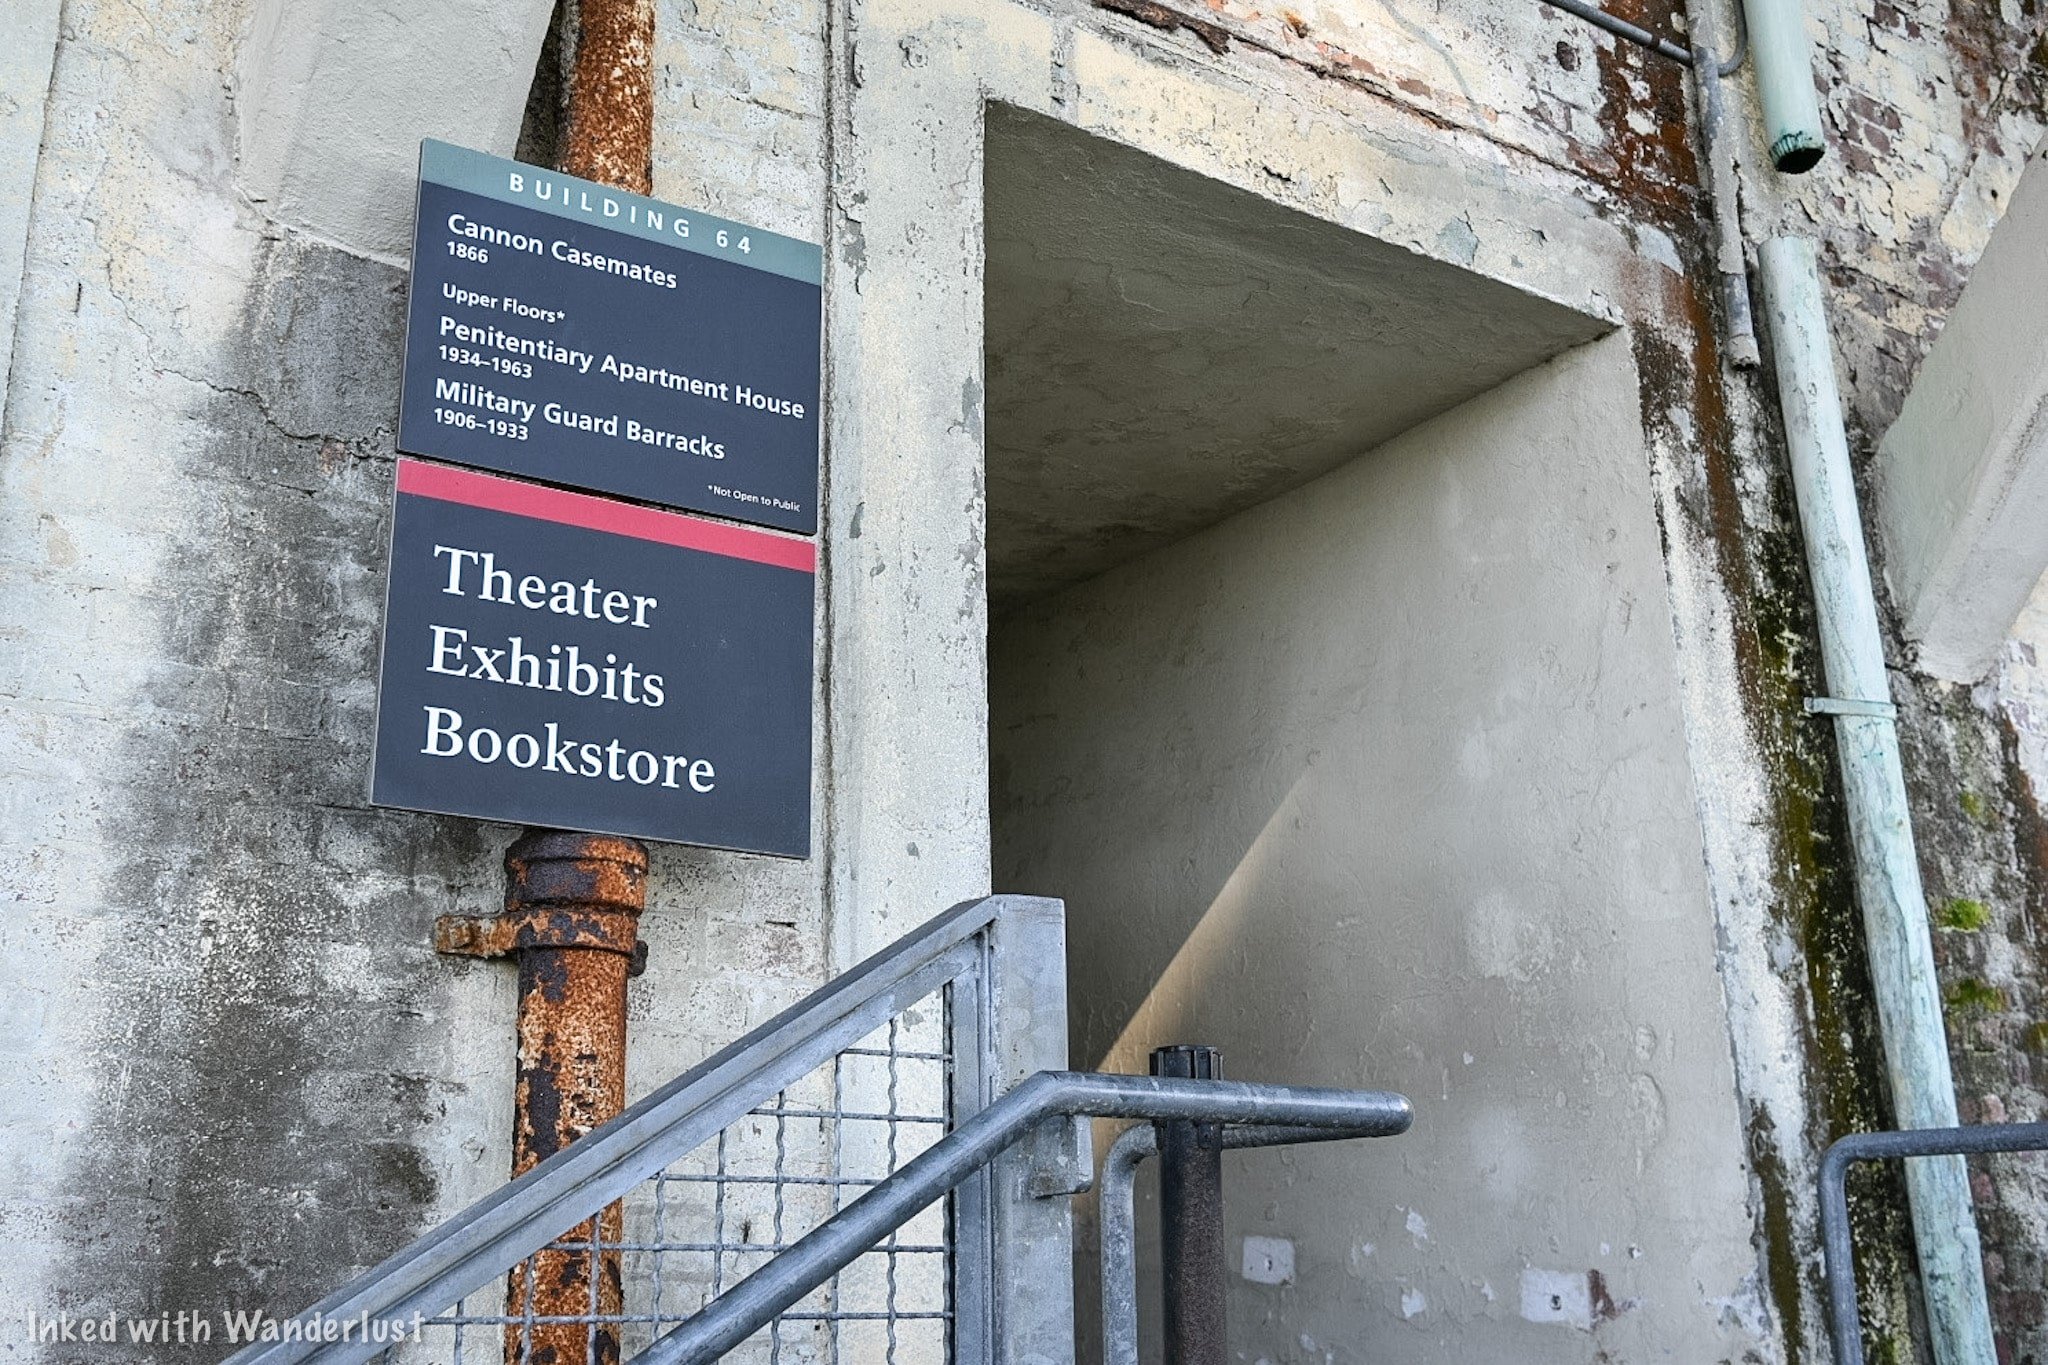
Here’s a few important details about the pathway to the cell house:
The walk from the dock to the cell house is a quarter-mile.
During this, you’ll have 130-feet of elevation gain.
This is the equivalent to climbing a 13-story building (spread out over a quarter-mile).

It does get a bit steep in some places but honestly, it isn’t difficult to get up there. I only mention this because most people don’t realize how the walk to the cell house is.
On the way up, the pathway spurs off in different directions. At these crossroads, you’ll see signage indicating the correct way to the audio tour. Just follow those.
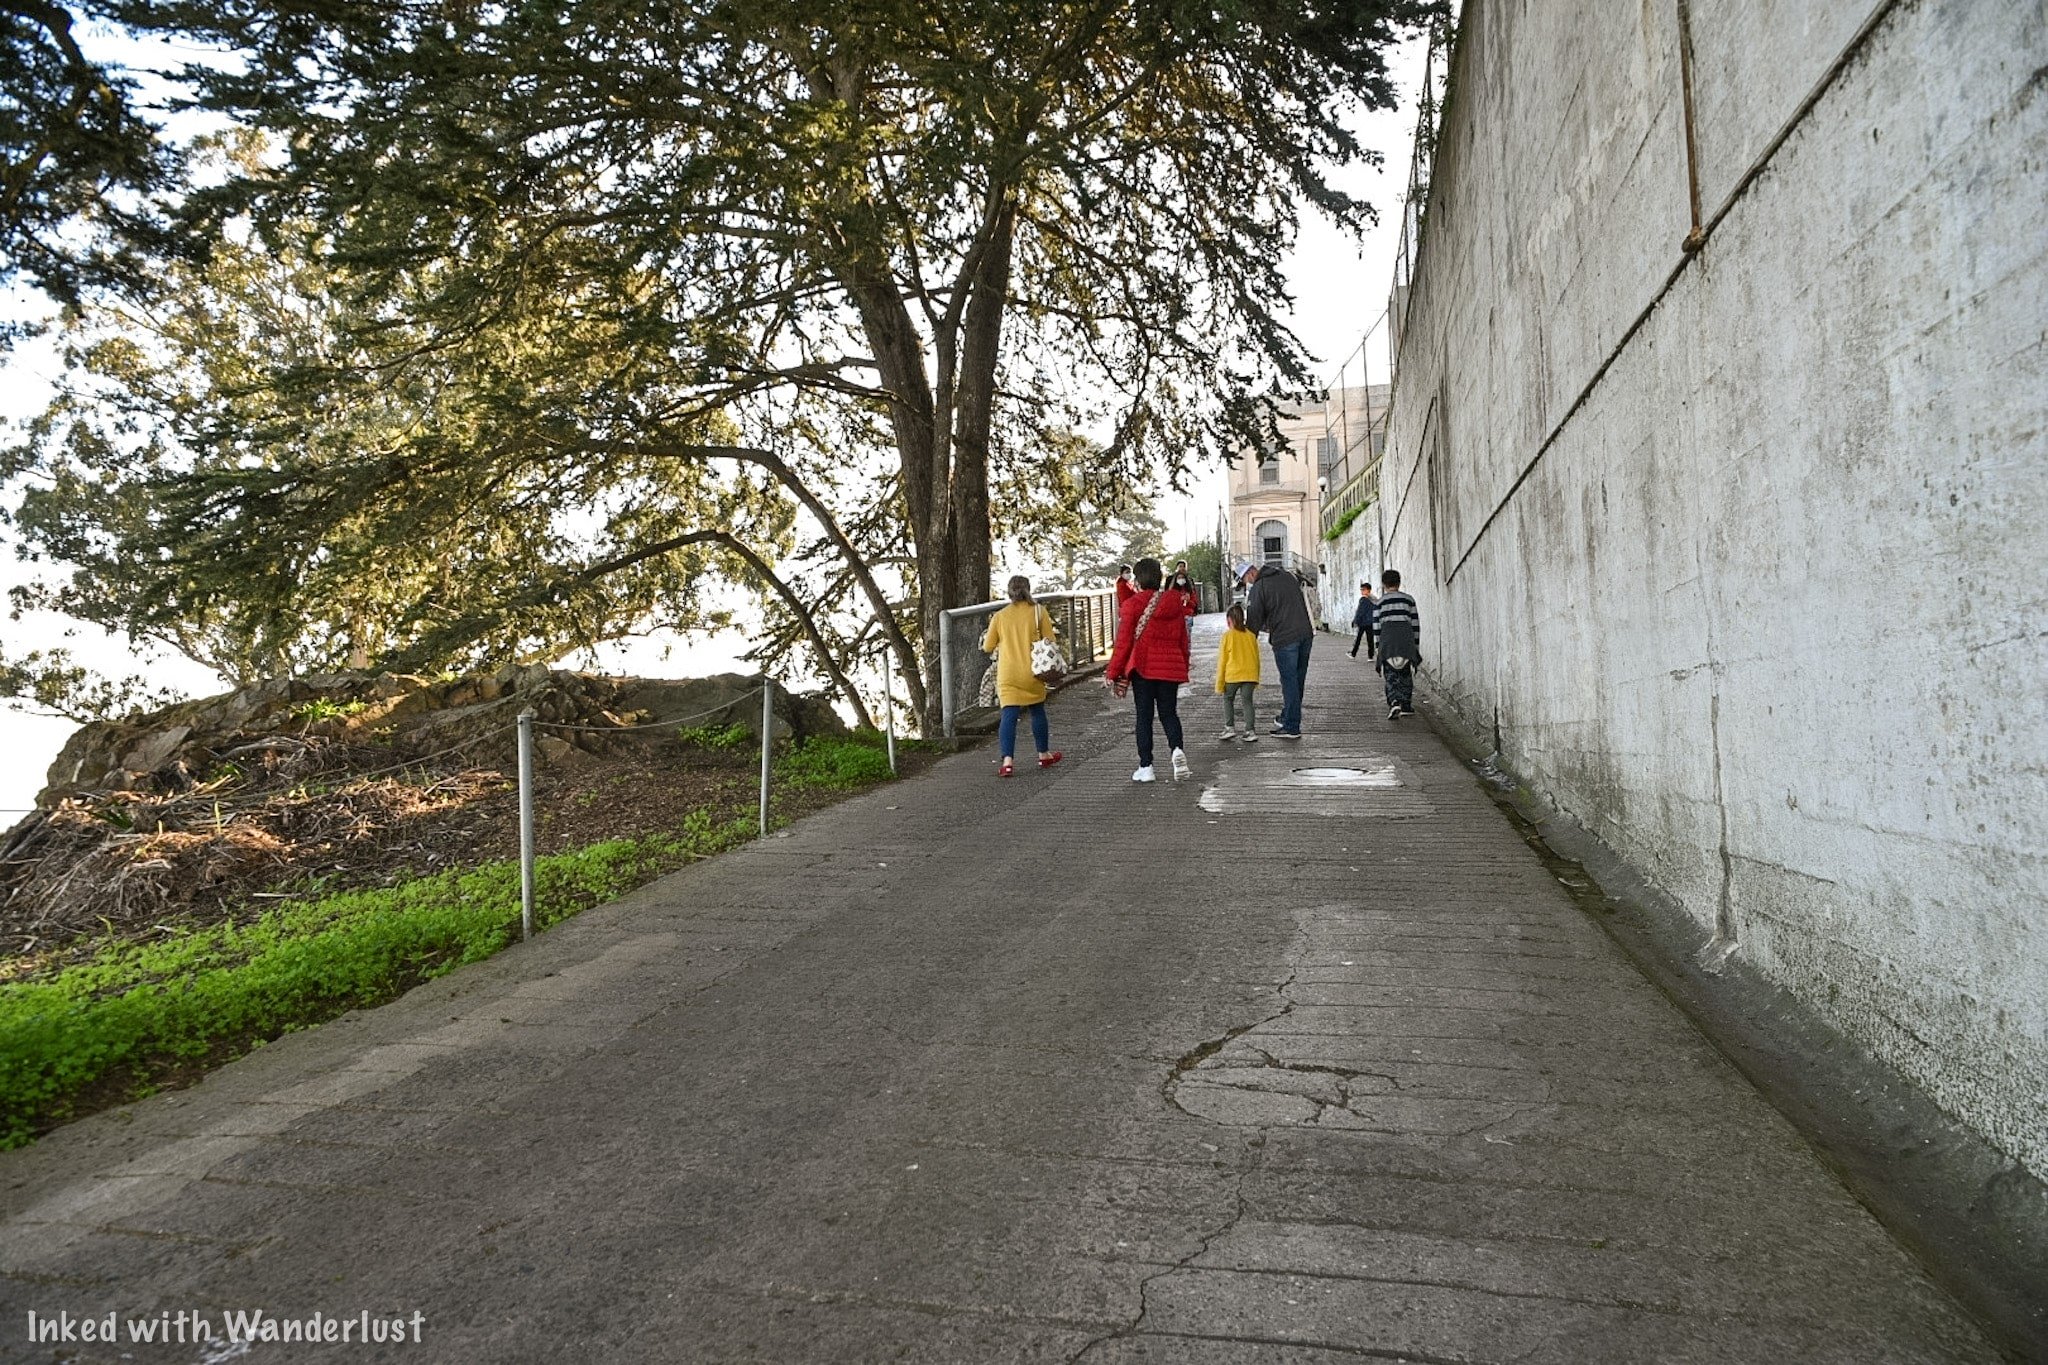

If you have mobility issues of any kind, you can utilize the shuttle. It picks up at the dock and drops you off right at the cell house entrance (and vice versa). Oh, and it’s free.
Cell House Entrance

Audio Choices
When you see rotted bars with a sign stating, “Main Prison”, you’ve reached the beginning of the tour. Before heading in, you’ll need to make a decision on how you’ll plan to take the tour. You have two options:
Utilize their audio device.
Download the app and use your phone.
Each comes with they’re own negatives and positives. The audio device is small, but it’s in a thick plastic sleeve and due to covid, they no longer include headphones. So you’ll continuously need to hold it against your ear.
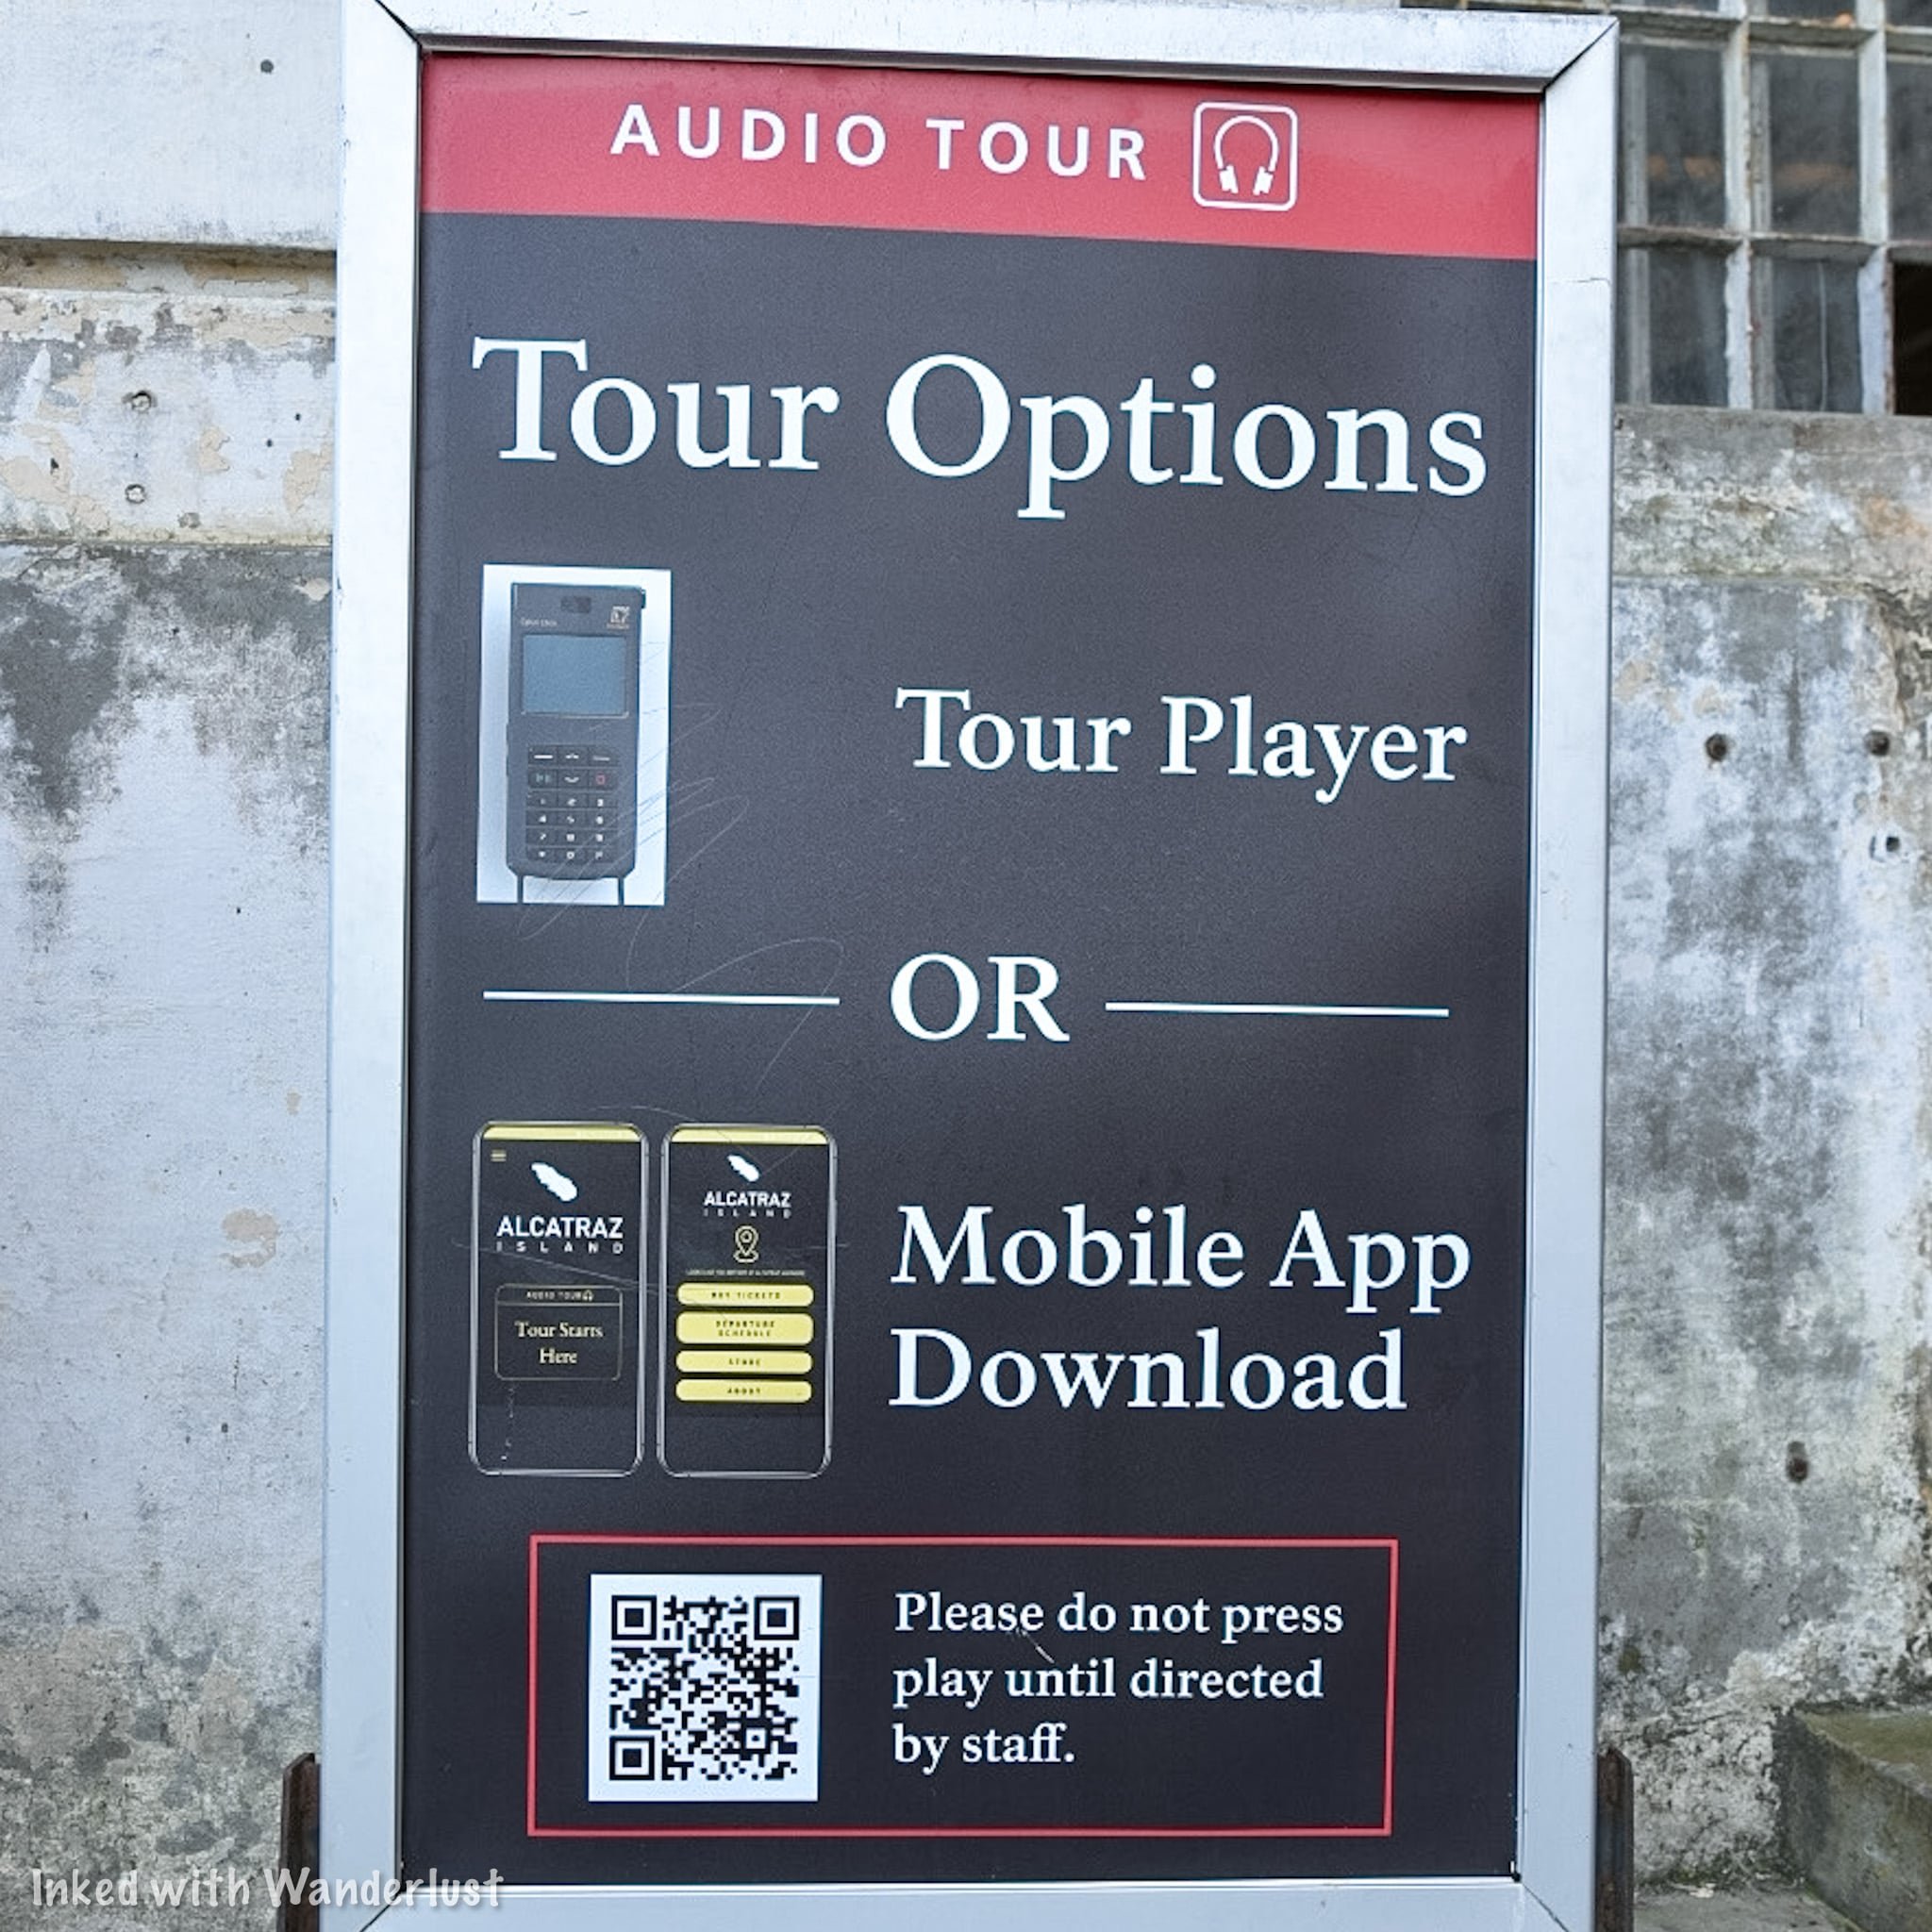
Downloading the app means you won’t have to worry about hearing the narrator through a sleeve as you'll able to use your headphones. The downsides are that it’s known to be buggy and the connection gets lost in some spots.
Neither is perfect but in order to hear the tour, you’ll need to do one or the other. We opted to use the audio device as we didn’t know about the app ahead of time and already drained the batteries on our AirPods.
Alcatraz Showers

After walking through the entrance, you will enter the shower room. The queue wraps around the showers to the other side, where you will pick up your audio device. Each person in your group will be given one.
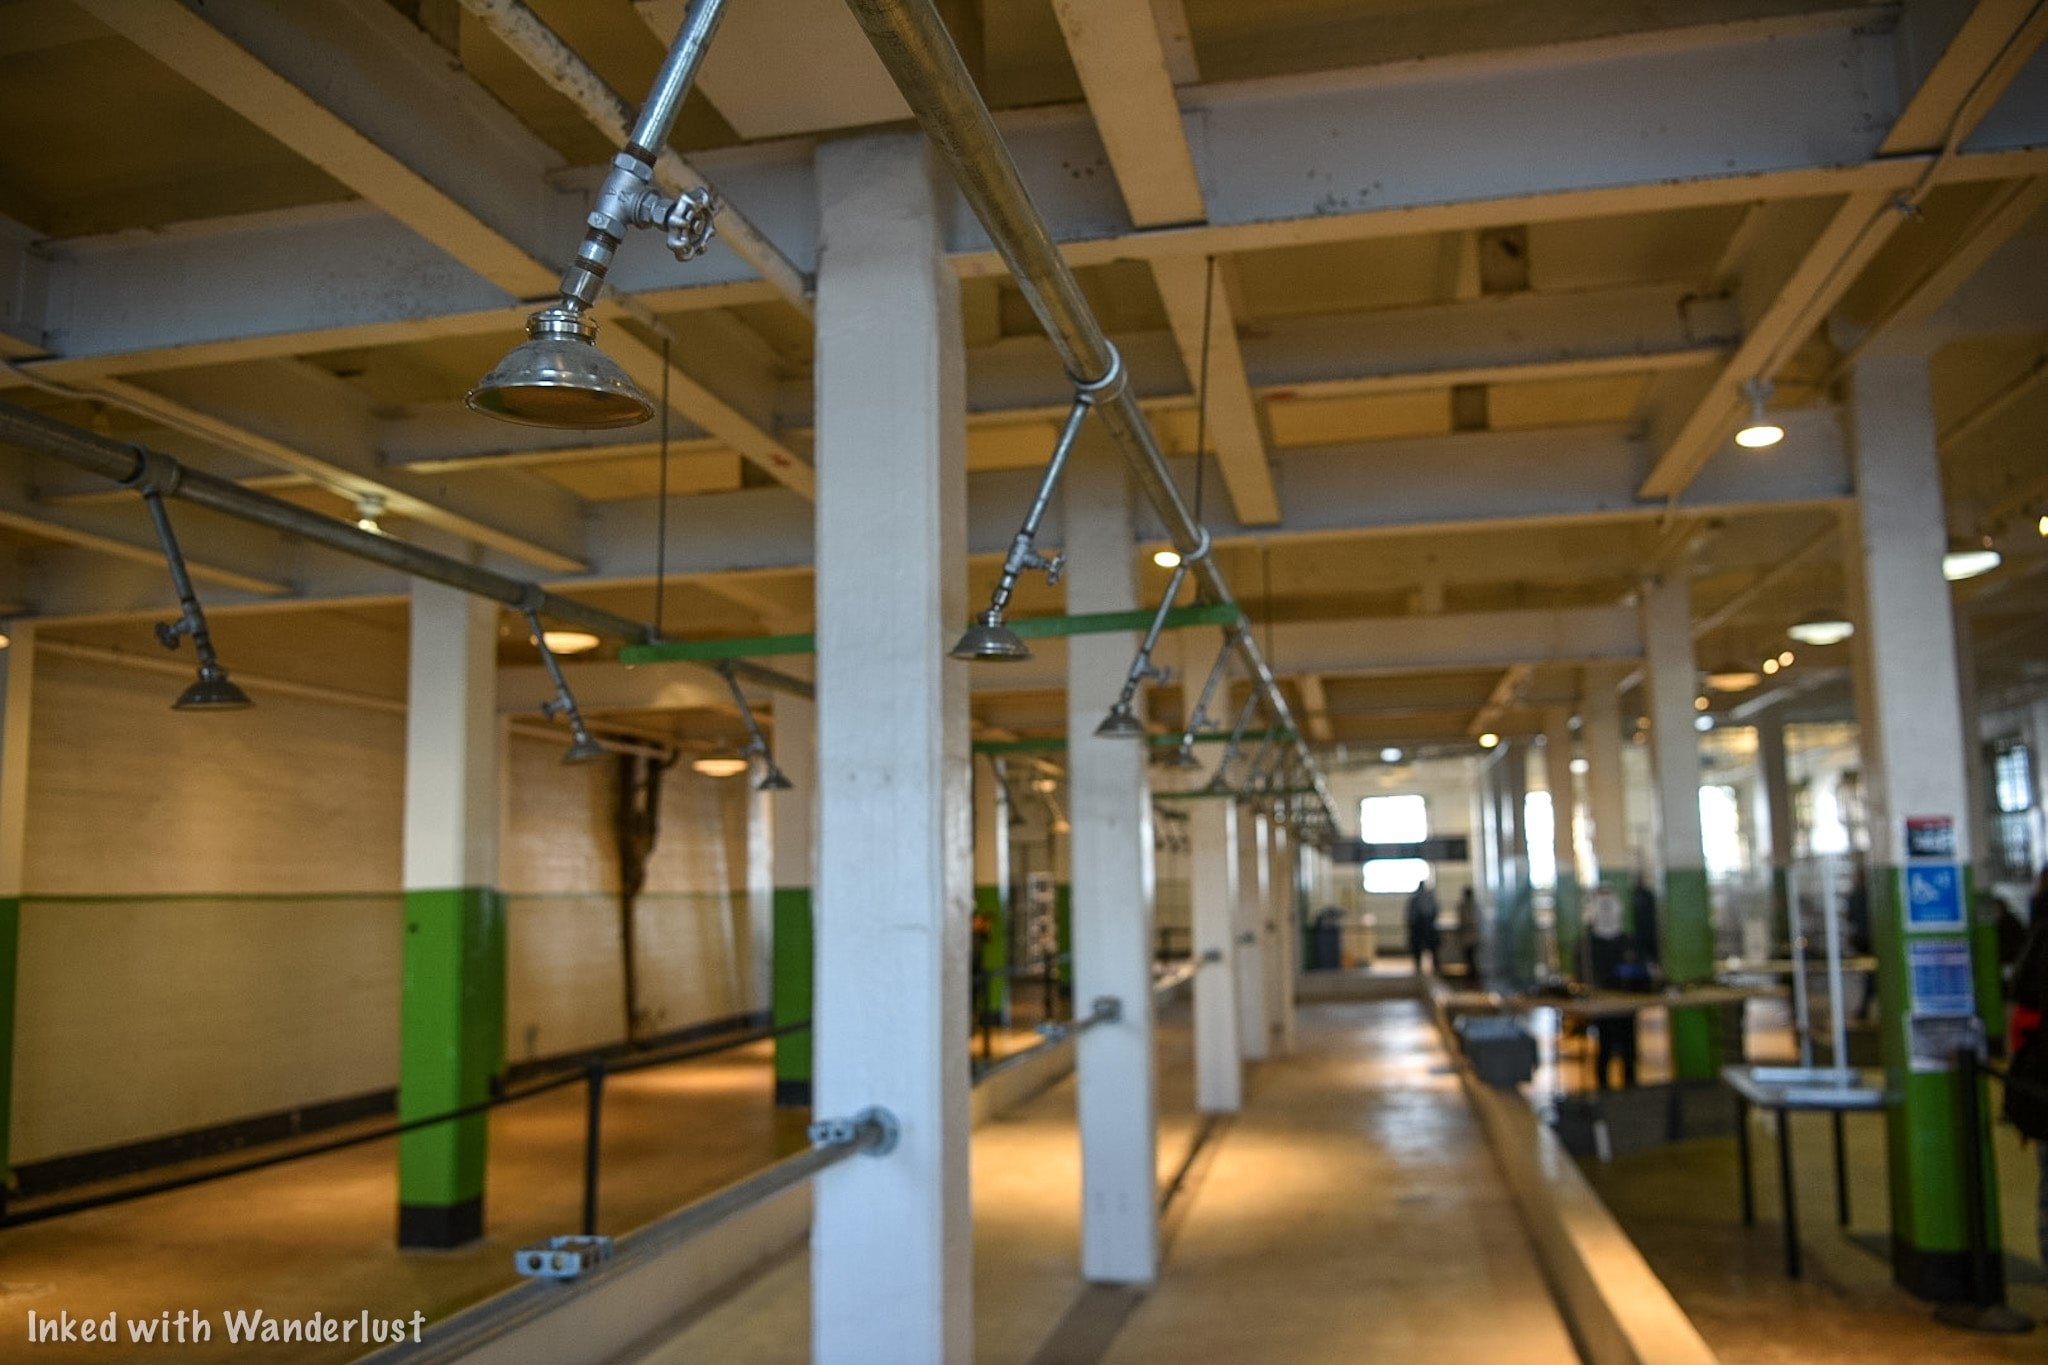
When you reach the front of the queue, inform the attendant if you’ll be using the app or the device. If you choose the app, you’ll go right through.
If you want the device, inform the attendant of your language preference. You can choose between:
English
Spanish
Mandarin
Japanese
Italian
German
French
Dutch
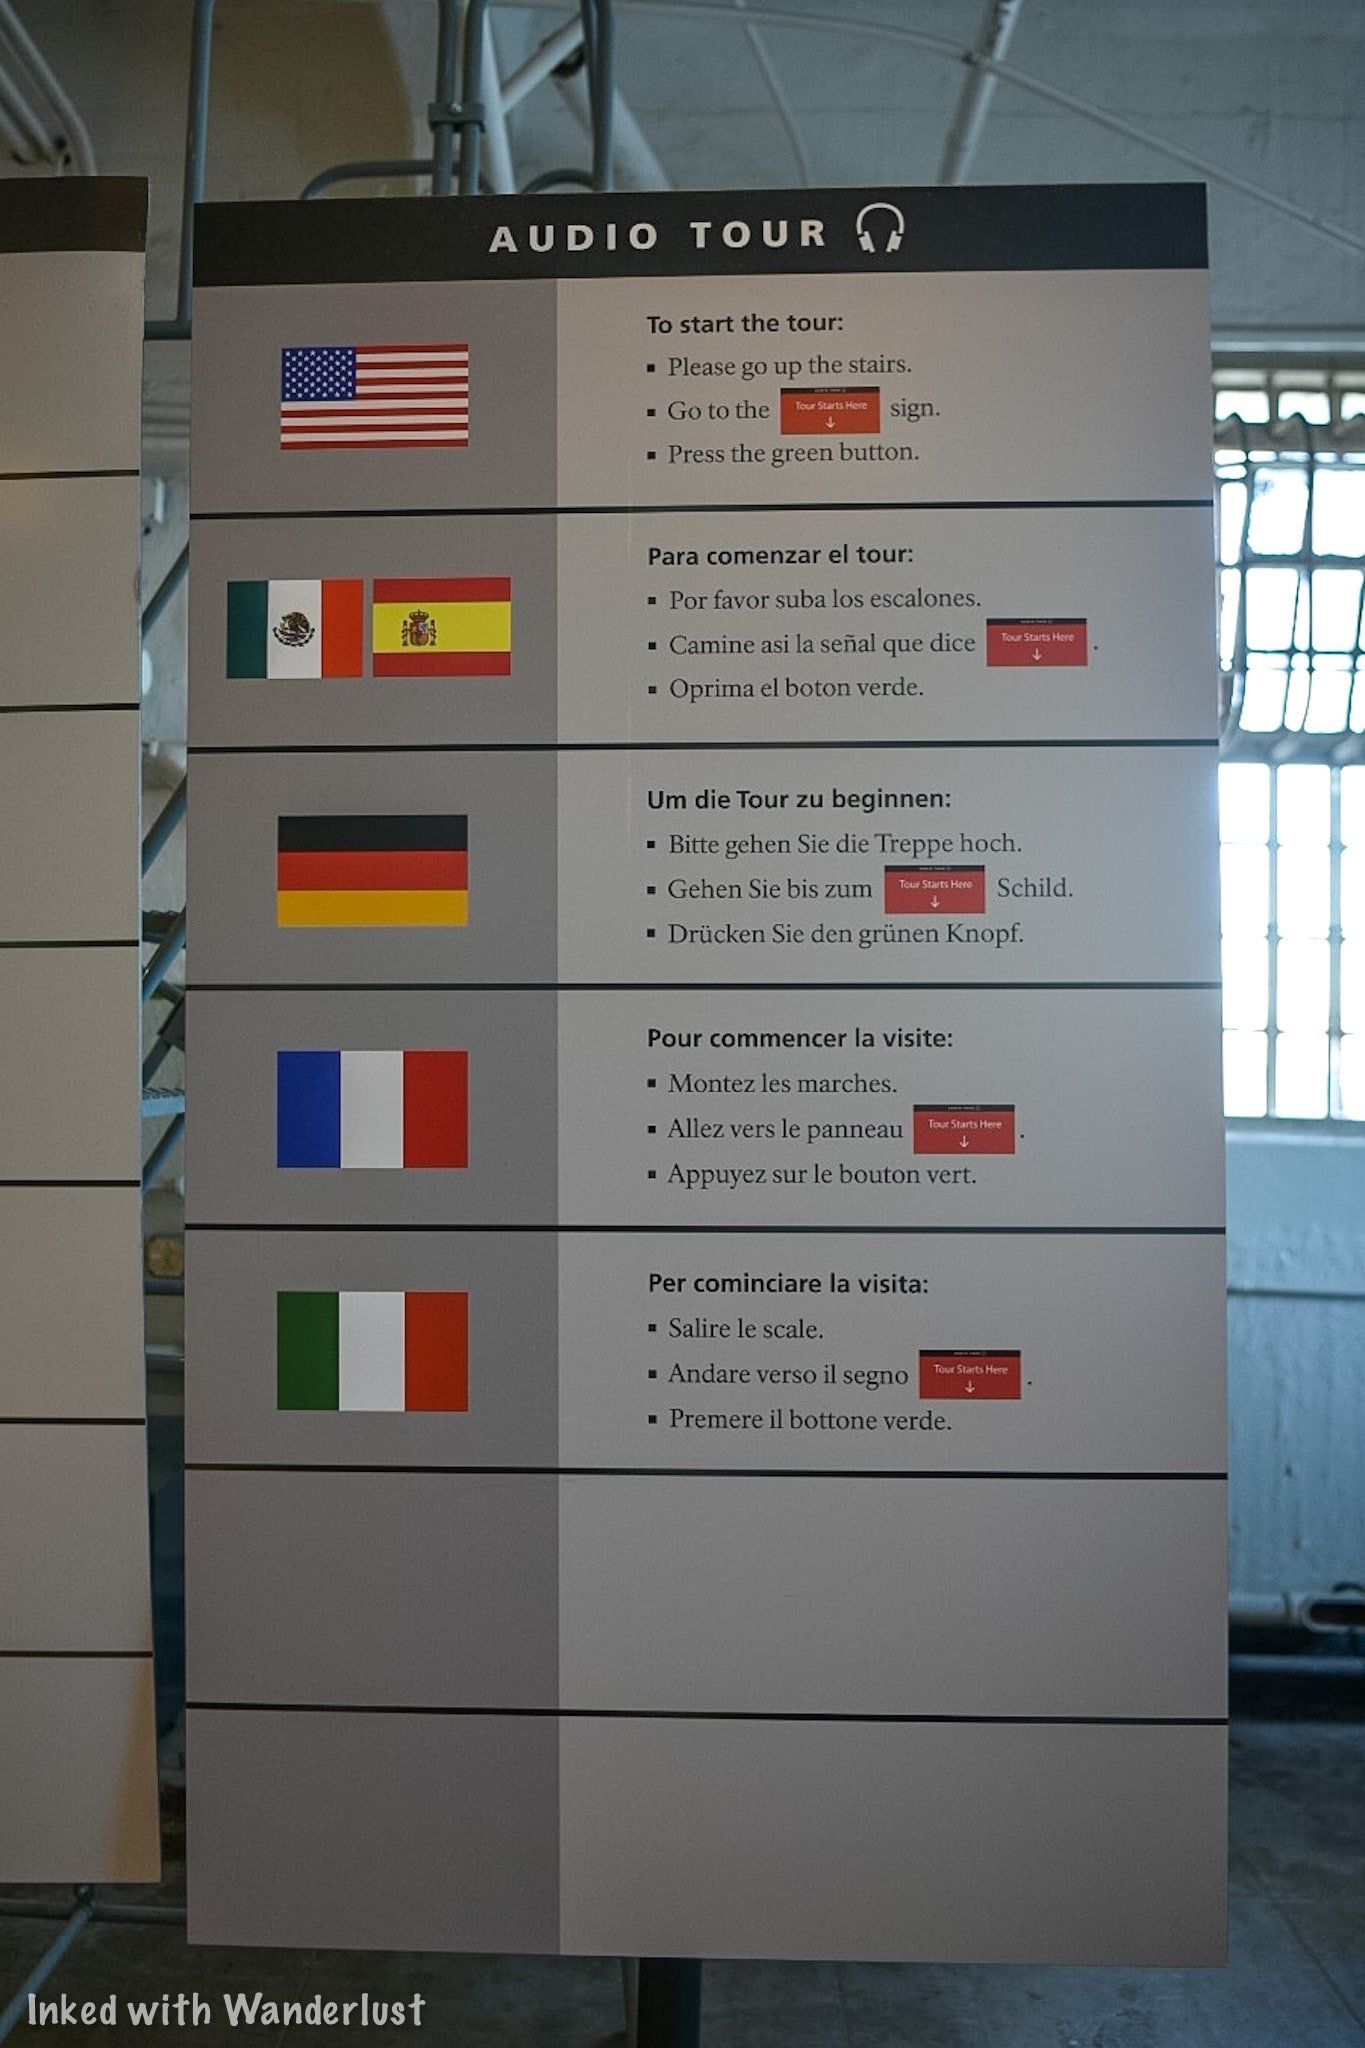
Once you’re set, head up the stairs to the cell house (there’s an elevator for those with mobility issues). At the top of the stairwell, go left and look for a red sign (pictured below). Do not start the device/app until you reach this point.


Michigan Ave
When you reach this point, the tour officially begins. After you hit the green button, you’ll be introduced to the narrators, four former inmates of Alcatraz. They are:
Leon “Whitey” Thompson (Weapons charge, 1960 - 1962)
John Banner (Bank Robbery, 1954 - 1958)
James Quillen (Kidnapping, 1942 - 1952)
Darwin Coon (Bank Robbery, 1959 - 1963)
You’ll also hear from a couple former guards as well (unfortunately, we didn’t catch their names). Also, park officials swap narrators from time to time. So they may be different when you go.
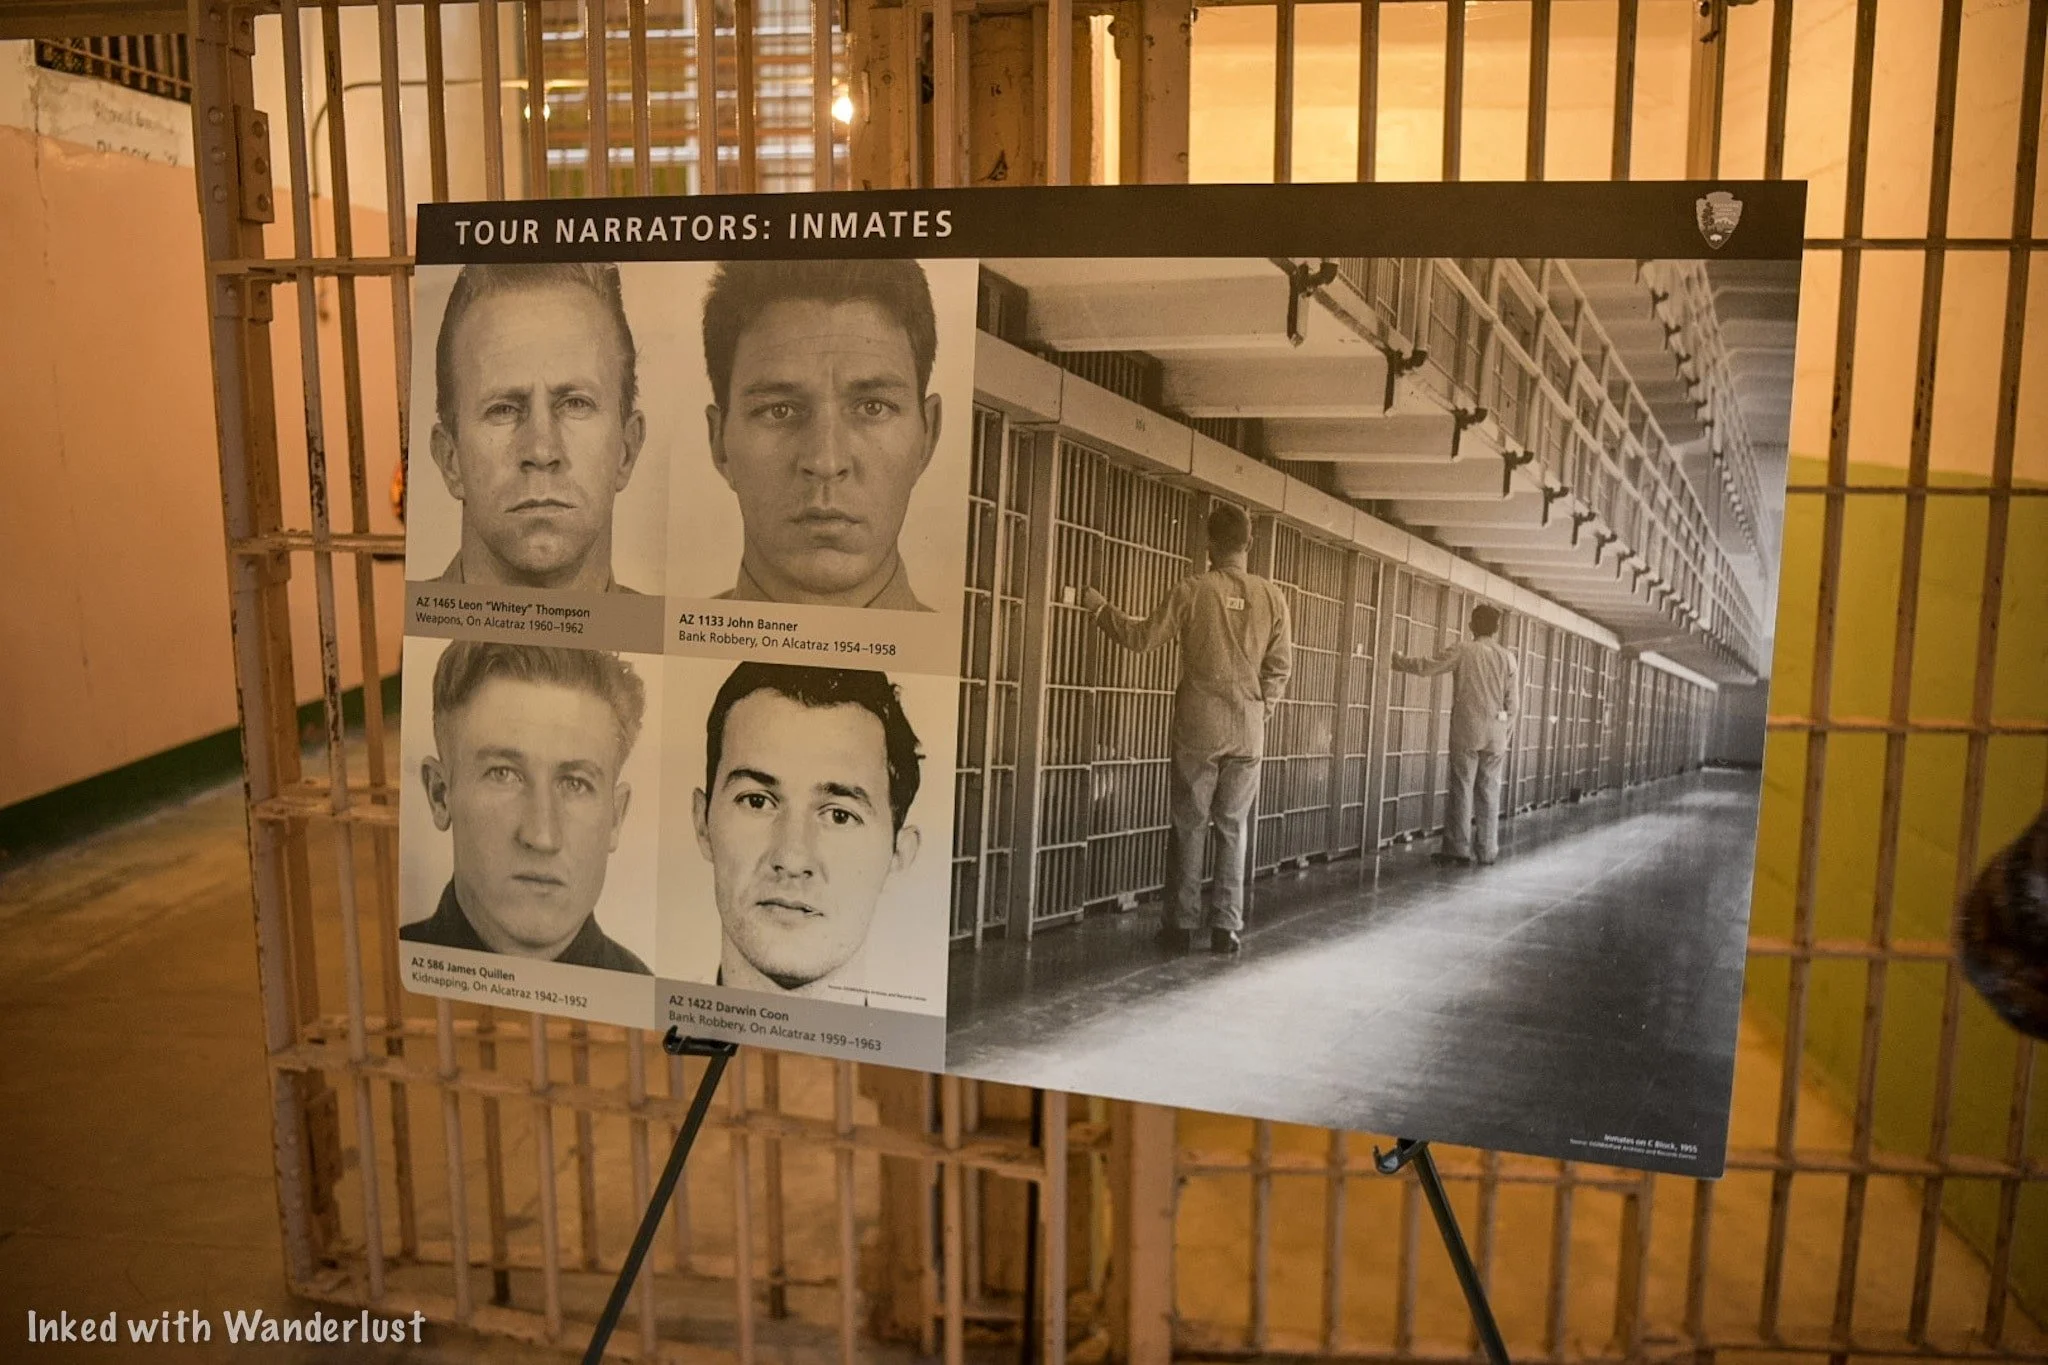
The cell block you’ll see in front of you is B Block. Behind you is A Block, which was seldom used during the island’s run as a federal prison. Unfortunately, it is not part of the regular tour. To see A Block, you’ll need to book the “Behind the Scenes” tour.

The tour narrators will tell you when to stop, what to look at it, describe what you’re looking at, and which direction to go in next. This is why it’s imperative to pay close attention.
You will have the ability to pause the tour and rewind in case you get turned around, missed something, or want to linger in one spot for a while longer.
To the left of the sign with the narrators on it is the, “cut-off”, a passageway through the middle of B Block. You’ll go through here and turn right coming out.
Broadway

After going through the cut-off, you’ll turn onto, “Broadway”. This is the aisle between B and C Blocks. Your narrator will guide you to a few different cells with notable occupants.
Each cell on B and C Blocks are some of the smallest you’ll ever see. Grown men lived in cells that were 5 feet by 9 feet and 7 feet high. Most inmates could stretch their arms and easily touch each side of their cells.

You’ll work your way up Broadway towards what is known as, “Times Square”. When you reach this point, you’ll turn left and head towards the doorway leading to the Recreation Yard.
Recreation Yard
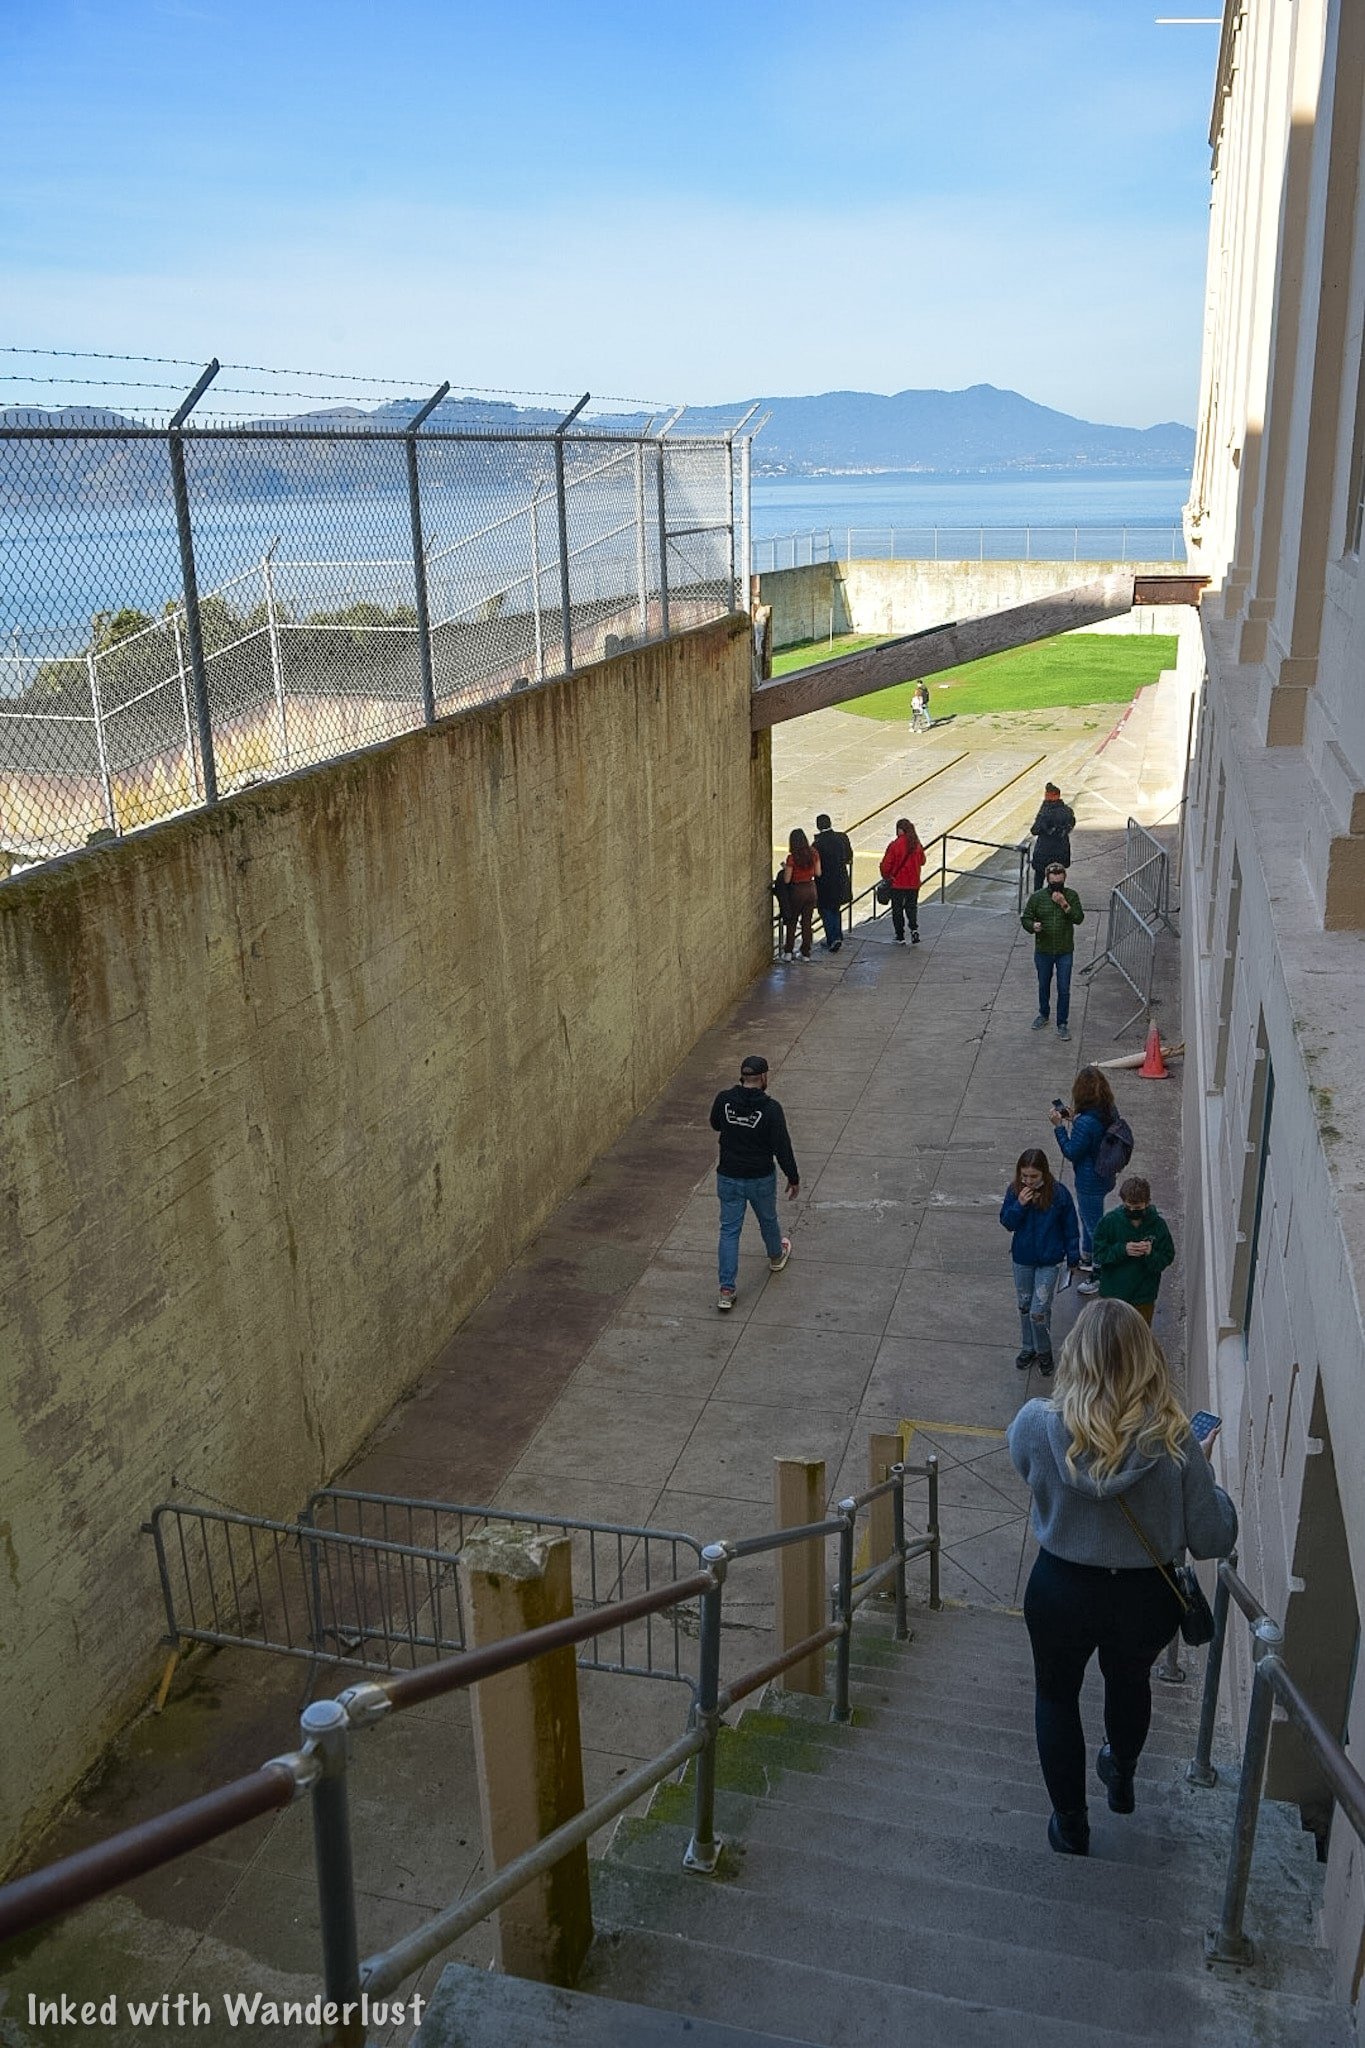
The Recreation Yard (or simply, “Rec Yard”), is where most inmates would spend a portion of their days. Some would play cards while others played handball. Some, simply, would sit and stare at the impressive views of the city and Golden Gate Bridge.


You will want to pause the tour and spend some time looking around the yard. If you look towards the back wall, you’ll notice an open, rusted door leading to a steep stairwell.
This is the door where inmates would march through to go to whichever job they held. They would have to go up and down these stairs on a near daily basis.
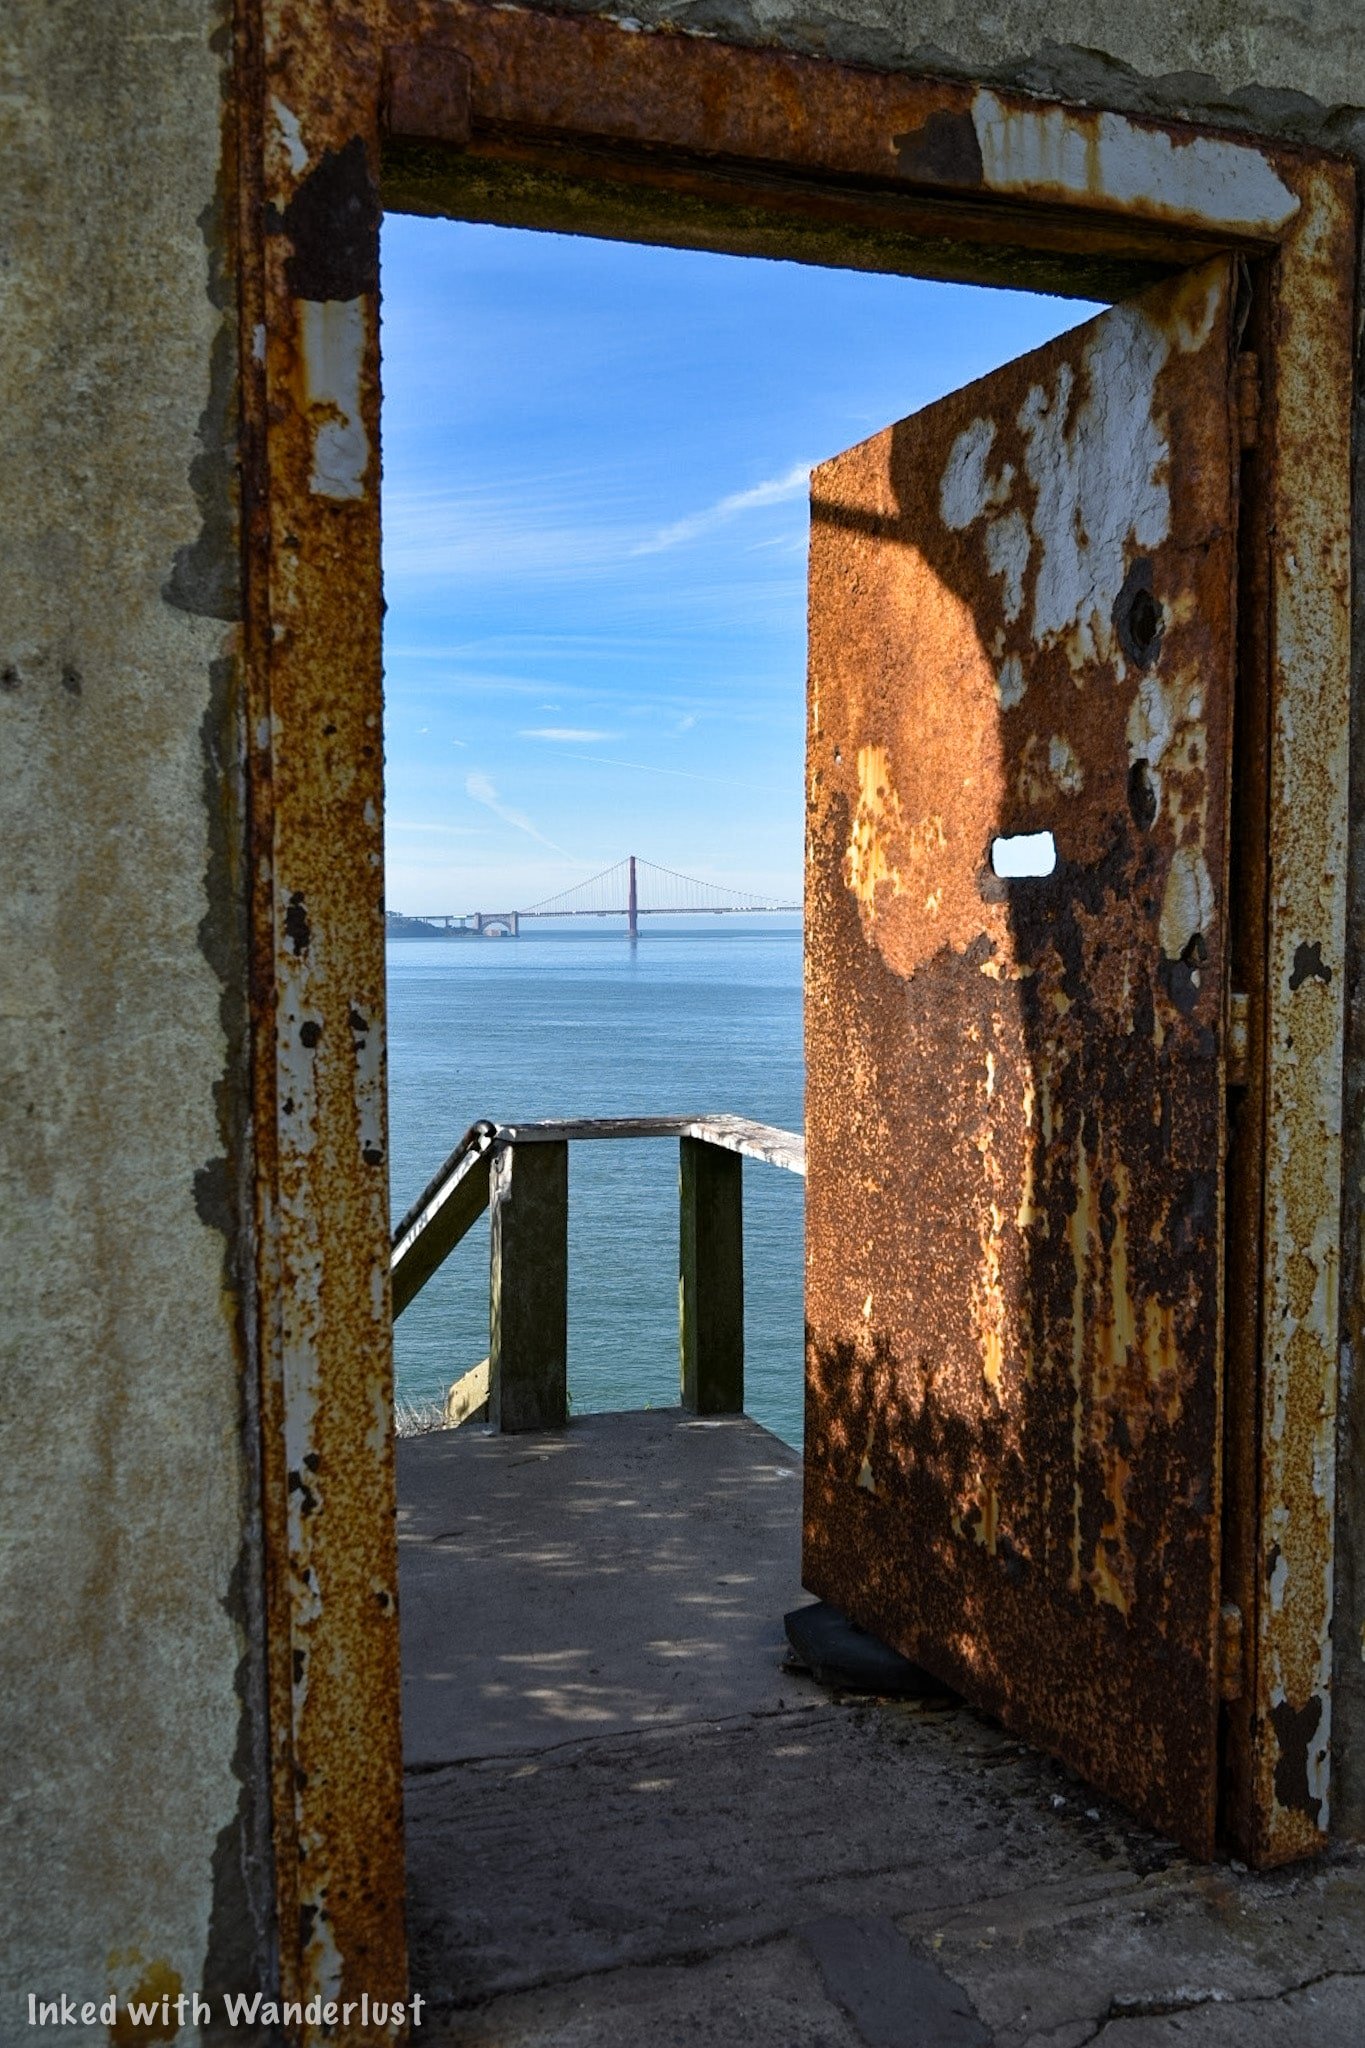


Feel free to spend all the time you want exploring the yard. Once you’re ready to resume the tour, simply head back the same way you came in. When you reach the doorway, hit start on your device and head straight to D Block.
D Block & Prison Library
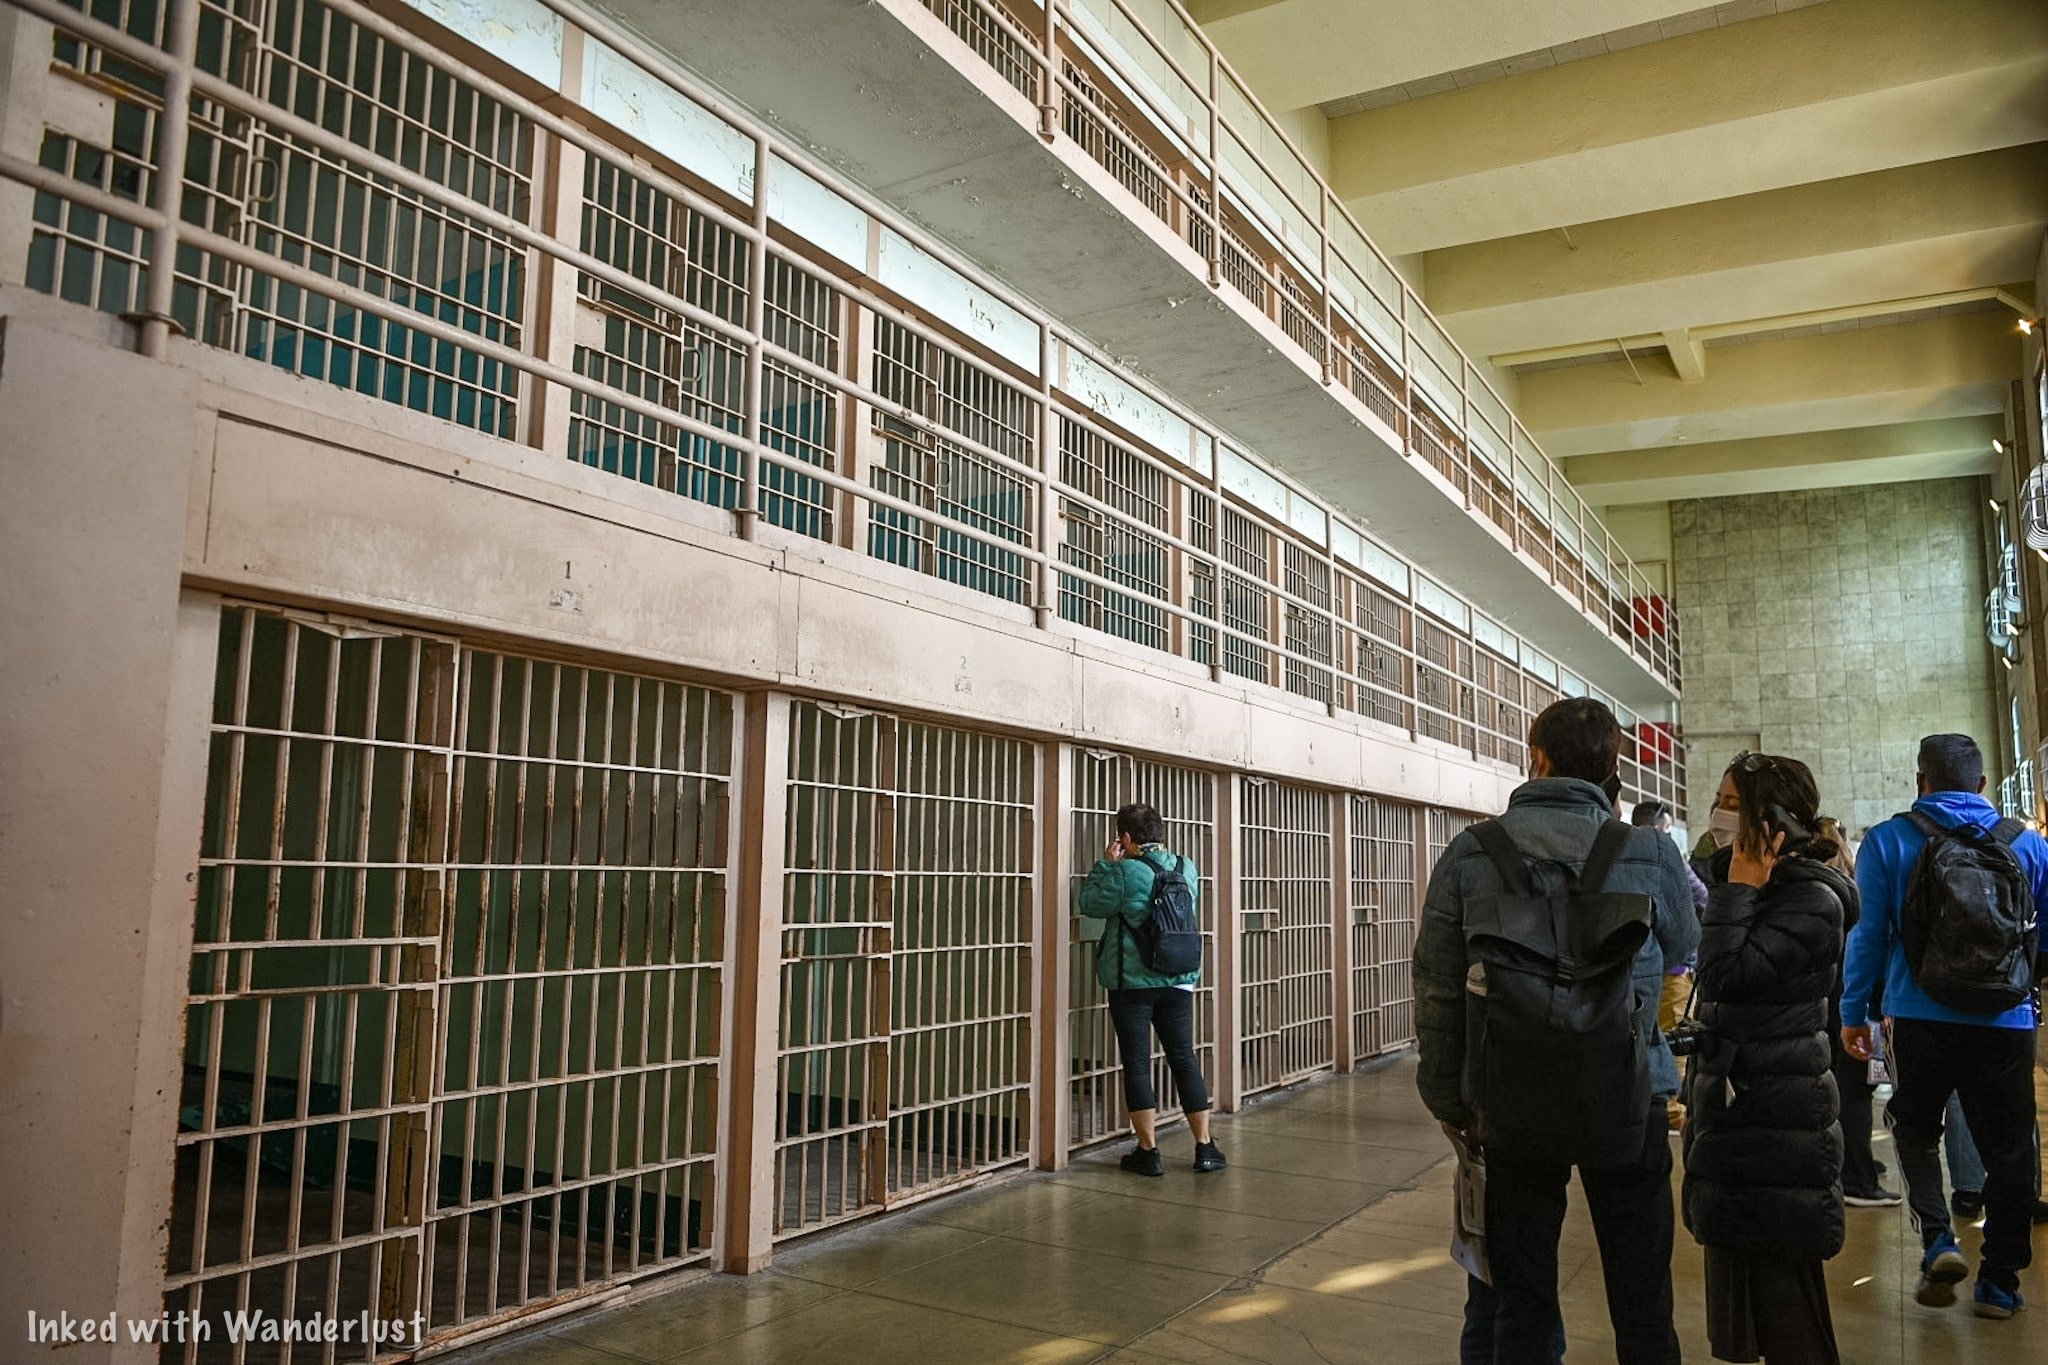
Inmates who proved to be problematic for guards, i.e, got into fights, assaulted guards, or just didn't follow a specific rule, were sent to D Block. It was quickly given the nickname of, “Punishment Block”.
These cells were much bigger than the ones in the other blocks, but inmates were confined to them 24 hours a day (with the exception of their twice weekly showers).

Since they were completely confined to their cells, everything was brought to them by other inmates or guards. On top of that, the only two activities allowed here were reading and quietly talking to the inmate next to you.
The other feature of D Block, specifically on the upper tiers, was the view of the city. Inmates, however, said this was the worst part because when the wind blew towards Alcatraz, it carried sounds of people talking and laughing from the city, reminding them of how isolated they were.

Further down D Block is where you’ll find the infamous solitary confinement cells, also known as the, “prison within a prison”.
These cells were solid concrete with nothing but a toilet, sink, and a bed inside. No light source was provided so when the solid door was closed, inmates were in total darkness and could hear nothing.

If you want a small taste of what it was like, go to the cell at the very end. Both doors are left open and you are allowed to step inside. Although you cannot shut the door behind you, it will give you a sense of what the inmates experienced.

After D Block, your next step will be the prison library. It’s another example of a, ‘prison within the prison”, as you feel like you’re walking into a cage.
On arrival at Alcatraz, inmates were given a library card and were allowed three books at a time. This was in addition to a bible, text books, and approved magazine subscriptions (newspapers were prohibited).


Inmates weren’t allowed to come and go as they pleased, though. If they wanted to check out a book, they would fill out a slip and turn it in. The Librarian would find the book(s) and deliver them to that inmate’s cell.
There are benches in the library that you’re free to use if you need to sit-down for a bit. When you’re ready to move on, exit the Library and go right on “Park Ave.”

Park Ave., Good-Time Cells, & Visitation
Coming out of the library, the narrator will have you view a few of the cells on C Block on what is known as, “Park Ave.” These cells are referred to as, “Good-Time Cells”, as inmates in these cells were allowed paint supplies and other privileges.
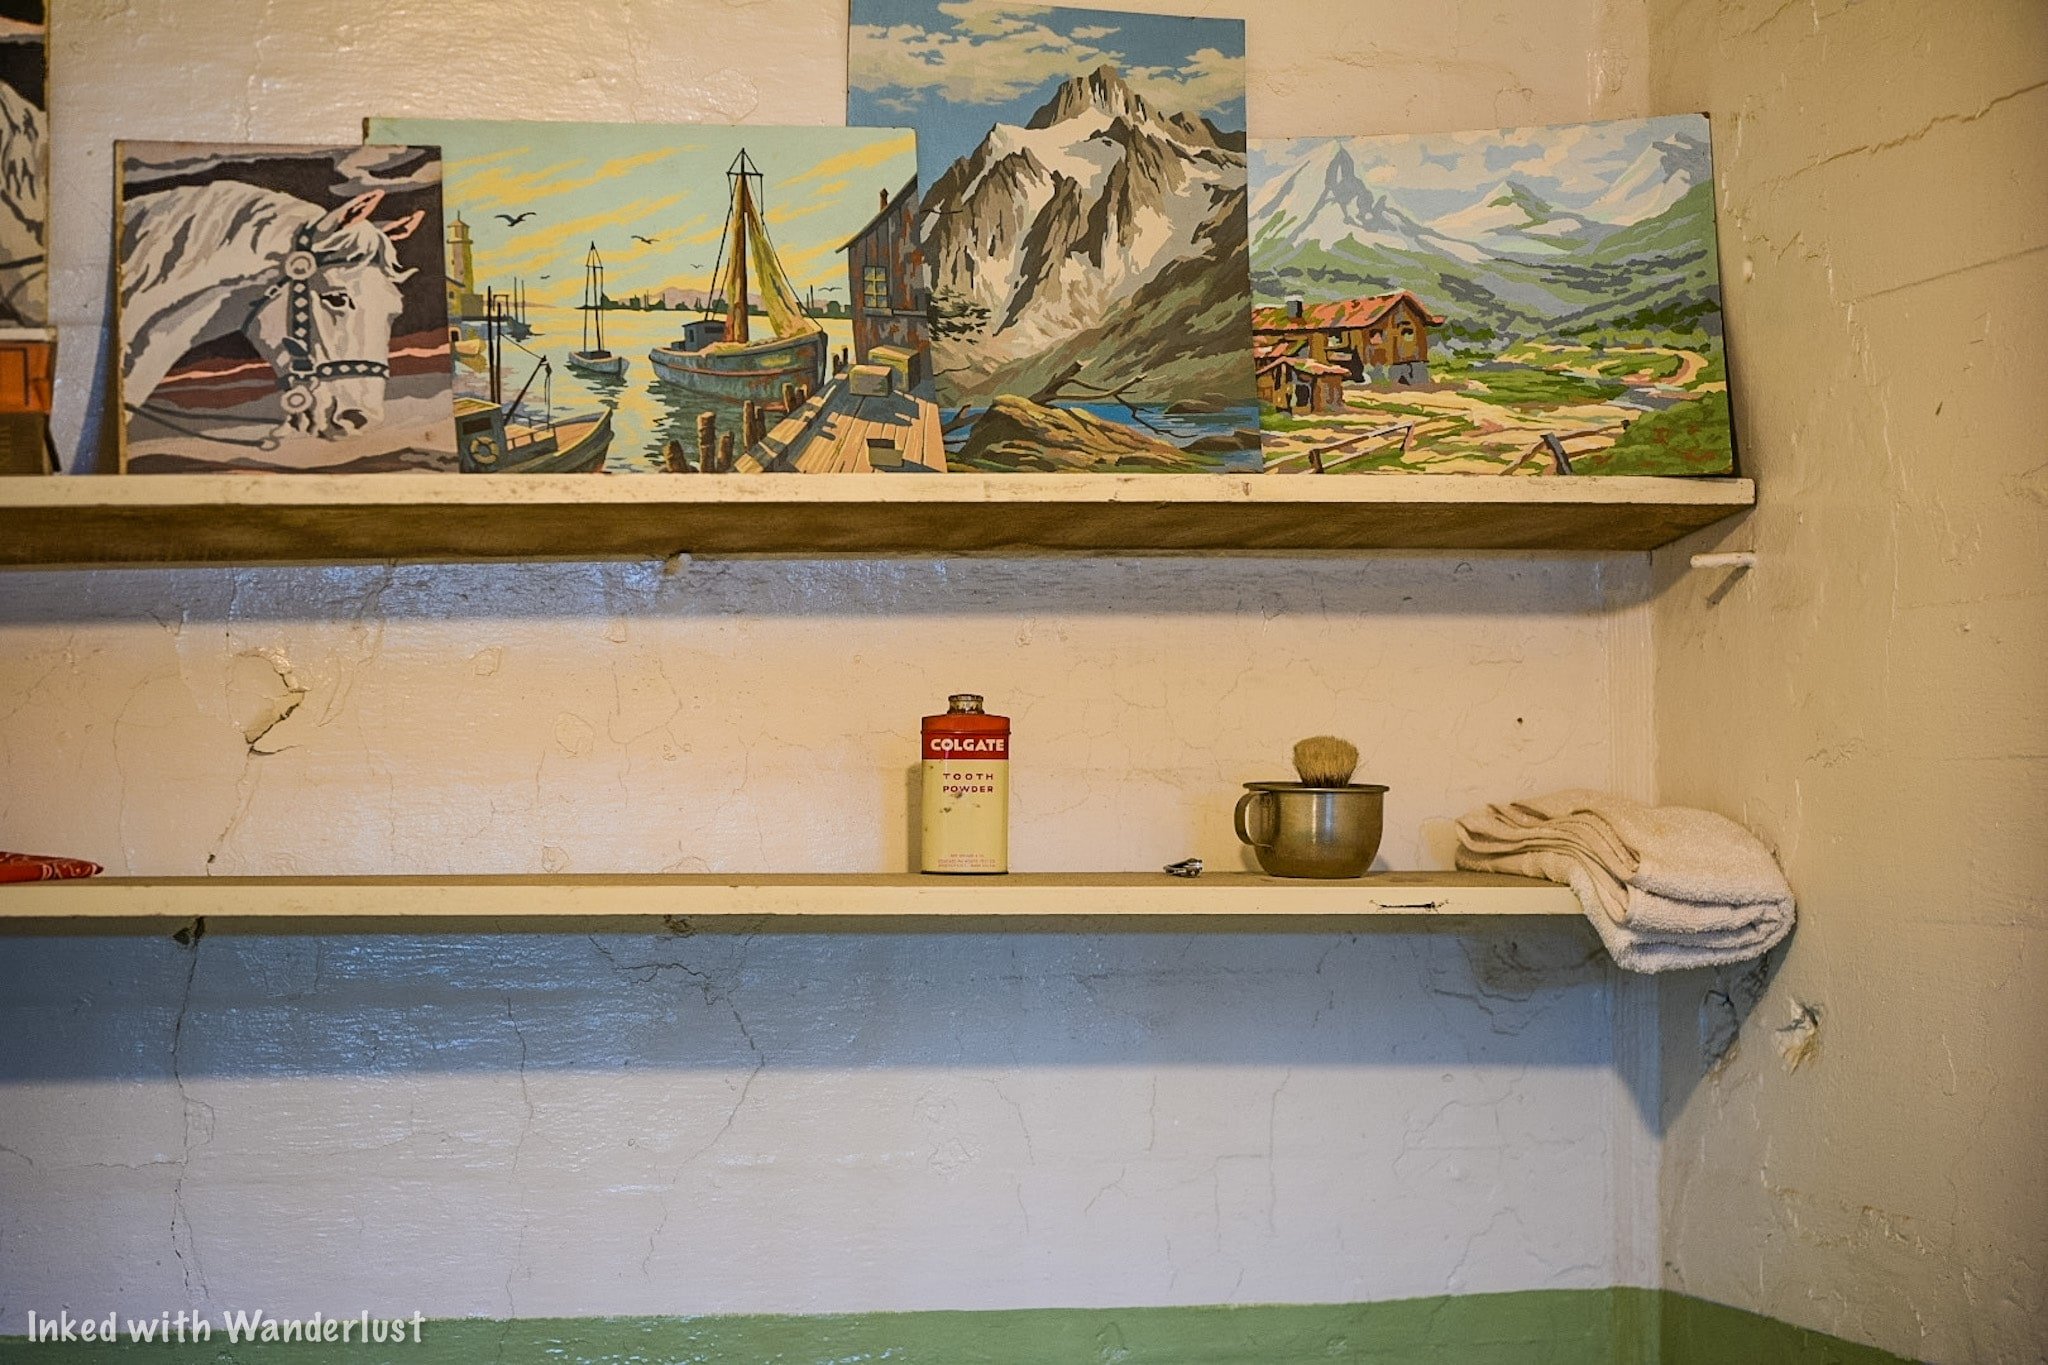
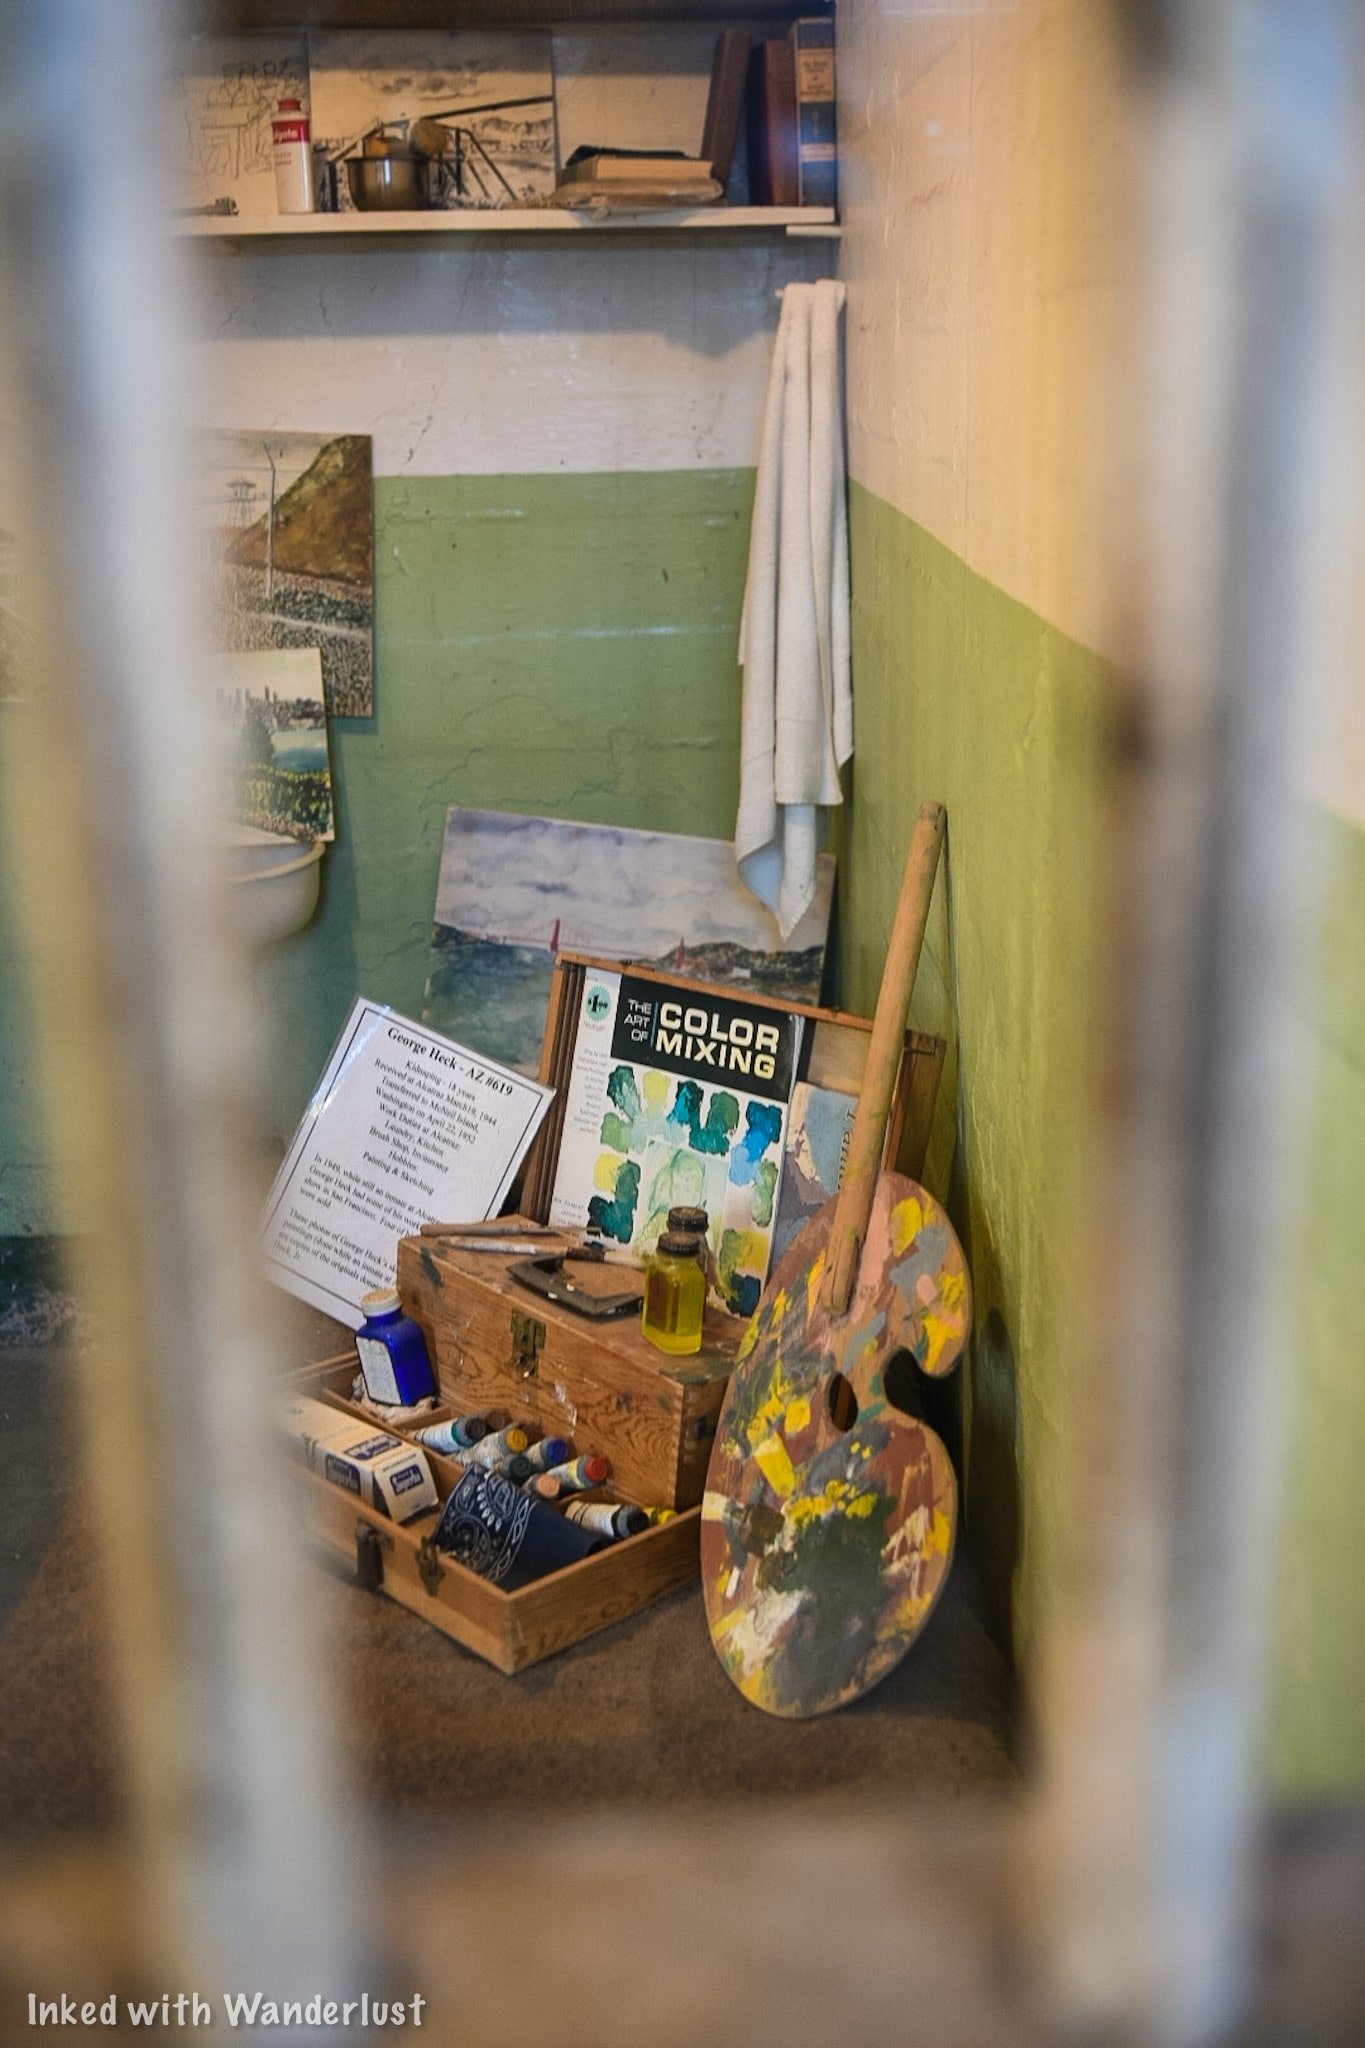
From here, you’ll round the corner to view the visitation area, also known as, “Peek’n Place”. Here, inmates would visit their loved ones by talking to them through a phone and thick, glass barriers. Under most circumstances, inmates were allowed only one visit per month.

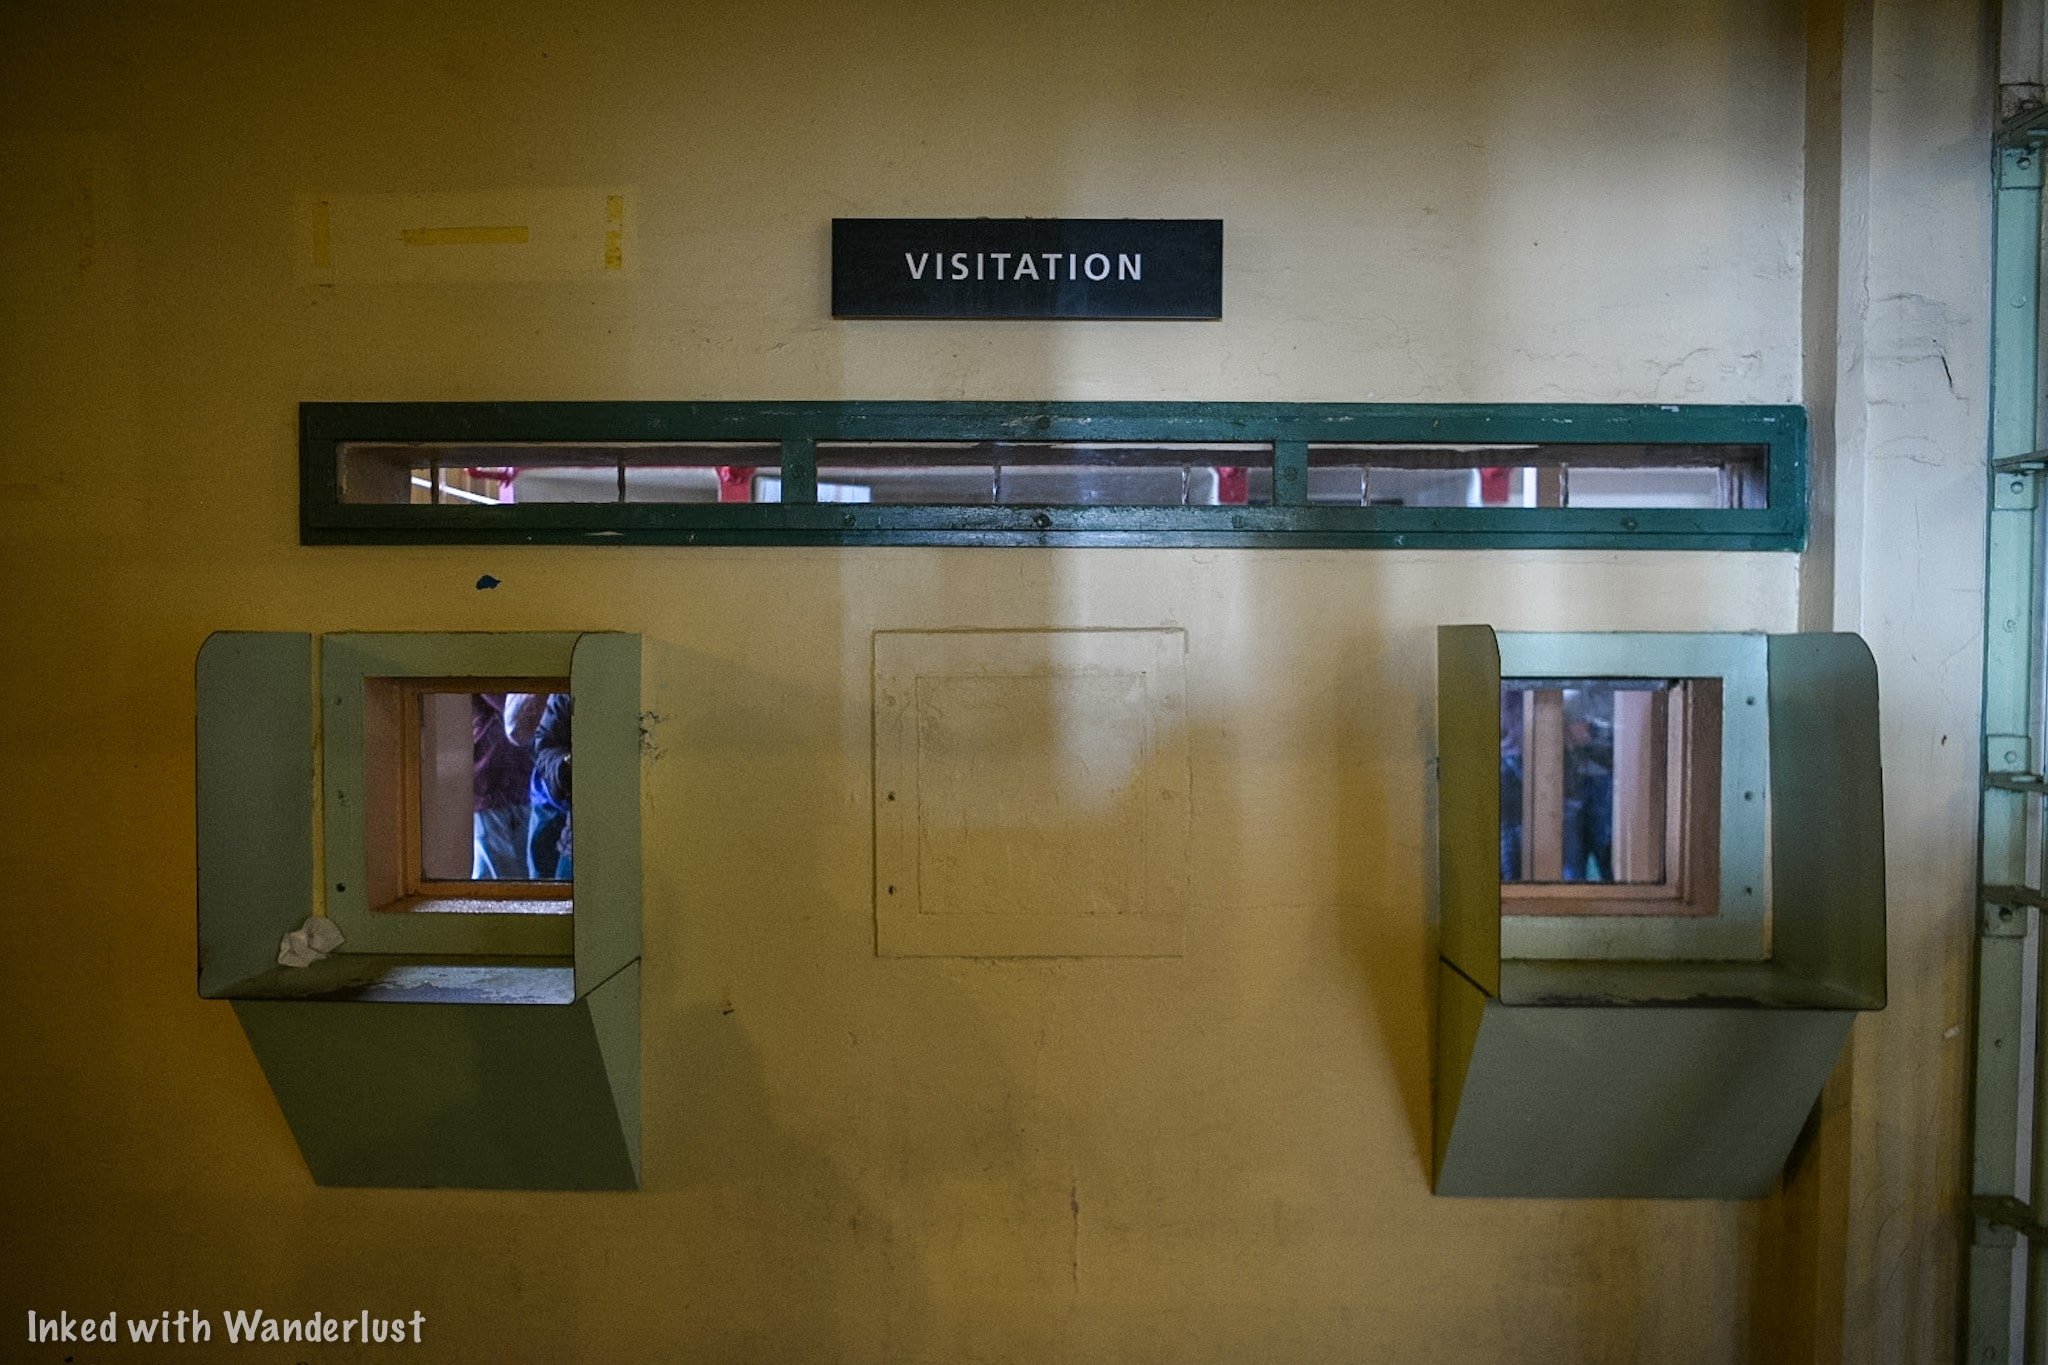
Head to the opposite side of the wall to see it from the visitor’s perspective. There would be a guard stationed here listening to all conversations. Among other topics, discussing current events was prohibited and could’ve resulted in privileges.

The area behind the visitation is where the administrative offices are. You can come back here after the conclusion of the tour. For now, head back down broadway.
Broadway & Dining Hall
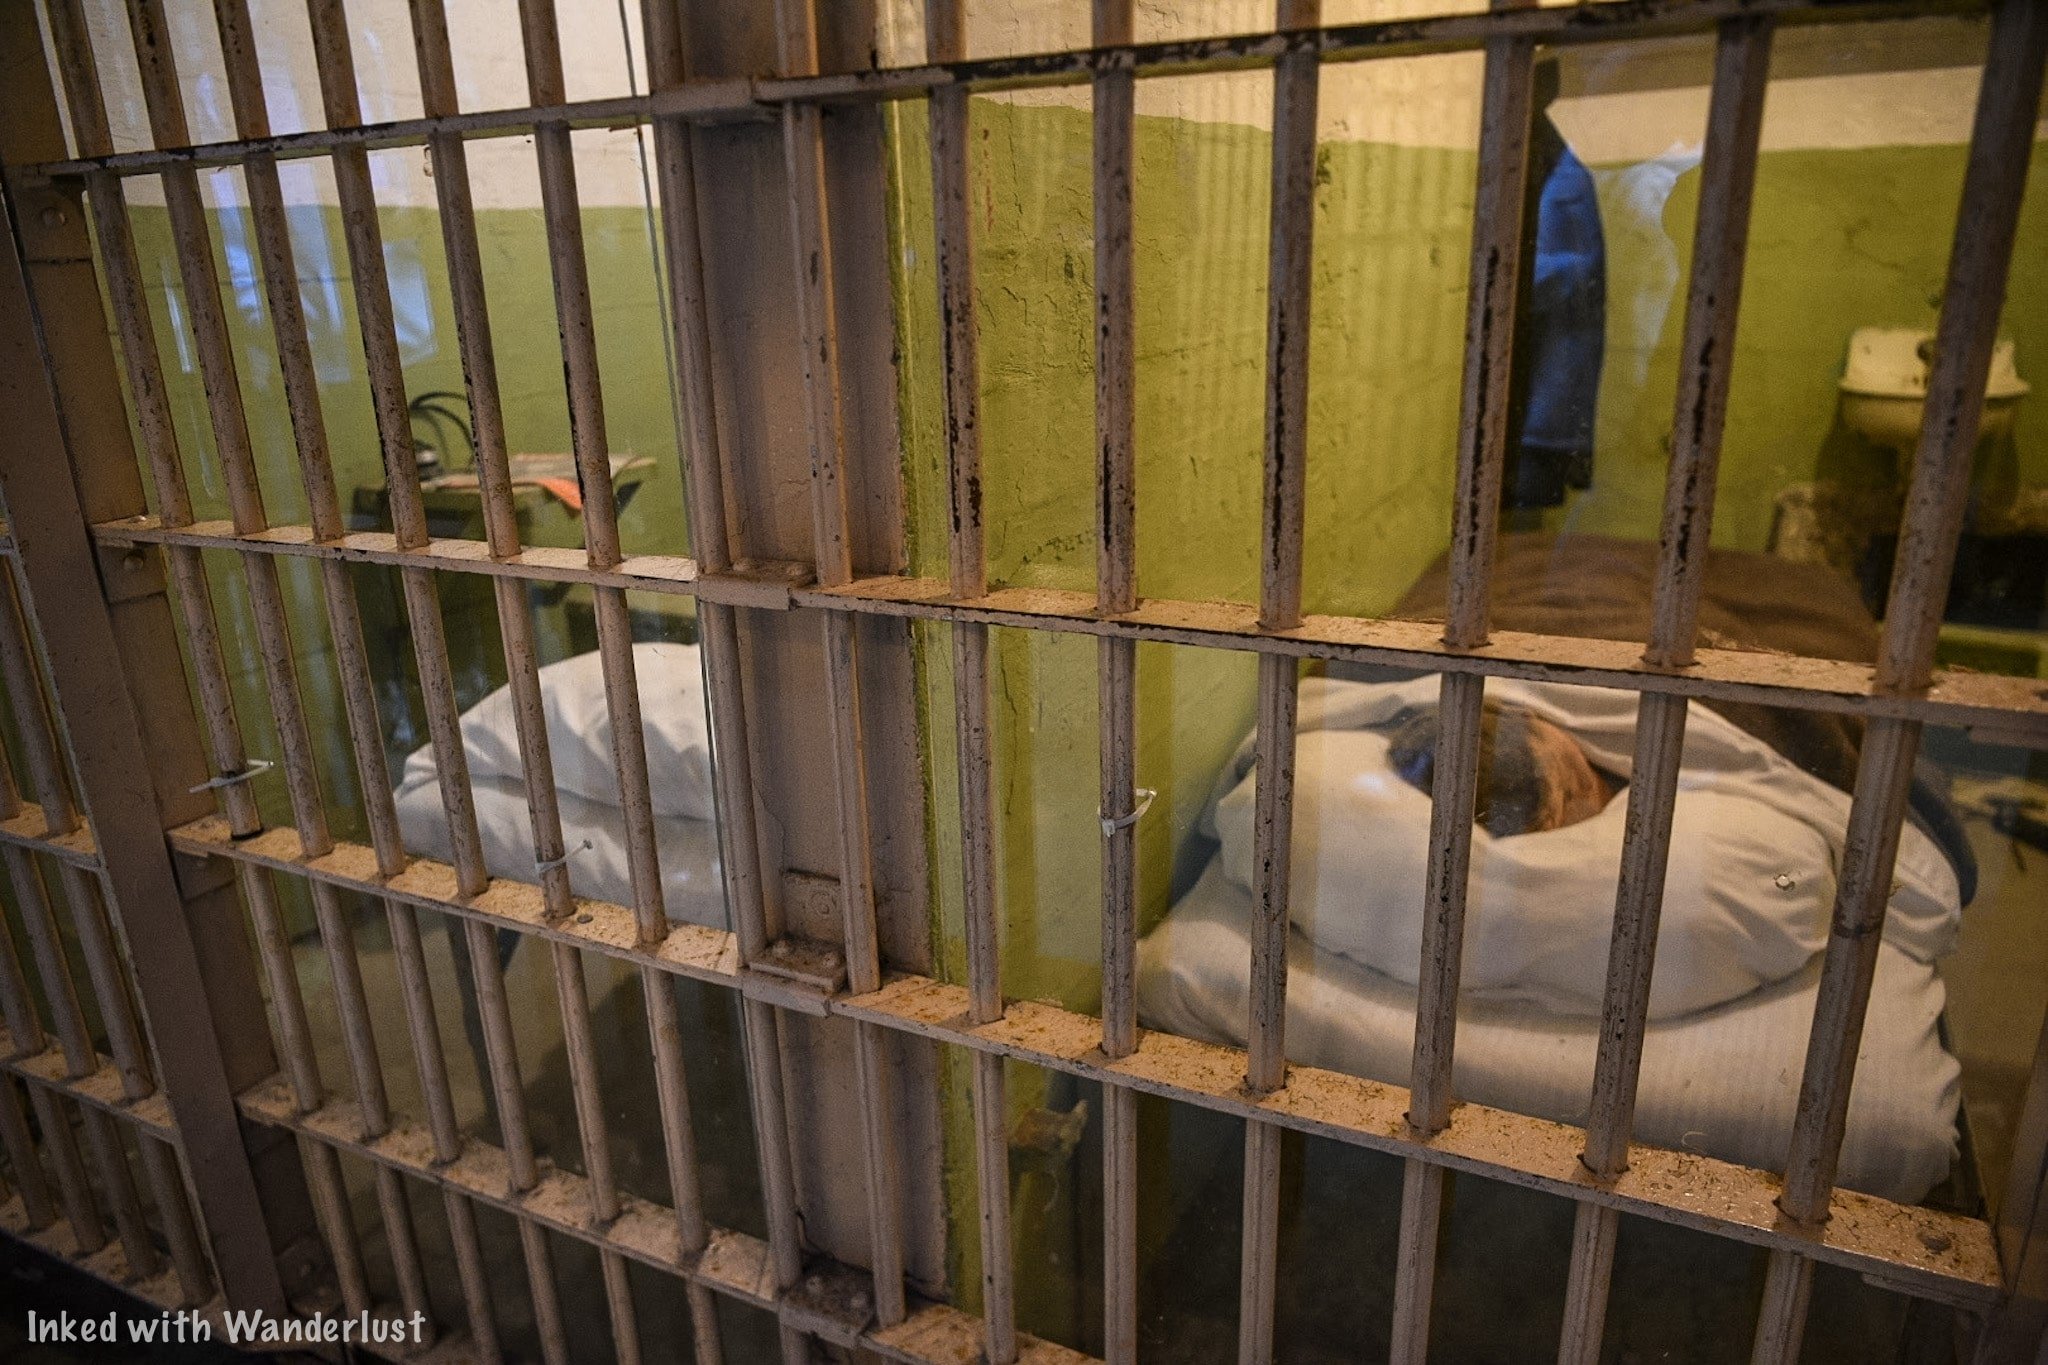
Before arriving at the Dining Hall (the final room of the tour), you’ll take one last stroll down Broadway. On the way, you’ll stop to see the cells of Frank Morris and the Anglin Brothers. They took part in the greatest escape attempt in the history of Alcatraz.

You’ll see the vent in the back of their cells where they squeezed through to gain access to the corridor. They took advantage of Alcatraz’s deteriorating state by chipping away at the wall around the vent.
You’ll also see the plaster molds of their heads they constructed. They placed them in their beds at night to fool the guards into thinking they were asleep. In reality, they were in the corridor behind the cells working on the next phase of the escape.

The final section of the cell house tour is the Dining Hall. Here, hundreds of men would gather together for breakfast, lunch, and dinner, everyday. The guards would tell you that this was always the most tense part of the day as fights or riots could break out at any time.


To deter this, tear gas canisters were positioned in the rafters throughout the room that could be set off remotely. There was also an abundant of armed guards present. Despite these security features, a few riots have broken out here.
Inmates were given 20-minutes to eat and were not limited in how much food they could consume. The only caveat to this was no matter how much they took they had to eat it all, leaving no waste. If they made a habit out of doing that, it could result in the removal of privileges.

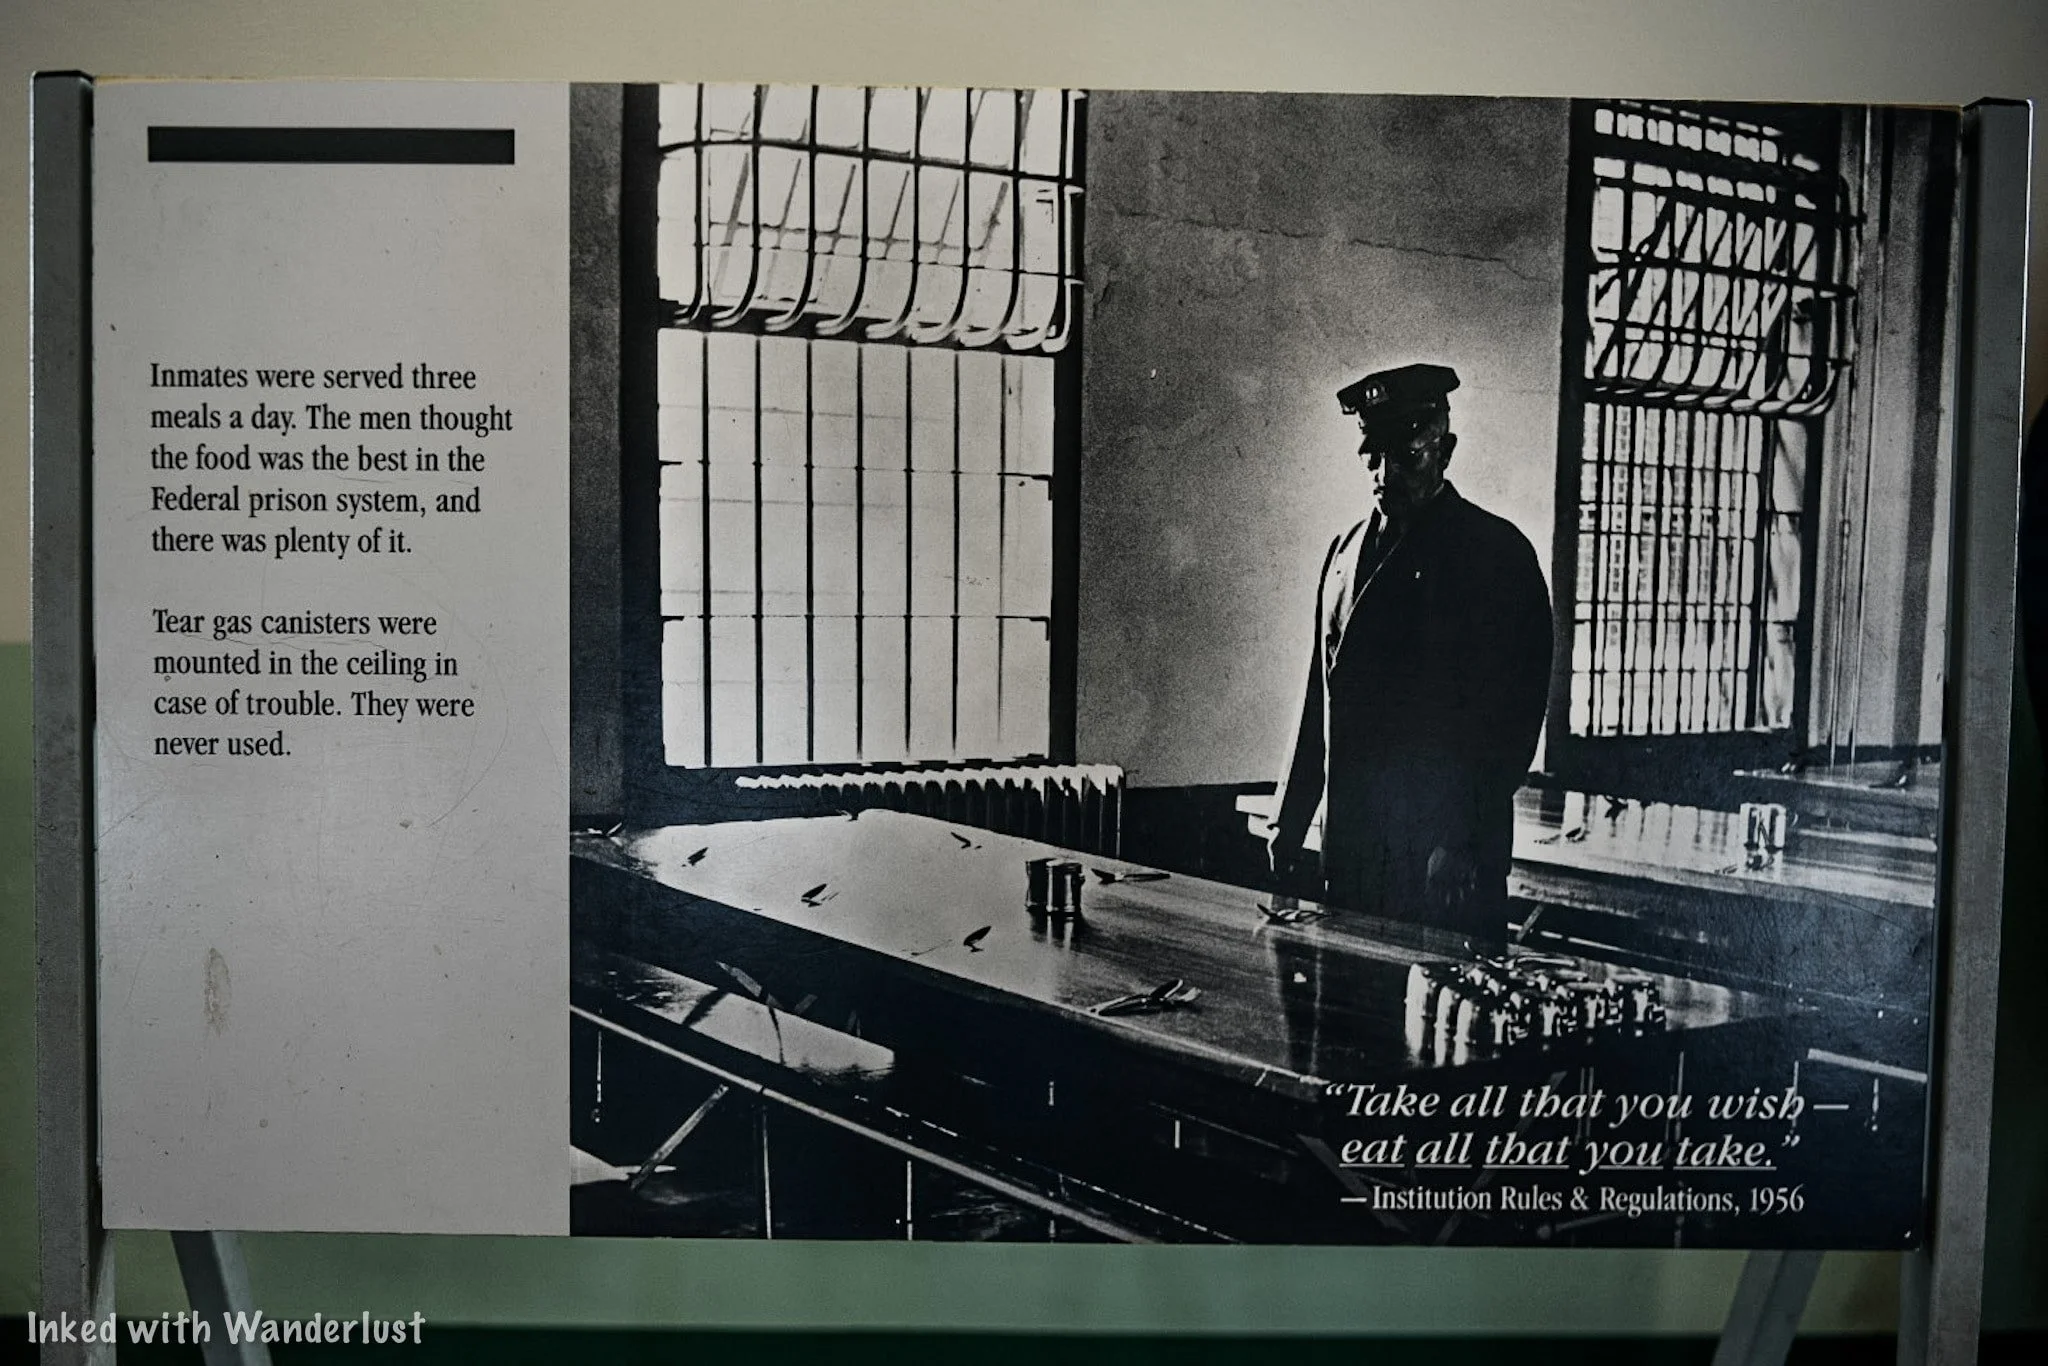
Hanging above the entrance to the kitchen is the menu of the final breakfast served at Alcatraz. Inmates reported the food here to be the best of any Federal Penitentiary they’ve been to.
By now, the narrator has concluded the tour and from this point forward, you’re free to explore the island at your leisure. Turn in your device to the booth in the middle of the room and head back down the stairs.


From there, you’ll come down the stairs and back into the showers. You’ll be directed to exit through the gift shop and when you do that, you’ll be right back where it all began at the cell house entrance.
(Click to go back to top)
Exploring the Island
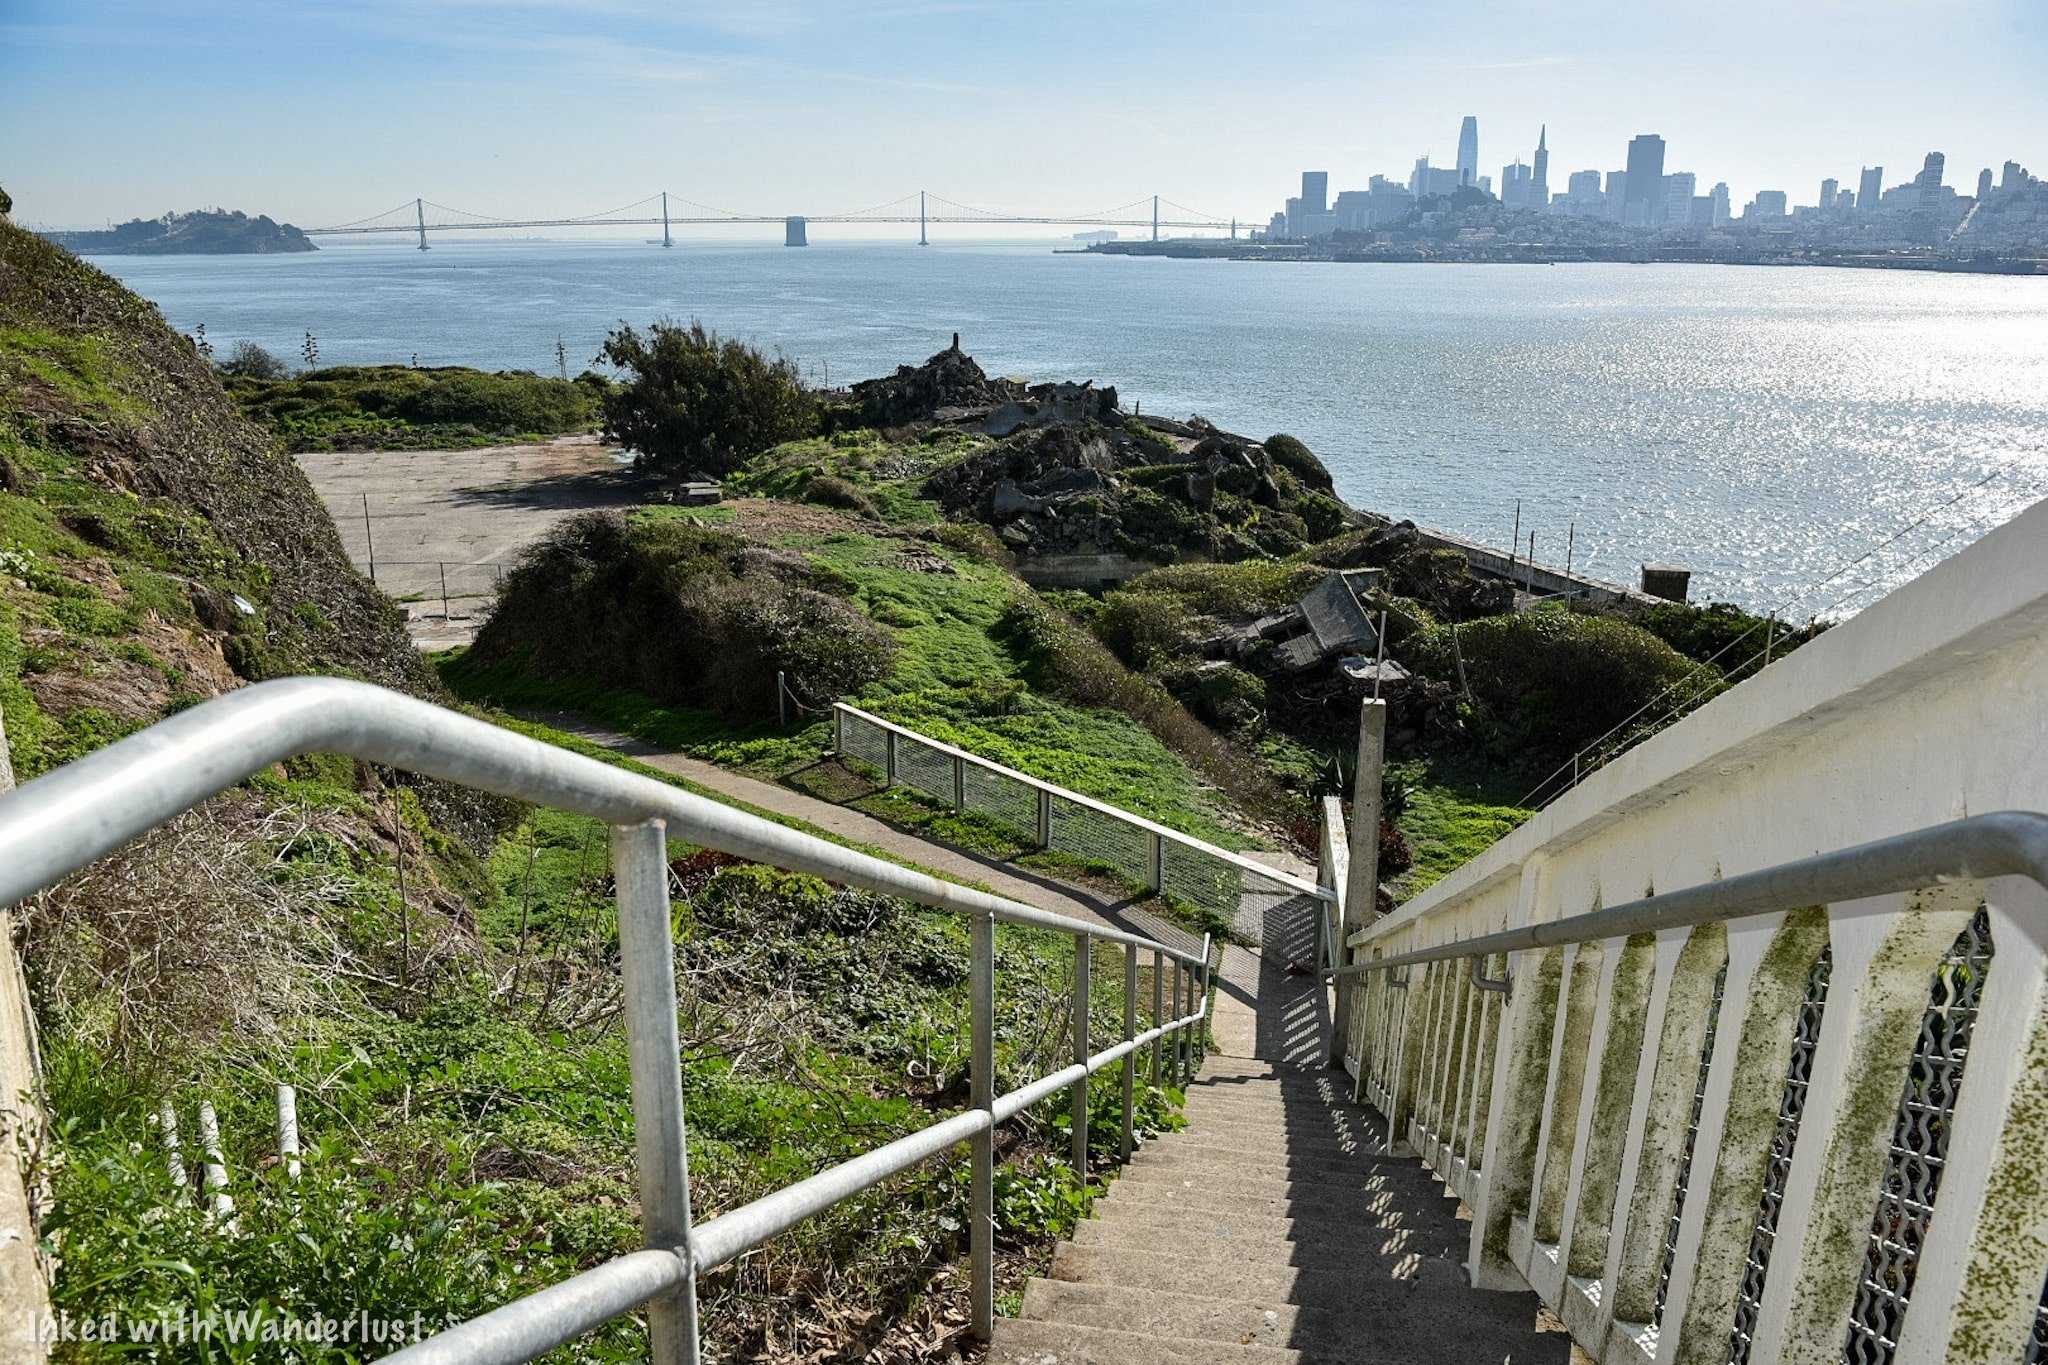
Your visit to Alcatraz doesn’t end with the cell house tour. You’re free to spend as little or as much time here as you please as long as you’re off the island by the final ferry departure time.
At the conclusion of the tour, simply head back down the path and go from there. Having a map of the island would come in handy here but if you don’t have one, just follow the signage.
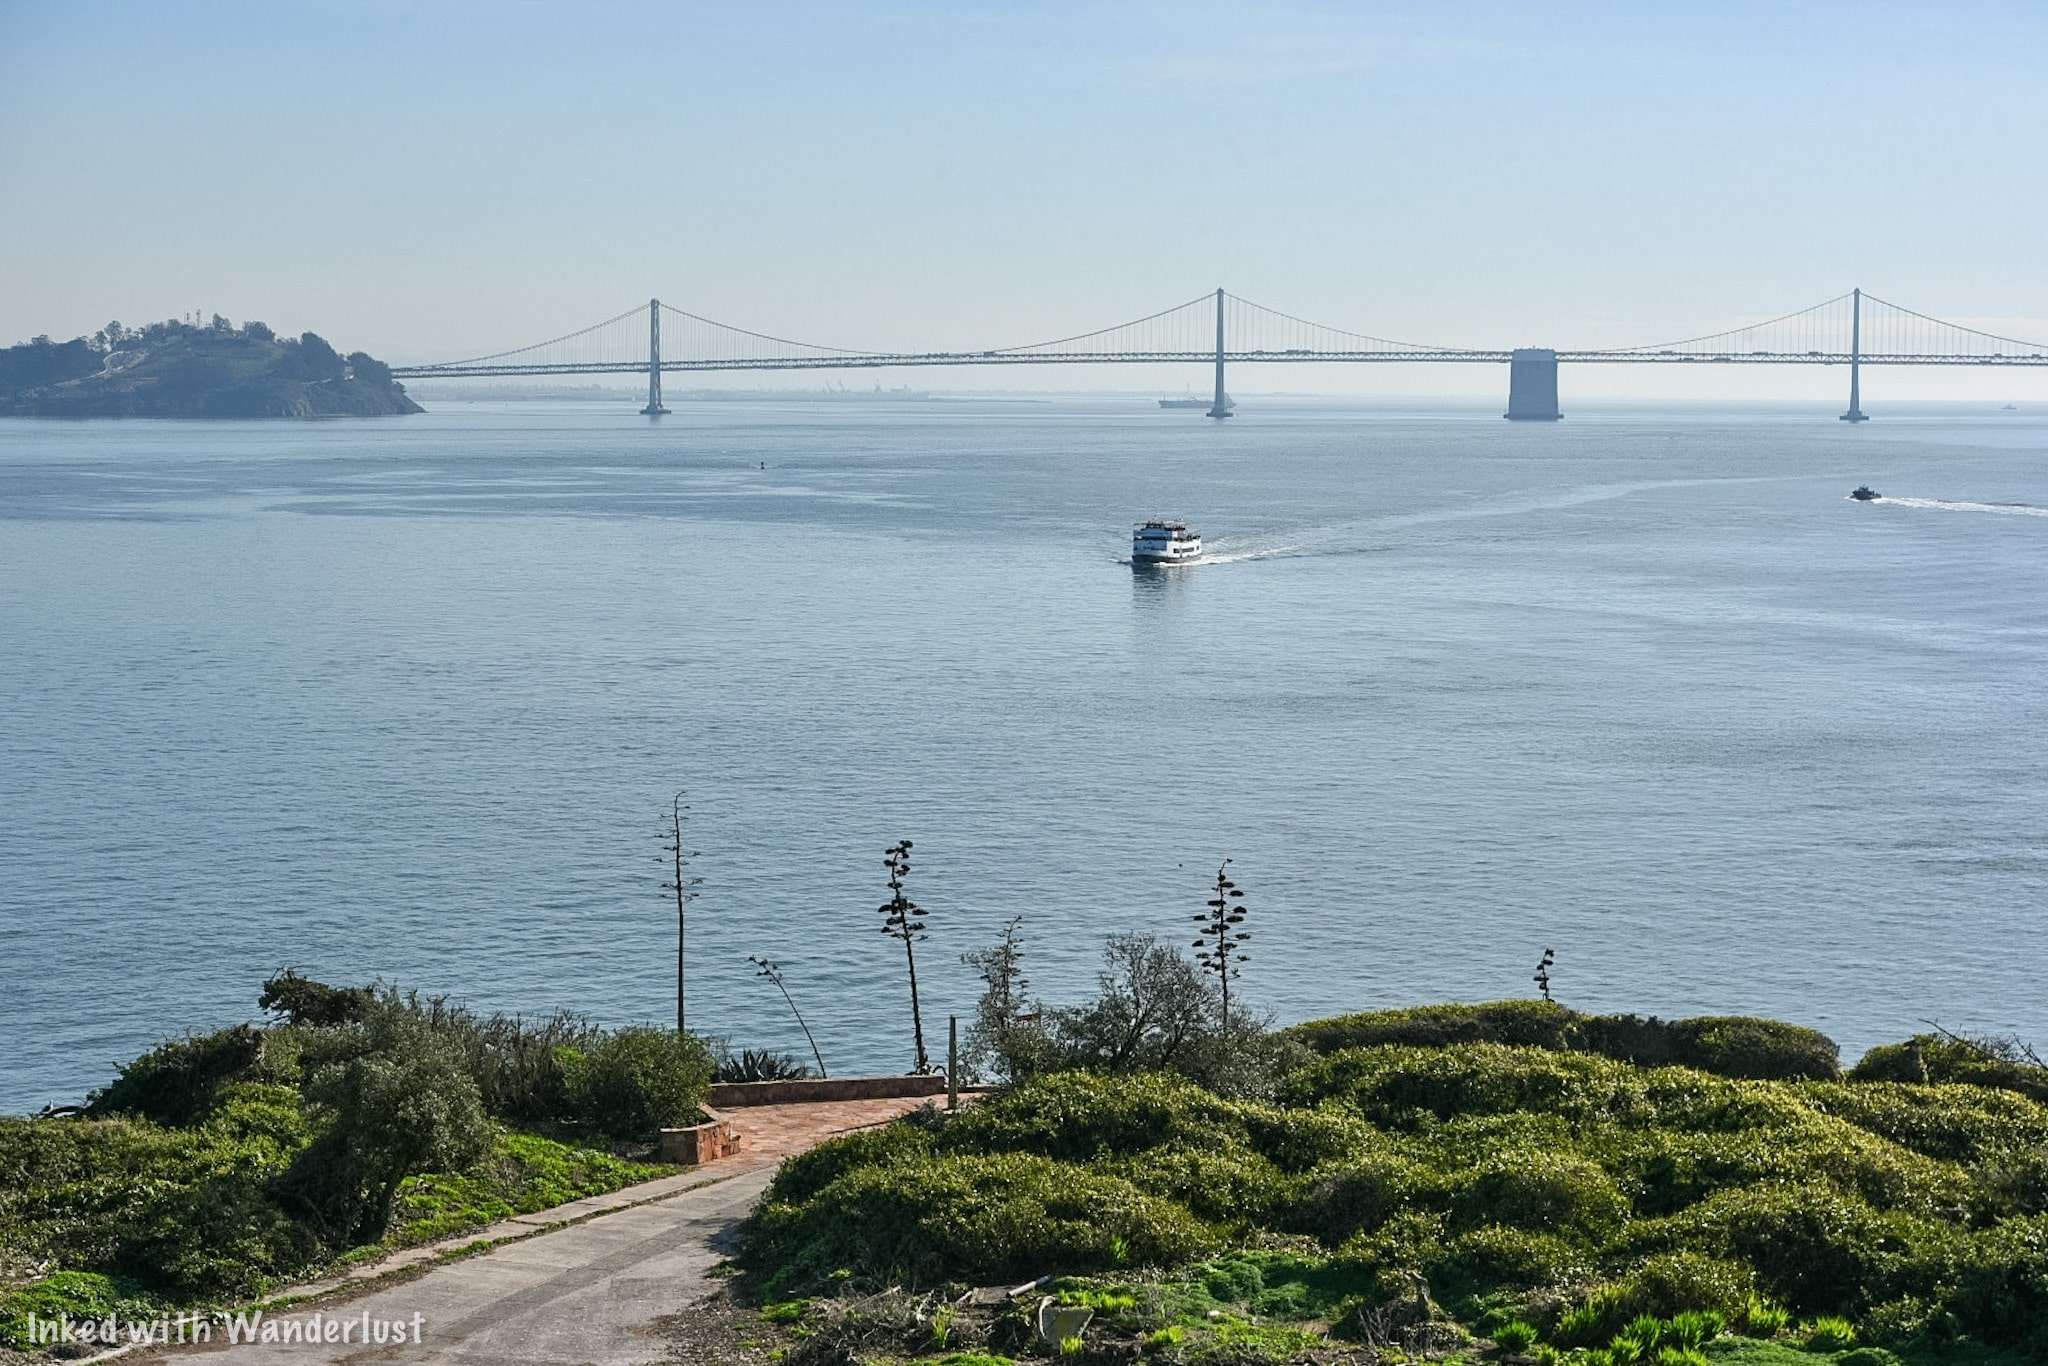
Southwest & Northwest Side
On the southwest side of the island (facing the Bay Bridge) is the administration building, the remains of the Warden’s house, the historic Lighthouse, and the ruins of, ‘Officer’s Row’ (where housing for the guards and their families used to be).


In the admin building, you’ll see the Warden’s office, control room, and other offices. You can also access the cell house from here if you want to see it again.
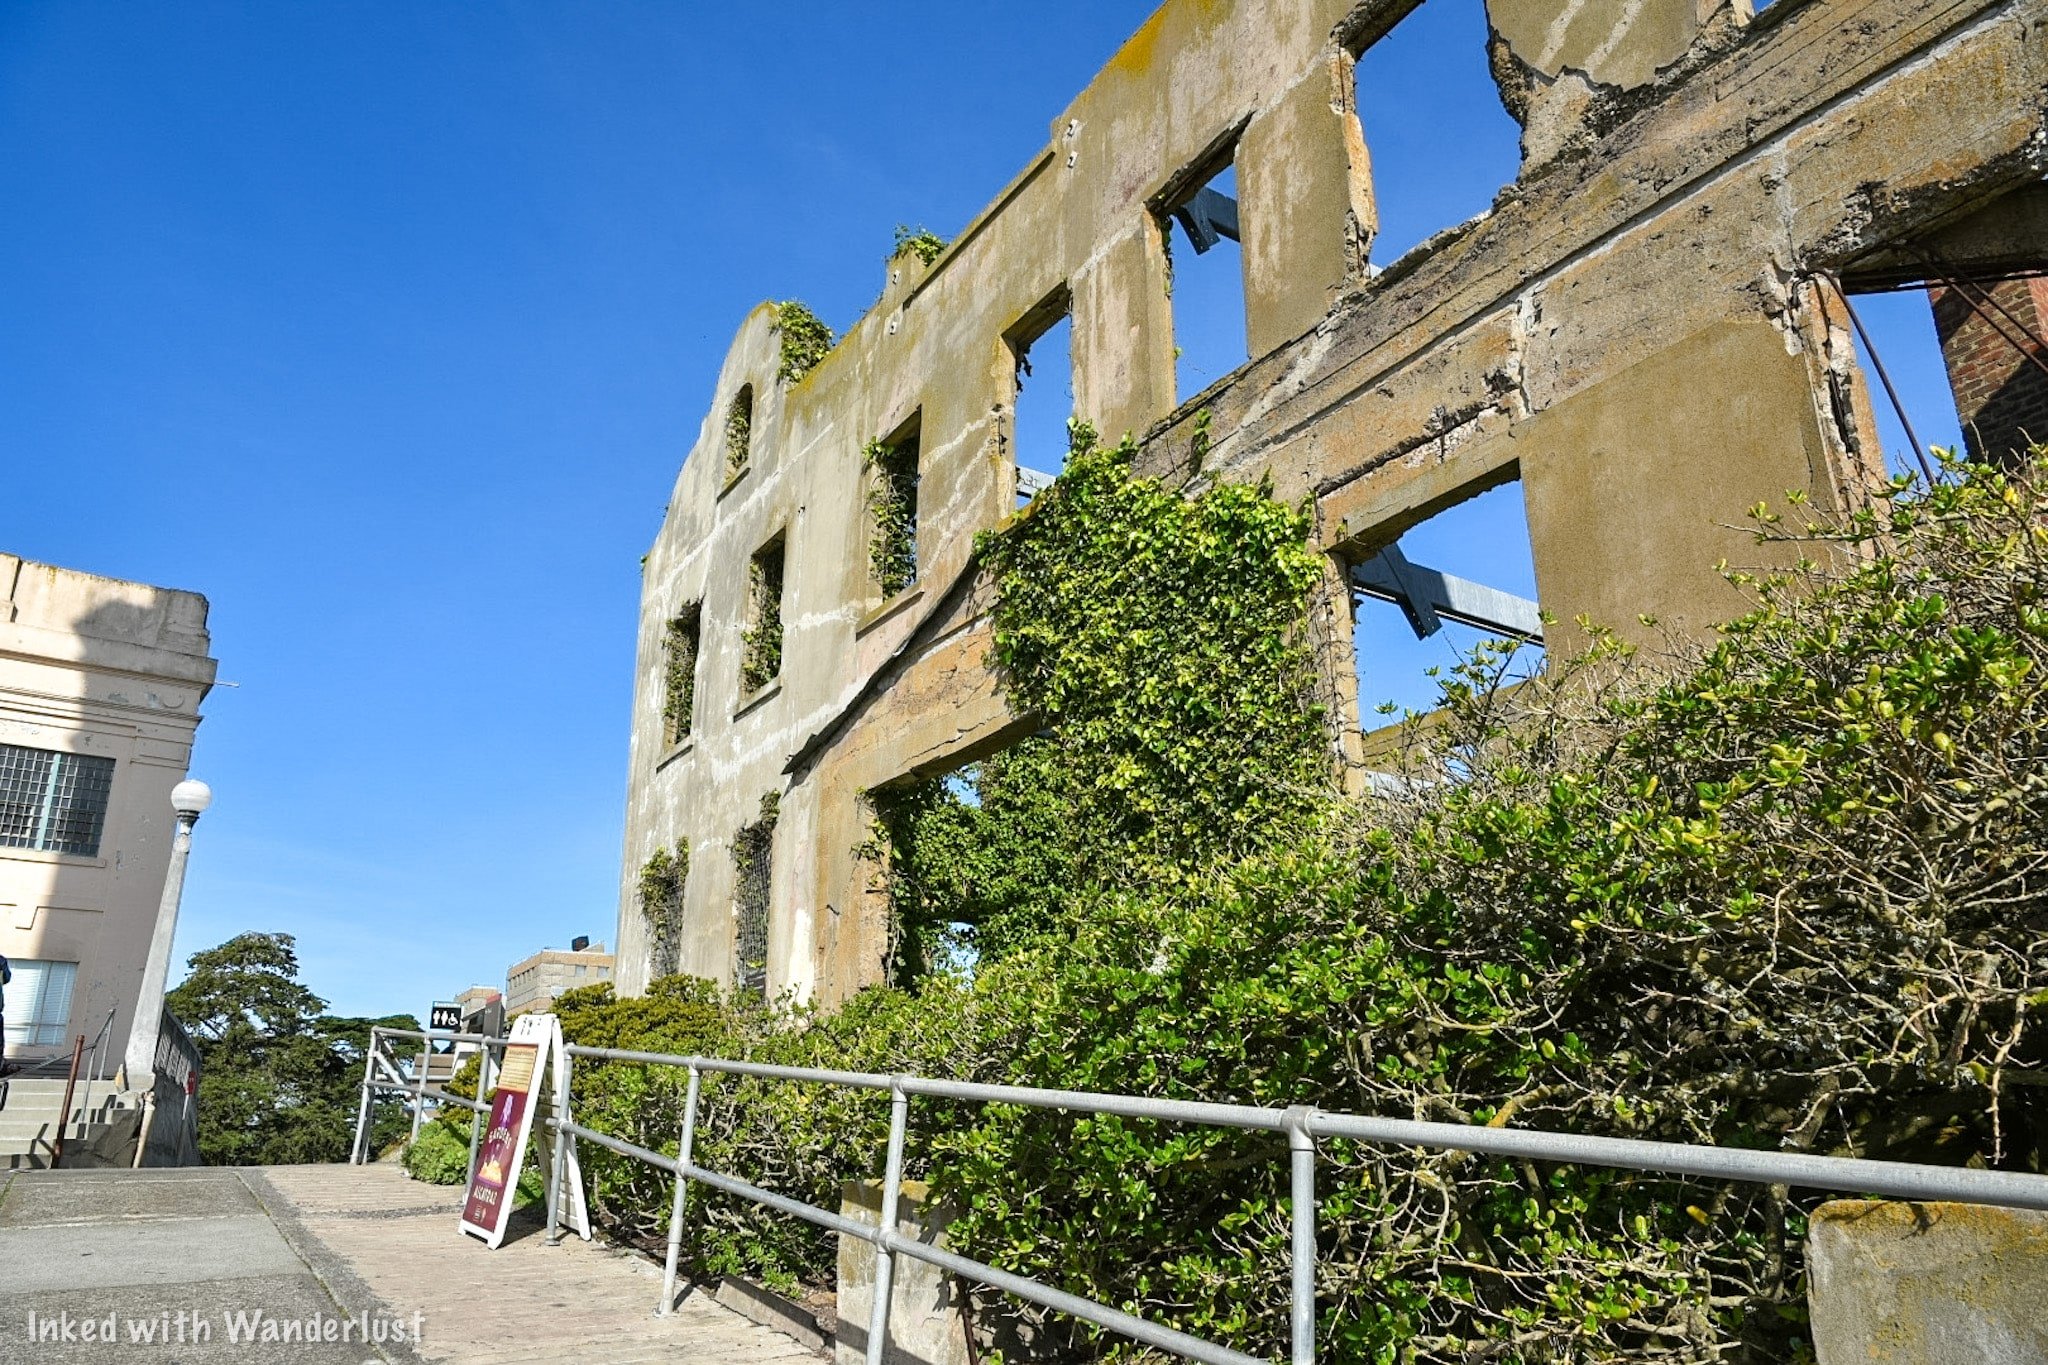
Outside the admin building is the former home of the Warden. As you can see in the image above, the elements and nature have taken over. As you’ll see when you’re here, though, the Warden once had an amazing view of the bridge and city.
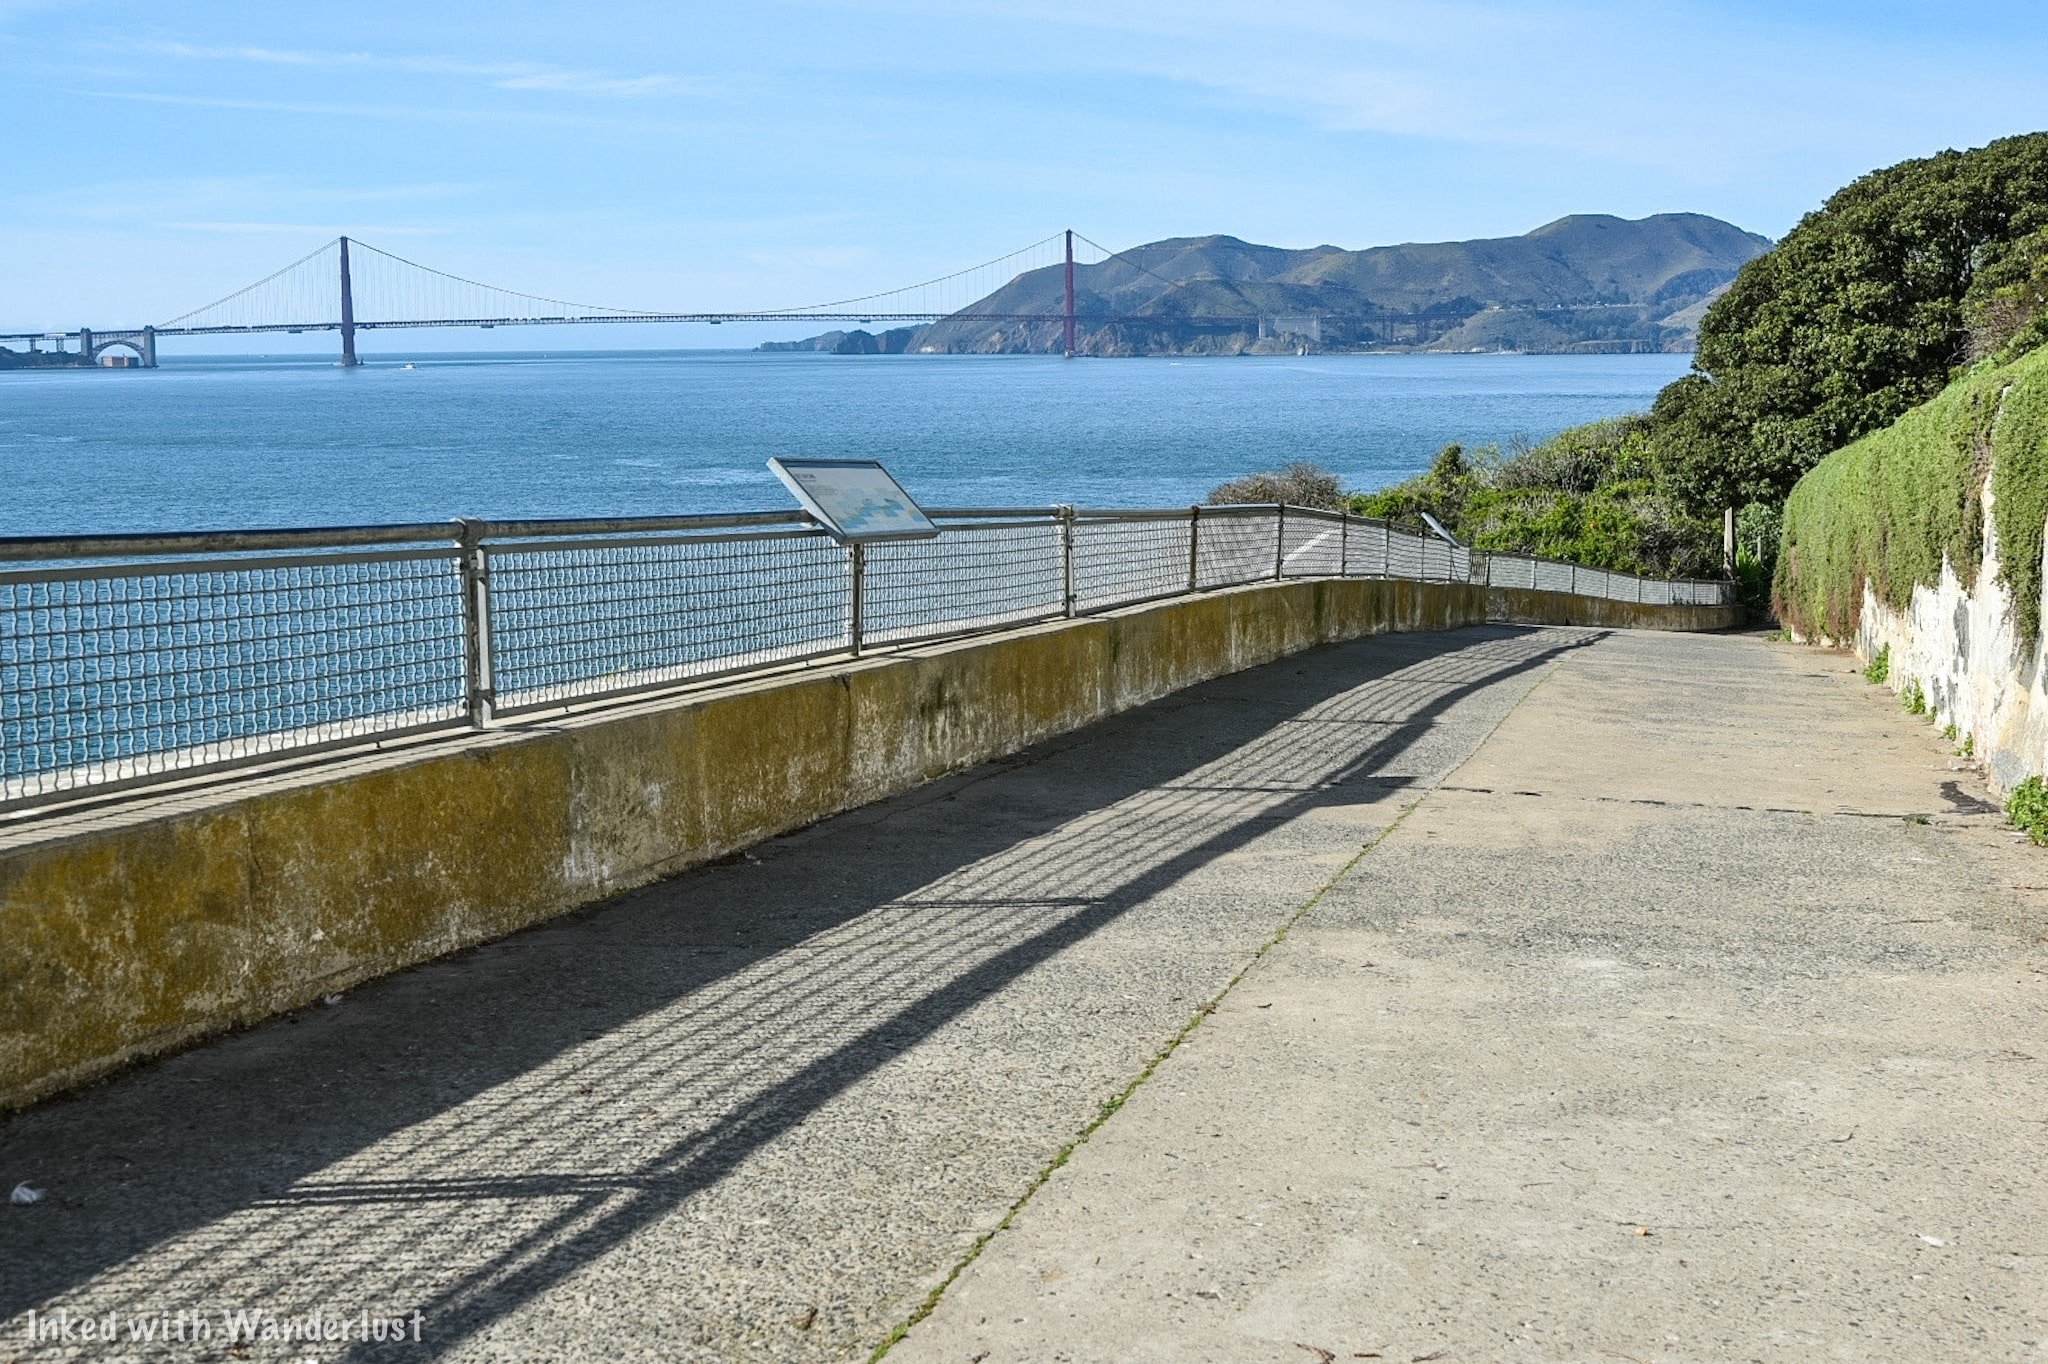
Take the west road (pictured above) to see the Northwest side of the island. Here you’ll find a beautiful garden that was once maintained by the inmates.
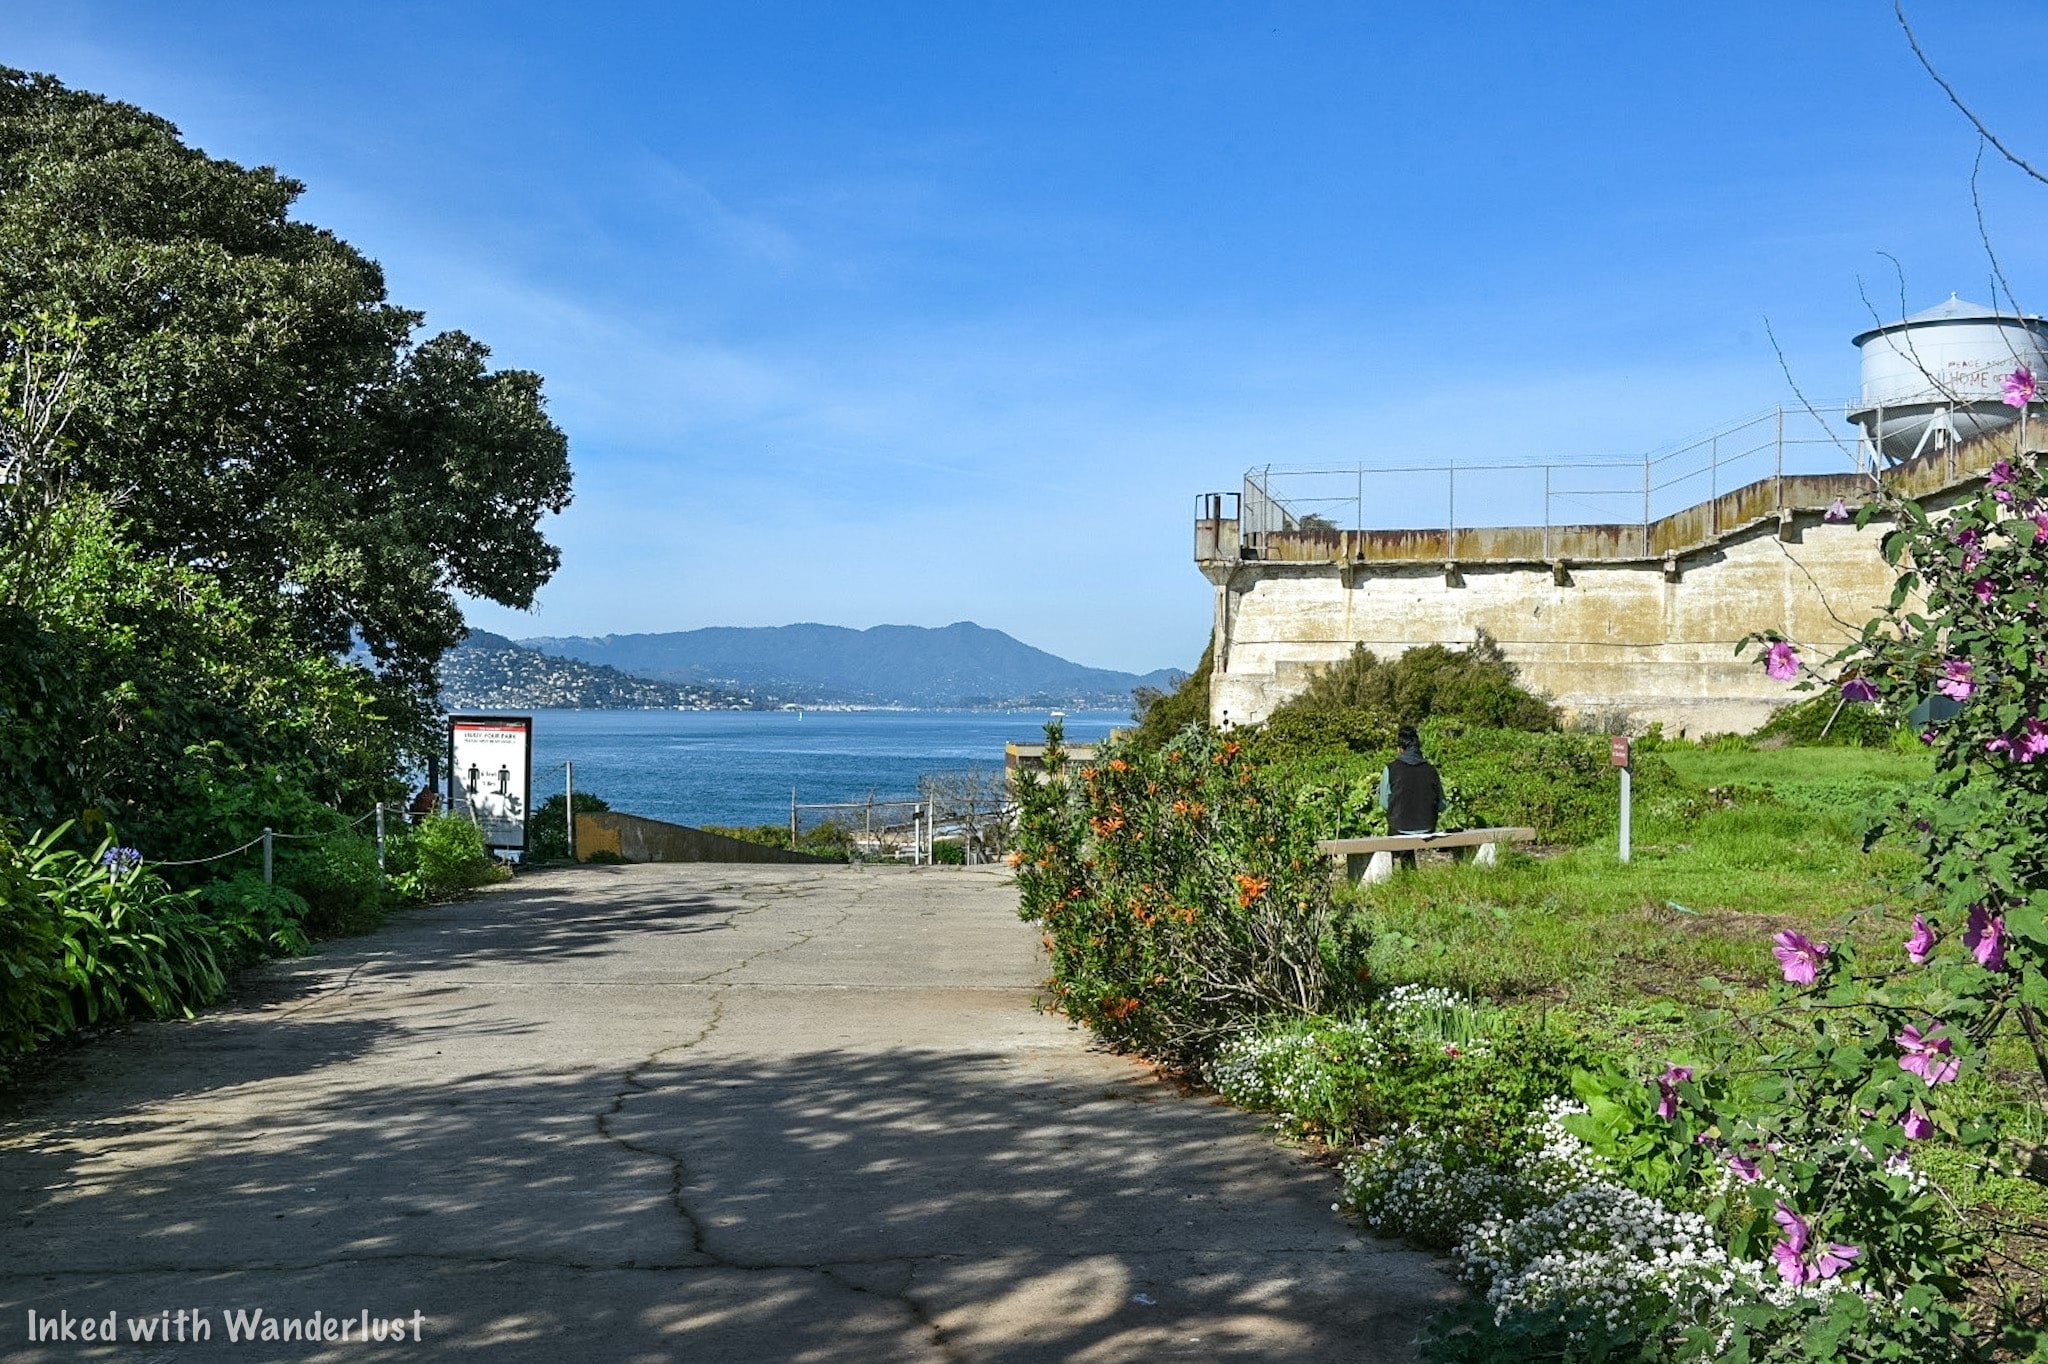

The west road eventually terminates near the stairwell that leads back to the Recreation Yard. If you like, you’re welcomed to go back up there. If not, you’ll need to turn back and go the way you came in.
Southeast and Northeast Side
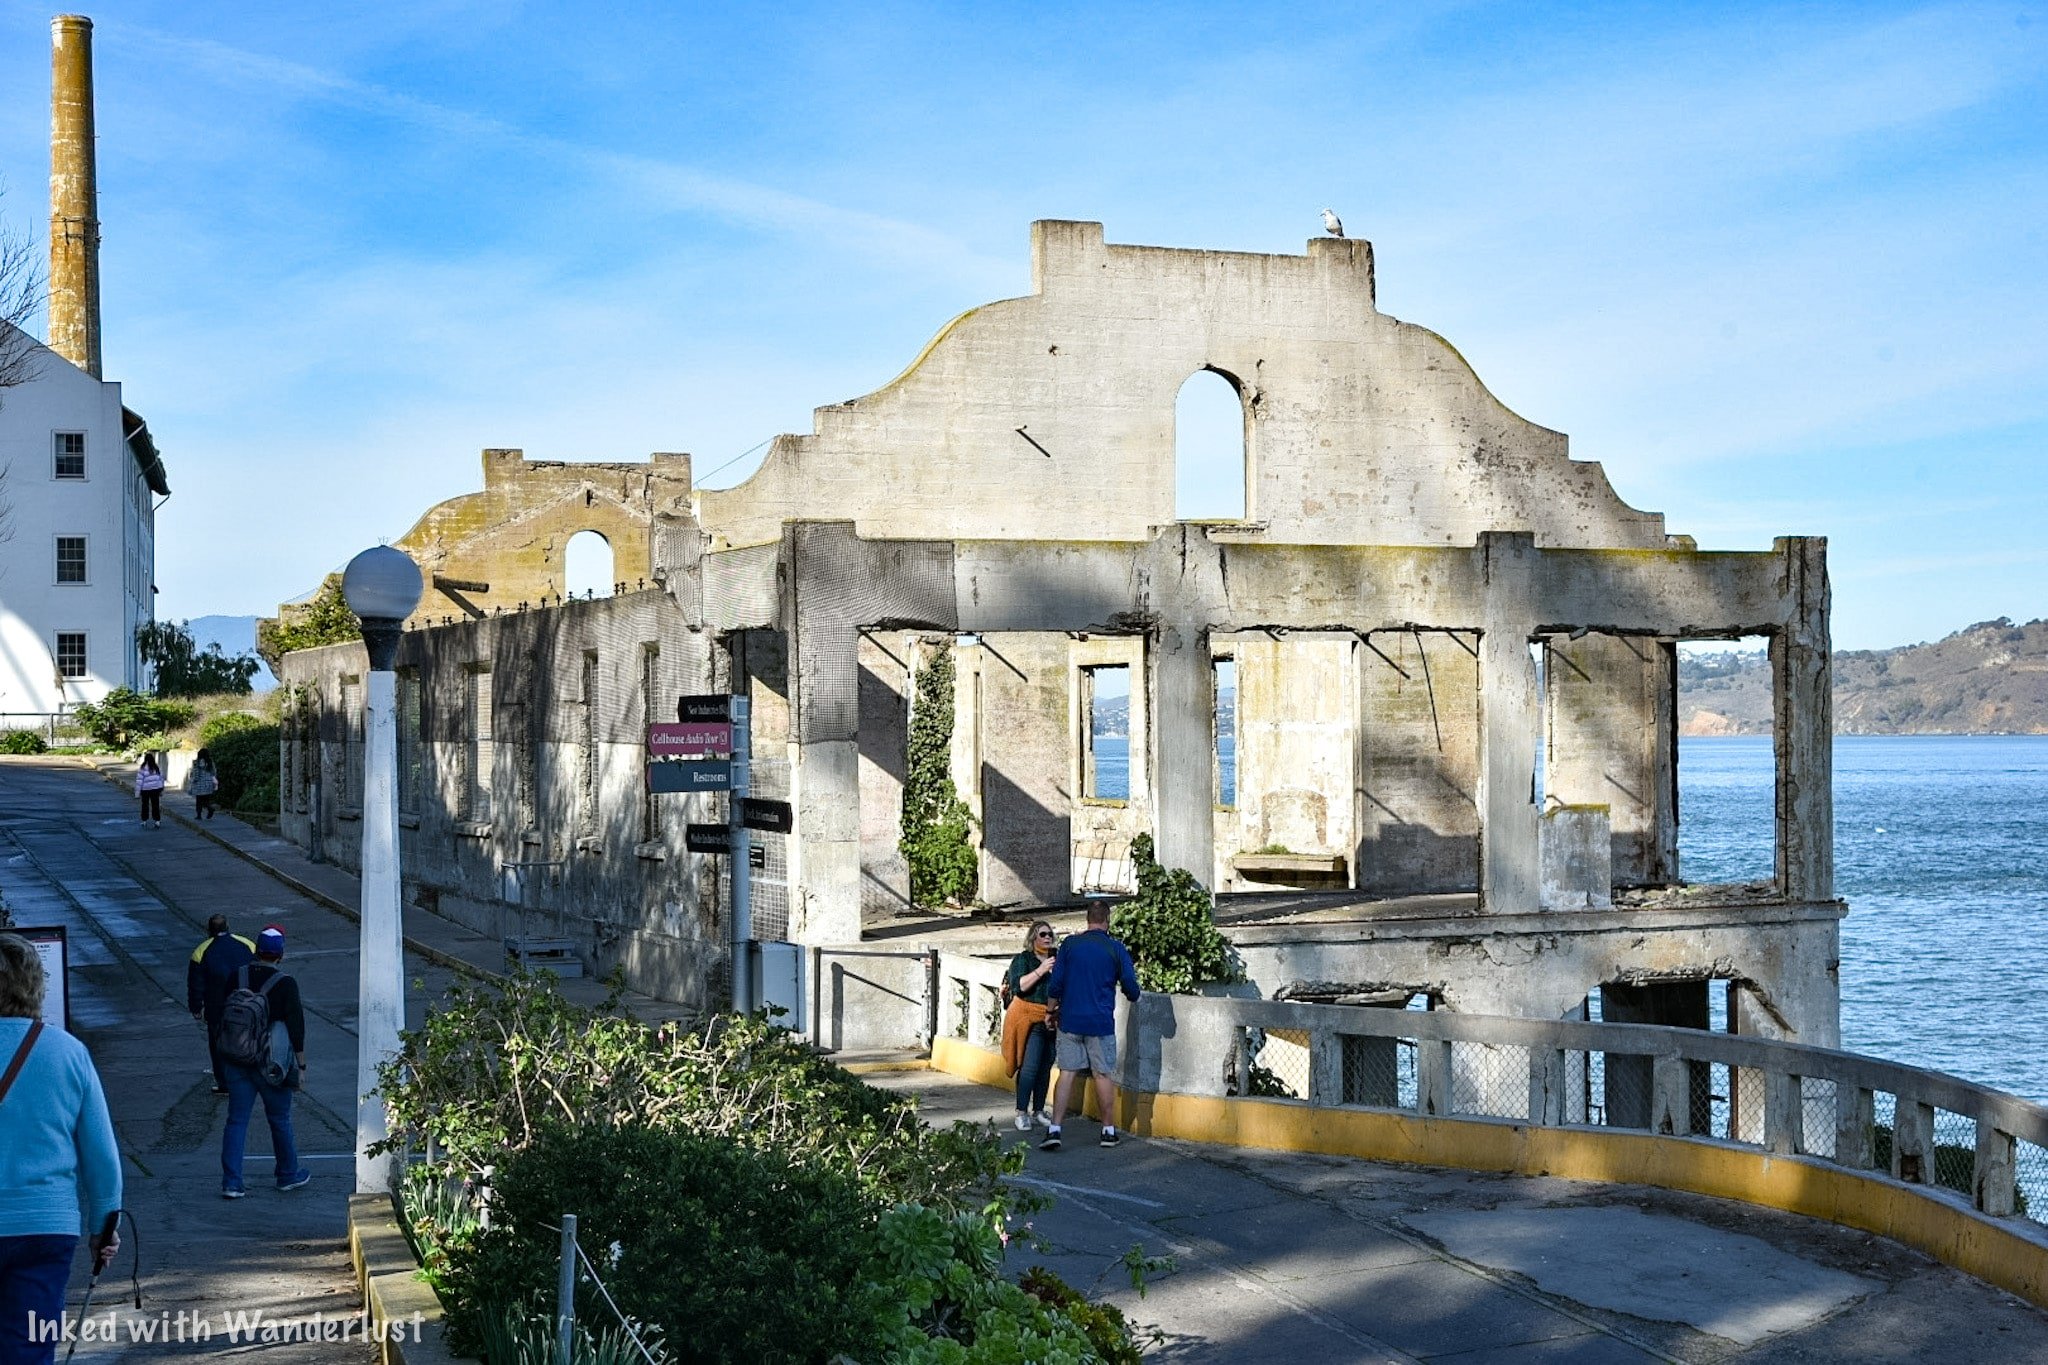
These are on the opposite side of the island. To get there, you have two options:
Go up the stairs through the recreation yard and cut through the cell house to the other side. You’ll go back down the stairs in the Dining Hall and out through the gift shop. Or….
Take the west road back to the Warden’s house and loop back to the other side on east road.

There are multiple historic buildings on this side of the island. Building 64, the Sally Port, the old Boat Dock, and (pictured above) the remains of the Officer’s Club.
Continuing straight away from the Officer’s Club is where you’ll find the Powerhouse, Model Industries Building, and Water Tower. A bit further up the road (going towards the cell house) you’ll find the Morgue.


The Model Industries Building is fenced off so you’re not able to go in and see it. We did see a lot of construction material nearby so that may possibly change in the future.

At this point, you have no other recourse but to turn around. From here, it’s completely up to you where to go.
As stated above, you can remain on Alcatraz for as long as you wish. You can explore the island some more, do the cell house tour again, you can hike the Agave Trail (starts near the ferry dock), or head back to the city.

*We’re often asked about the kind of camera equipment we use to capture the photos used on our website. Below are Amazon links to what we use. If you decide to purchase, Amazon pays us a small commission and it doesn’t cost you anything extra.
(Click to go back to top)
Conclusion
Phew! That was a long one. If you read that entire thing, you rock! If you skimmed through it, you still rock! We’ve been wanting to add Alcatraz to our website for a long time and we’re excited for you to read it. Be sure to let us know in the comment section if you’ve been to Alcatraz or are now wanting to go.
We hope you’ve found this post helpful in planning your next adventure. If so, please support our site by sharing it with your family and friends on Pinterest or Facebook. You can further show support by staying on and reading one or more of the related articles above.
Thanks for reading and safe travels!

Coit Tower: How To Tour This San Francisco Icon
In San Francisco, there’s no shortage of historic sites to visit. Fort Point, Alcatraz Island, and the Golden Gate Bridge are just a few…
In San Francisco, there’s no shortage of historic sites to visit. Fort Point, Alcatraz Island, and the Golden Gate Bridge are just a few examples of these.
One more, though, is not only one of the city’s more popular historic sites, but it’s also been an iconic part of San Francisco’s skyline since its construction in 1933; Coit Tower.
Coit Tower was named after Lillie Hitchcock Coit, a wealthy patron of the city’s firefighters. Upon her passing in 1929, plans were set in motion to erect the tower as a monument to the firefighters she loved so much.
Despite us growing up less than an hour from the city, we have NEVER taken a tour here. During our most recent visit to SF, we decided to change that and do it.
Read along while we give some factual tidbits of this amazing place and get all the information you’ll need to put together a trip for yourself. Let’s get into it!
Visitor Information

How To Get There
There are numerous ways to reach Coit Tower and is highly dependent on your travel style.
Walking
Coit Tower is a fairly short distance from many neighborhoods and tourist areas of the city. The easiest thing to do is to type Coit Tower into Google or Apple Maps and select the walking option.
Be warned, though. The maps will fail to mention the steep hill you will have to negotiate to get there. Not to mention the other steep hilly streets found throughout the city. Just something to keep in mind.
Driving
If you’ve driven your car here or have rented one, the address to the tower is as follows:
1 Telegraph Hill Blvd. San Francisco, CA 94133
Simply plug it into your GPS and follow the directions. Just be aware that parking can be scarce. The parking lot is very small and most people will need to park down the street and walk up.
*Note:
No EV charging stations on site.
The closest is a ChargePoint station in a parking garage on Sansome street about a 10-minute walk away. You could park there and walk up the Greenwich Steps until you reach the tower.
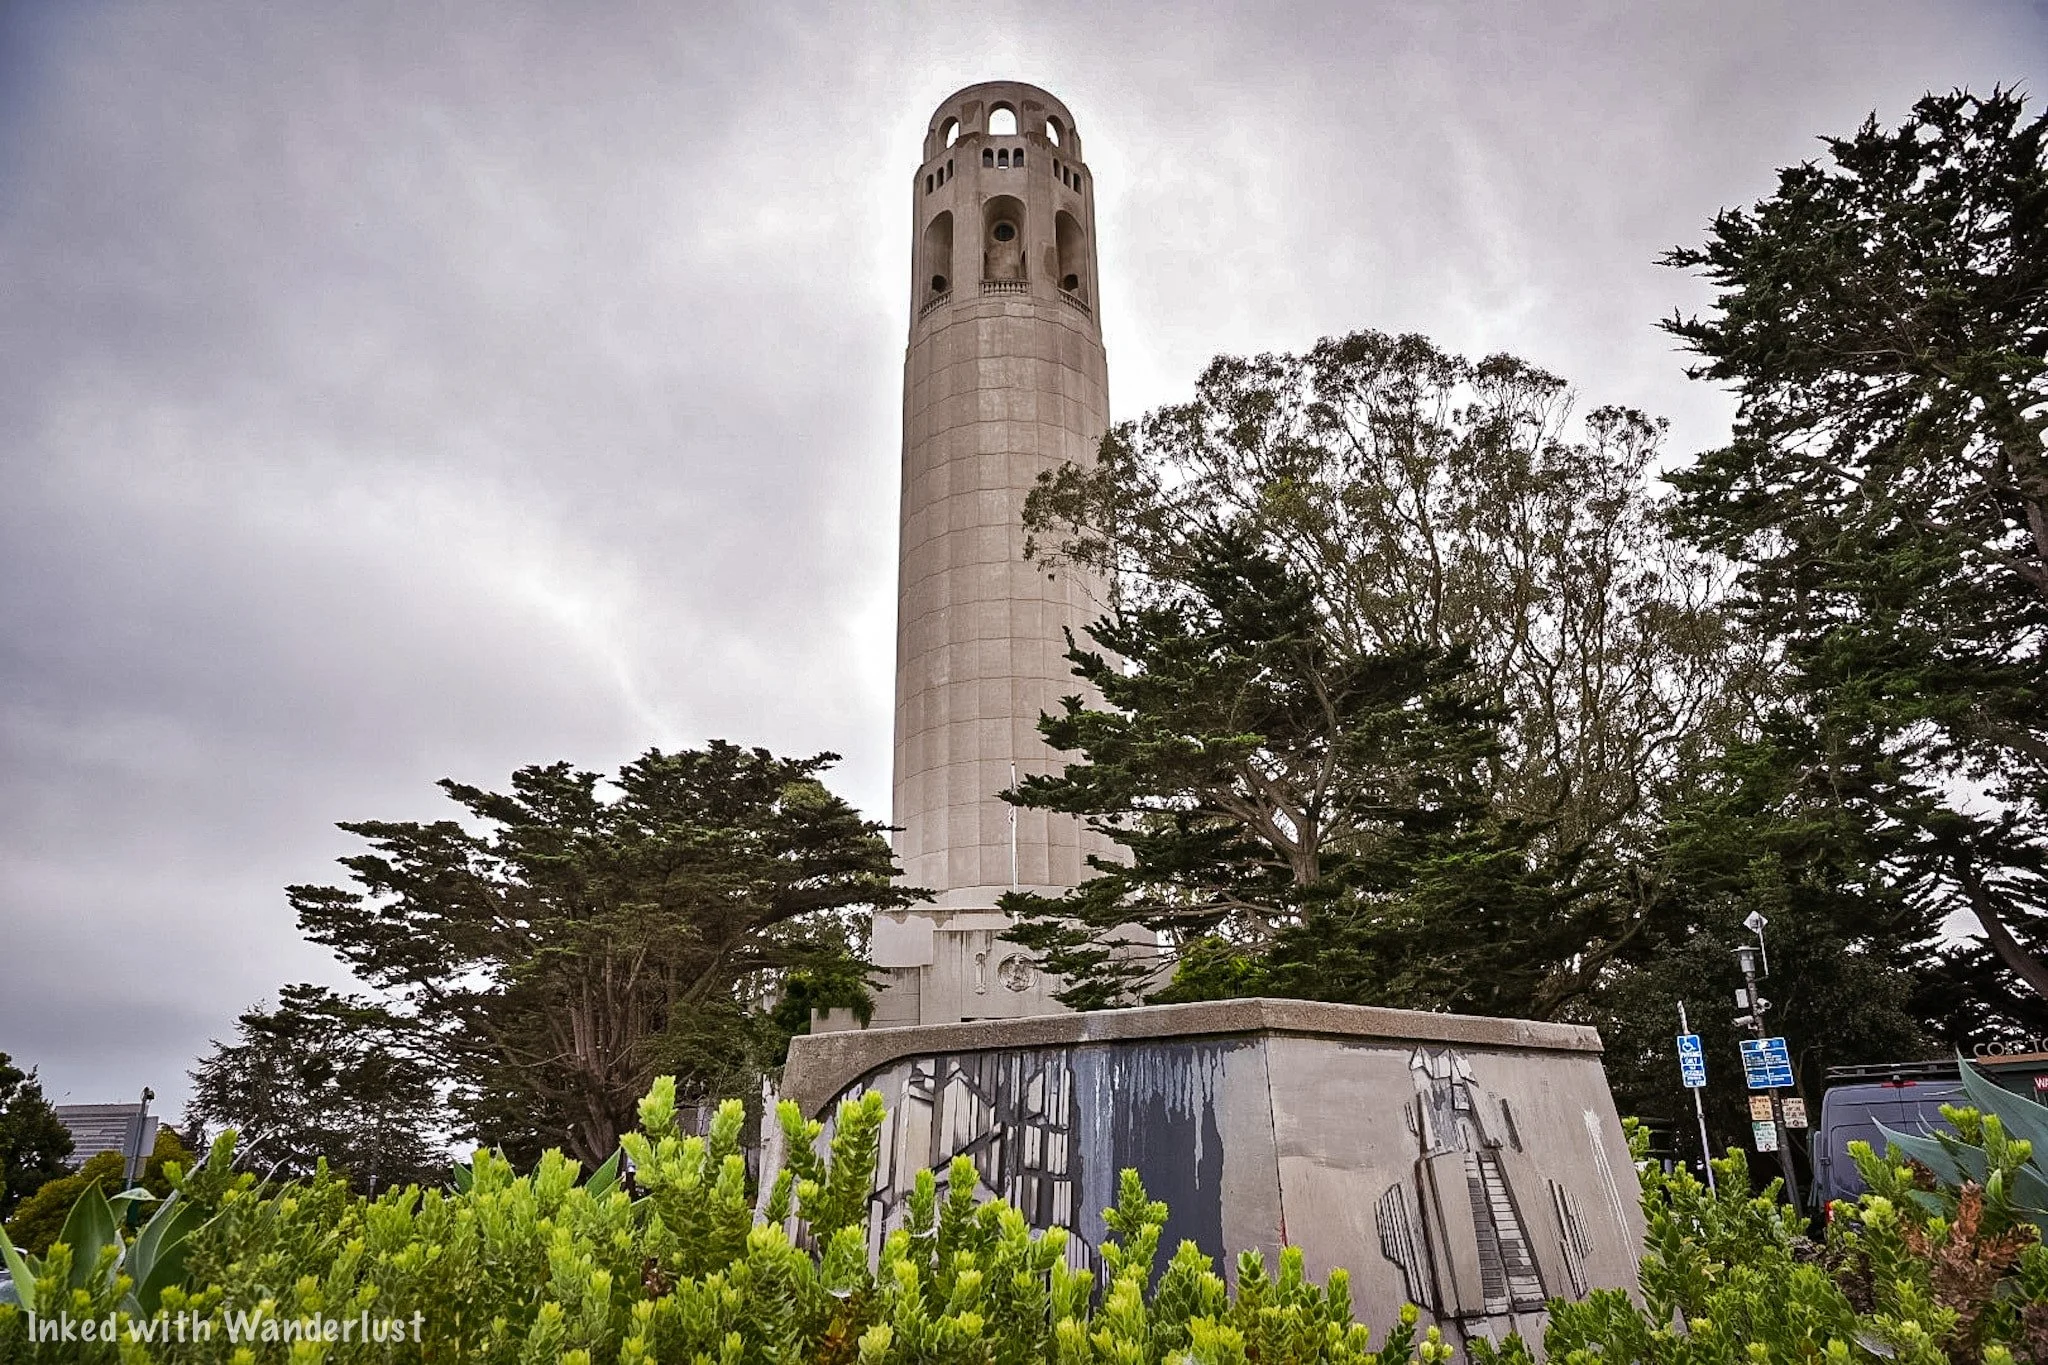
Uber, Lyft, or Taxi
This is by and large the easiest (but admittedly not cheapest) option and is what we did. For clarity, we spent $10.82 plus tip for an Uber Comfort from Pier 39.
Our driver was able to get us there quick and dropped us off right at the entrance. Lyft will probably have similar fares but we have no idea what a traditional Taxi would cost.
Here’s a list of some of San Francisco’s Taxi companies. Tap/click on their name for their contact number:

Bus #39 from Fisherman’s Wharf
If you’d like an affordable transportation option, the best to go would be to take the #39 bus from Fisherman’s Wharf. You can get the detailed schedule here.
The only downfall to this is the bus doesn’t make change. One-way fare is $2.25 per person. So either make sure you have exact change on you or you can pay with a Clipper card.
You can either get a physical card or keep the digital version in your phone’s wallet. If you’re planning on utilizing Bay Area transportation options like buses, ferries, etc, this is the way to go as it’ll save you money.
Hours and Fees
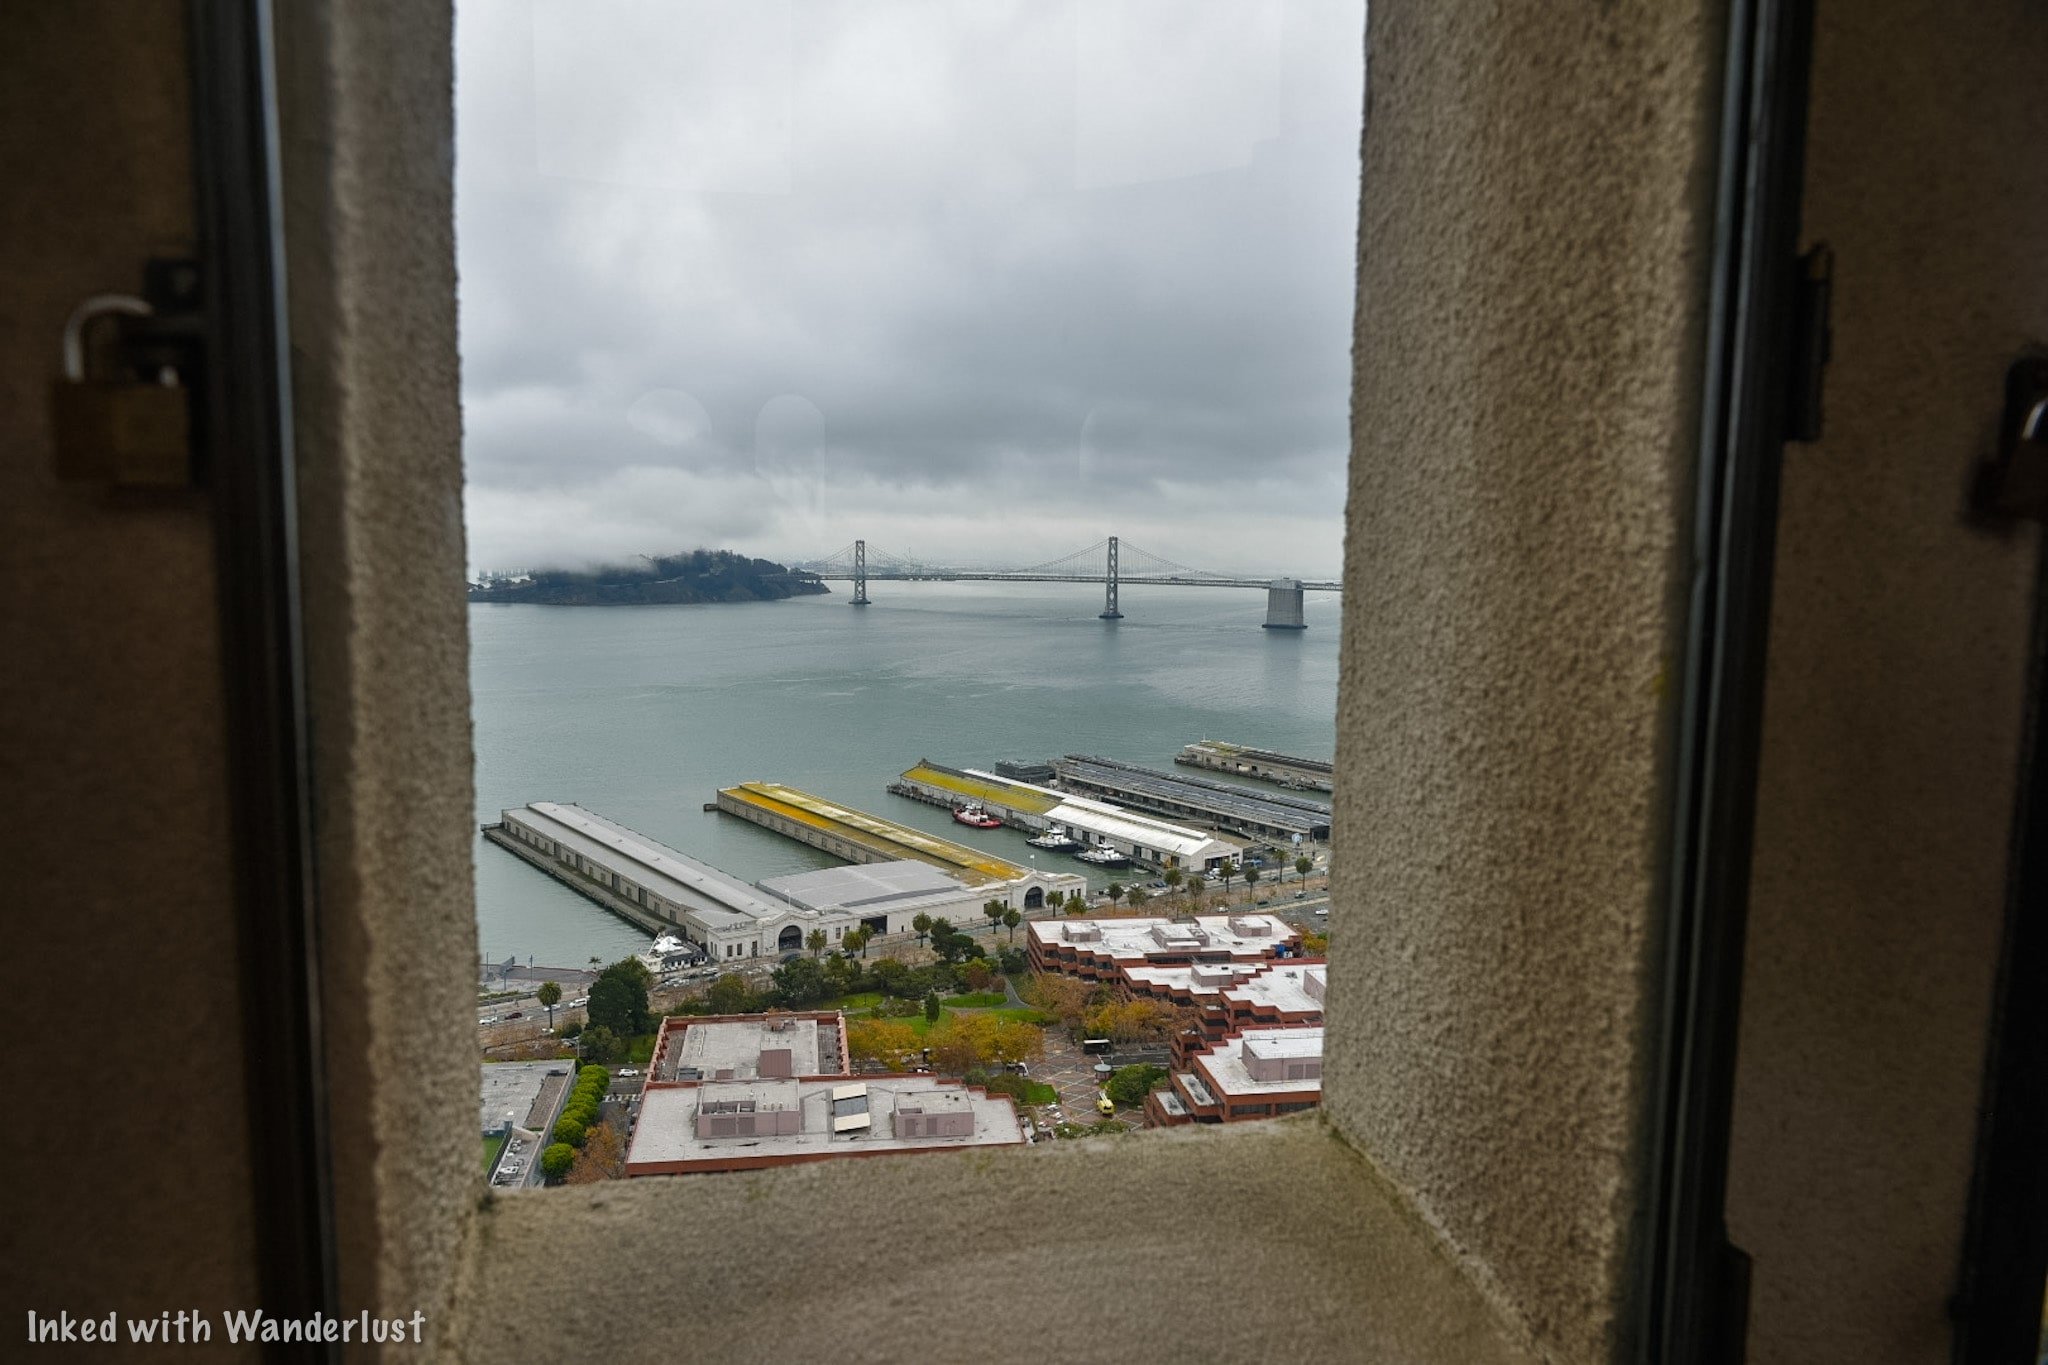
Coit Tower is open to the public daily (except for major holidays) between the hours of 10am - 5pm. If you plan on visiting during a holiday, it would be best to call ahead to make sure they’ll be open.
Fees vary depend on the type of tour you want to do and other variables. If you just want to go to the top floor, it’s $5 per person. If you want the full tour, prices are as follows:
Adult: $10 (non-resident) / $7 (resident)
Senior (62+): $7 (non-resident) / $4 (resident)
Youth (12-17): $7 (non-resident) / $4 (resident)
Child (5-11): $3 (non-resident / $2 (resident)
Child (4 & under): Free
The full tour includes access to the second level and a docent-led tour of the murals on the main floor. That part of the tour is 30-40 minutes in length and you’ll learn about the tower’s inception as well as the 26-Artists who painted the murals.
Coit Tower Cafe
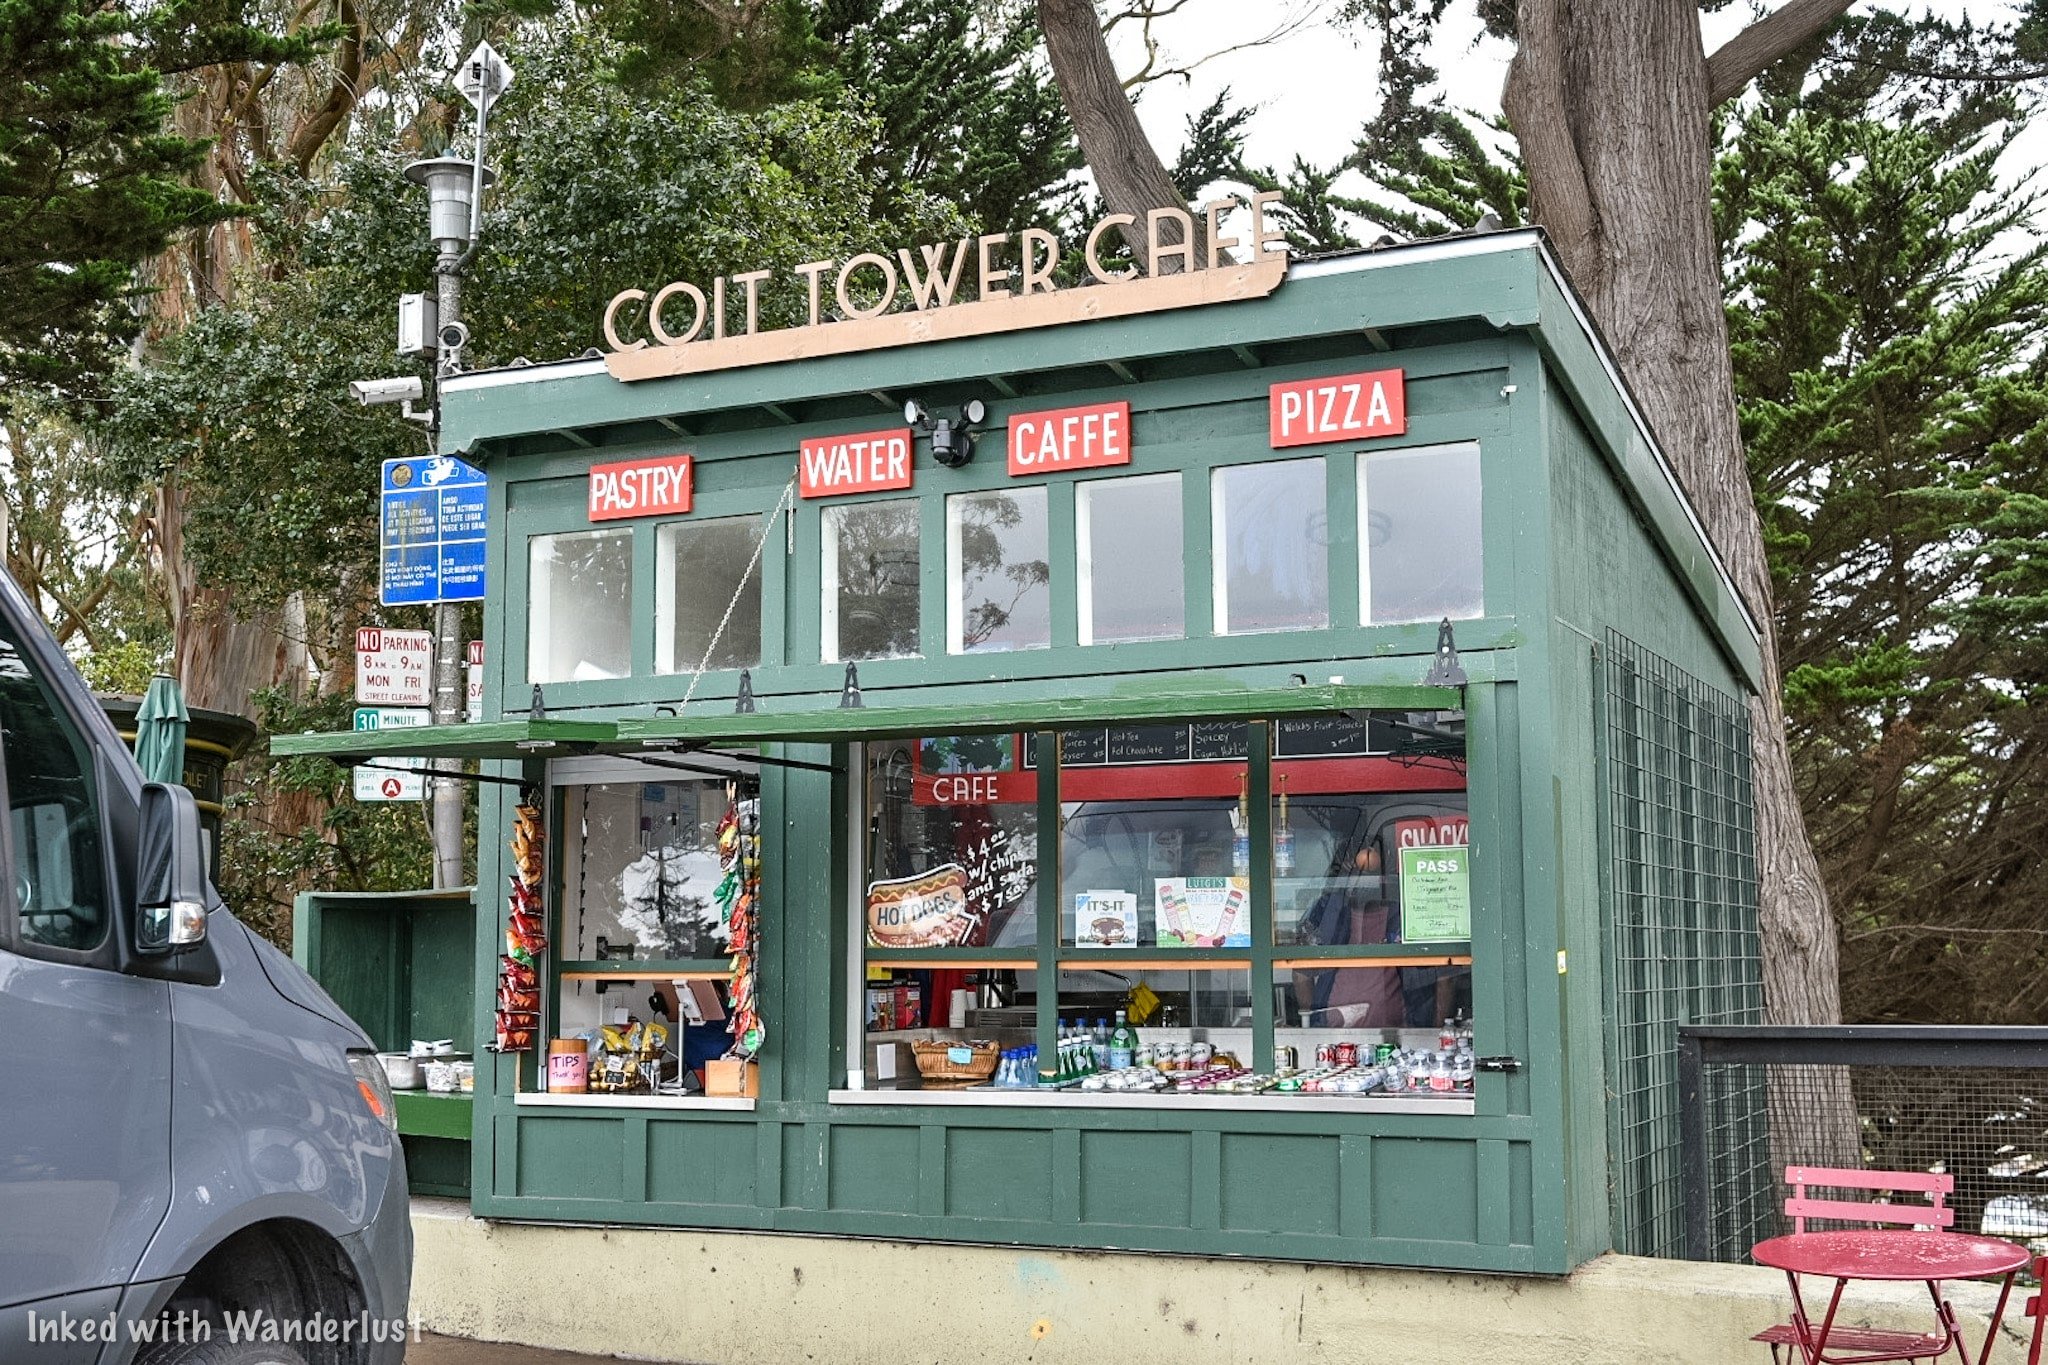
Located outside the tower near the parking lot is the Coit Tower Cafe. It is open daily from 9:30am - 6:00pm. They serve a variety of foods like pizza, burgers, pastries, etc.
Keep in mind that food is not allowed inside the tower. So you will need to finish whatever you have before starting your tour.

To pass the time, take in the views surrounding the tower via the viewing scopes. They cost a quarter and you’ll get a few minutes for each use.
The Tour
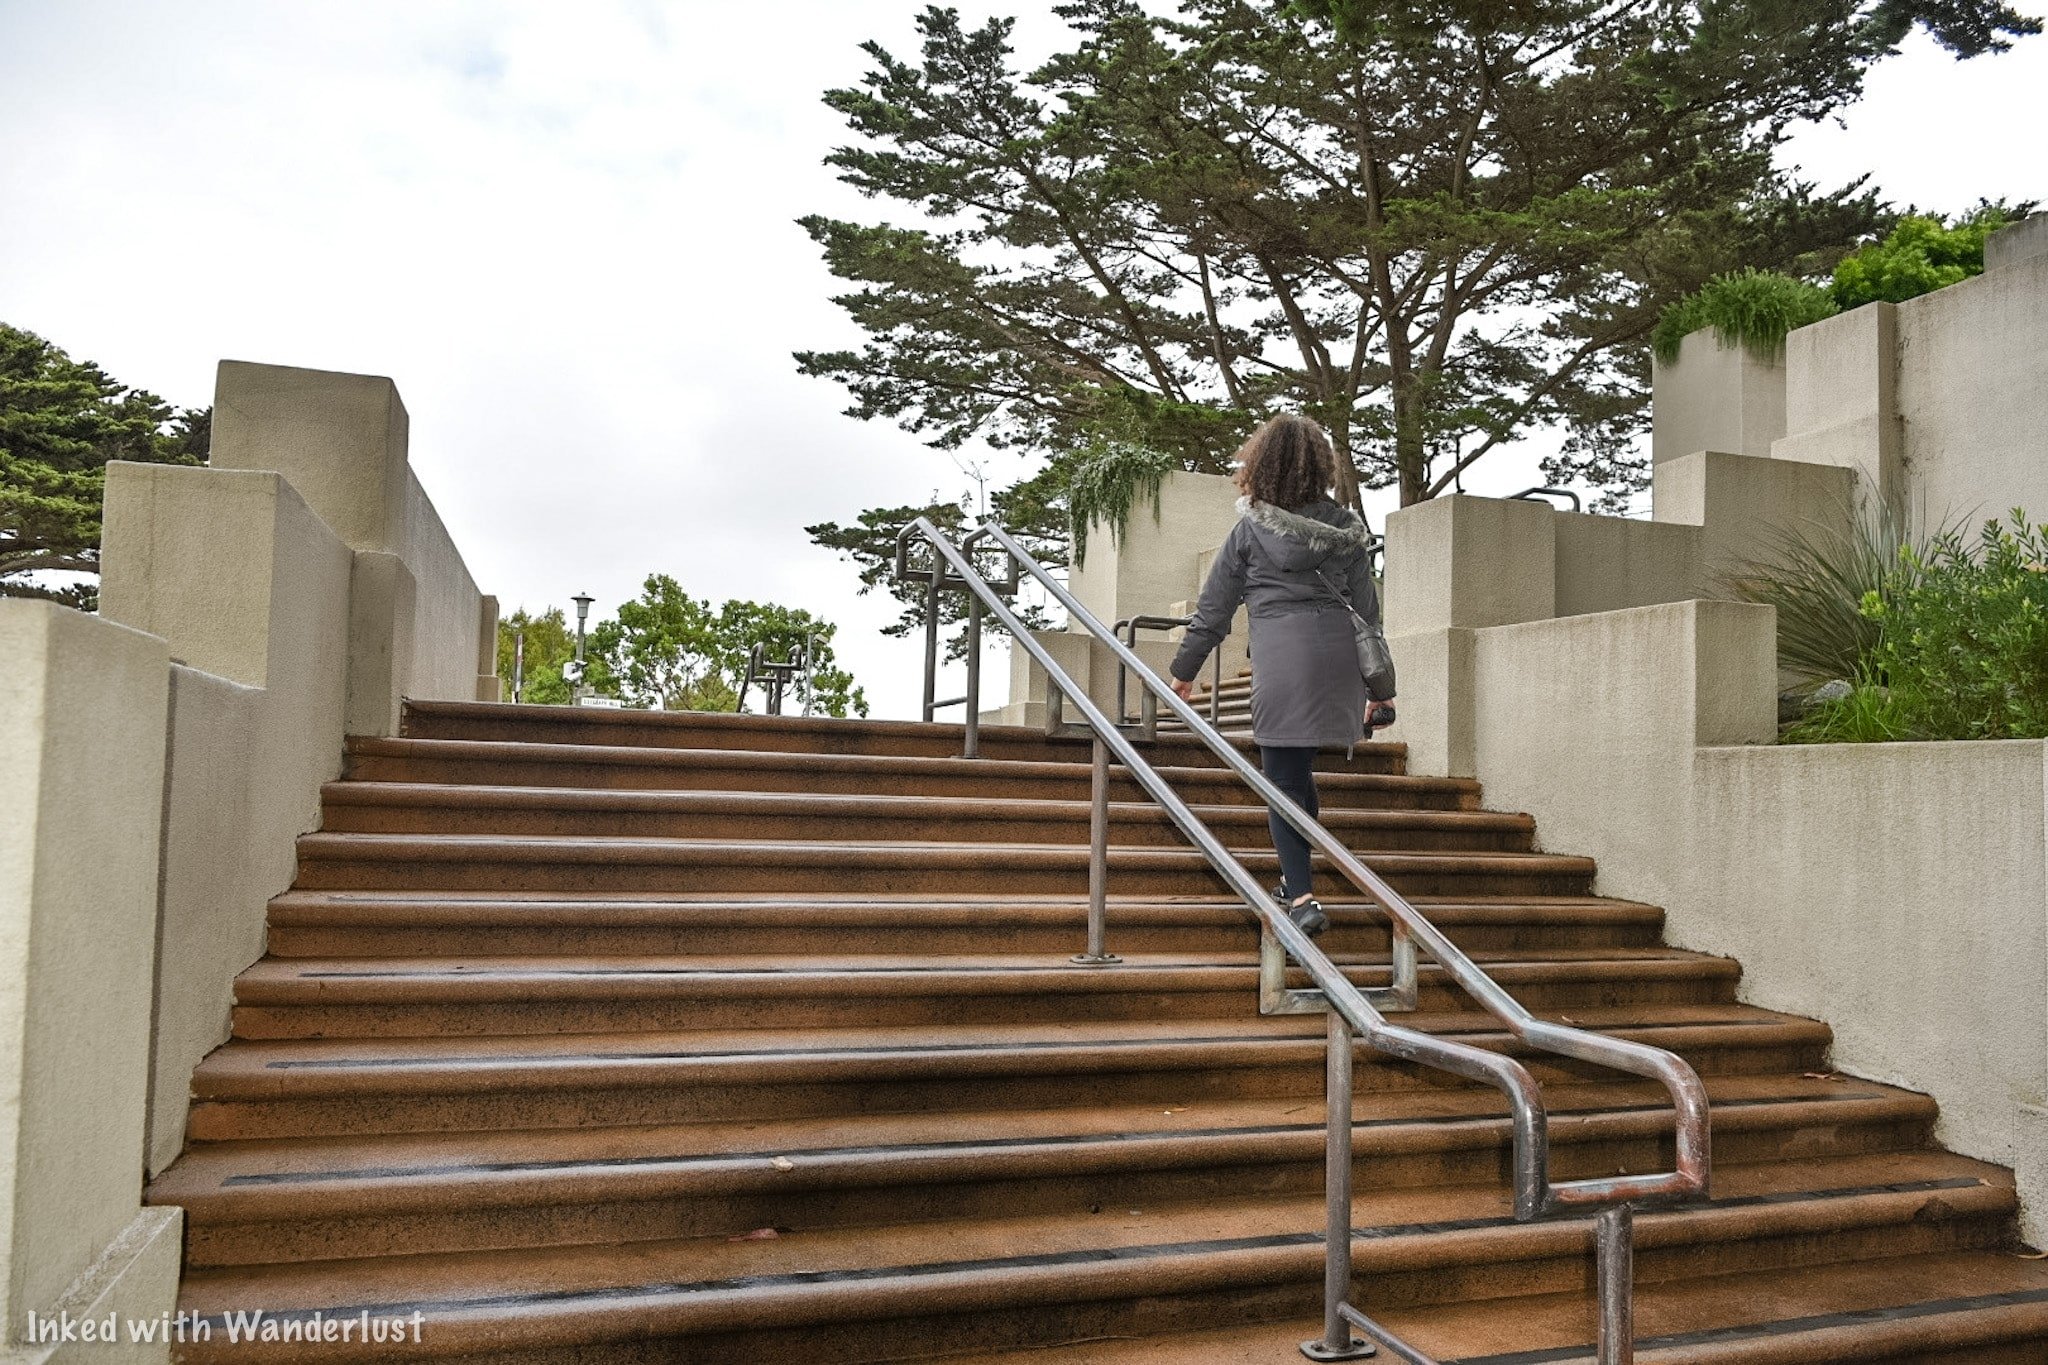
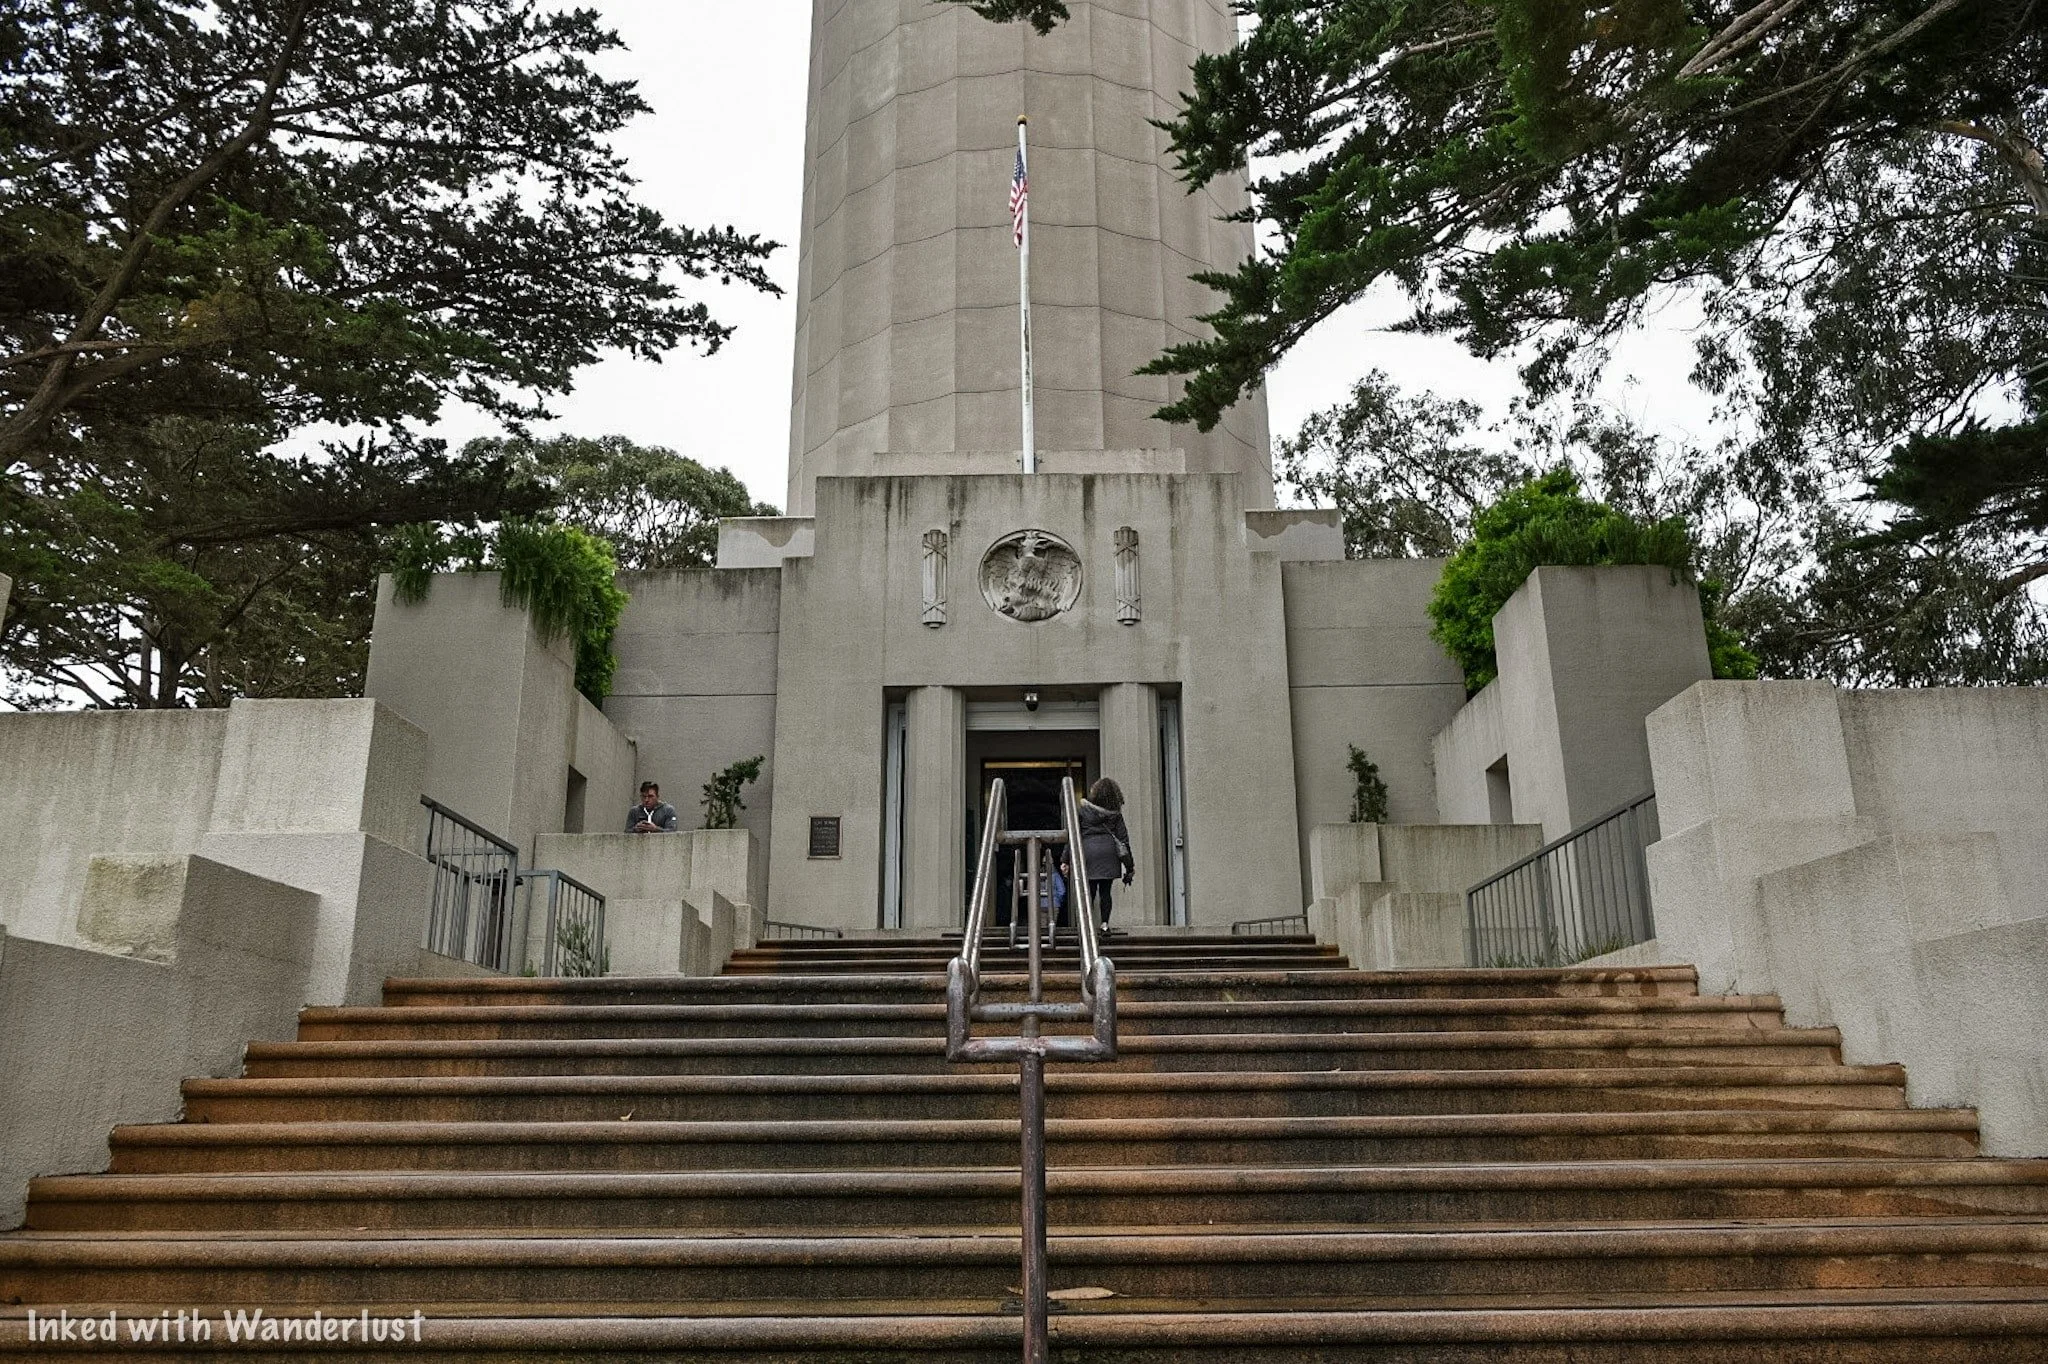
To begin your tour, head up the stairs and go through the entrance. There, an employee will greet you and send direct you to the ticket window.
Many of the same rules you’ll find at other historic sites apply here. Most of it being common sense. They have one rule, though, that I haven’t encountered anywhere else and that’s if you’re carrying a backpack or any other kind of bag, it needs to be worn on the front of your body. Just something to be mindful of.
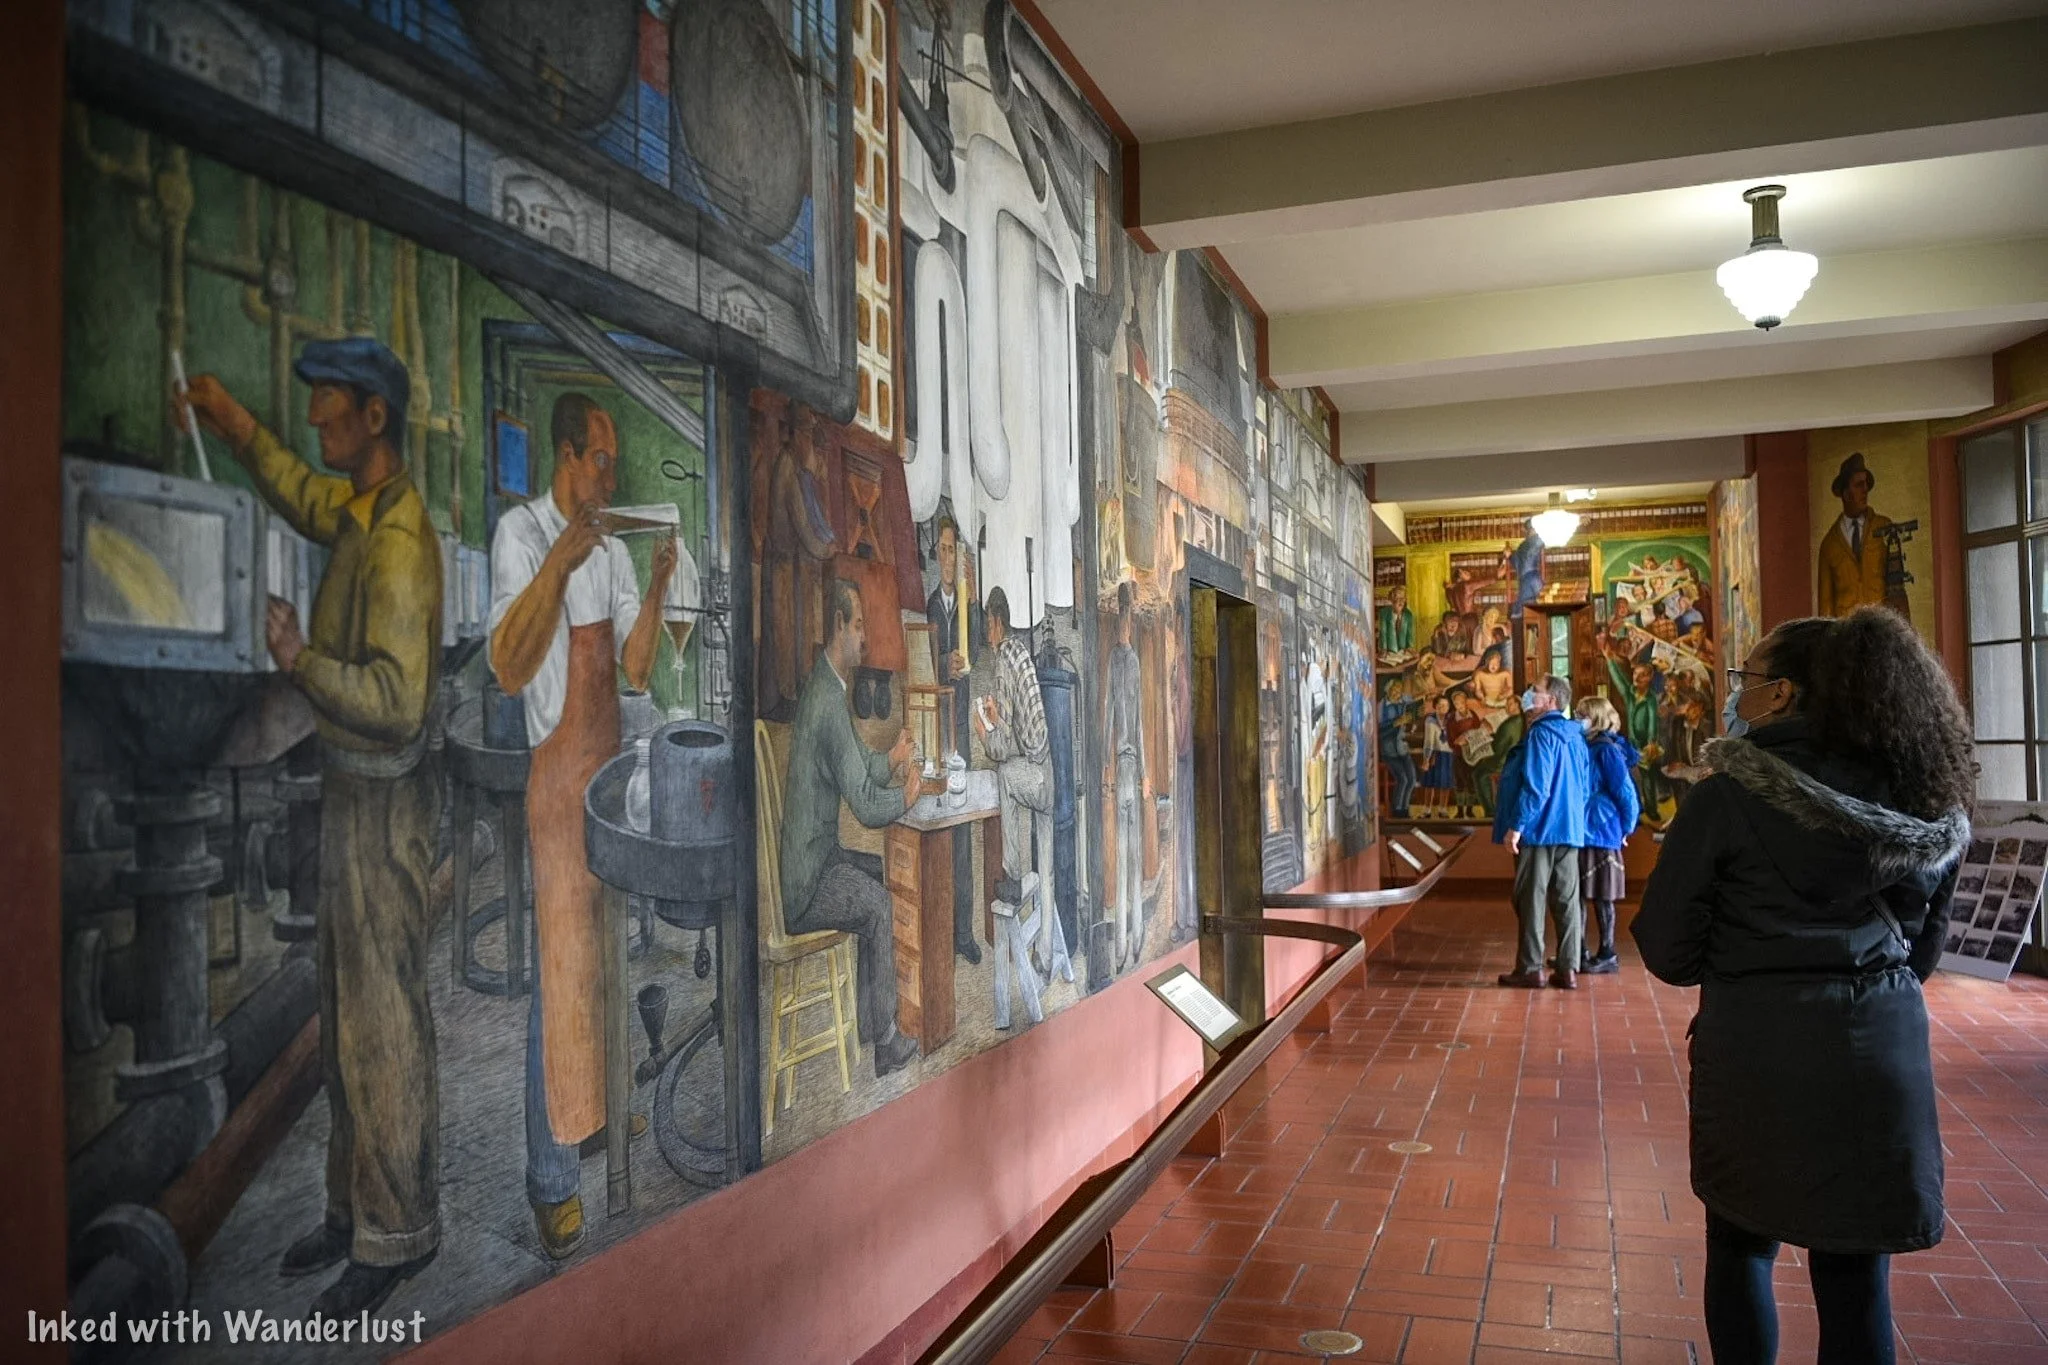
If all you want to do is check out the murals on your own and you DON’T want to go up to the top, you won’t have to pay anything.
If you want to take the docent-led tour of the murals, they’ll only do so if it’s a group of at least 4 and no more than 6. So you may end up having to wait a bit if it’s just 2-3 in your group.
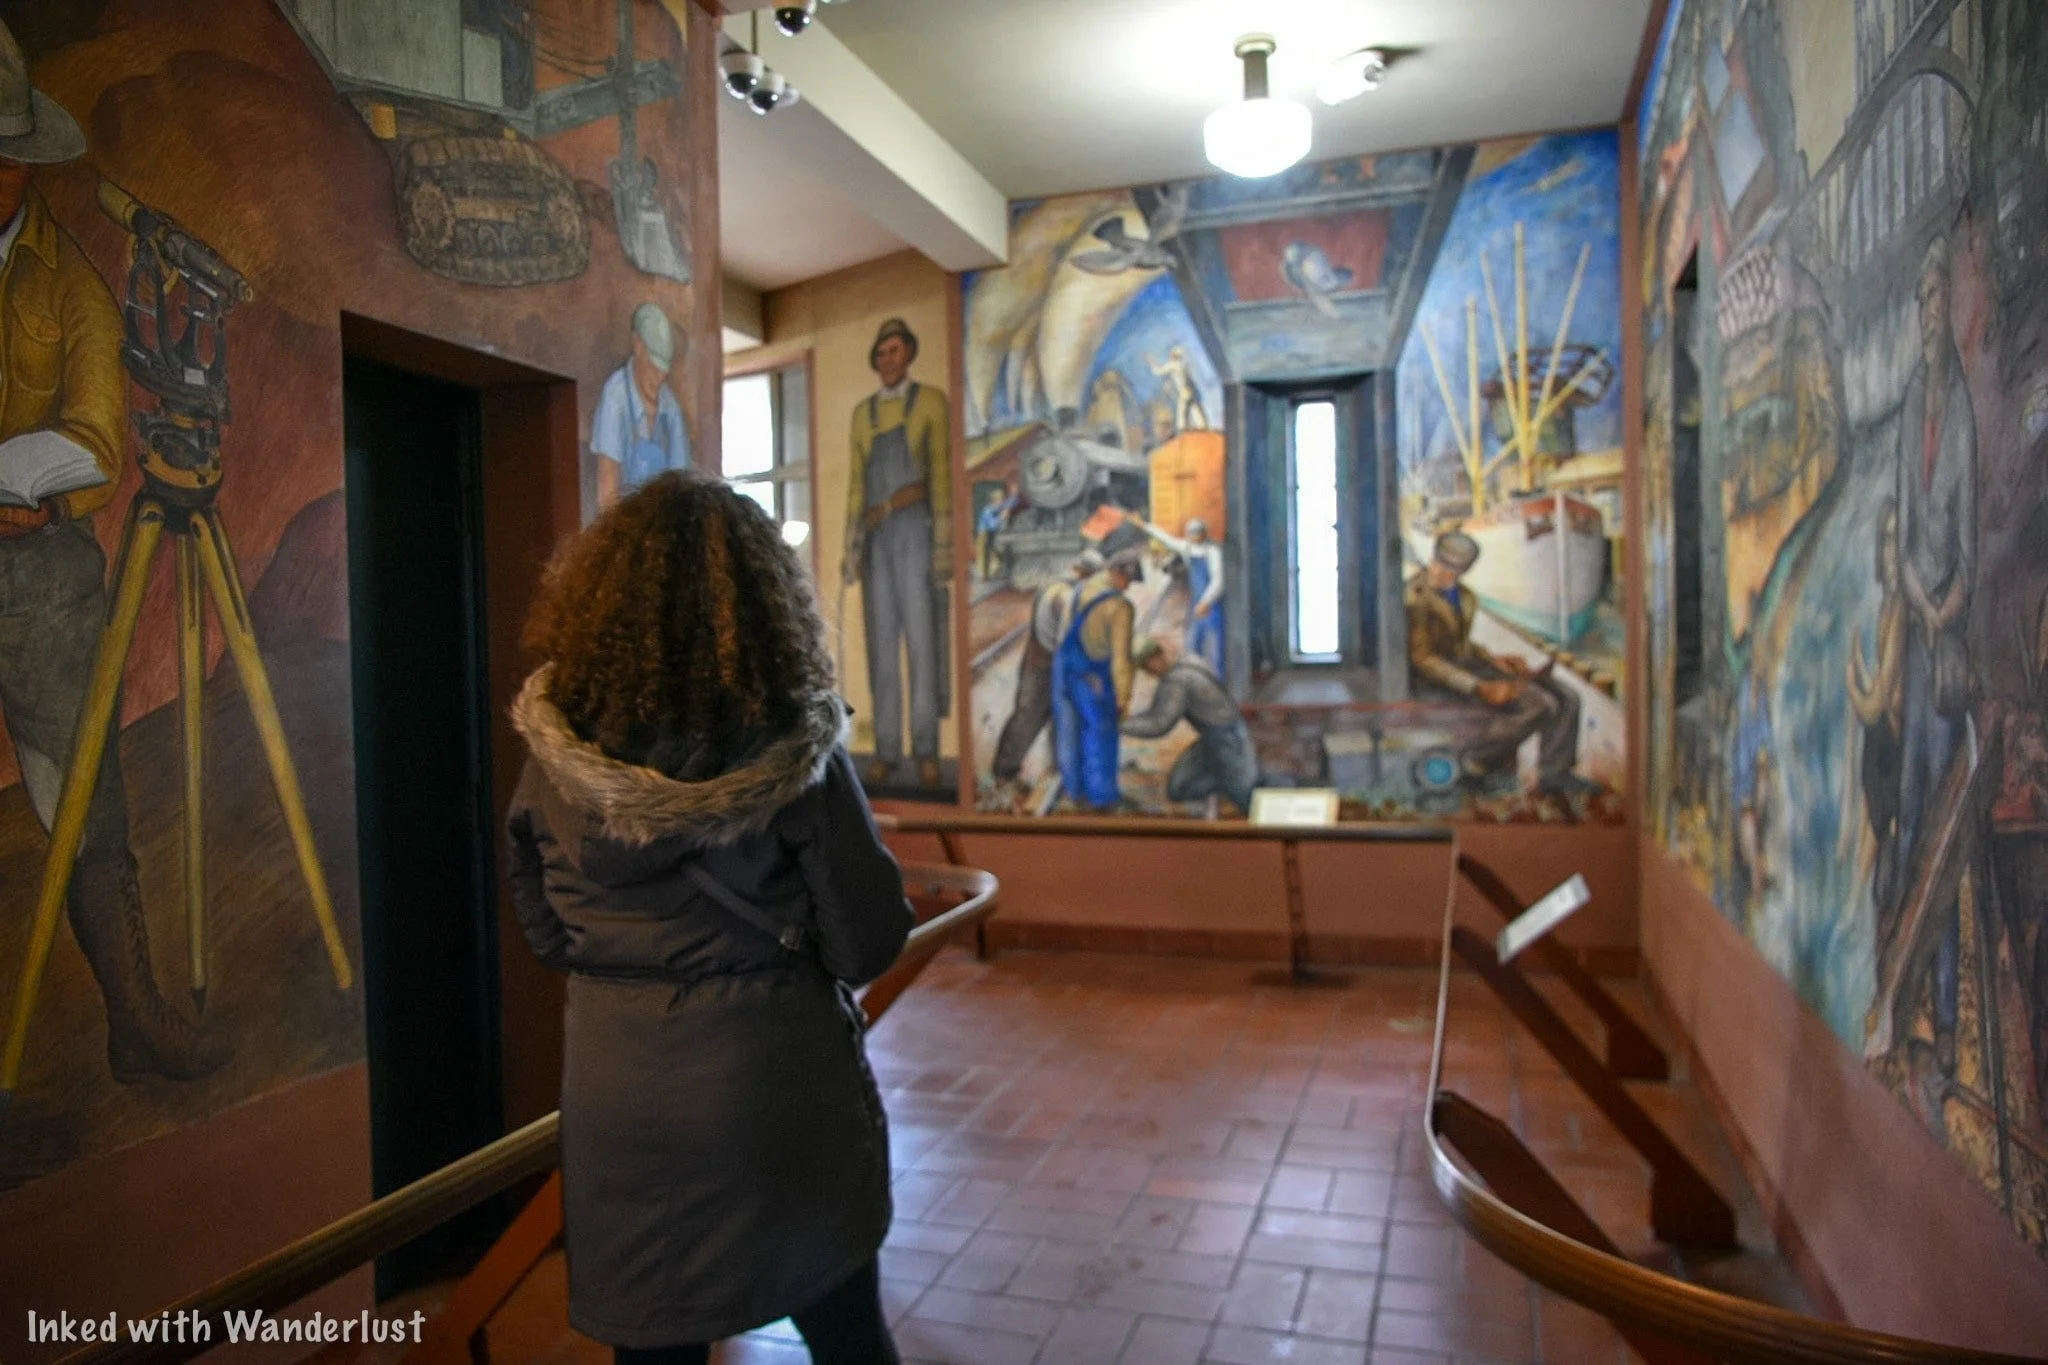
The murals are stunning. Be sure to take the time to really at them. They were painted by 26 Artists a year after the towers opening in 1934 and depict daily life for Californians during the Depression.
Once you’re finished checking out the murals, simply circle back around and get into the left side of the queue line near where you first entered. The employee will direct you to the elevator once they’re ready for you.
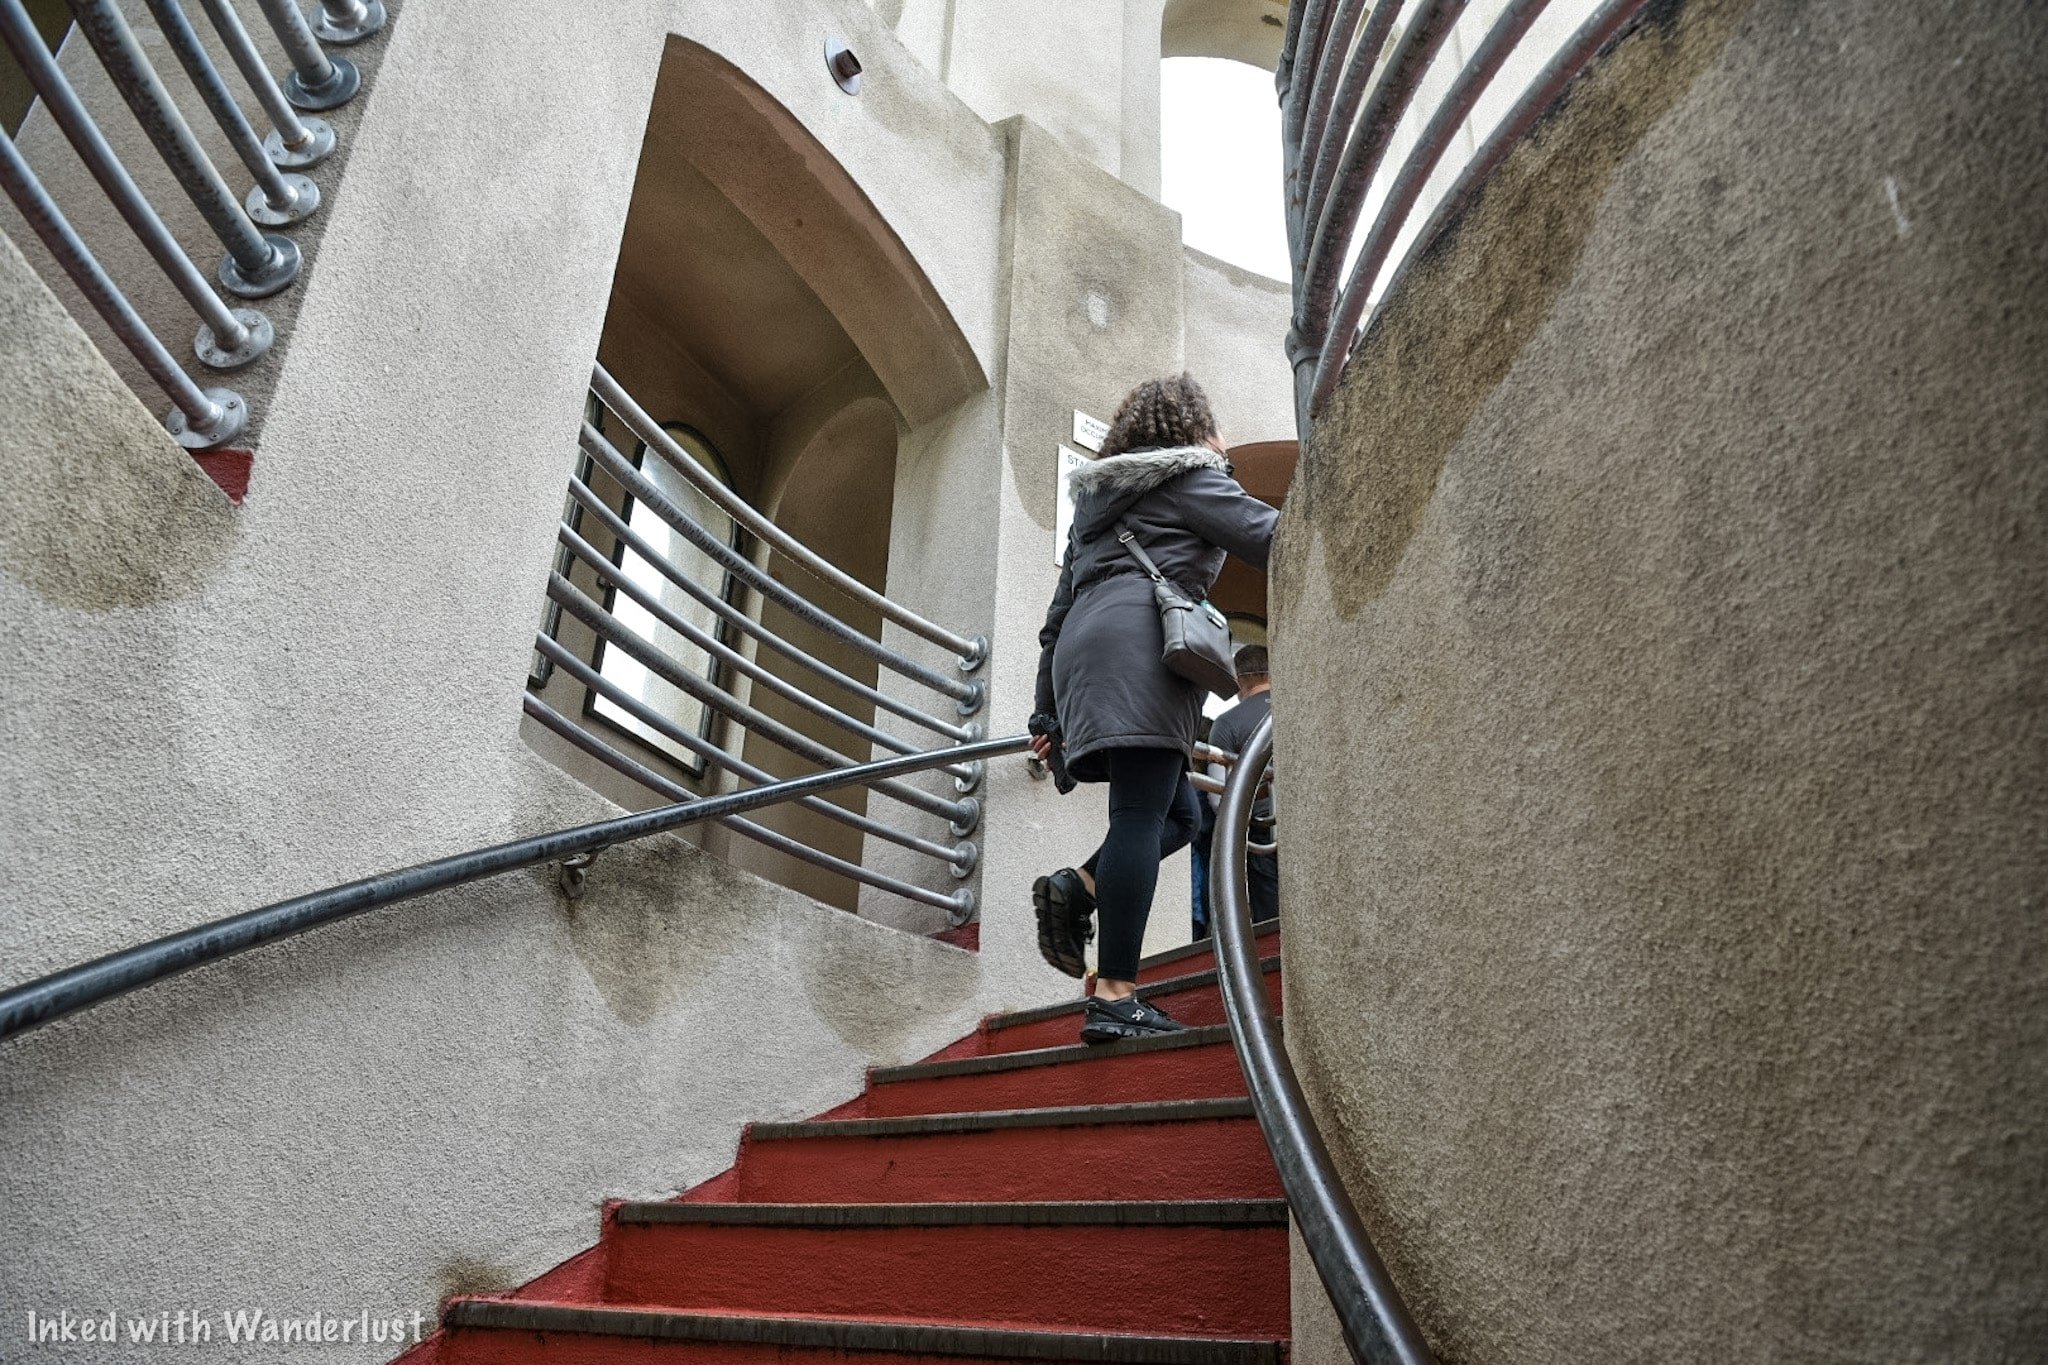
The elevator is old and tiny. The door is manually closed and locked by an Operator (via a gate) and rides up to the upper level with you. Once up there, you’ll walk up two sets of spiral staircases to reach the viewing deck.
The viewing deck is completely open. As in, there’s no roof. There’s a raised, yellow step at the top of the red stairwell so be sure to watch your footing. This was done to prevent rain from flooding the lower part of the tower.
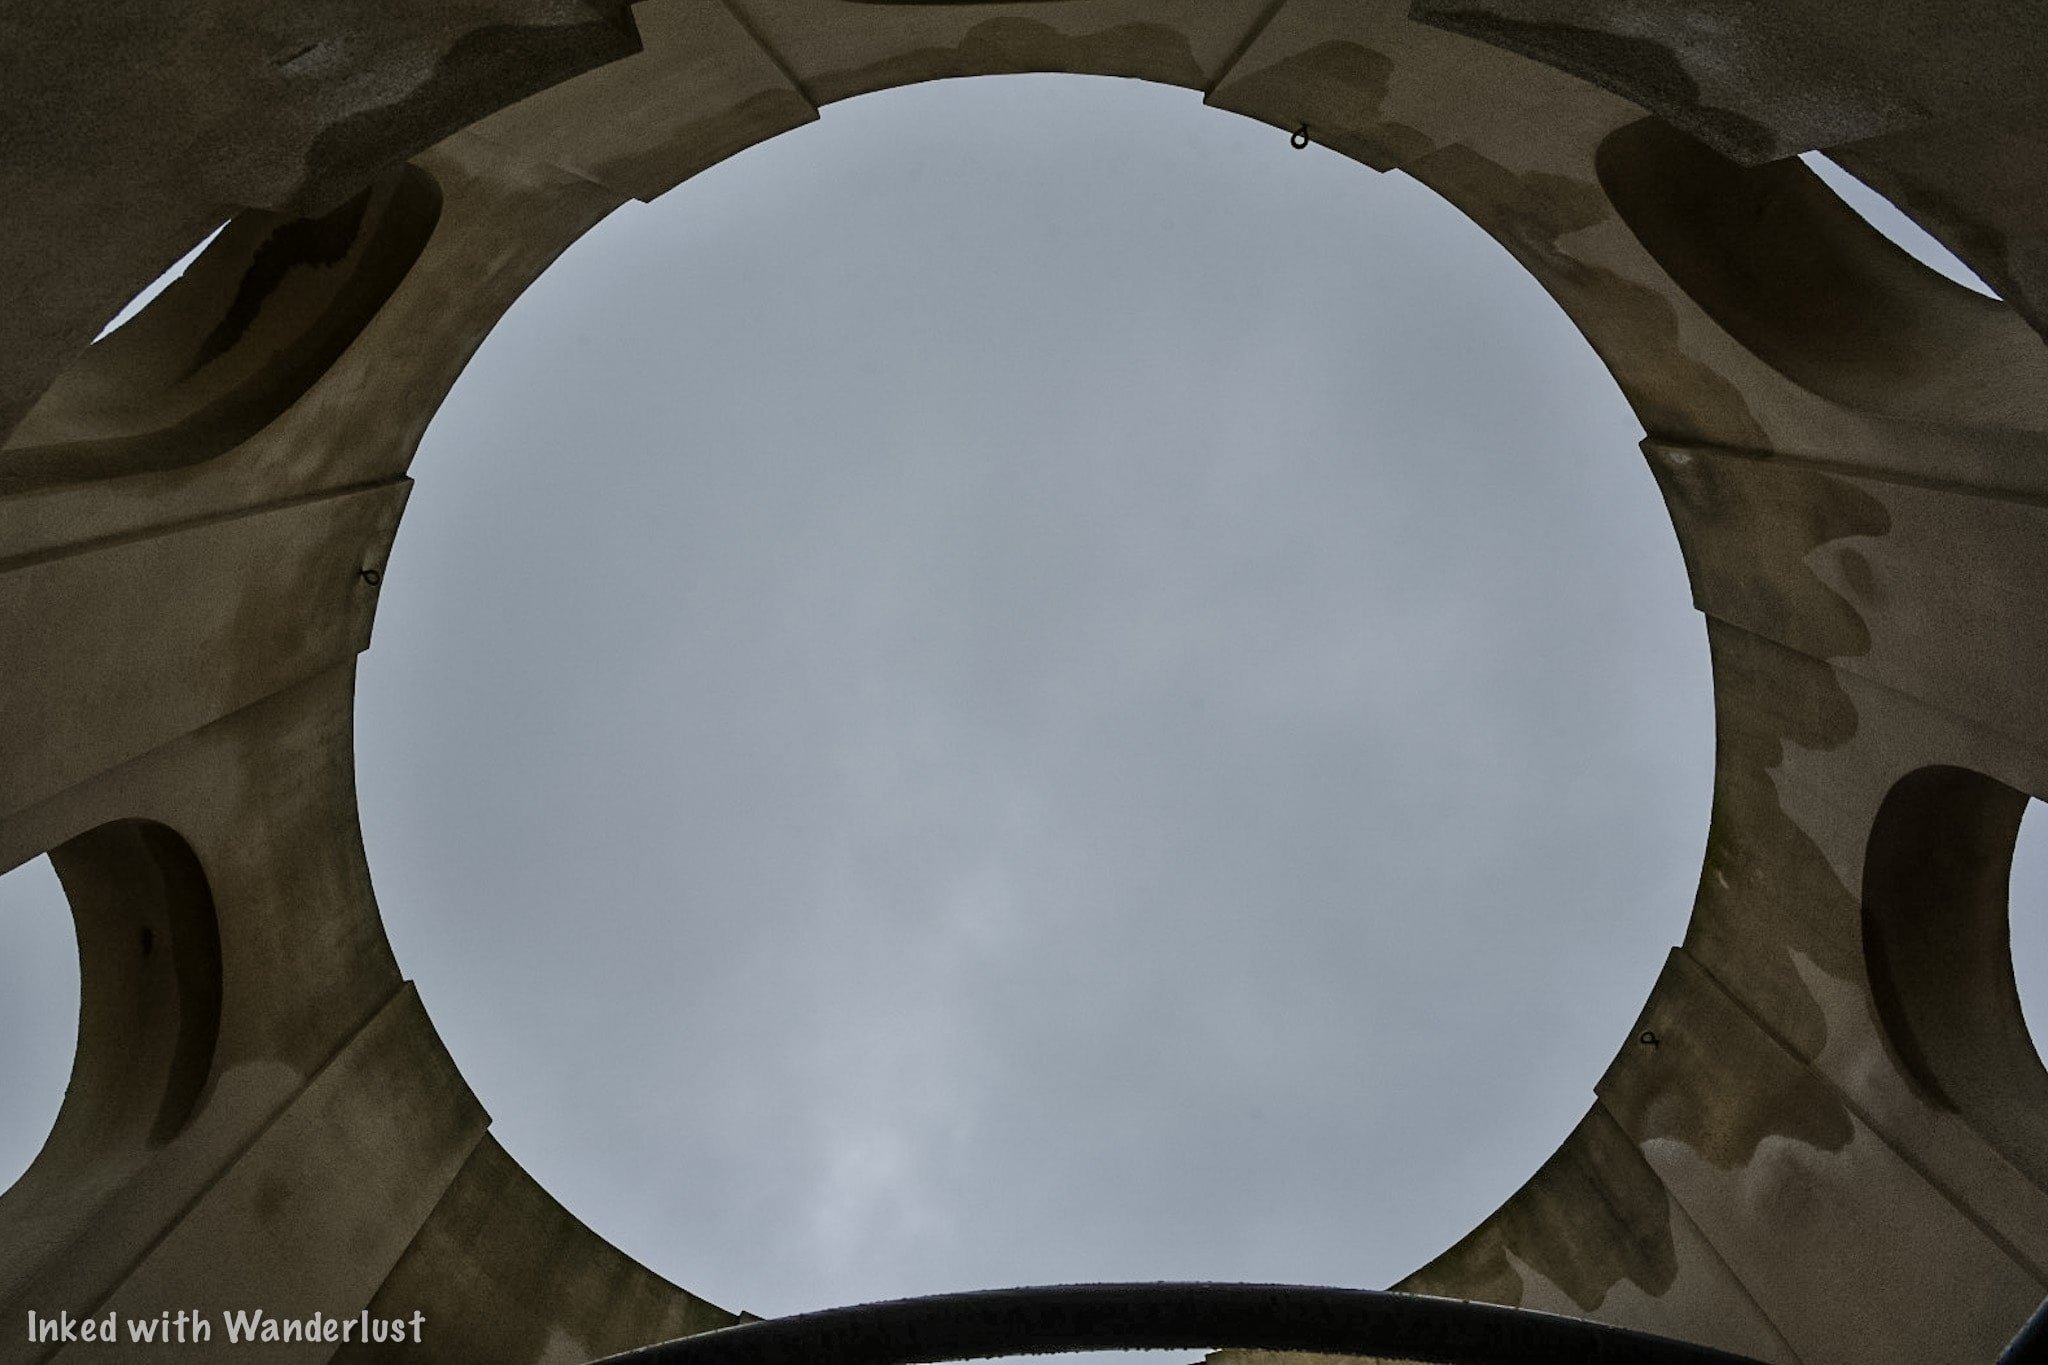

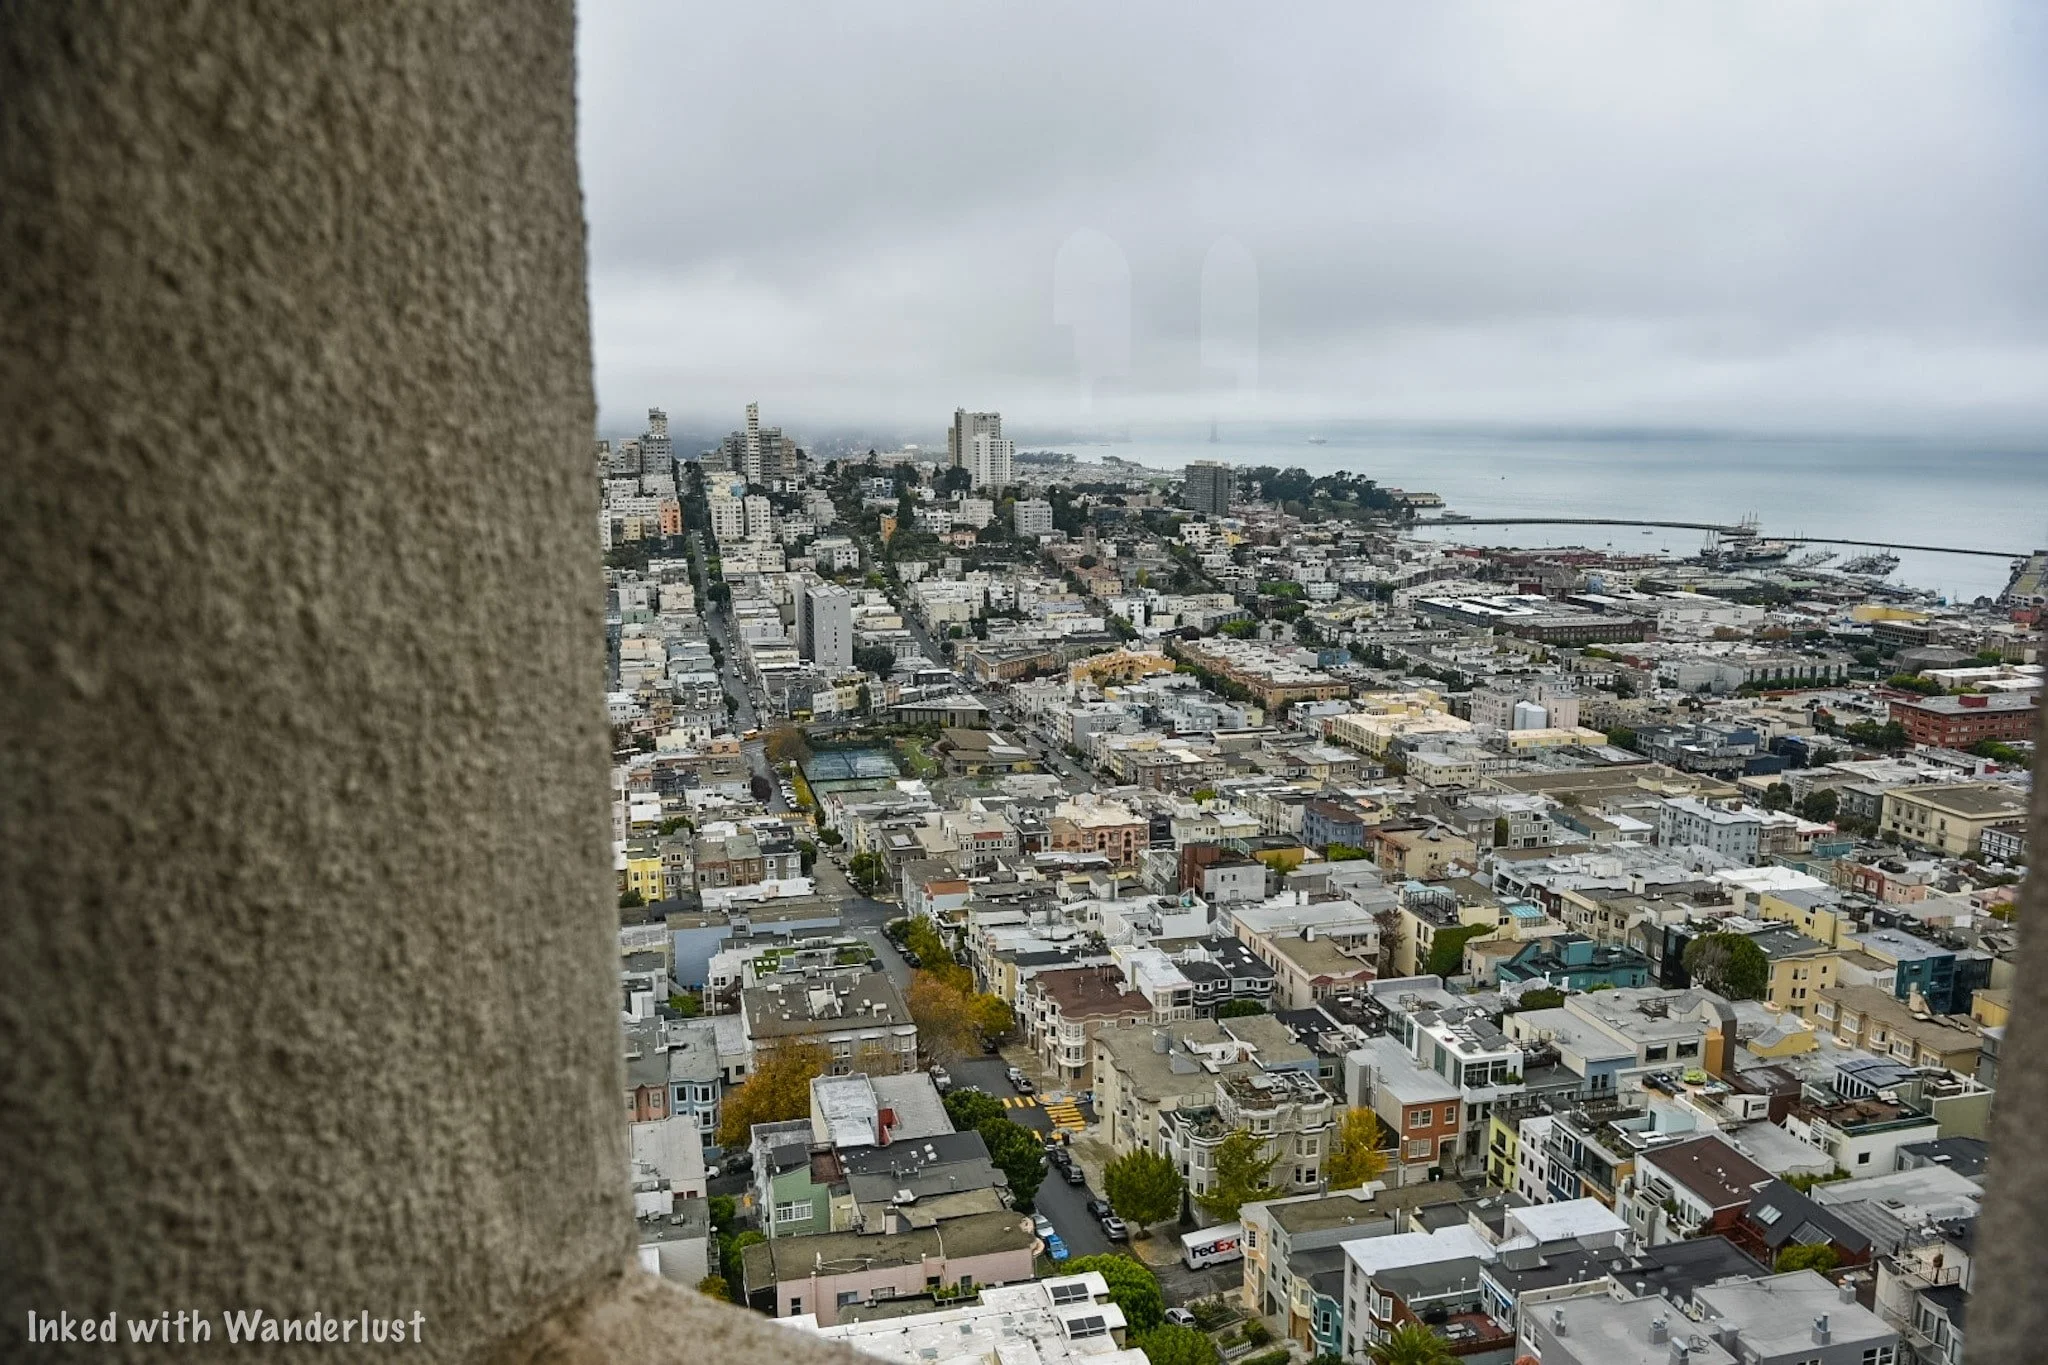
From here, you’ll have a commanding 360-degree view of the city. The windows were originally unobstructed but as a precaution, glass has been installed to act as safety barriers.
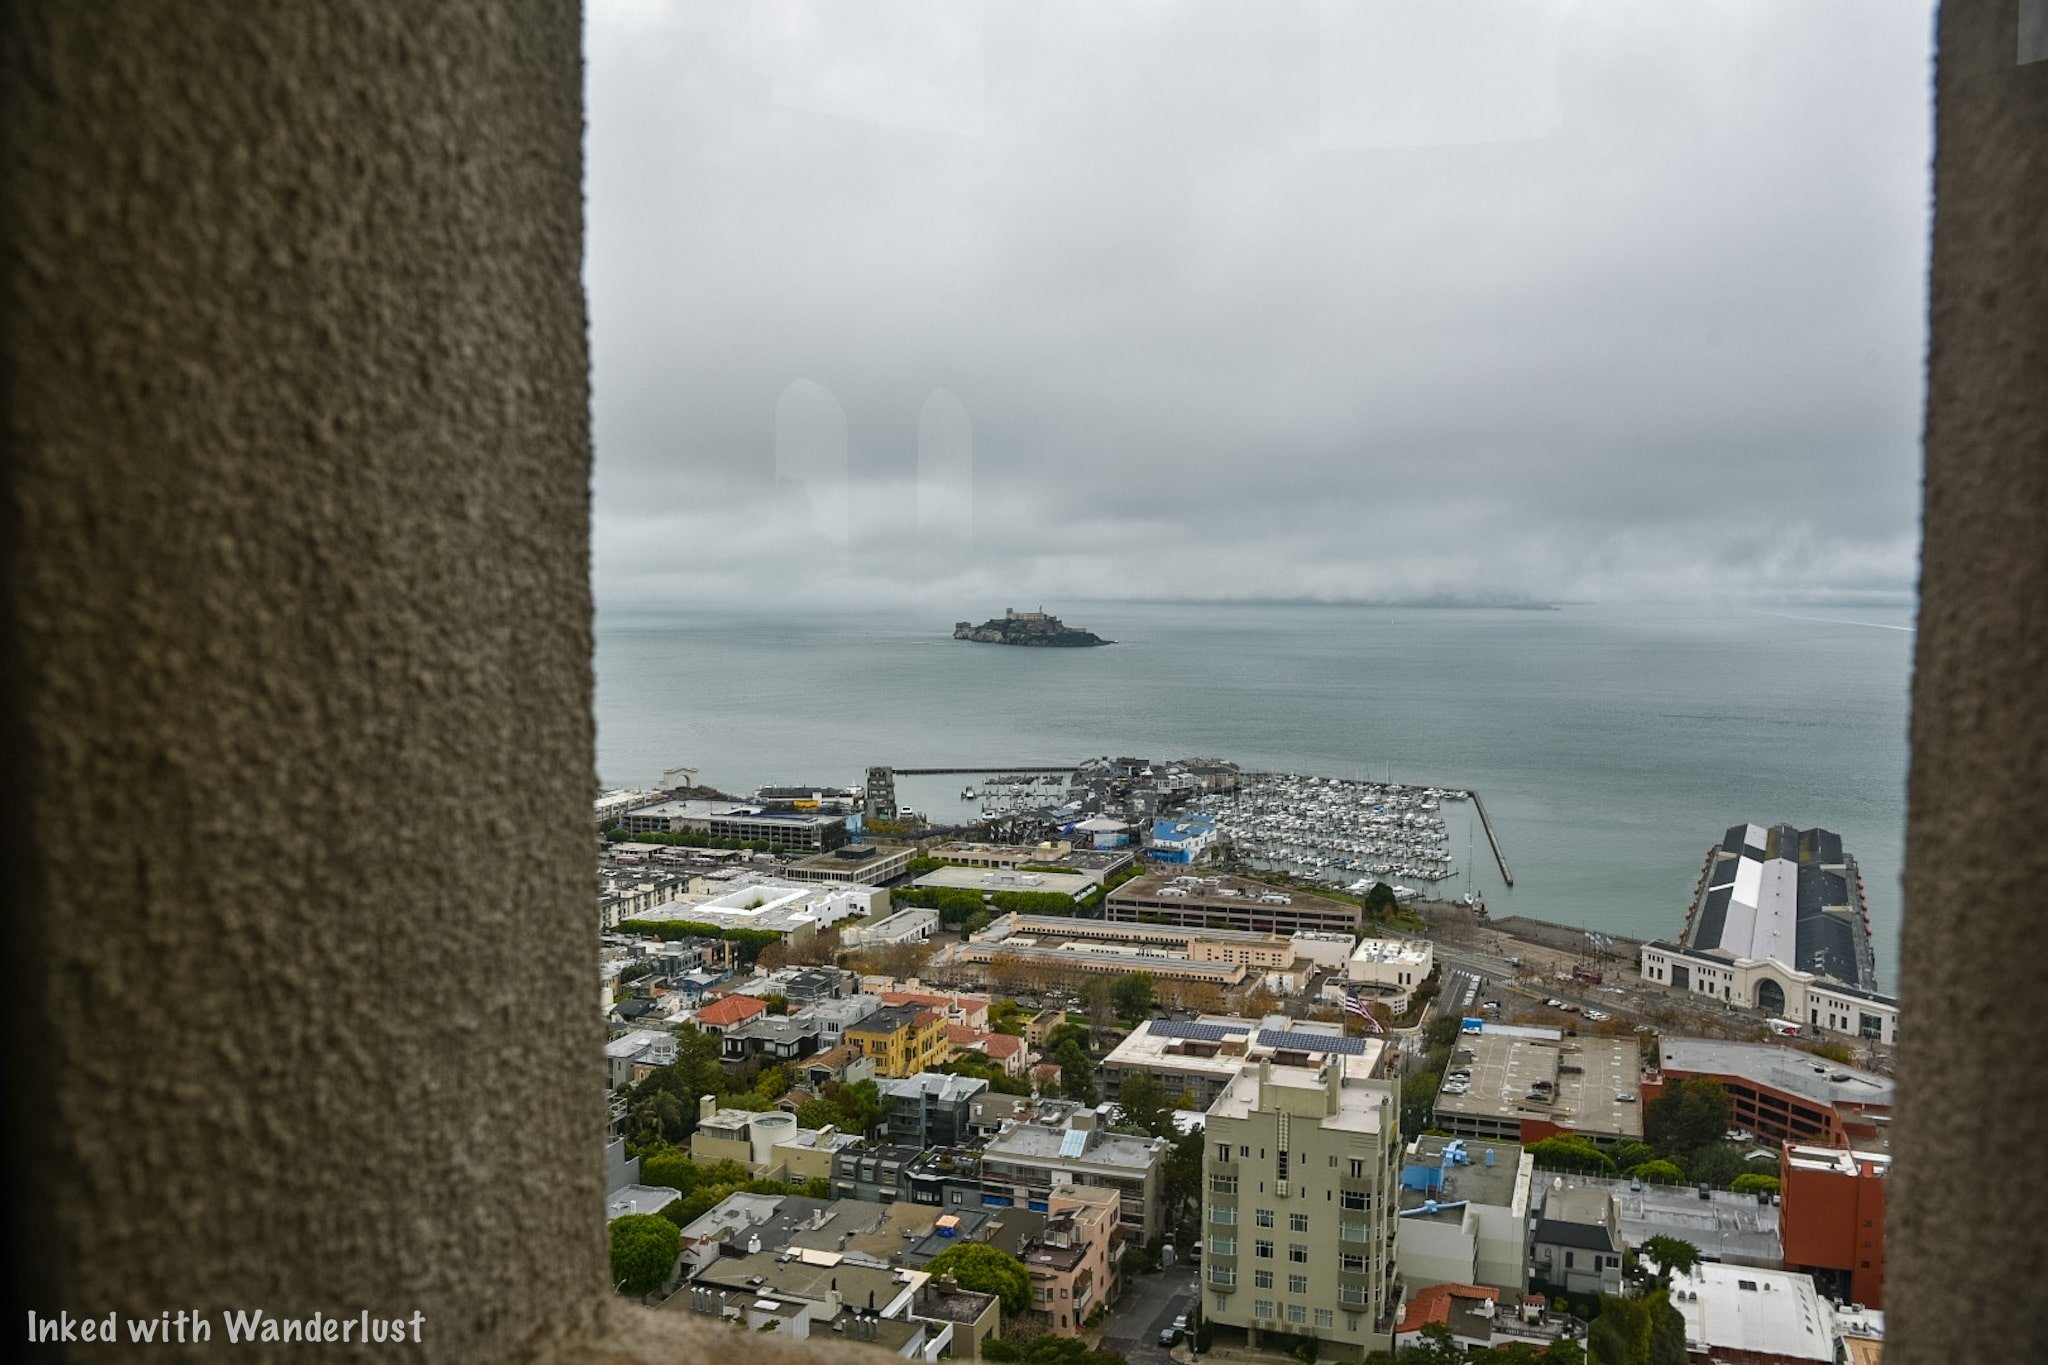
Some highlights you’ll be able to see from here are the Golden Gate Bridge, Alcatraz, nearly the entire Embarcadero, Nob Hill, and many other well known attractions.
If it’s a particularly busy day, I can see how it could get uncomfortable and cramped up there. There was maybe 10 other people in there with us and it was slightly difficult moving around.
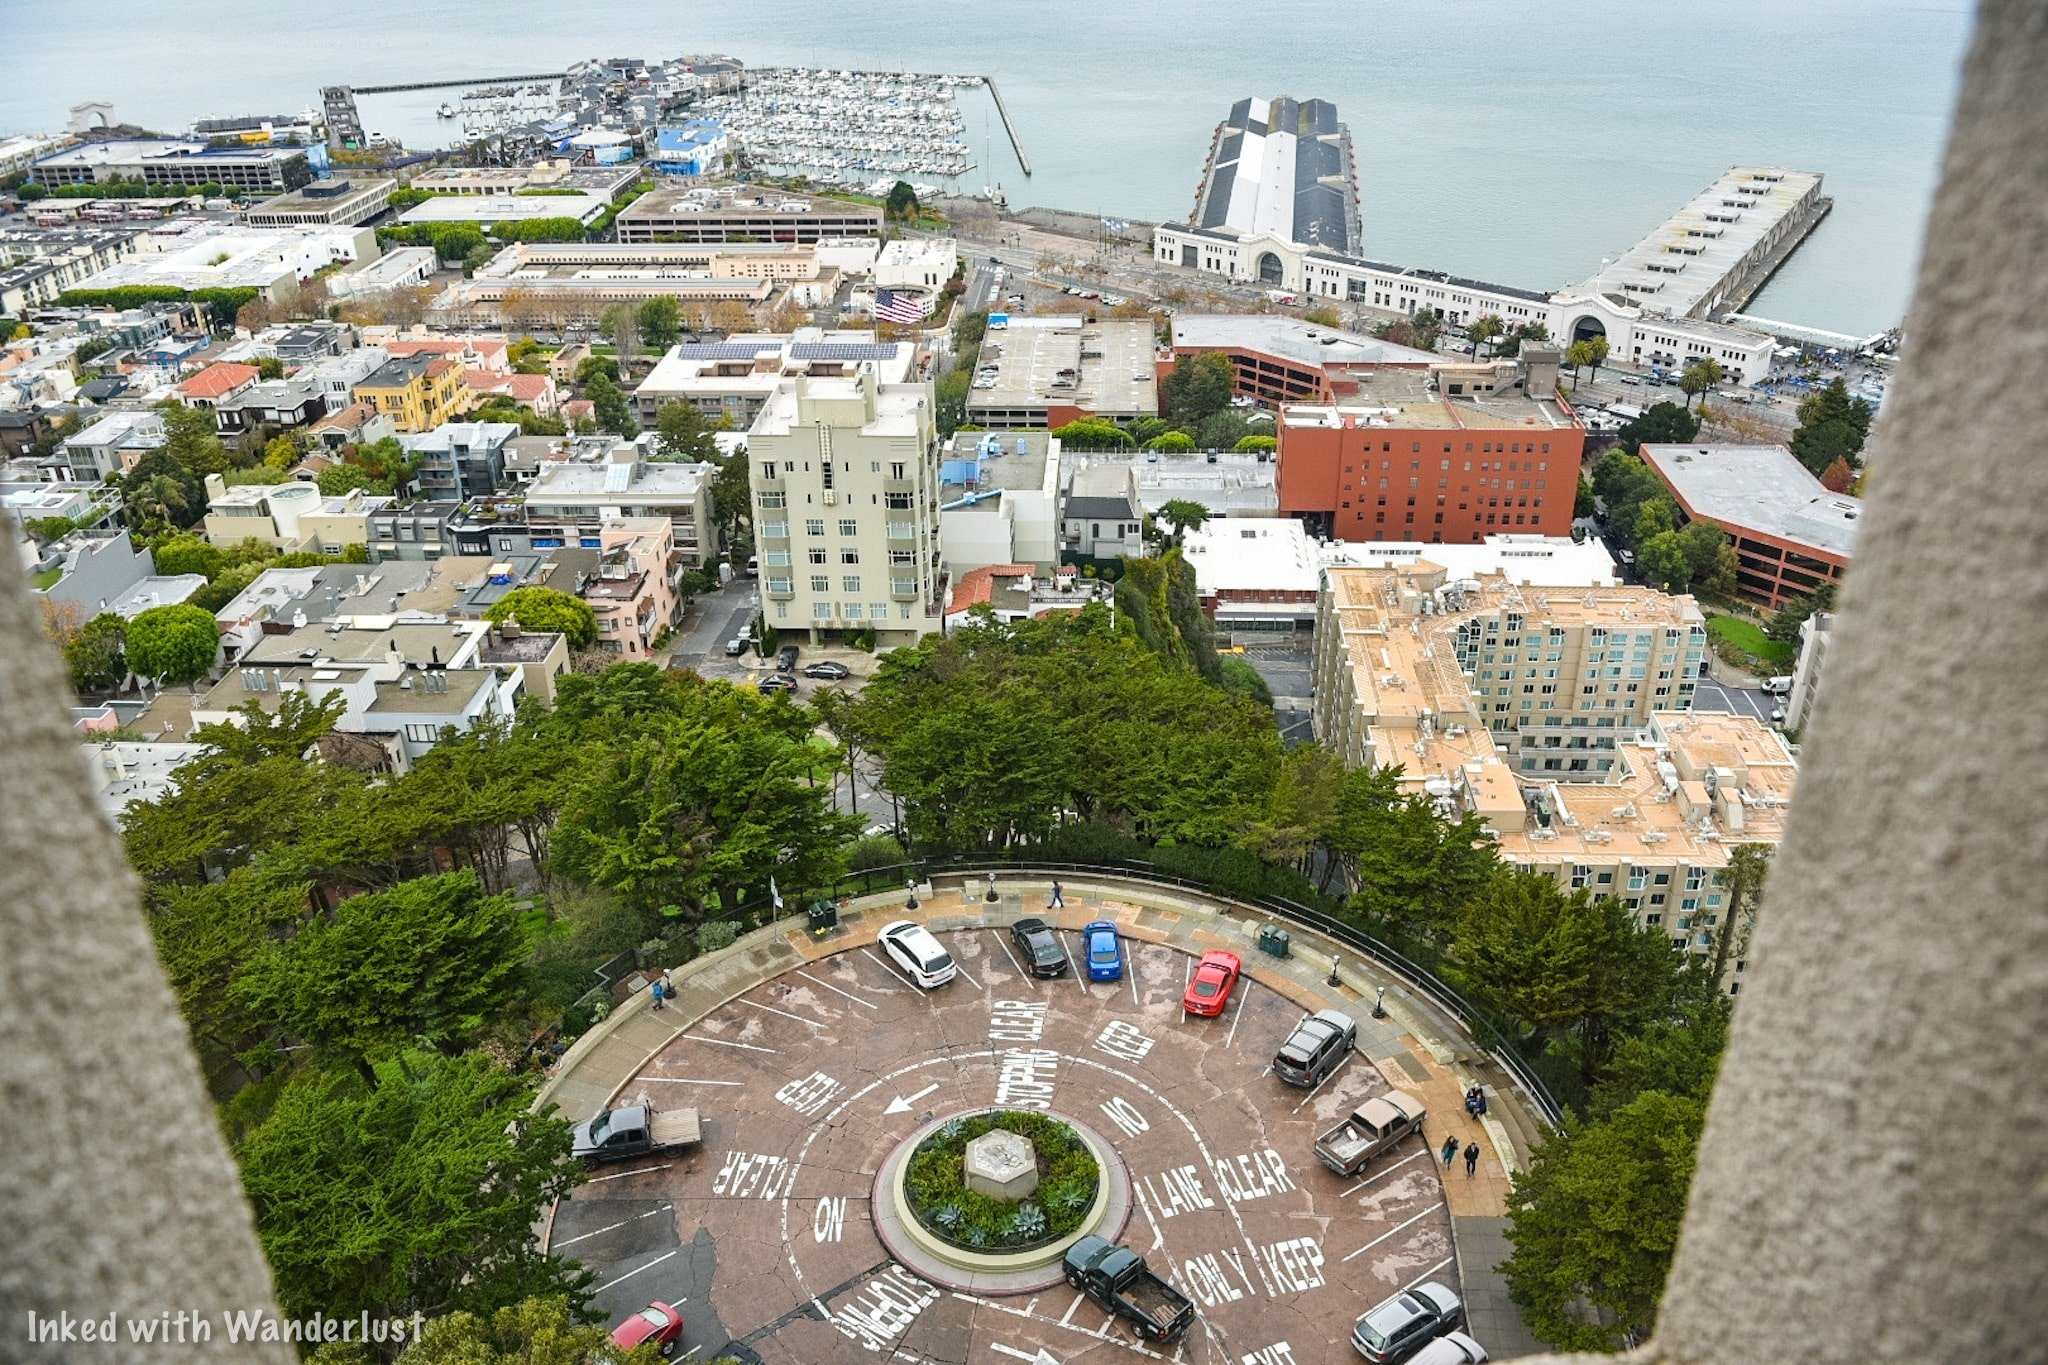
Back Down the Elevator
Once you’ve gotten your fill of the views, simply head back down the spiral stairwell and wait for the elevator to come back up. They make regular trips up and down so no need to call for them.
After leaving the tower, you’re free to stay and explore the grounds more. Behind the tower is a nice grassy area that’s not only good for a break area, but also provides a killer view of the Bay Bridge and Treasure Island (pictured above).
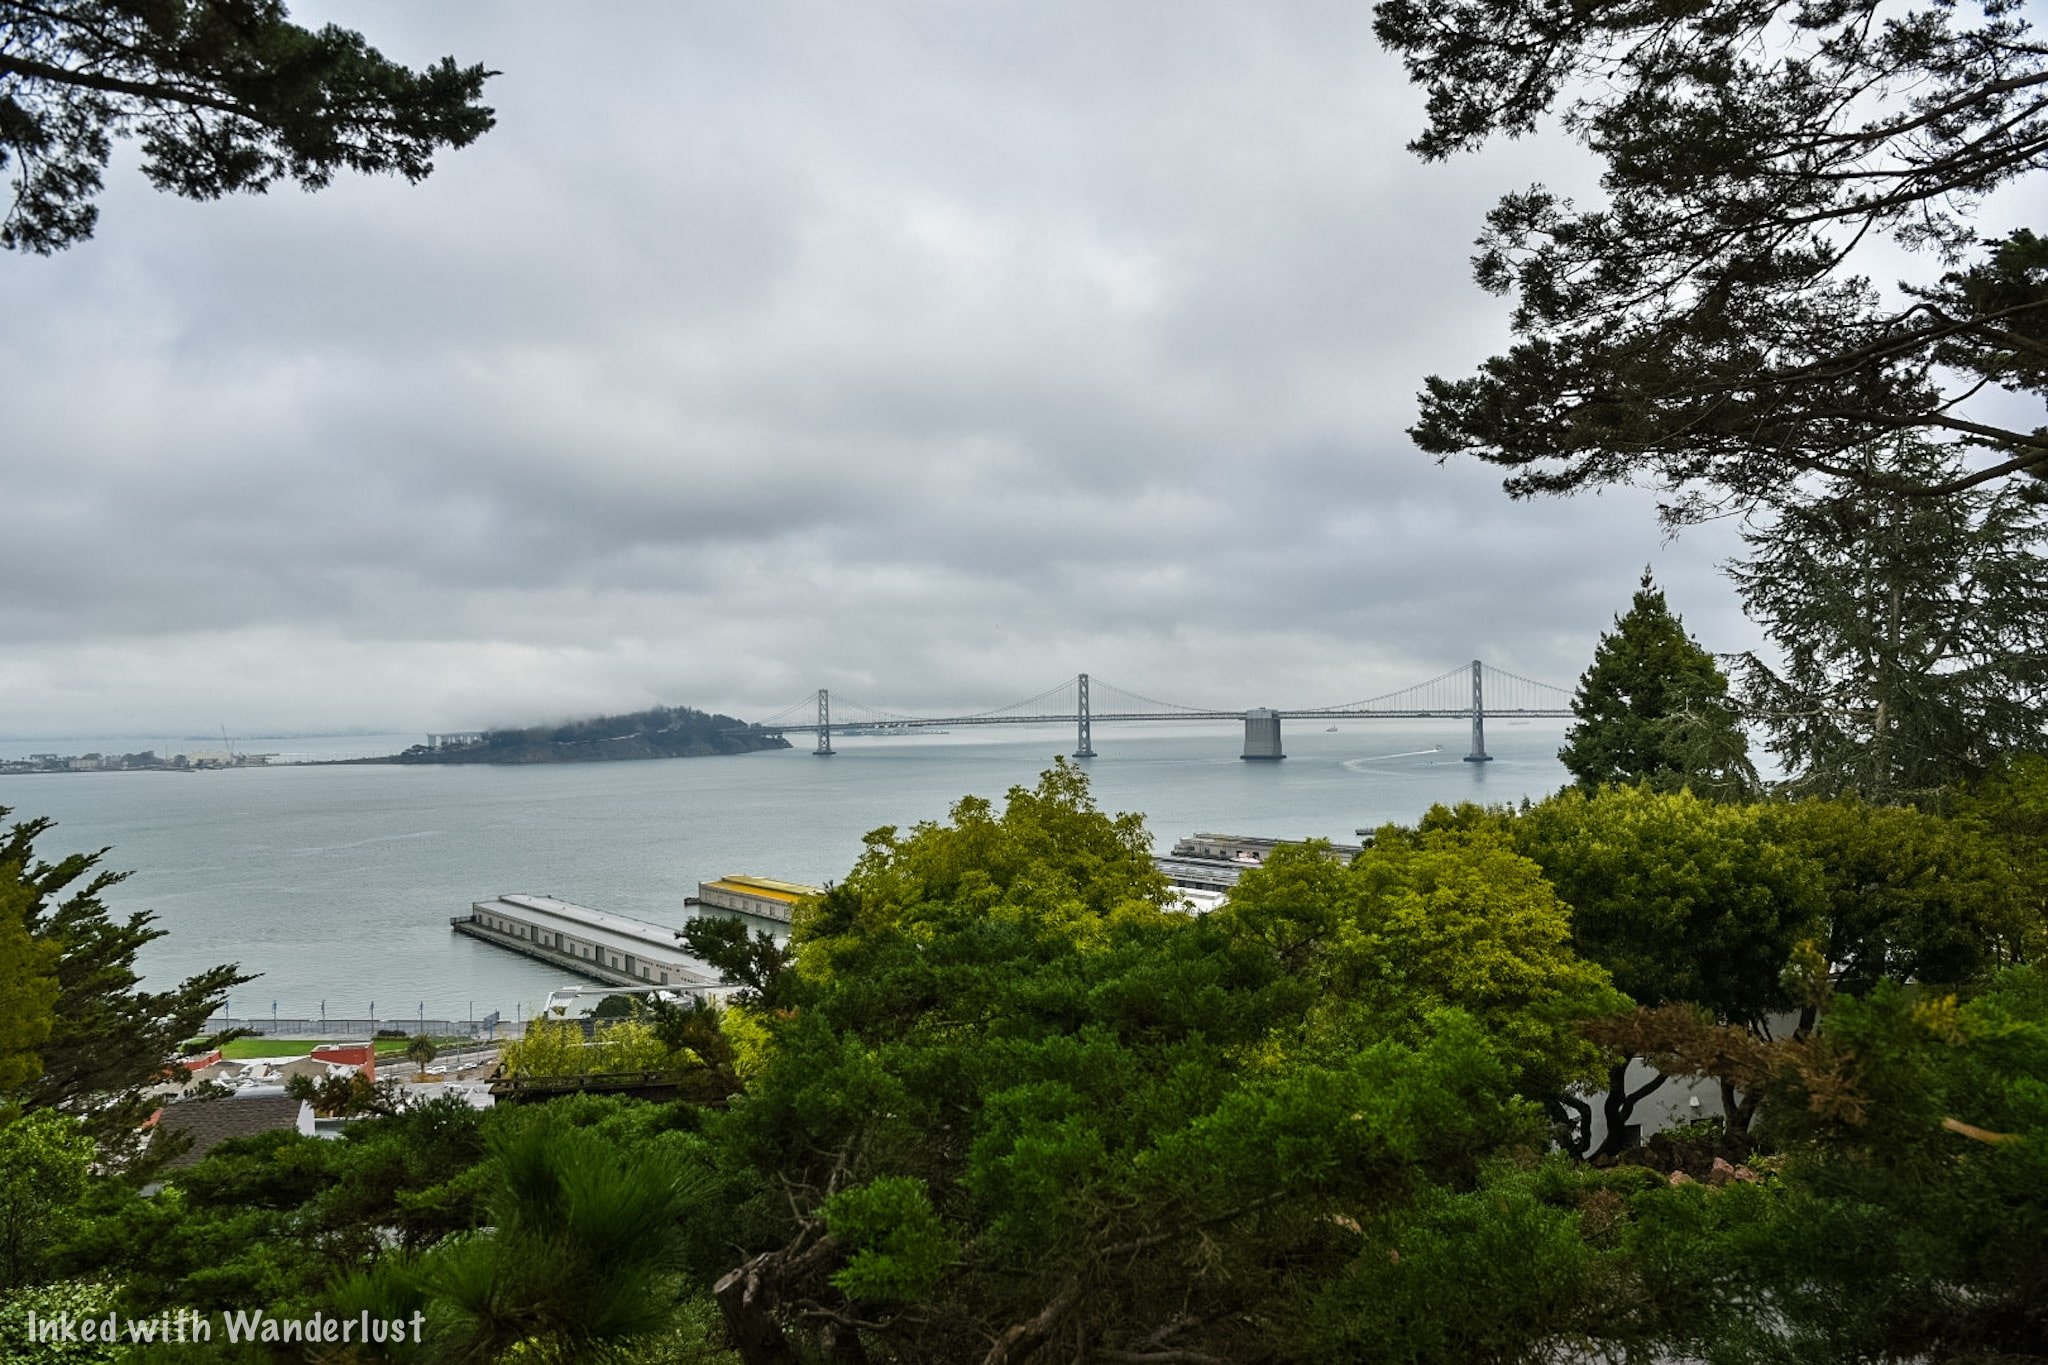
Conclusion
We hope this article has inspired you to visit this amazing place for yourself. If so, please support our website by sharing it with your friends and family on Pinterest, Facebook, or your favorite social media site. You can further support us by staying on and reading one or more of the related articles above.
Thanks for reading and safe travels!

Muir Beach Overlook: A Breathtaking View of The Pacific Ocean
If you’re looking for an epic view of the Pacific Ocean, look no further than the Muir Beach overlook. If you’re coming from San Francisco…
If you’re looking for an epic view of the Pacific Ocean, look no further than the Muir Beach overlook. If you’re coming from San Francisco, it’s only around 20-minutes from the Golden Gate Bridge. It’s even better if you’re at Muir Woods National Monument, it’s less than 10-minutes!
The epic ocean view isn’t the only reason to come here. The shoreline was once used by the U.S Navy as a lookout station and quite a few of the original structures still remain (they’re not fully intact but there’s still plenty of it to see).
We were just going to stop, take in the views, and leave. After discovering its history, however, we knew we had to give it its own post. So continue reading and we’ll give you all the information you’ll need to check it out for yourself.
Directions

From San Francisco
From the area of the Golden Gate Bridge, its only about 20-minutes or so to the overlook. To reach the overlook from there:
Get on US-101 North crossing the GGB. You’ll travel this freeway for about 5.5 miles.
Take exit 445B for CA-1 to Mill Valley/Stinson Beach and stay left for around 7 miles.
After traveling up the winding road, you’ll see a sign for Muir Beach Overlook on your right.
Turn left shortly after the sign and you’ll turn right into the parking lot almost immediately.
From Muir Woods National Monument
It’s even easier if you’re coming from Muir Woods and in fact, the overlook makes for a perfect pit stop after visiting the monument and before continuing on to to other attractions. From Muir Woods:
Turn right out of the parking lot (you should see signs pointing the way to Muir Beach).
You’ll travel this road for about 3-miles or so.
You’ll come to a stop sign. You’ll want to turn right here (the sign points the way to Stinson Beach but rest assured, you’re going the right way).
After about a mile, you’ll see that sign on your right with the left-hand coming up shortly after it.

Parking
Parking is free and plentiful. The lot could easily accommodate a couple dozen vehicles or so but it is known to fill up quickly and often during the summer months. There’s a restroom at the rear of the lot but there aren’t any other facilities or services.
Additional Info
No EV charging stations available.
The upper viewing deck is stroller and wheelchair friendly but the path down to the lower viewing platform isn't .
You can expect to spend an hour or less here.
We would rate the trail down to the main platform as easy.
This is an excellent spot to watch the sunset
Viewing Levels

Upper Viewing Deck
The upper viewing platform is accessible to everyone and offers beautiful ocean views all its own. So don’t fret if you’re unable to make it down to the lower platform.
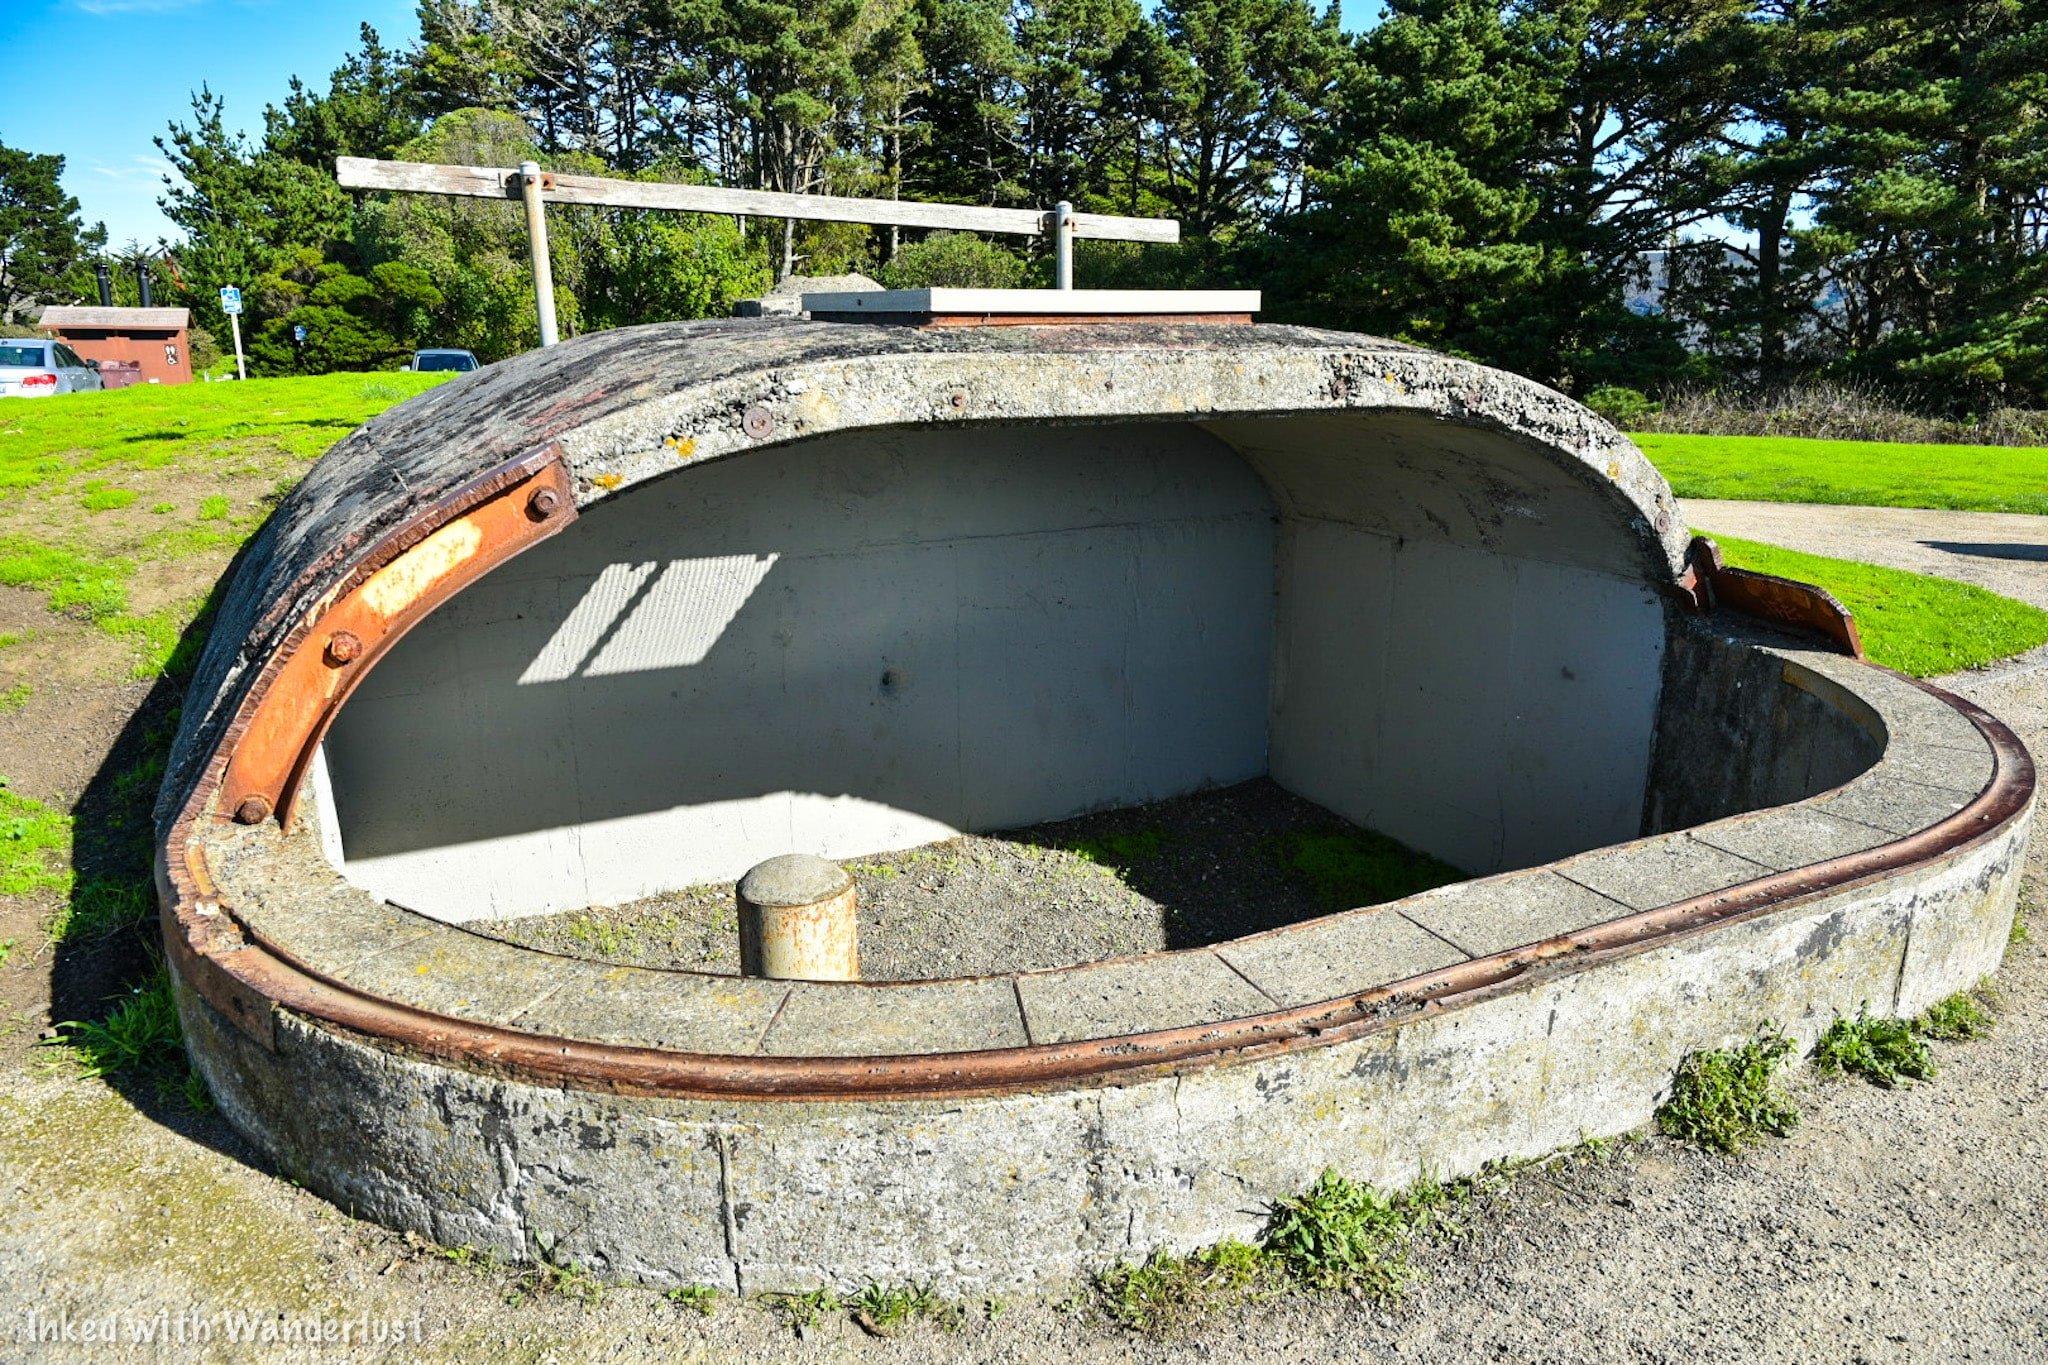
There’s informational boards detailing the coastline’s formation over millions of years and how the Navy used this shoreline as a lookout station (more on this later). You’ll also see an example of a “dugout” used by the Navy.
Main Viewing Platform

If you want to go further out and get a totally unobstructed view of the ocean, you’ll want to head down the pathway leading to the partially-shaped, hexagon platform. There are small stairs carved into the pathway making it easier to go up and down.


On the way down you’ll get expansive views of the beaches below and the beautiful coastline on either side of you. We found the views on the right side (going down) to be the best. Views of Muir Beach can be found on your left (again, going down).
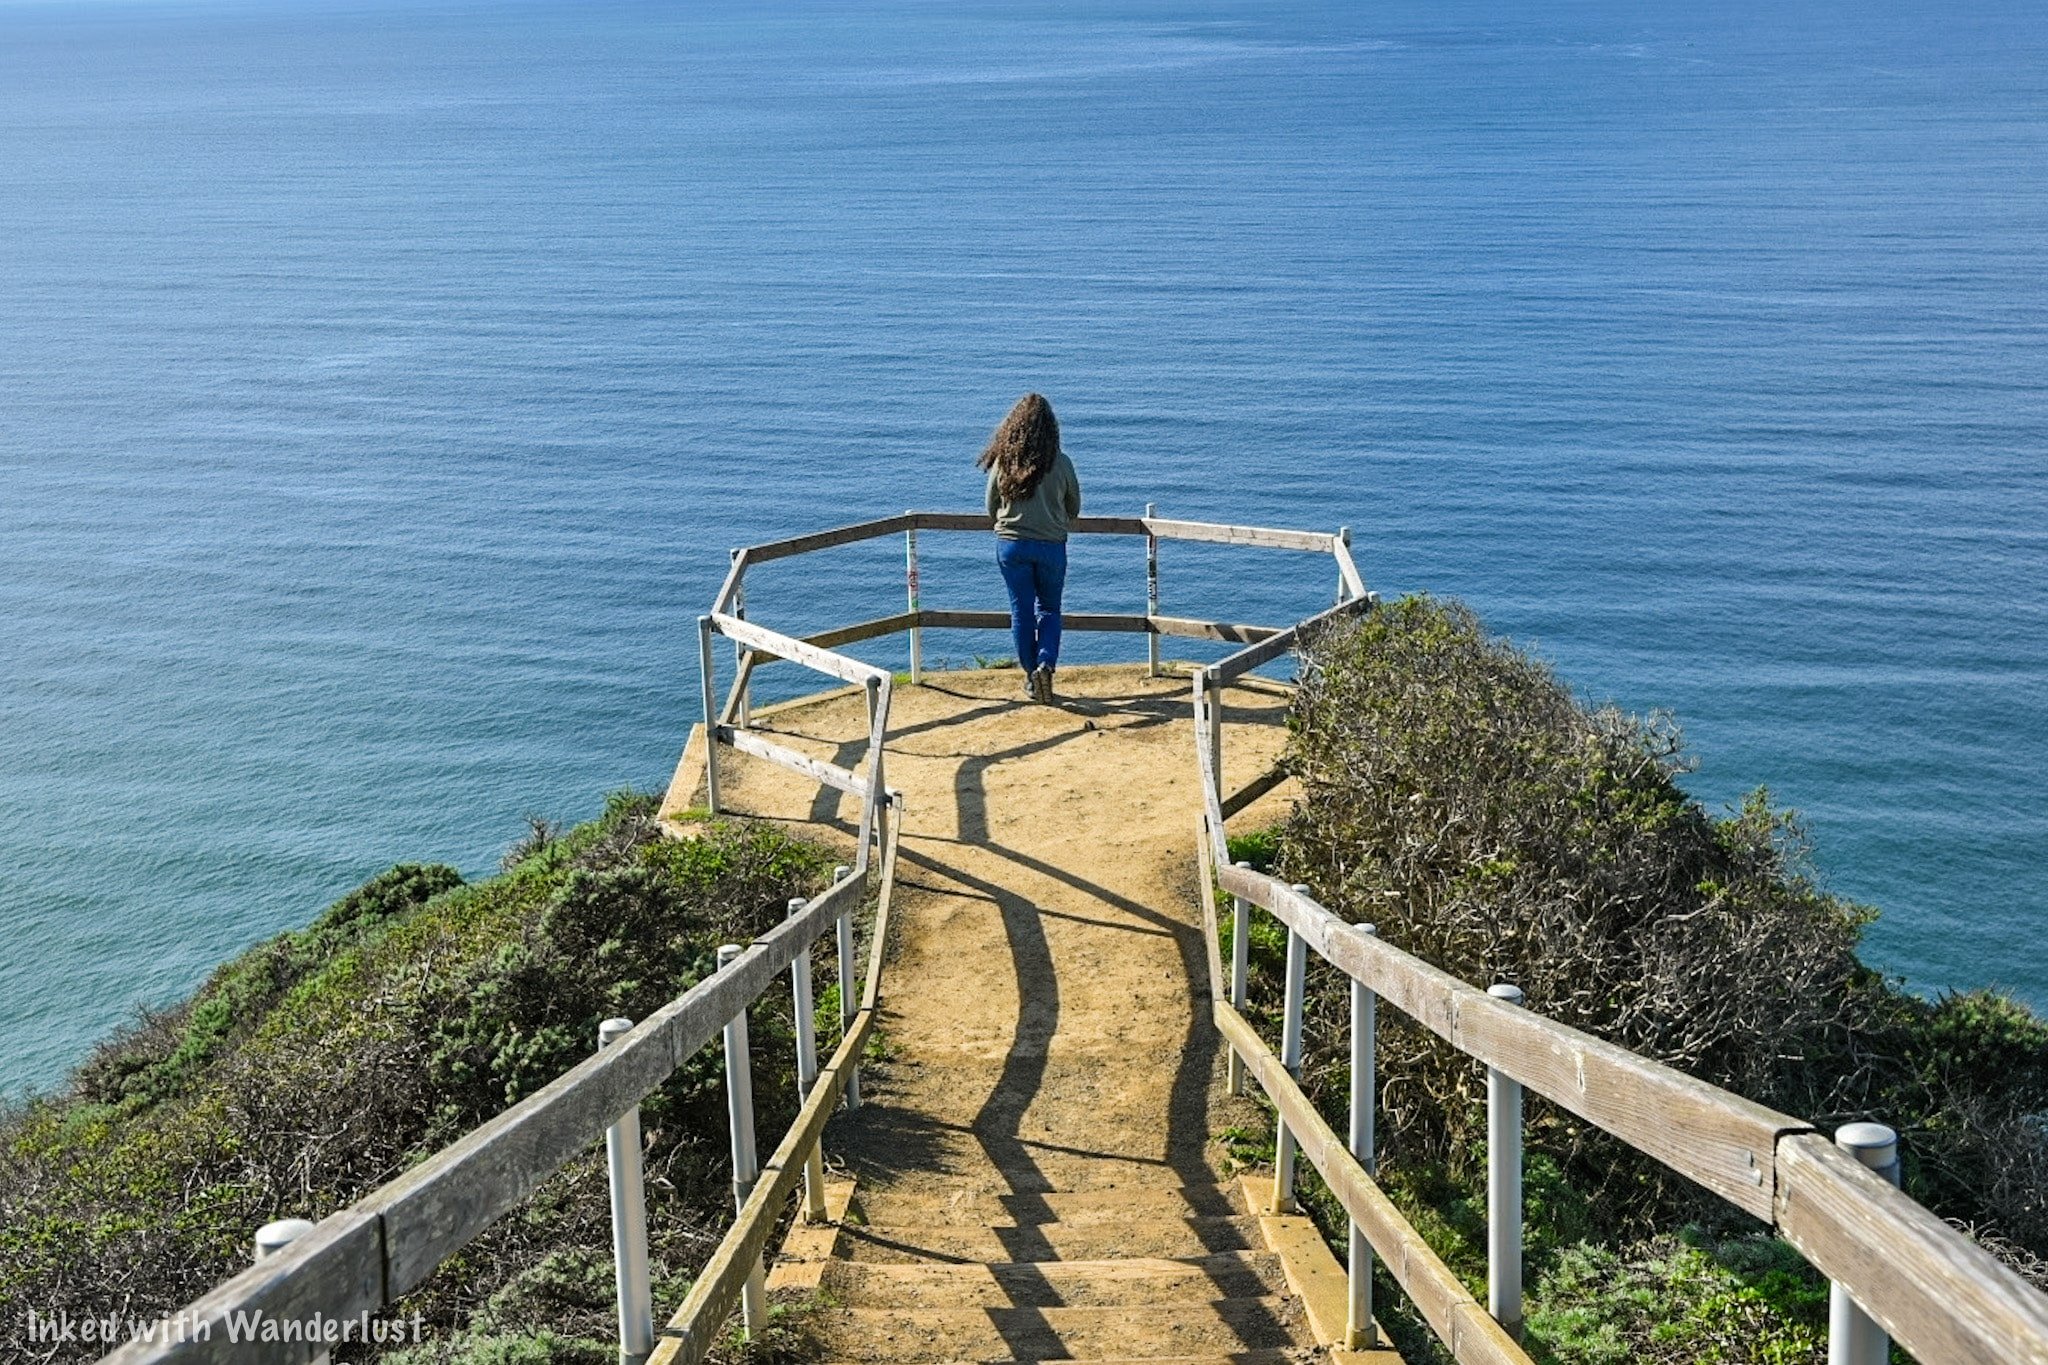

At the end, you’ll reach the platform. When we say the views from here are endless, we mean it. We were fortunate to have it all to ourselves for quite a bit but during the peak tourist season, you may be sharing it with more than a few others. I would estimate about 6-8 adults could fit here comfortably.

If you’re here between November and June, it is possible to spot migrating Blue Whales from either lookout. If that’s what you’re wanting to see, bringing binoculars with you would be beneficial. Unfortunately, we didn’t see any during our visit.
Once you’ve gotten your fill of the views and snapped a few photos, you’ll simply head back up the same way you came. Just be sure to be mindful of others coming down the path. It’s wide enough for two people to pass eachother but still narrow enough to make it easy to bump into one another accidentally.
Military History

Dugouts
For history buffs, this is the best part about visiting the overlook. Scattered throughout the overlook you’ll see these dugouts buried halfway into the ground. Prior to 1941, these were used by Soldiers to view incoming ships and triangulate their distance, directions, and speed.

During World War II after the Pearl Harbor attack, these gained particular importance as many feared an attack on San Francisco was imminent. Soldiers would use these to watch for any incoming enemy ships. If one would be spotted, they would then advise the Batteries further down the coastline (such as Kirby and Spencer) to prepare for engagement.
Layout & Locations

As you can see in the illustration above, Soldiers would climb down a latter through a roof hatch to access these dugouts. They used to be nearly fully covered, leaving only a slight opening to look through. In the event of an attack, this opening could be closed for protection.

Soldiers would often spend days in these dugouts, leaving only to go to the bathroom. They kept radios, a calendar, food, water, and other personal items with them. They even had bunkbeds installed on the back wall.

There are four that we saw scattered throughout the overlook. Their locations are:
One at the upper viewing deck behind the informational boards.
Two of them (one on top of the other) at the start of the pathway leading to the lower viewing platform.
Another to the left of the aforementioned ones.
Unfortunately, they’ve been tagged with graffiti but despite this, they’re still an awesome part of our history and will hopefully be further preserved. In case you’re wondering, yes, you are allowed to get inside them. Just be careful getting in and out as there isn’t a ladder anymore.
Conclusion
We have no doubt that you will thoroughly enjoy your visit to this breathtaking overlook. The sheer amount of history contained here makes it even more appealing. Be sure to let us know in the comments below if you’re planning on going!
We hope this article has inspired you to visit this great place. If so, please support our website by sharing it with your friends and family on Facebook, Pinterest, or your favorite social media site. You can further show support by staying on and reading some of the related articles above.
Thanks for reading and safe travels!

Manzanar National Historic Site: Directions, Things to See, and More (2022)
My first visit to Manzanar came in 2017 while on my way home from Southern California. I did some research about attractions along 395 and was surprised to find Manzanar…
Our first visit to Manzanar came in 2017 while on our way home from Southern California. We researched attractions along 395 and we were surprised to find Manzanar as neither of us have ever heard of it.
We only had a few hours to spend but that was all it took for Manzanar to take hold of us. When I was younger, I visited the Museum of Tolerance in L.A and it had a huge impact on me. Manzanar had the same affect.
If you’ve been wanting to visit Manzanar or have never heard of it, keep reading to find out how you can visit this highly historical and important place. Let’s get into it!
Visitor Information

Getting to Manzanar
Manzanar is located in the small California town of Independence nestled between the equally small towns of Lone Pine and Big Pine. The mighty Sierra Nevada mountains provide a beautiful backdrop to what was once an active relocation camp.
Northbound
For simplicity sake, we’ll use Los Angeles as the example.
From Los Angeles, you are roughly 220-miles, or 3.5-hours, away from Manzanar.
Work your way from L.A to Highway 395 North.
You’ll know you’re close once you reach the town of Lone Pine.
From Lone Pine, you’re about 10-minutes away from the turn-out.
Southbound
For southbound, we’ll use Reno.
From there, you’re about 252-miles, or 4.5-hours, from Manzanar.
Find your way from Reno to Highway 395 South and keep to it.
When you reach the town of Big Pine, you’re around 30-minutes away from the turn-out.
Things to See at Manzanar

Manzanar Visitor Center
The first thing you’ll see upon driving in is the same as the thousands of Japanese Americans that were once held here; the Sentry Post. Here, Military Police once stood guard checking vehicles coming in and out.
After securing your parking spot, your first stop should be the Visitor Center. We reccomend this because it’s packed with informative exhibits, a 22-minute park film, information desk, and a bookstore.
Hours for the visitor center are as follows:
Monday: 11am - 4pm
Tuesday: Closed
Wednesday: Closed
Thursday: Closed
Friday: 11am - 4pm
Saturday: 11am - 4pm
Sunday: 11am - 4pm
If you arrive on a day or time that the Visitor Center is closed, you can still access the remainder of the park.

Fair warning, you may find some of the exhibits offensive. The one below in particular. However, it does give you a sense of how badly Japanese Americans were treated after the bombing of Pearl Harbor and during the war.

Honestly, we were ignorant to it. We didn’t understand the extent of it all and until we discovered Manzanar, we had no idea our country utilized camps like this. It was difficult for us to grasp.


Manzanar was the first of 10 of these camps and at its peak held more than 10,000 Japanese Americans, mostly from the Los Angeles area. The photo above gives you an idea of its original size.
The entire property was 6200 acres with the developed portion covering 540 acres. The residential area alone was around one square mile and was made up of 36 blocks of 20-foot by 100-foot apartment style barracks, housing up to 8 people each.


The barracks had partitions with no ceiling, providing little privacy. To make matters worse, both the latrines and showers were communal, providing no partitions or stalls. Many who were interned here have said the lack of privacy was one of the worst parts about it.
Block 14 & Barracks
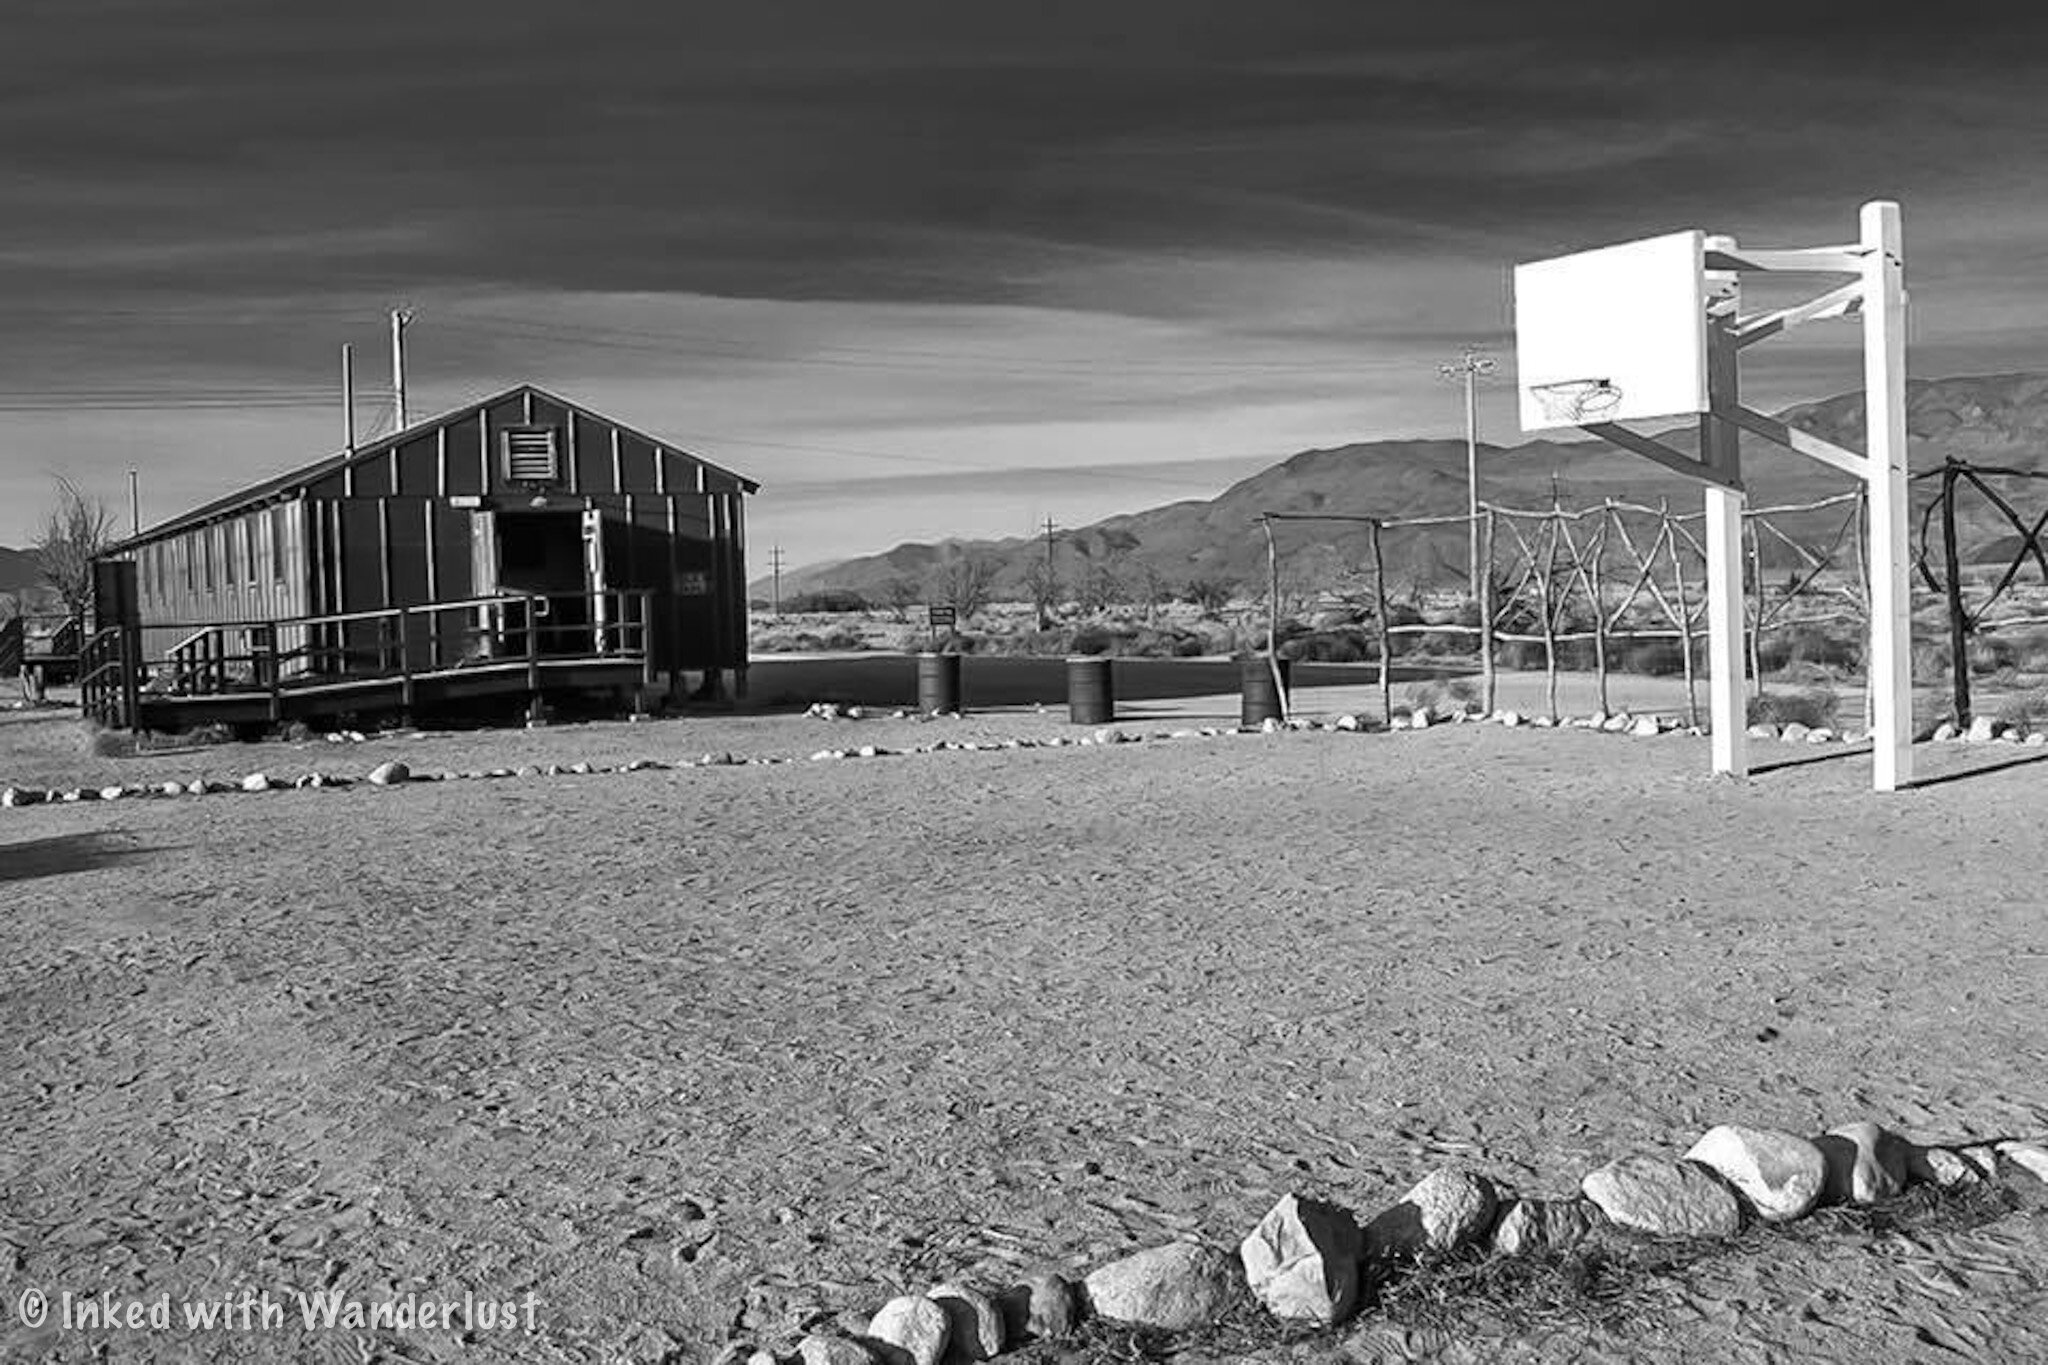
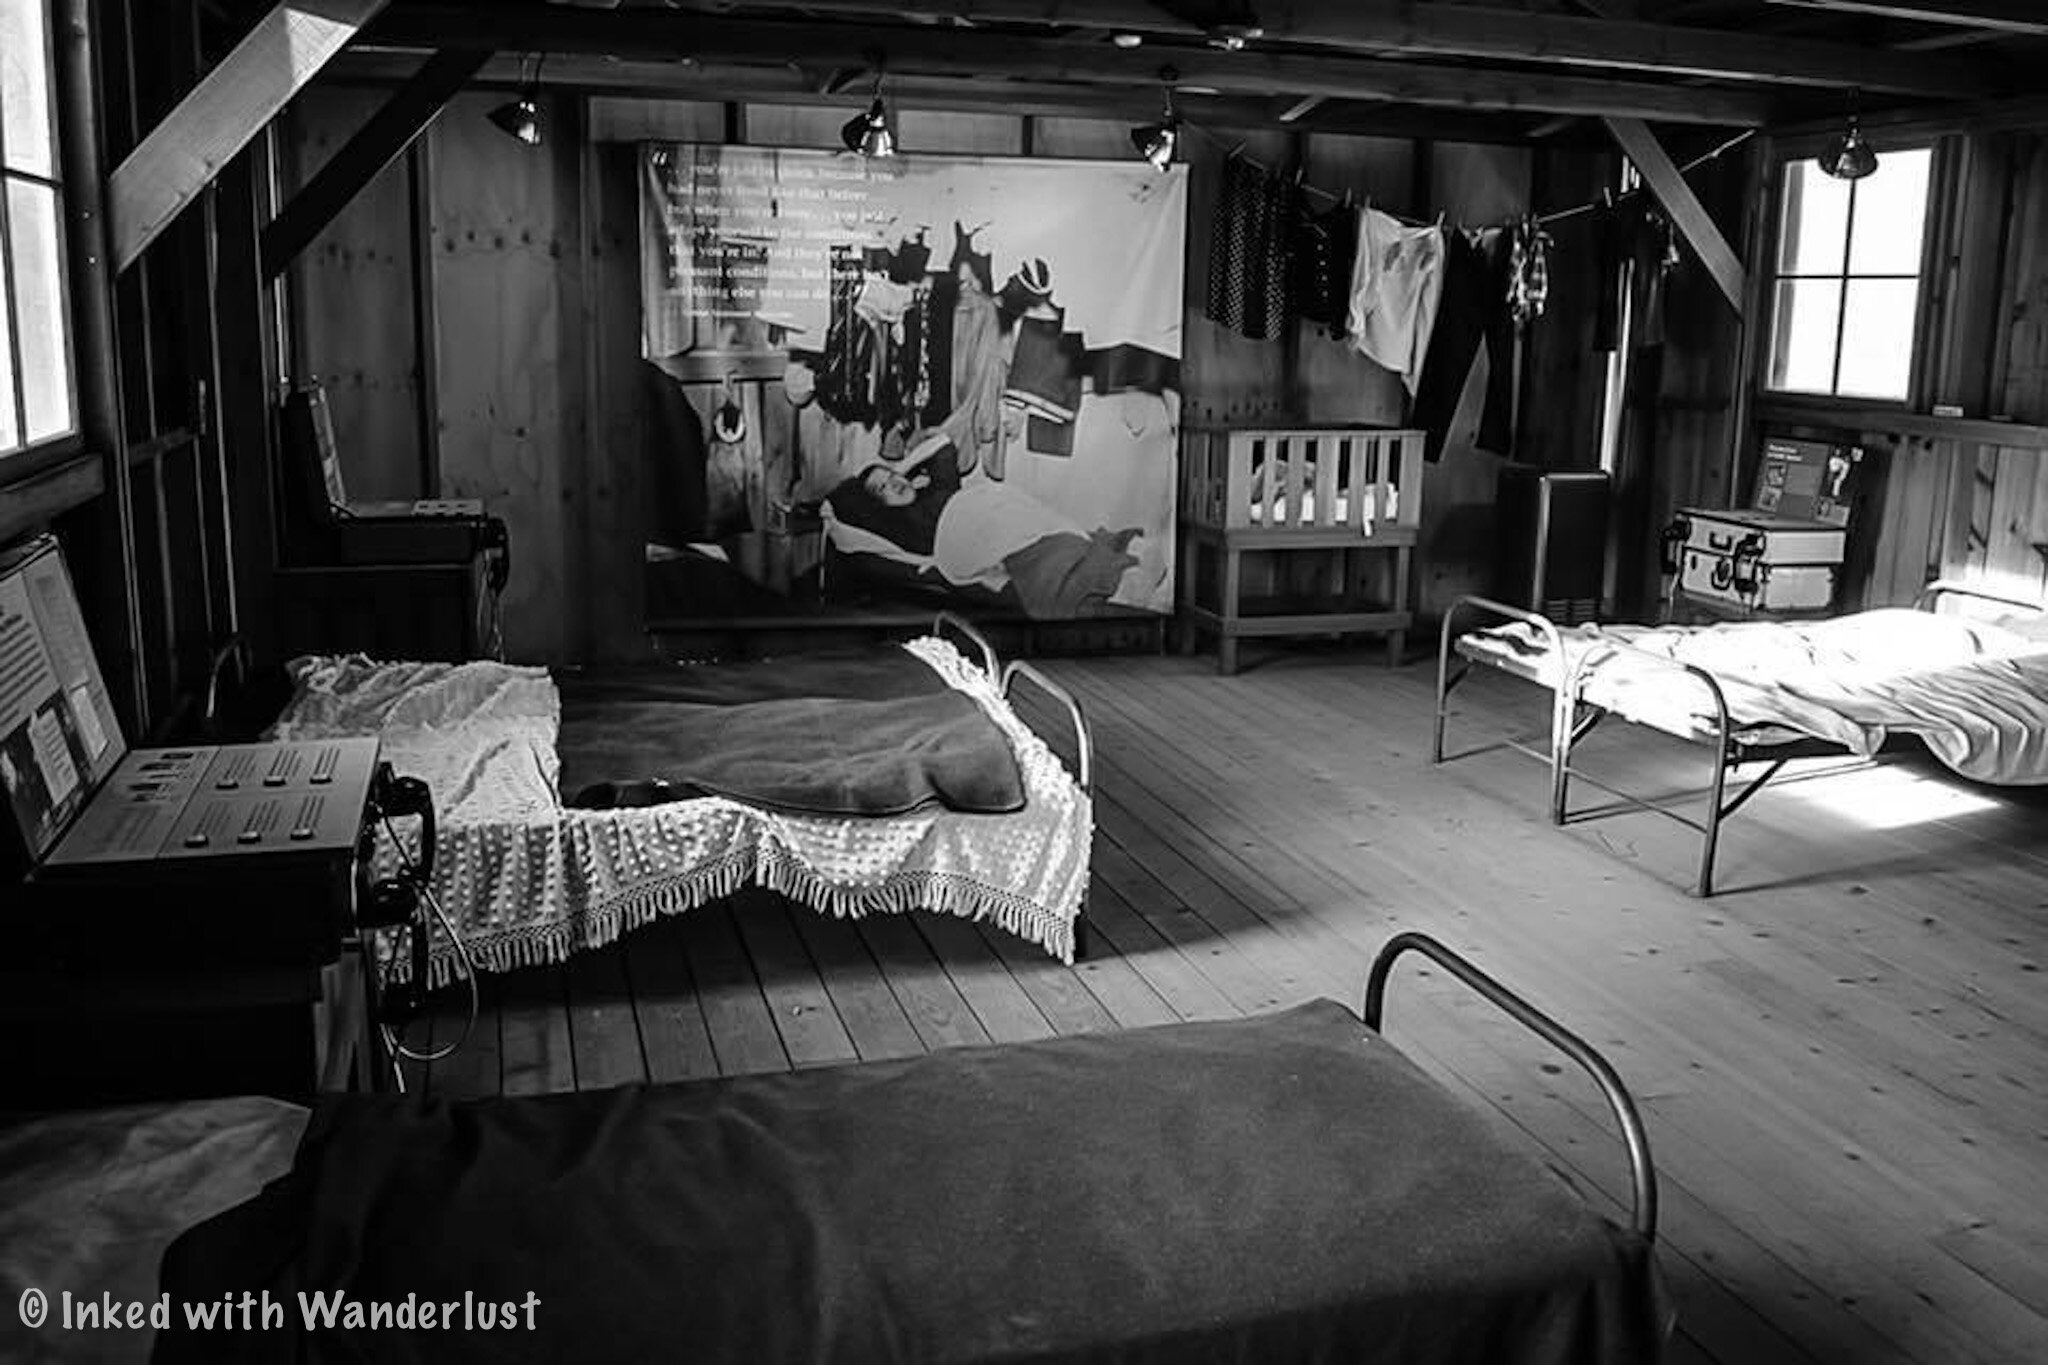
In the back of the exhibit hall you’ll find a giant mural with the names of each person interned. Behind that, there’s an exit leading you to the next feature of the site; Block 14.
Block 14 consists of a mess hall, latrine, four barrack buildings (reconstructed in 2015), and a recreation area. The barrack exhibits describe the arrival process, loyalty questionnaire, the Block Manager’s Office, and the School.

The latrine is where you can see the rows of toilets and communal showers, giving you a sense of the camp’s harsh realities.
The mess hall was originally built in 1942 and was moved to Manzanar from Bishop Air Base in 2002. It’s nearly identical to the 36 mess halls that, between 1942 and 1945, served over 28 million meals.
The exhibits in Block 14 are open daily from 7:30am - 3pm (closed Thanksgiving and Christmas). The remainder of the site is open from dusk until dawn.
Cemetery Monument

After exploring the visitor center and block 14, we were running low on time. Neither of us expected to have this much to do. However, there was one more thing we wanted to check out before we left; the Cemetery Monument.
The monument was erected in 1943 by the people of Manzanar to honor the dead. The cemetery and monument were built just outside of the camp’s boundary and the three letters on the front of the monument translate to, “soul consoling tower”.
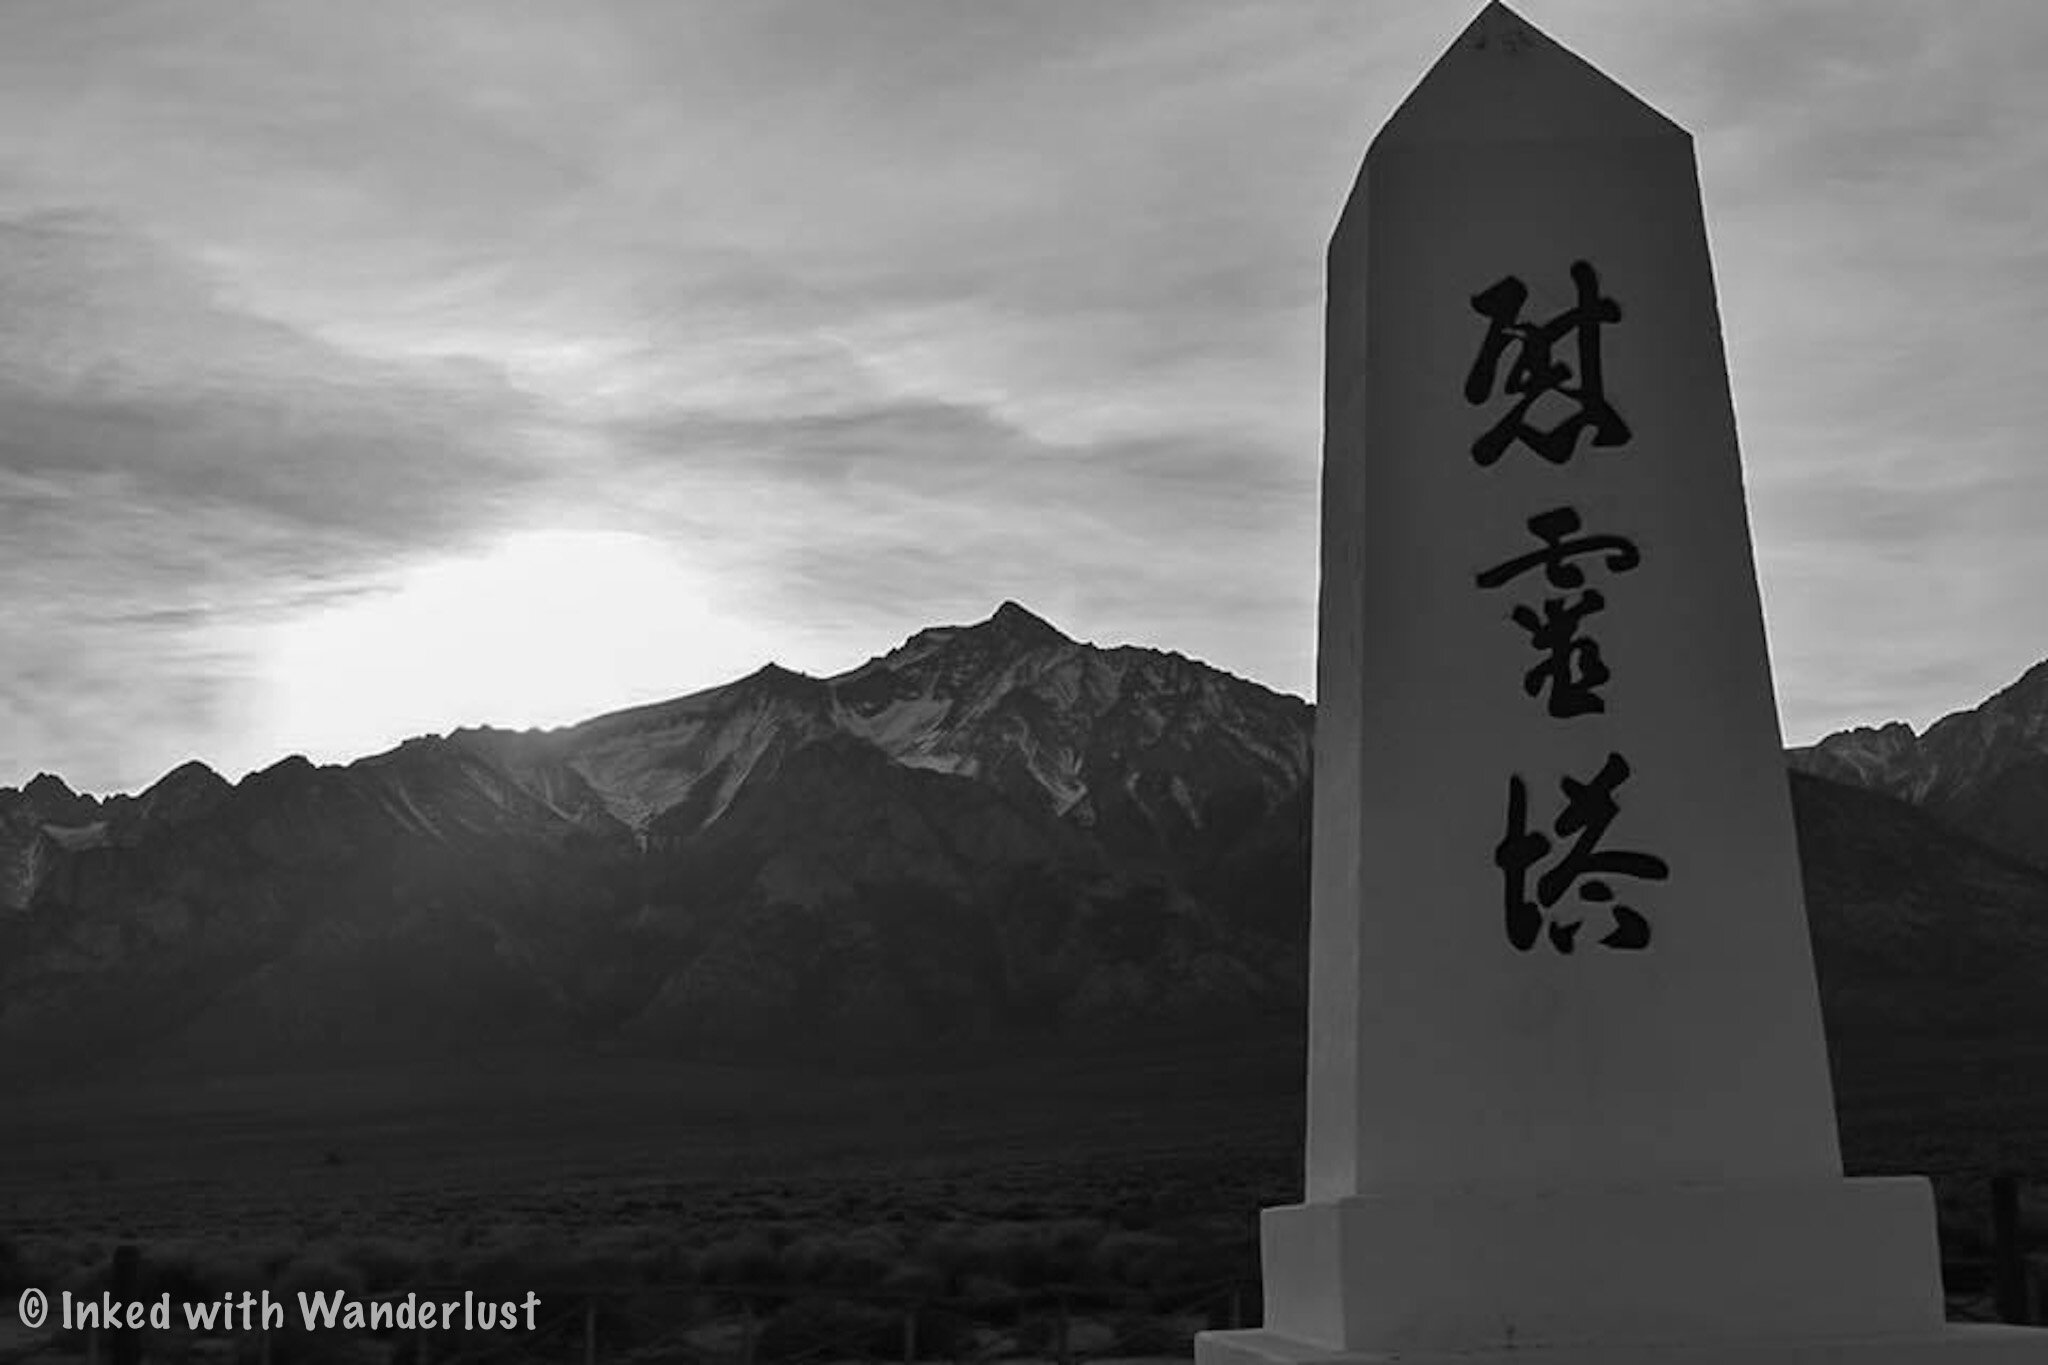
You’re more than welcome to enter the cemetery and photograph the monument, but keep in mind that this is an active cemetery with burials on site.
More than 145 Japanese Americans died while incarcerated here. Many were cremated and sent home for burial elsewhere, but 15 were ultimately buried here.
After the camp’s closure in 1945, some families would have the bodies removed and brought home. In 1999 National Park Service Archeologists confirmed the remains of five people still entombed here.
Manzanar Annual Pilgrimage

Every year on the last Saturday of April, an event called, “The Manzanar Pilgrimage”, is held. It began in 1969 when a small group of people wanted to bring awareness to the injustices that took place here and has now morphed into an event that welcomes people by the thousands.

It is held at the cemetery and features speeches by local tribe members, the NPS, politicians, and community activists. Dance and music performances are also featured throughout the event. Buddhist Priests and Christian Ministers attend to honor the bodies that remain.

We had the honor of attending the 49th annual event in 2018 and were moved by it. Being able to hear from the Daughter of someone incarcerated here gave me chills as she described her Mother’s struggle and plight. If you ever get a chance, we highly recommend attending.
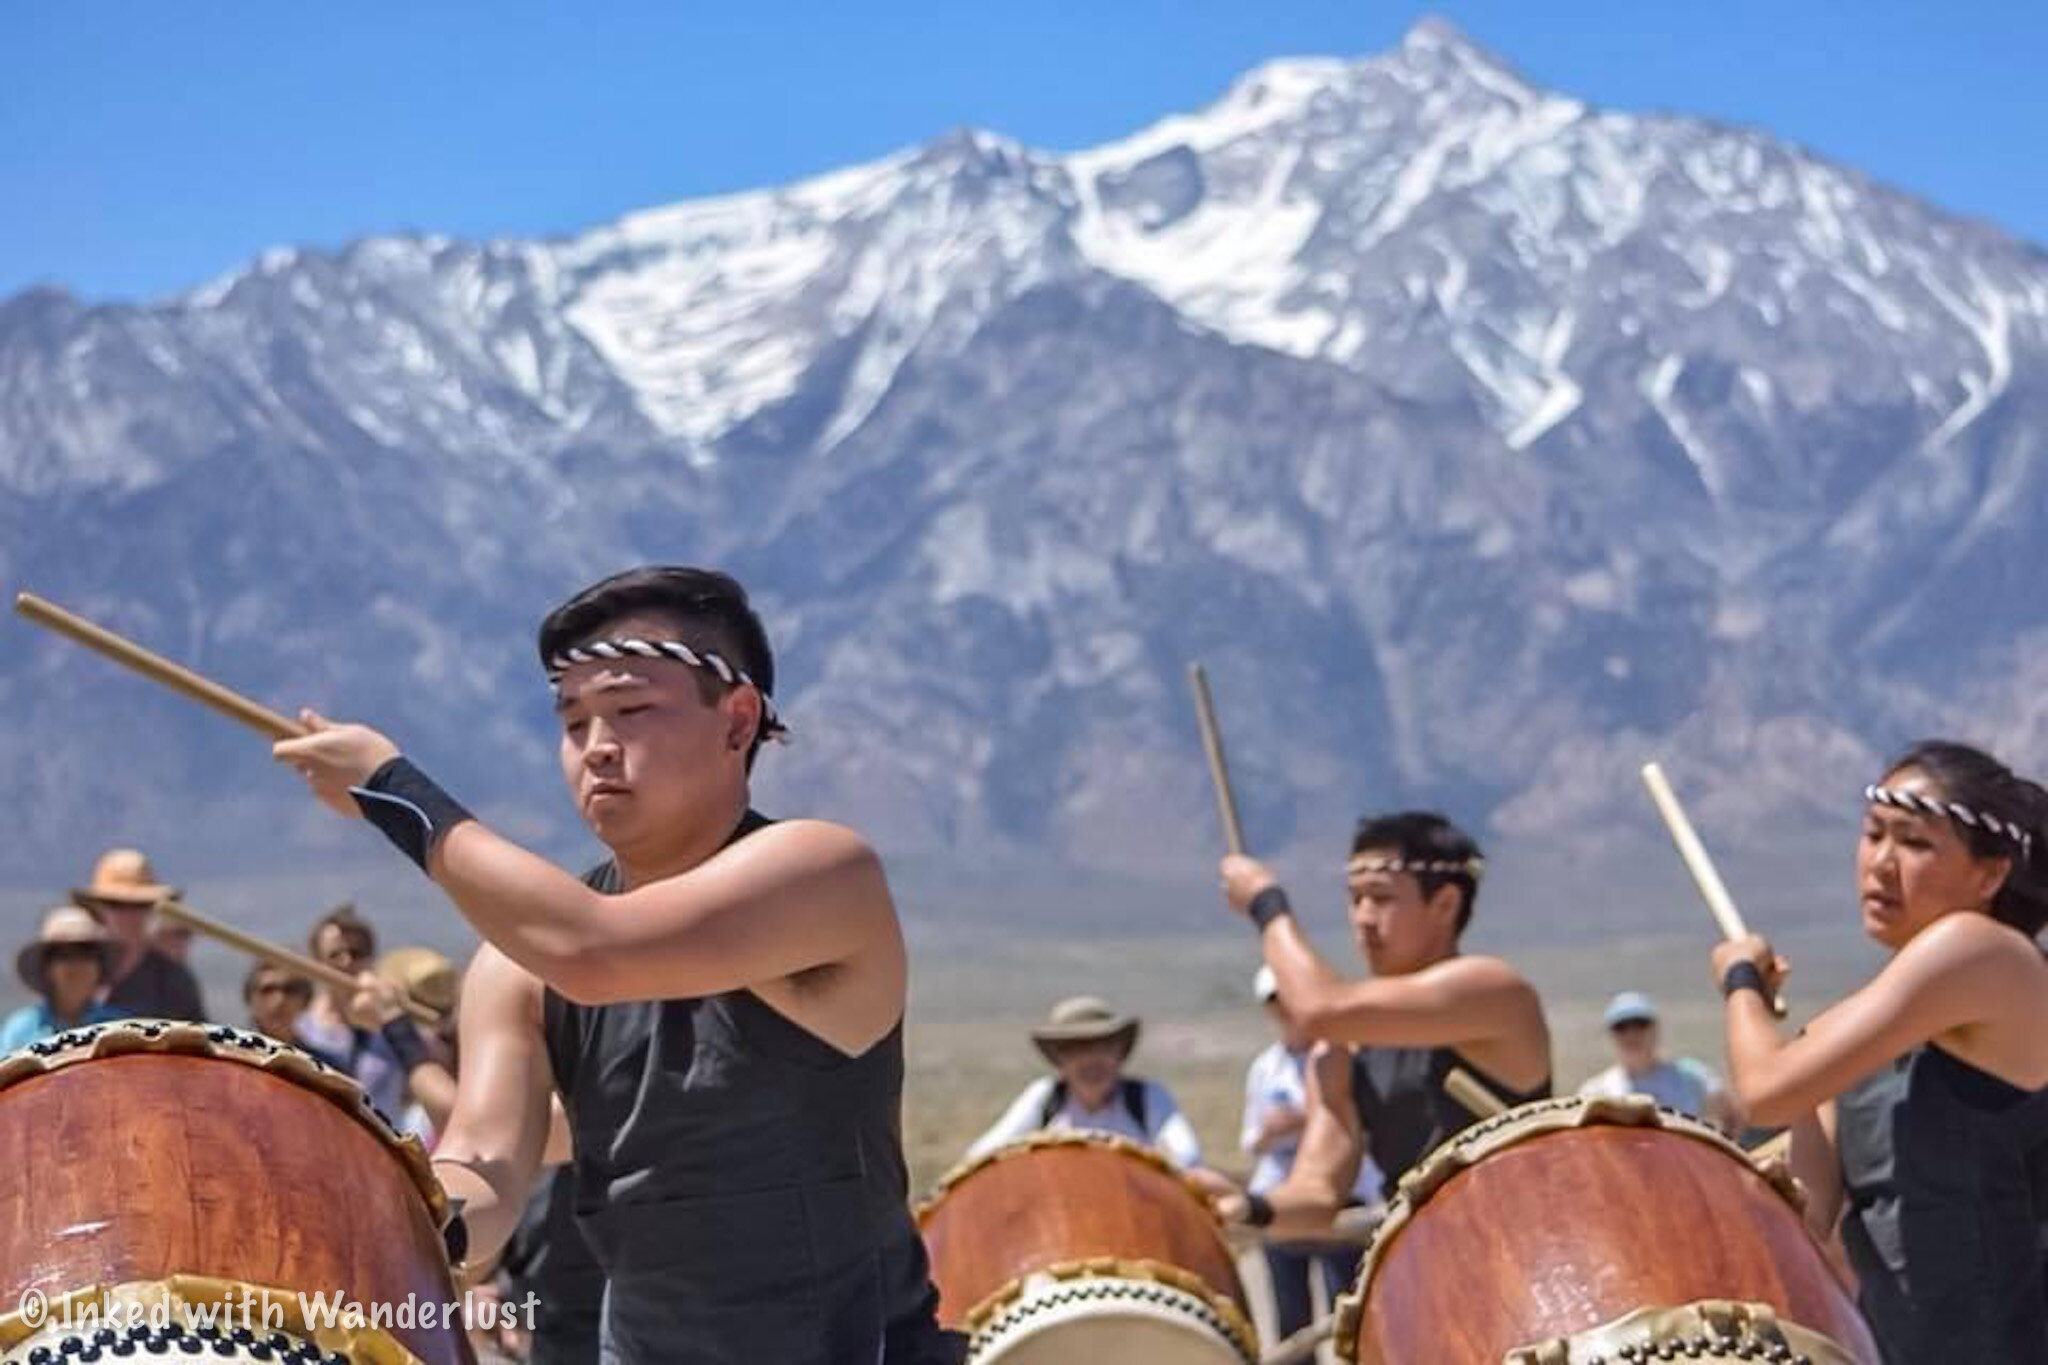

Additional Information
Manzanar is FREE to visit! Again, free. No entry fee, parking fee, etc. As always, you could stop by the bookstore to make a purchase, donation, or both!
Be mindful of visitor center hours. The site itself is open from sunrise to sunset but the visitor center is only open from 11am-4pm and closed completely on Tuesdays, Wednesdays, Thursdays, and most holidays.
Limited resources available. There are bathrooms in the visitor center but other things such as food and gas are limited to the surrounding towns of Lone Pine and Independence. Be sure to fill your tank before visiting.
Be respectful of the site. This site is highly historical and as such, is fully protected. Please don’t destroy or remove anything from the site. Also, you may come across families visiting their deceased loved ones at the cemetery. Be sure to give them space.
No EV charging stations. There are no charging stations at the site itself. However, there is a Tesla Supercharger 10-minutes away in Lone Pine.
No Drone use. As is the case with most NPS properties, Drone use is strictly prohibited.
Conclusion
Our visits to Manzanar were fantastic and we have no doubt you would love it as well, especially if you’re into history. Be sure to drop us a comment and let us know if you plan to visit Manzanar for yourself!
We hope you found this article to be helpful in planning your next trip. If so, please support our site by sharing it with your friends and family on Facebook or Pinterest. You can further show support by staying on and reading one or more of the related articles above.
Thank you for reading and safe travels!
Editor’s Note: This post was originally published in October 2020 has recently been updated for comprehensiveness and accuracy.