
How To Visit The Historic Lovelock Cave
Nestled within the Humbolt Mountain range and located 20 miles outside the small Nevada town of Lovelock, the Lovelock Cave is a small, but significally historic landmark…
Nestled within the Humbolt Mountain range and located 20 miles outside the small Nevada town of Lovelock, the Lovelock Cave is a small, but significally historic landmark. It’s an easy, straight-forward drive along the Backcountry Byway and once there, it’s a quick hike to the cave entrance from the parking lot.
As stated above, it is small. This is not the kind of cave where you’ll be able to go from room to room deep into the earth. It’s a small entrance leading to a viewing deck inside an area barely bigger than a modern day studio apartment. Don’t let this stop you, though. The historical significance of the cave more than makes up for its lack of size.
Some 22,000 years ago, Lake Lahontan covered this entire area. As water levels began to recede, wave action started to interact with the limestone, resulting in little pocket caves like this one. Lovelock Cave is just one of many in the area that came to be because of Lahontan. Hidden Cave near Fallon is another example.
In later years, Northern Paiute Indians would utilize this cave for storage and shelter between the timeframe of 2,000 B.C and 1,000 A.D and it would go undiscovered until 1912 when bat guano miners found it and began operations. Shortly after, archeological digs would commence and regularly occur for around 60 years, resulting in the discovery of thousands of artifacts and human remains.
Read on below as we give you a detailed summary on how you can make your way out here and see it for yourself. In the second half of the article, we will briefly cover the legend of the cannibalistic giants that lived here as well as the discovery of the oldest known duck decoys in the world. Enjoy!
Directions

Your journey to the cave begins and ends in Lovelock, NV. Thankfully, it’s easy to get there as your journey begins almost as soon as you exit the freeway. Whether you’re coming from the direction of Winnemucca or Reno, these are the easiest directions to follow:
You’ll take exit #106 towards Downtown.
As you’re taking the exit, you’ll notice a McDonalds.
If you’re coming from Winnemucca, you’ll turn right on Main then left on Amherst (just before McDonalds). If you’re coming from Reno, you’ll turn left on Main, go under the overpass, and left on Amherst.
This road will eventually turn into S. Meridian and becomes a well maintained dirt road as you pass through a beautiful agricultural area.
You’ll stay on this road until you reach Derby road at a two-way intersection. You will go left here.
You’ll cross over the Humbolt River and shortly after, come to a point where the road splits in three directions (as pictured below). You’ll want to continue to the right.
Continue going straight until the road terminates at the parking lot.
Even though it is fairly straight forward, you may feel a little lost at times (we did). Just keep an eye out for those “Lovelock Cave Byway” signs. They’re dotted along the entire stretch of this drive. If you haven’t seen one in a while, you may want to turn around.

Pictured above is a beautiful section of the Humbolt River we ran into along the byway. This view was on our left shortly after turning on Derby. Pictured below is where the road splits into three directions shortly after the river crossing. You’ll turn right to continue towards the cave (though we were curious as to what the other roads led to. If you happen to know, please let us know in the comments).

Between here and the cave, you’ll get amazing views of the Humbolt Mountains on your left and the Humboldt State Wildlife Management Area on your right. We observed many species of birds in this area and even spotted a Rattlesnake sun-bathing in the middle of the road. If you’re into birding, you would do well here.
The road you’ll be on is well maintained with only a few parts that get a bit rough for those driving a compact vehicle. For clarity, our Chevy Cruze made it just fine (though there were a few times we had to slow down due to rough bumps in the road). If you have a truck or jeep, you’ll have no issues.
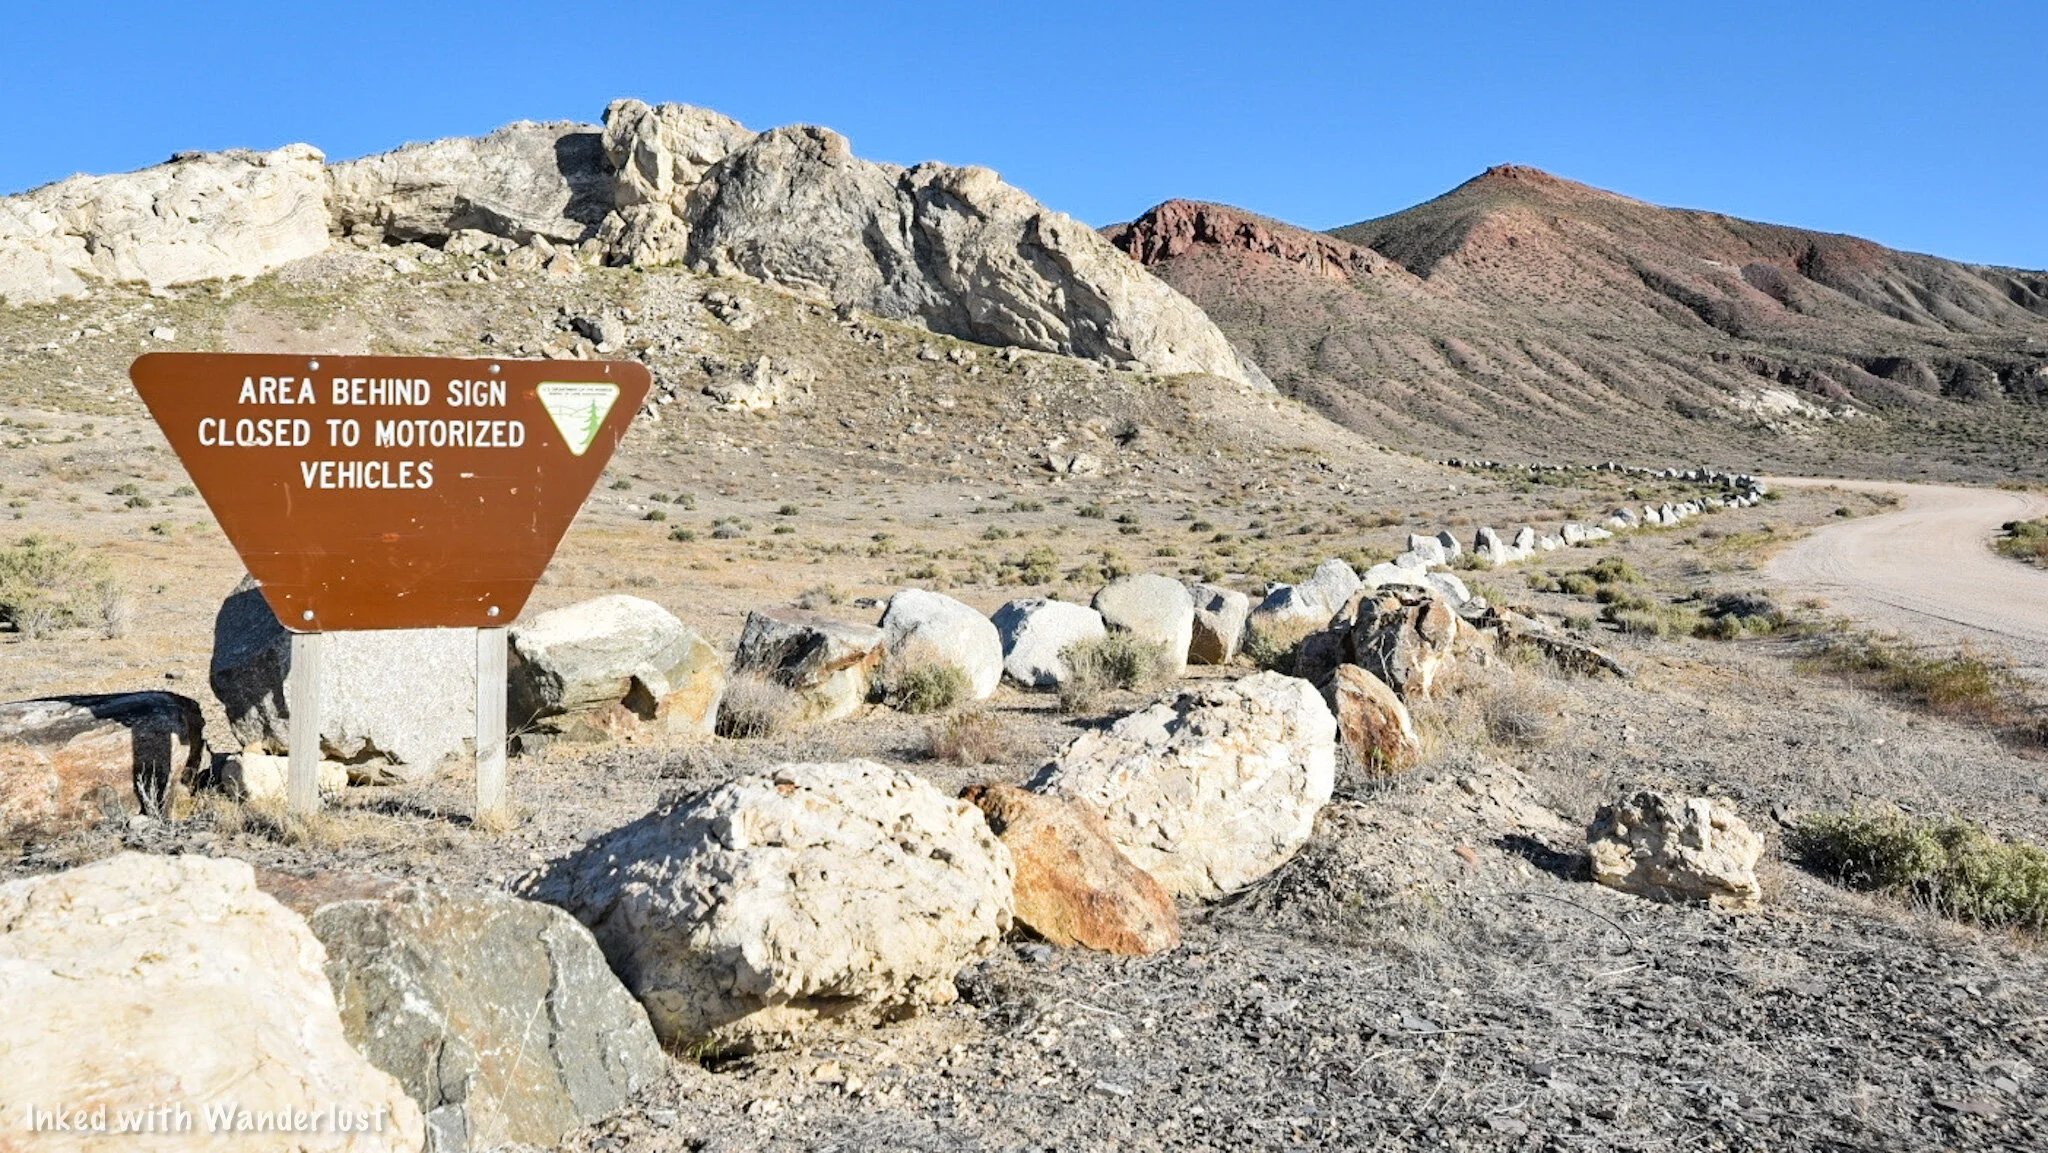

The road will start to go left and up towards the cave and soon, you’ll see the entrance sign and the parking lot ahead of you. The lot is a decent size that could easily accommodate a few dozen or so creatively parked vehicles. There is also a covered picnic table and one restroom. Fair warning, the restroom isn’t very well maintained (better than nothing, though).
The Nature Trail
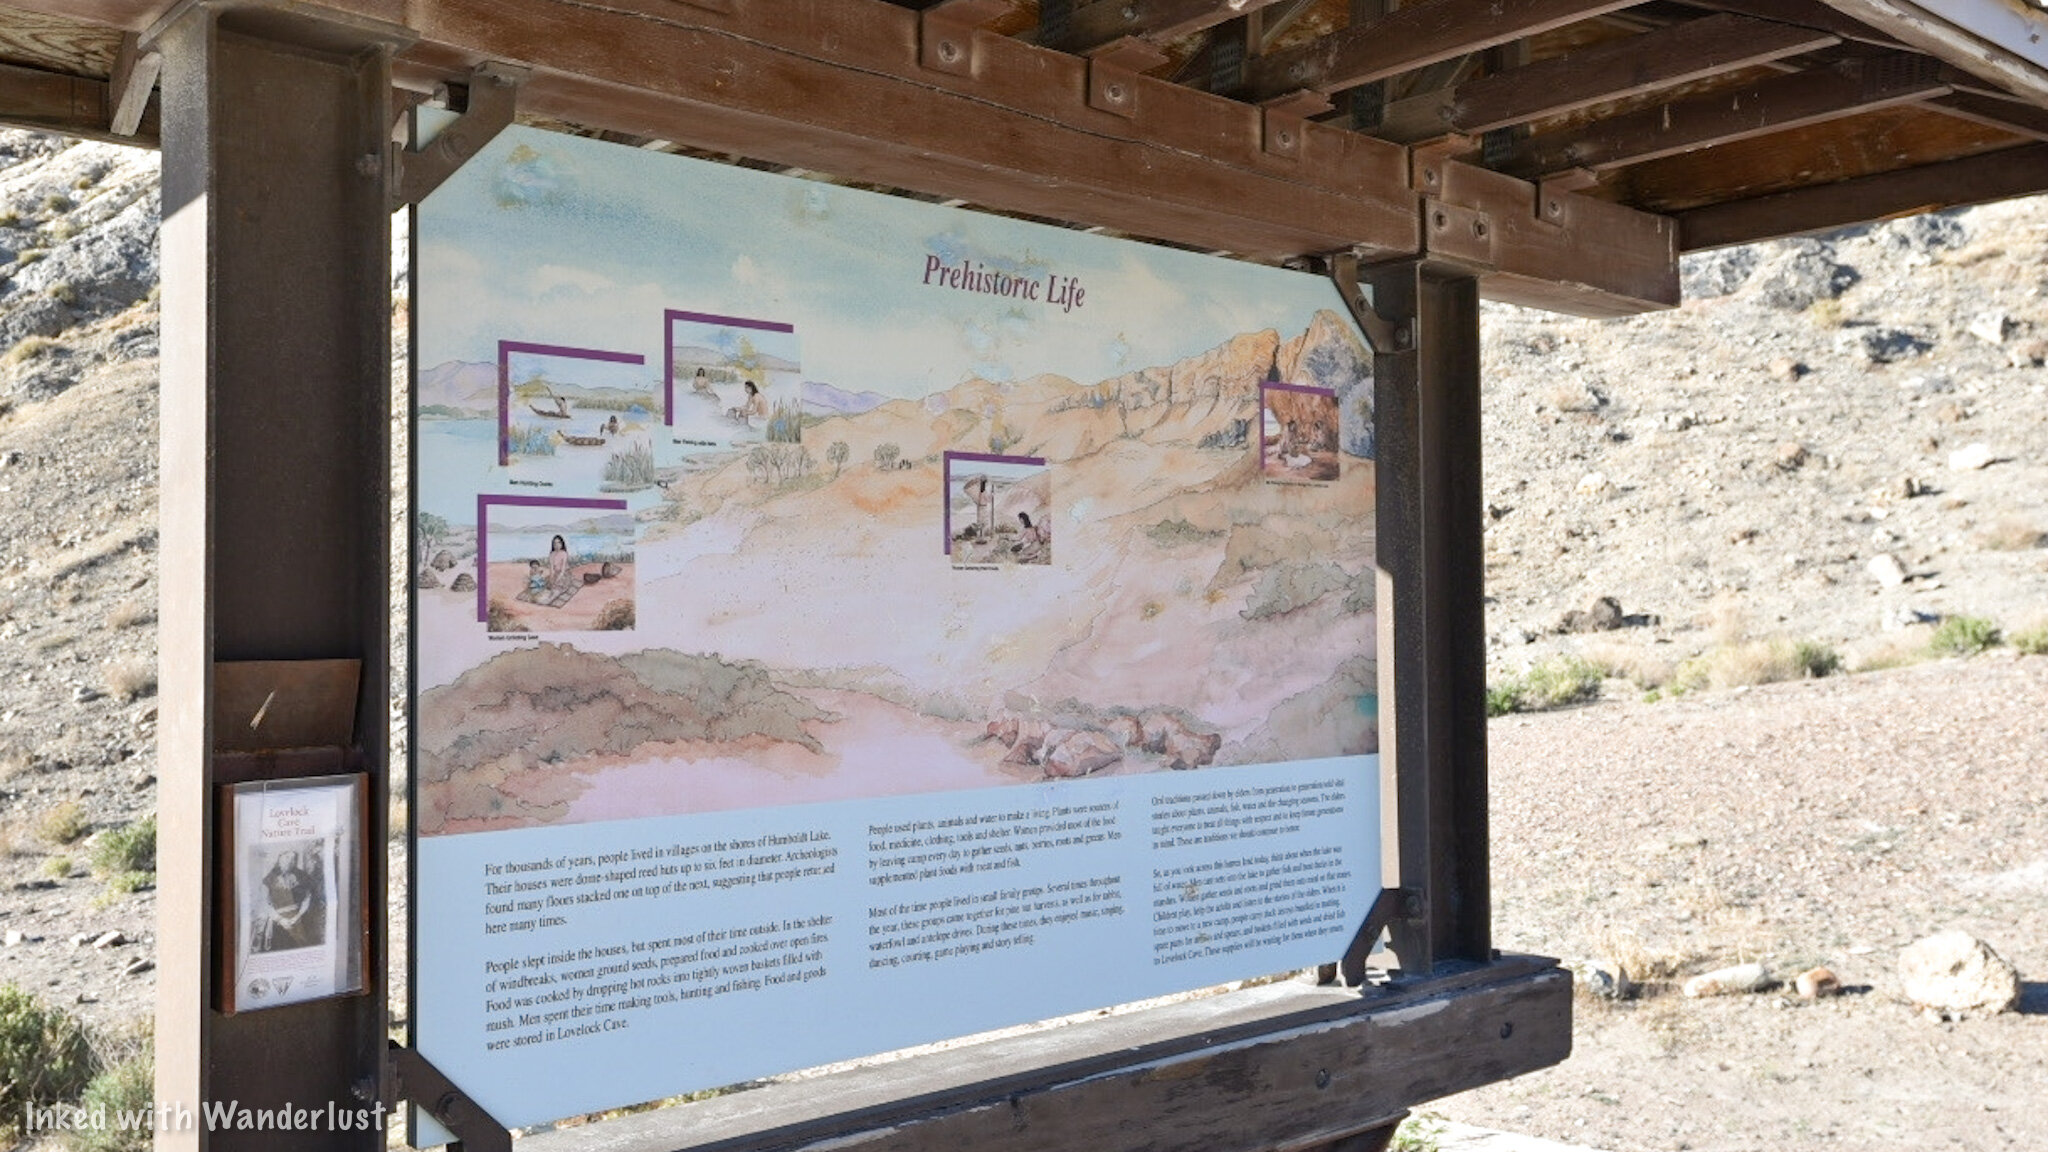
At the trailhead, you’ll find an informative board describing the history of the cave and the area as a whole. You’ll find the start of the trail just behind here. If you wanted to complete the trail proper (and you should) you’ll start by heading upwards. If you just want to get to the cave, head left.
The nature trail is short, coming in a just over half a mile for the whole loop. In the beginning there is a bit of an uphill climb but it’s on gentle switchbacks and doesn’t require a whole lot of effort. If you took a brochure along with you (at the trailhead), it’ll describe the mountains, plants, and other features as you go.

If you’re on the trail proper, it’ll take you up, over, and around the cave before dropping you off at the entrance. Just before this, you’ll come to another informative board with an expansive view of what was once ancient Lake Lahontan (now Humbolt Sink). The board details the plant, animal, and fish life that once called this area home.

From here, you’ll continue left on the trail until you reach the entrance to the cave. You’ll go down a little bit before working your way back up. This section of the trail does have sheer drop offs on your right, so be sure to watch your footing. Once you get to the entrance, you will see a few spur trails. There’s no right or wrong here. Just pick one and go up.
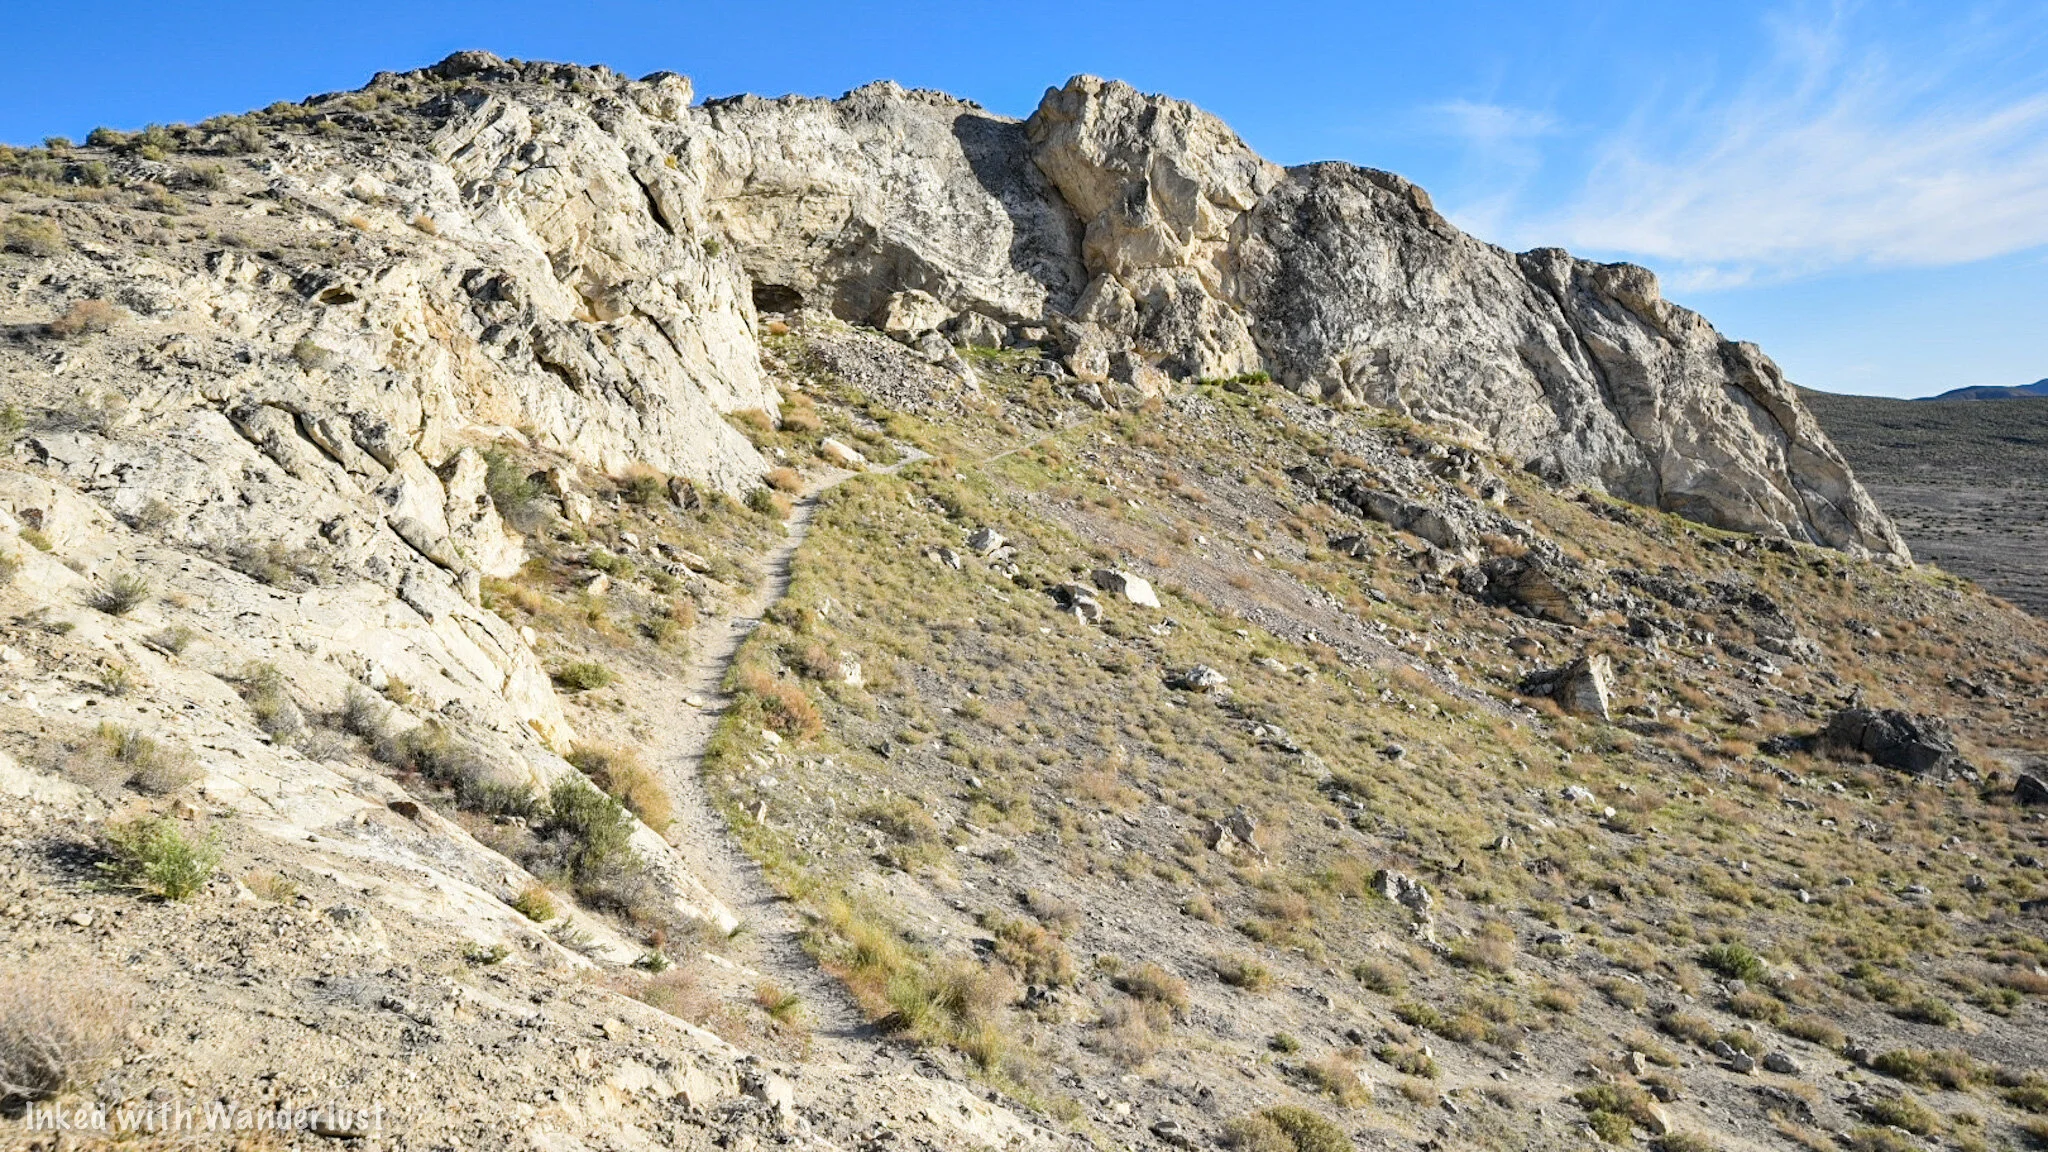

When you arrive at the entrance, you’ll see what we mean by how small it is. In fact, it used to be MUCH wider, but an earthquake caused a large rock to collapse into the mouth of the cave, leaving the tiny entrance we have today. You can still see how large it was by looking to the far right of the entrance.
Lovelock Cave

From here, simply head into the cave. Watch your footing as you descend as it’s a rocky and uneven surface. In front of you, you’ll see a wooden deck. This is where you can enjoy the cave from. This deck was installed around 10 years ago to help maintain the integrity of the cave. The BLM does ask that you stay on the deck as archeological digs do still occur here from time to time.
In the photo below, you will see a brightly lit photo of the viewing deck. I used my camera’s flash to attain this photo. It is NOT this bright inside. It isn’t pitch black or anything as you are able to see where you’re going, but it is much darker than what this photo shows.


All around you, you’ll see burn marks at both the entrance of the cave as well as nearly the entire interior. It is believed that this was due to fires being set by Native Americans for warmth, cooking food, etc. There’s also the legend of Natives setting fire to the entrance of the cave to “smoke out” cannibalistic giants that once lived in this area (more on that later).
There’s a lower portion of the deck to the right that takes you slightly further into the cave. It’s much darker on this side as it’s further from the entrance. Seeing a bat or two is a possibility. The brochure we had stated bats were rare in this cave these days but during our visit, we saw two flying around.

From either side of the deck, you can see the areas where both bat guano miners and archeologists dug through. Guano mining took place in the early 1900’s while archeology digs began later and still occur from time to time. Many historical items were discovered here including multiple bones, mummified remains (unconfirmed), weapons, tools, duck decoys (oldest known in the world), clothing, and other artifacts.
Per my research, a total of 10,000 human remains and cultural artifacts have been discovered in this small cave. Prior to the mining and digging, the floor of the cave was much higher than it is today, specifically the left side (which was where most of the digging took place).
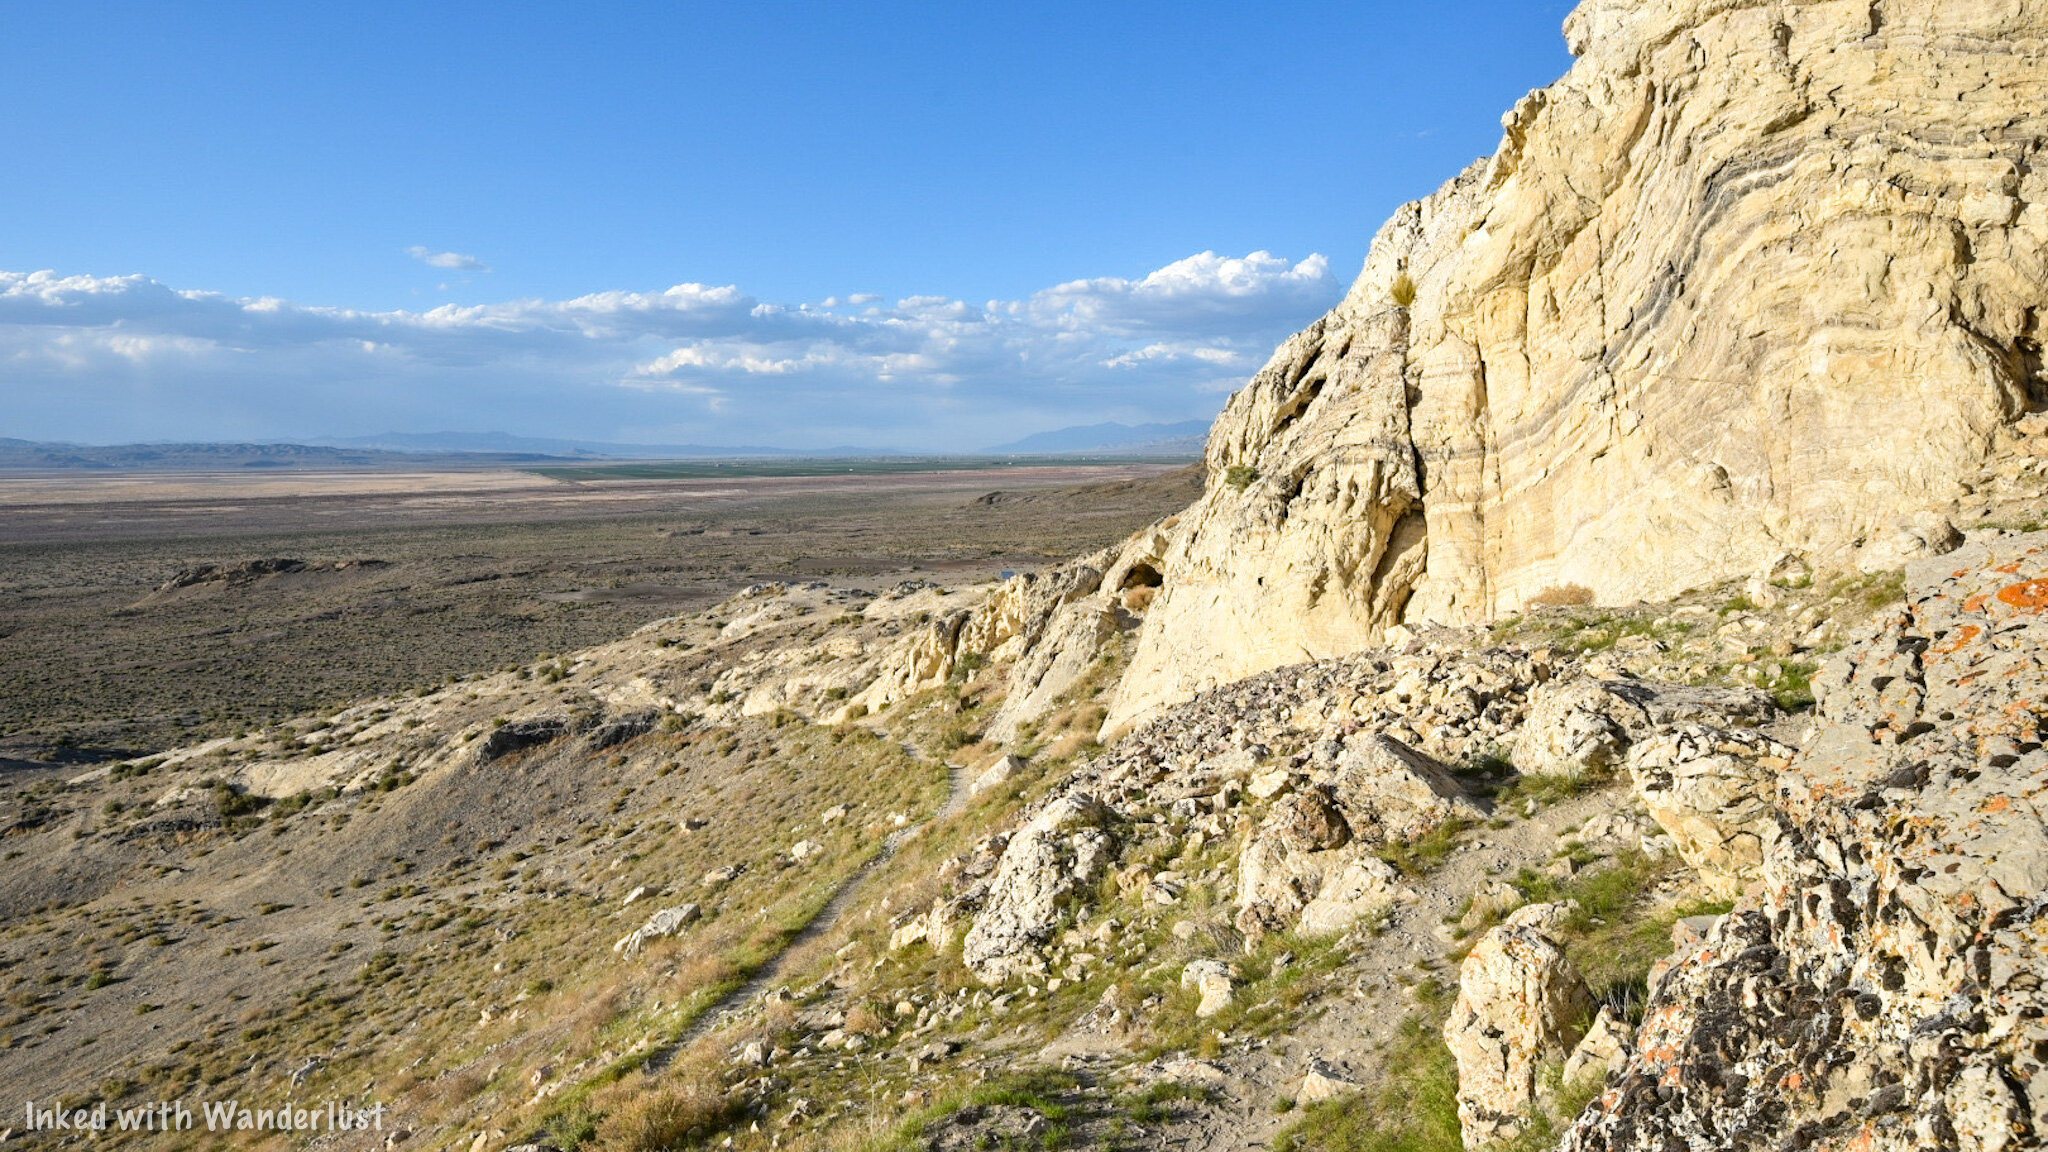
Once you’re done enjoying the cave, simply exit and head to the left back on the loop trail to complete your journey. On this section of the trail, you’ll get more expansive views of the Humbolt Sink and see up close the amazing limestone rock formations that make up the exterior. If you’re a rock nerd (like me) you’ll enjoy it.


From here, you just keep going straight until the trail spits you back out to the parking lot. You’re total milage on the trail will be around 6/10’s of a mile and with time exploring the interior of the cave, it shouldn’t take you more than an hour or two to complete.
Legend of the Giants
Now that we’ve gotten the “how to” part of this article out of the way, lets move on to some history. We have heard the legends and rumors surrounding what was and wasn’t found inside this cave. One of those legends pertains to the red-haired, cannibalistic giants that allegedly lived here while ancient Lake Lahontan was still present.
Native Paiutes described these giants (called, “Si-Te-Cah” and translates to, “tule eaters”) as upwards of 12-feet tall with reddish-brown hair all over their bodies and faces (think modern-day Bigfoot descriptions). They would sail across the sink to tribe villages, kidnap native women and children, and would take them back to this cave (and others) to be eaten.
Sick of their people being kidnapped and eaten (understandably), multiple tribes banded together with the purpose of killing these giants once and for all. So they chased them into the cave and after refusing to come out and fight, they set fire to the entrance of the cave. Some of the giants stayed inside, falling victim to burns and smoke inhalation. Others ran out and died after being hit with a hail of arrows.
It is said that many bones were discovered in the cave, some being split down the middle with the bone marrow extracted (which is probably something a giant cannibal would do). Furthermore, legend has it that mummified remains of these giants were found here. I was unable to find anything conclusive that confirmed the existence of these remains, so take it for what it’s worth.
The Duck Decoys
Among the confirmed artifacts unearthed here, the most known has to be the duck decoys. These decoys date back to between 400 B.C - 100 A.D. They’re made of bundled Tule (a desert plant which grows in marshy wetlands), are painted, and have actual Duck feathers still attached. In all, 11 were found with 8 being complete and 3 being unfinished.
These decoys have the distinction of being the oldest known in the world. They went undiscovered and untouched inside the cave for over 2,000 years. It’s truly amazing. Fittingly, they’re currently on display at the National Museum of the American Indian in Washington, D.C.











Conclusion
It is our hope that you found this article helpful in planning your travels. If you enjoyed it, please support our website by sharing this article with your friends and family on Pinterest, Facebook, or your favorite social media channel.
You can further show your support by staying on and reading one or more of the related articles above and by subscribing to our newsletter. Thank you and safe travels!
Take An Easy Hike To King’s Canyon Falls in Carson City
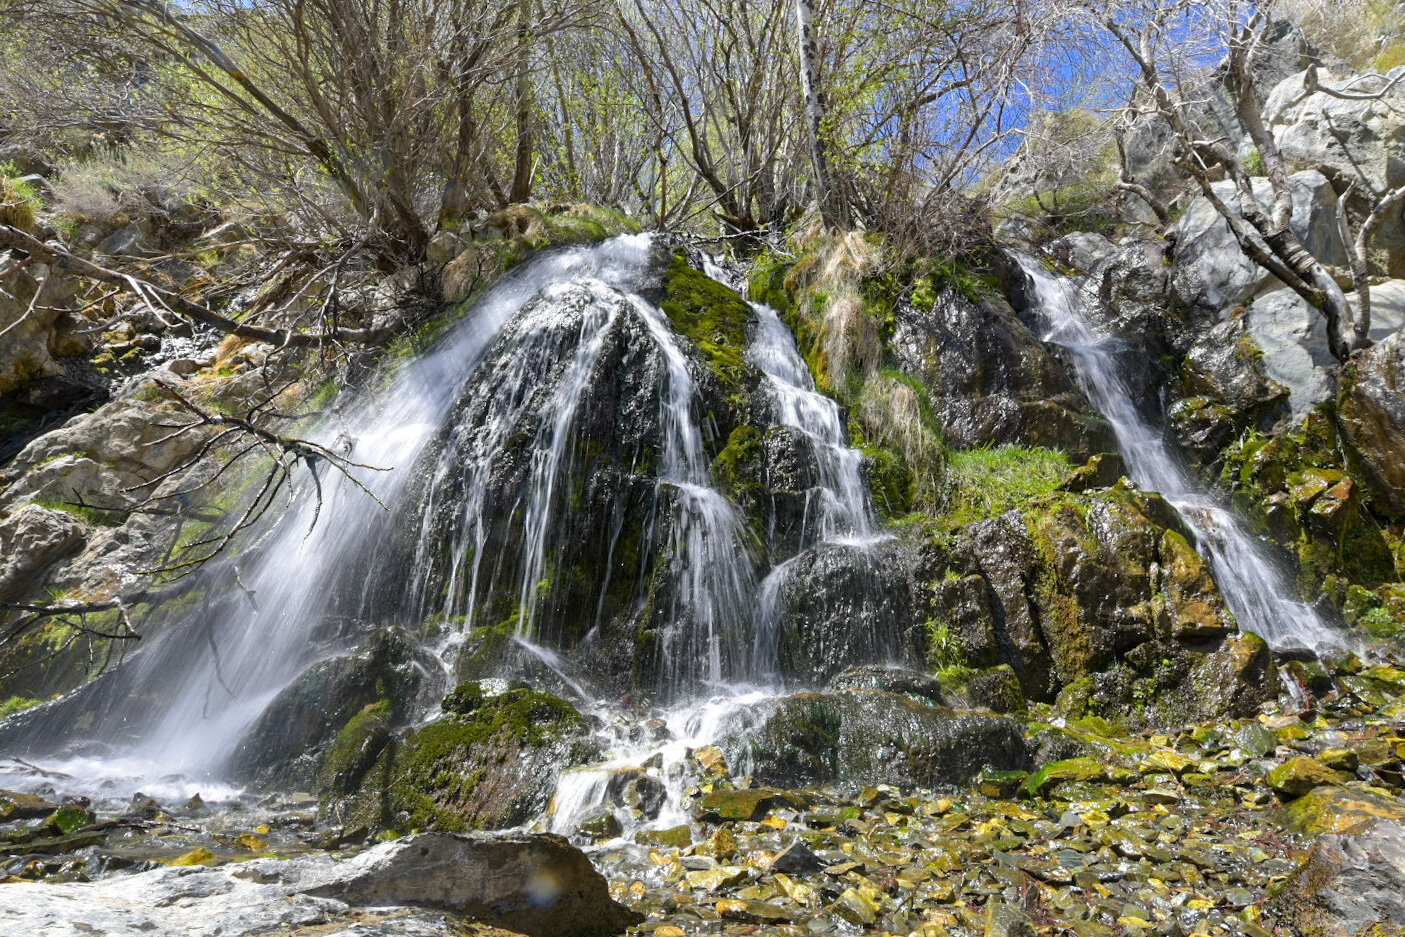
Located in Carson City at the end of King’s Canyon road, this 25-foot cascading waterfall offers families and solo hikers alike easy access to a natural oasis
Located in Carson City at the end of King’s Canyon road, this 25-foot cascading waterfall offers families and solo hikers alike easy access to an oasis away from the hustle and bustle of downtown.
We have been here numerous times and have almost always had the falls to ourselves at least part of the time. It is known mostly to locals, so your chances of not having to deal with hoards of tourists are decent.
If you’re planning a trip to Carson City or Reno, we highly recommend adding this place to your list of must-do activities. Below, you’ll find the information you’ll need for your visit.
The Trailhead

Kings Canyon Falls trailhead.
Getting to the trailhead from the downtown area is straightforward and simple. From the capital, you’ll do the following:
Turn onto East Musser street
Turn left onto N. Division street
Turn right onto W. King street
Continue on King’s Canyon road for about two miles
Keep left to stay on King’s Canyon road for about a third of a mile until you hit the dead end.
At the dead end, you’ll see a small dirt lot ahead of you with informative signage on both sides. This is the lot you’ll use. It can comfortably hold around 6-8 vehicles but if it’s full, you can simply park on the side of the road.

Kings Canyon Falls trailhead.
After you park, you’ll see a dirt road heading off to the left and a set of stairs leading up to some signage on your right. You’ll want to take the latter as that’s the most direct route to the falls.
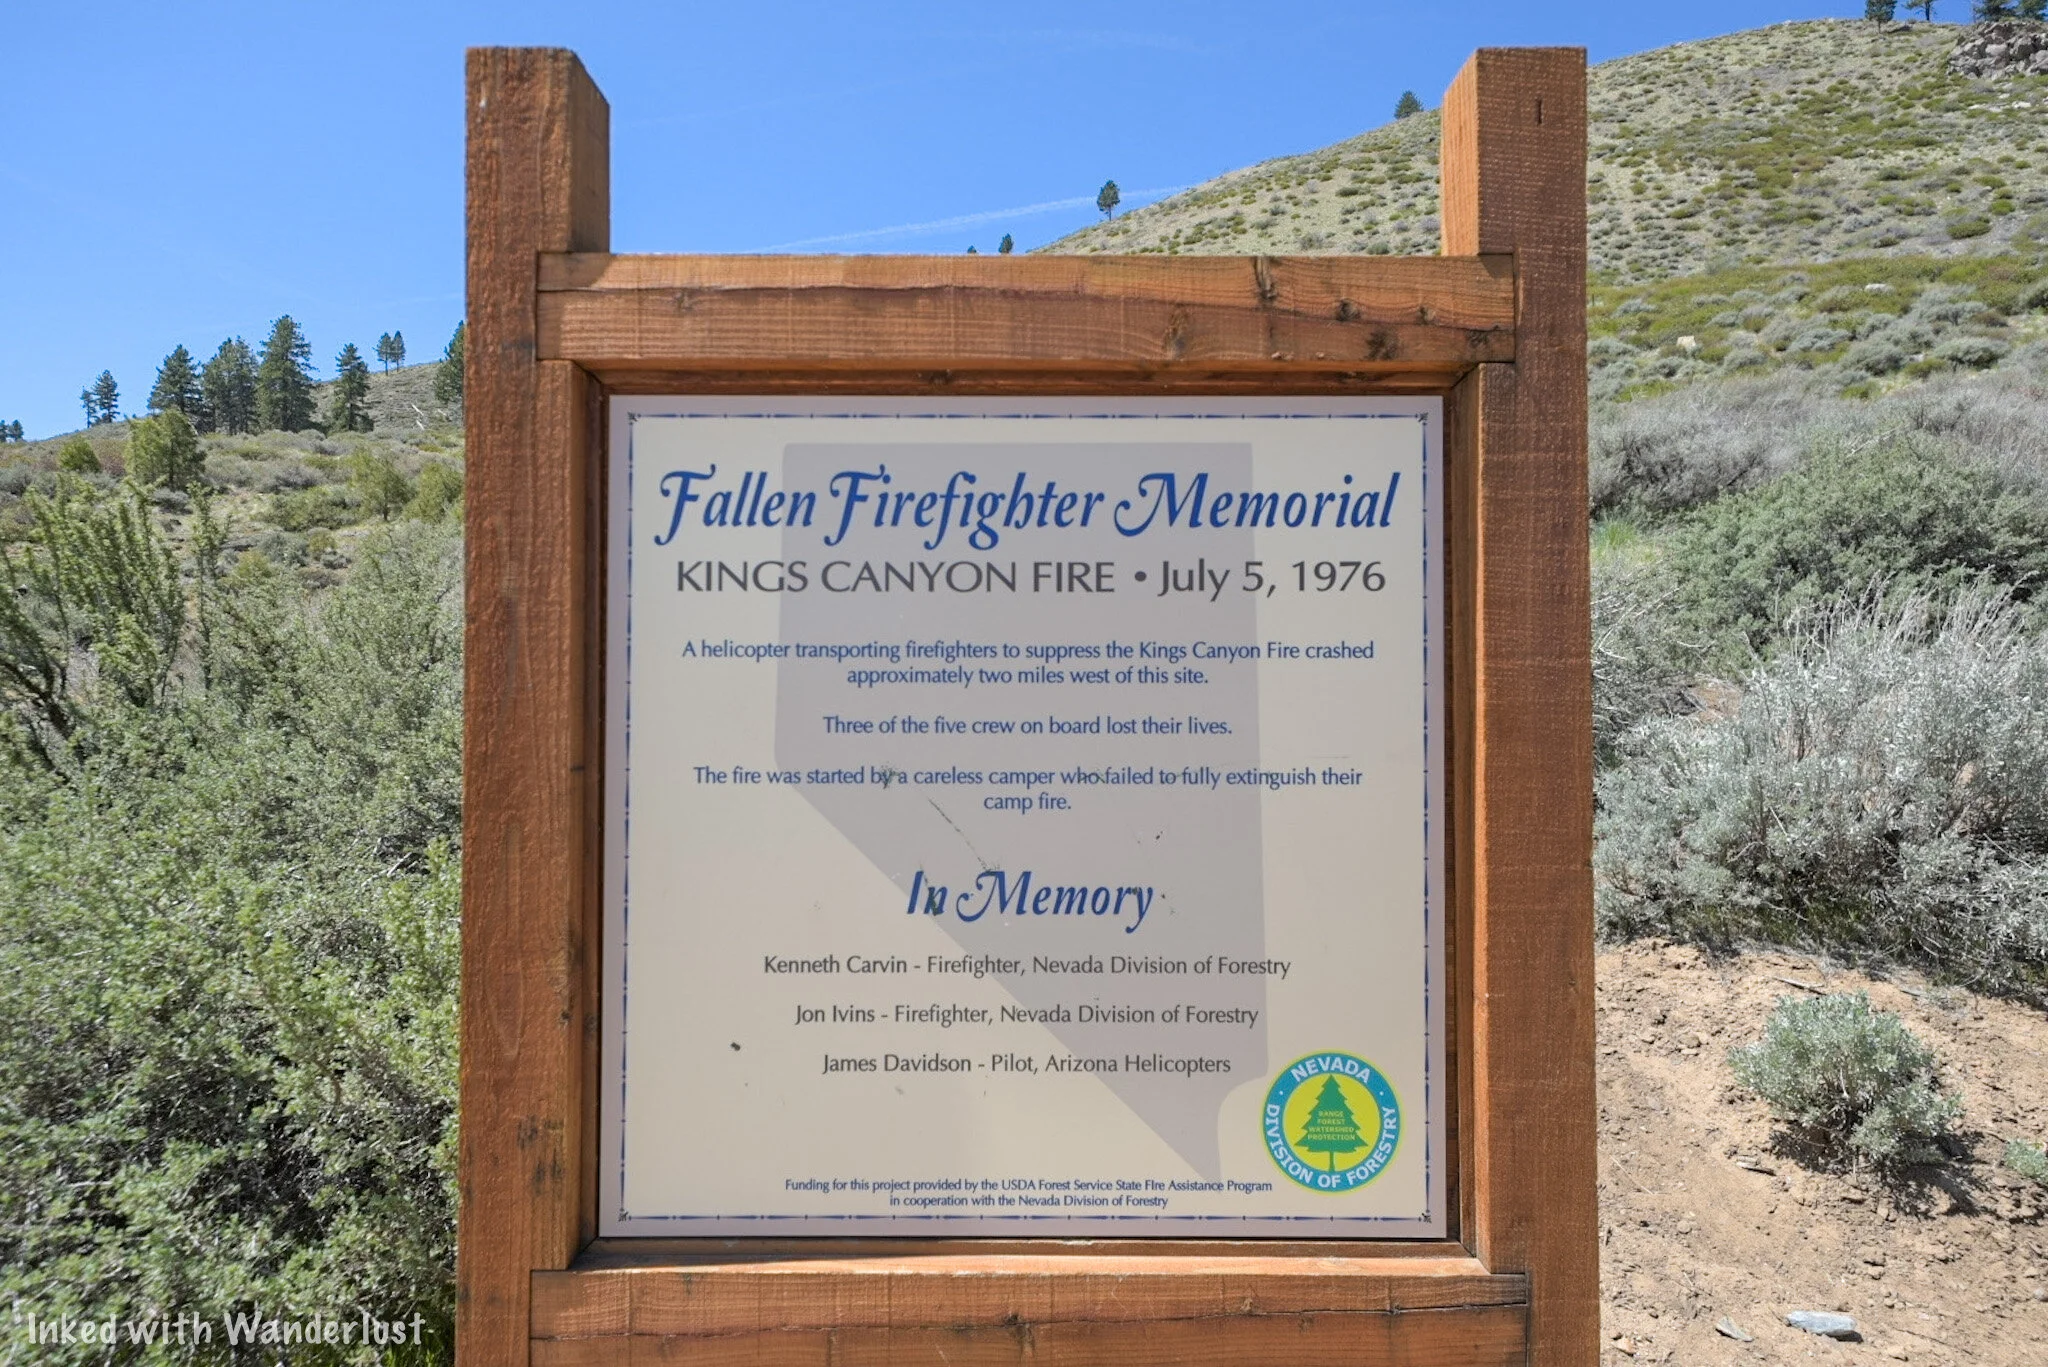
Firefighter memorial. Kings Canyon Falls.
You’ll also want to take note that this trail is for hikers only. Equestrians and biking are not permitted. If you’re looking for a trail that can accommodate one or both of those activities, check here.
Be sure to stop at the sign and read about the fire that took place in this area in 1976 and the resulting deaths of three Firefighters who bravely fought it. There’s a memorial plaque on the left of the trailhead listing the names of those of perished.
The Trail

As stated in the title, this would be considered an easy trail just based on length alone. From the trailhead to the falls, it’s just about a quarter mile over just two quick sets of switchbacks.
Don’t be fooled, though, because it is deceptively steep in some sections. It isn’t hard, but if you’re not in decent shape or you’re not used to the elevation, you’ll definitely feel it.

Trail to King’s Canyon Falls.

Kings Canyon Falls trail.
Along the trail you’ll see sporadic signs asking you to remain on the trail and not cut through. It may be tempting in some spots but please obey the signs and stay on the trail. There’s been a lot of effort in recent years to restore the area.

View of Carson Valley from the trail.
As you near the top of the trail you’ll be rewarded with sweeping views of Carson Valley below. This view is also an indication that you’re close to the falls and that the “hard” part of the trail is over with.
Also around this part of the trail is where you’ll see the junction (on your left) that leads to the 1.8-mile North Kings Loop. This trail goes over and around the falls, not to it. So you’ll want to continue straight on the trail.
The Falls

Kings Canyon Falls.

Kings Canyon Falls.
As you turn the corner into the canyon, you will run right into the falls. In fact, like most waterfalls, you’ll hear it before you see it. As you arrive, you’ll notice boulders off to the left that make for the perfect spot to get off your feet.
The falls flow year round, but spring time is when it’s at its best while getting reduced greatly in the fall. Winter is the one season we haven’t been up here but from what I hear, there is water flowing and the trail, while snow covered and icy in some spots, is still accessible.
READ ALSO: Your Complete Guide To Visiting Burney Falls

Kings Canyon Falls.

Kings Canyon Falls.
If you’re here during a particularly heavy flow, the pool at the base of the falls will be around ankle deep, at best. Prior visitors have set up rocks to step on to get across to the other side so you can avoid stepping into the water.
If you’re feeling particularly adventurous, there are boulders off to the right of the falls that you could use to scramble up to the top. From what I hear, there are small cascades you could check out up there. We have yet to do this so I can’t vouch for it, unfortunately.

Kings Canyon Falls.

Kings Canyon Falls.
Take as long as you like to hang out. People will come and go but if you’re patient, chances are good you’ll have it to yourself at some point. When you’re ready, simply turn around and head back in the same direction you came.
On the way back, you’ll again be presented with the opportunity to extend your hike via the North Kings Loop. This will add 1.8 miles to the overall hike. This is something I plan to do on my next visit so I’ll be sure to update this post when that happens.
Conclusion
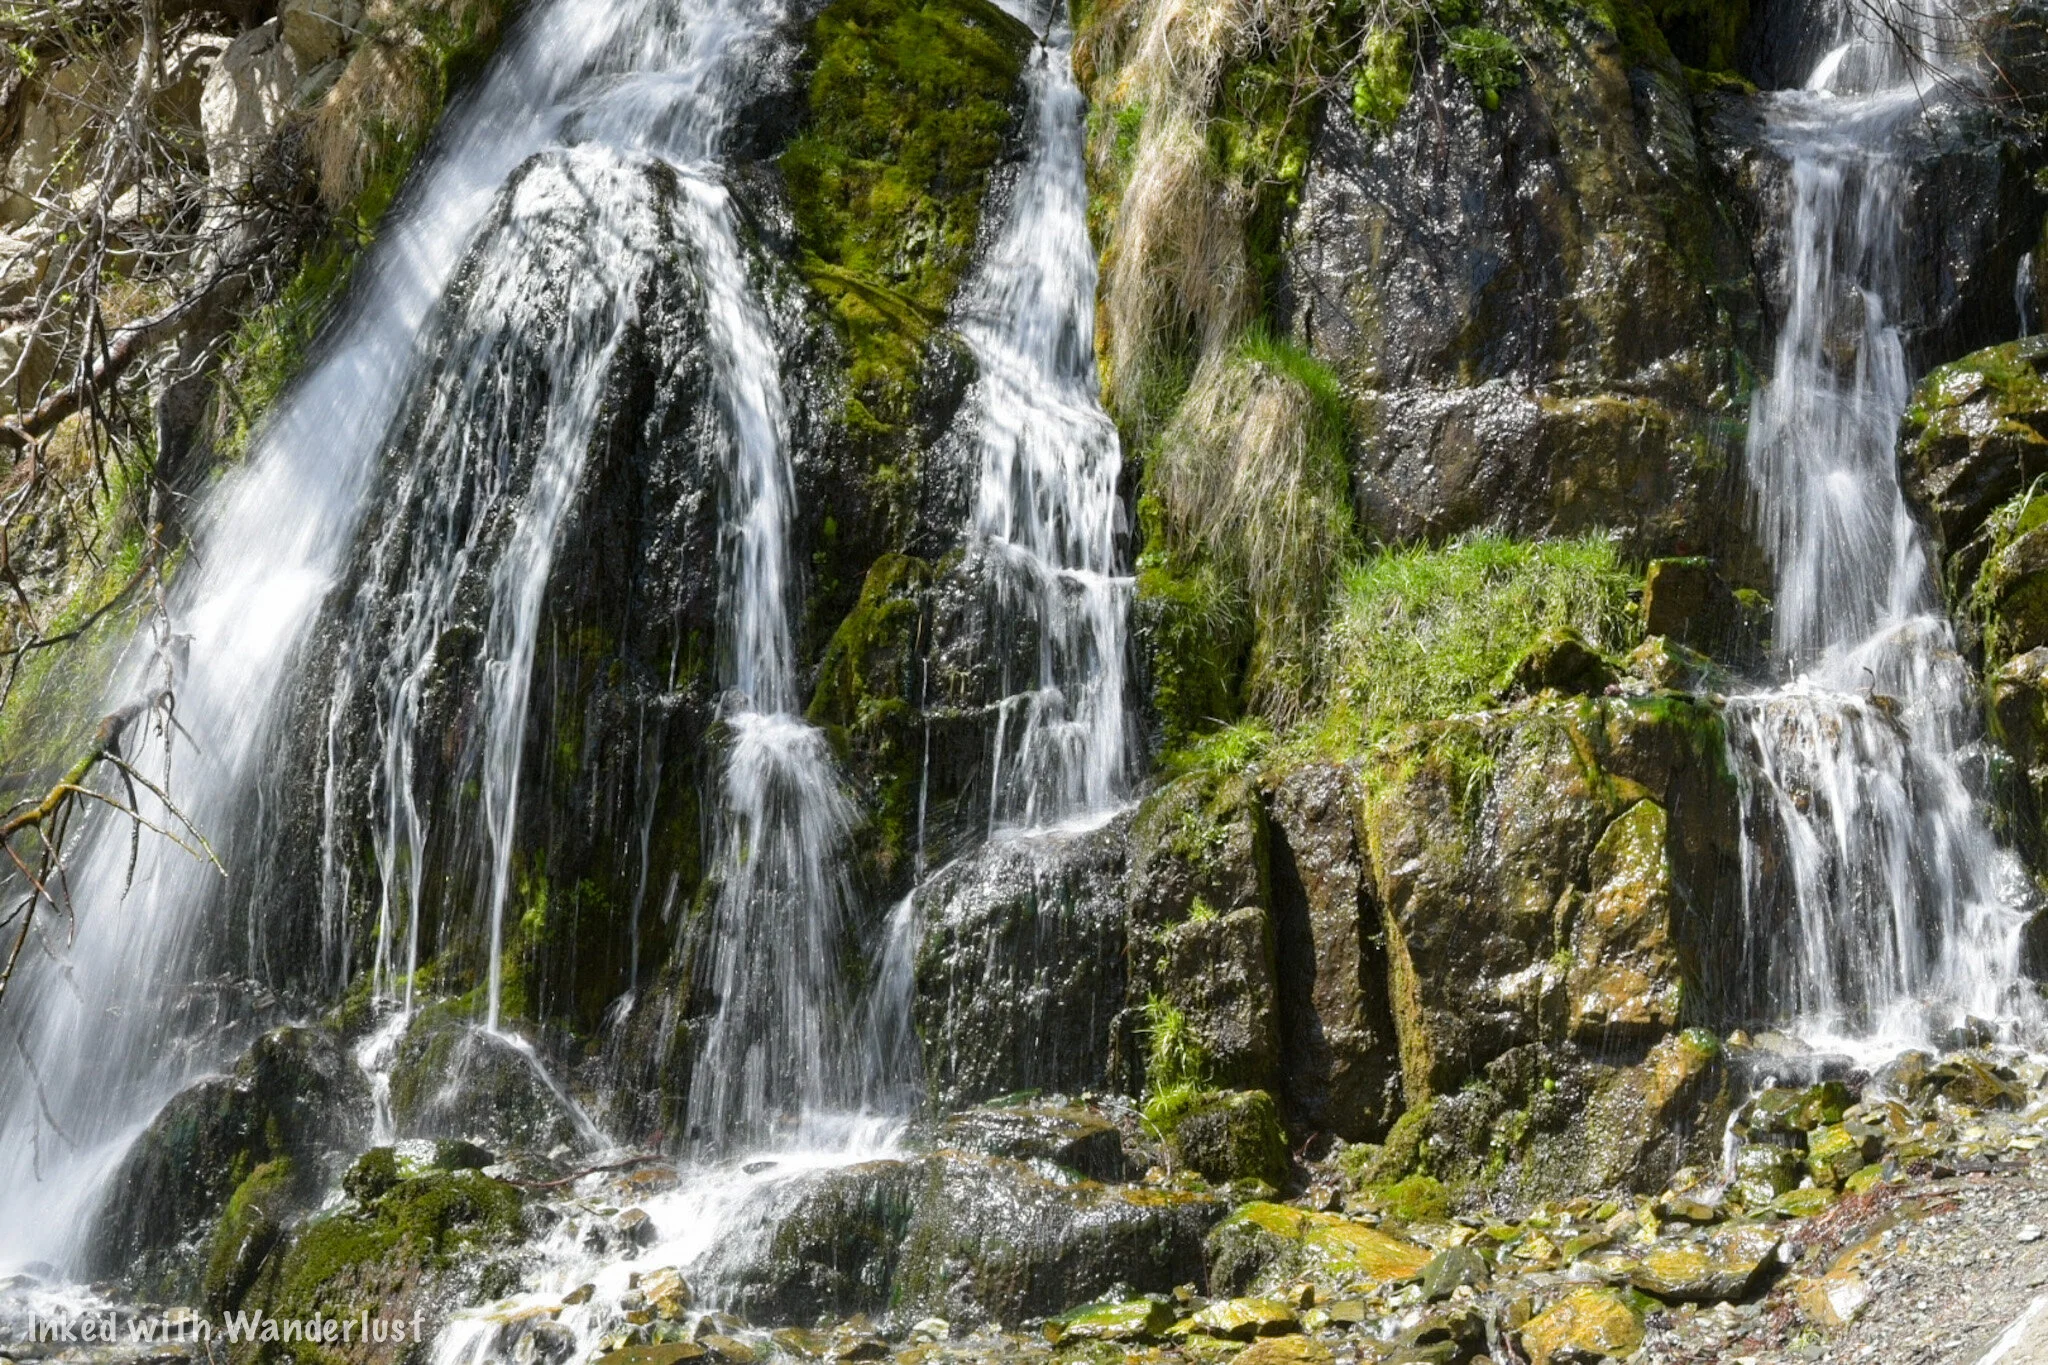
Kings Canyon Falls.
We hope you’ve found this article useful for planning out your adventures. If you enjoyed it, please support us by sharing this article with your friends and family on Facebook, Pinterest, or your favorite social media site.
You can further show your support by staying on and reading one or more of the related article above. You can also subscribe to our newsletter below. Thanks!
Safe travels.
How to Visit Berlin - Ichthyosaur Historic State Park
If you love ghost towns and dinosaurs then you need to head out to this little known town in Nevada’s expansive catalogue of State Parks. Berlin-Icthyosaur (say that 10 times fast) is located
If you love ghost towns and dinosaurs then you need to head out to this little known town in Nevada’s expansive catalogue of State Parks. Berlin-Icthyosaur (say that 10 times fast) is located just outside the (very) small town of Gabbs, NV. It has been dubbed as the, “Bodie”, of Nevada and not only contains remnants of an old mining town (Berlin), but it’s also the site of some of the largest Ichthyosaur fossils ever discovered.
Berlin can be a difficult park to find as it is tucked away deep into the Shoshone Mountain Range and doesn’t receive a lot of publicity as some of the other state parks, but it is more than worthy of your efforts to get out and explore it. So read on and discover how you too can visit Berlin-Ichthyosaur State Park.
How to Get There
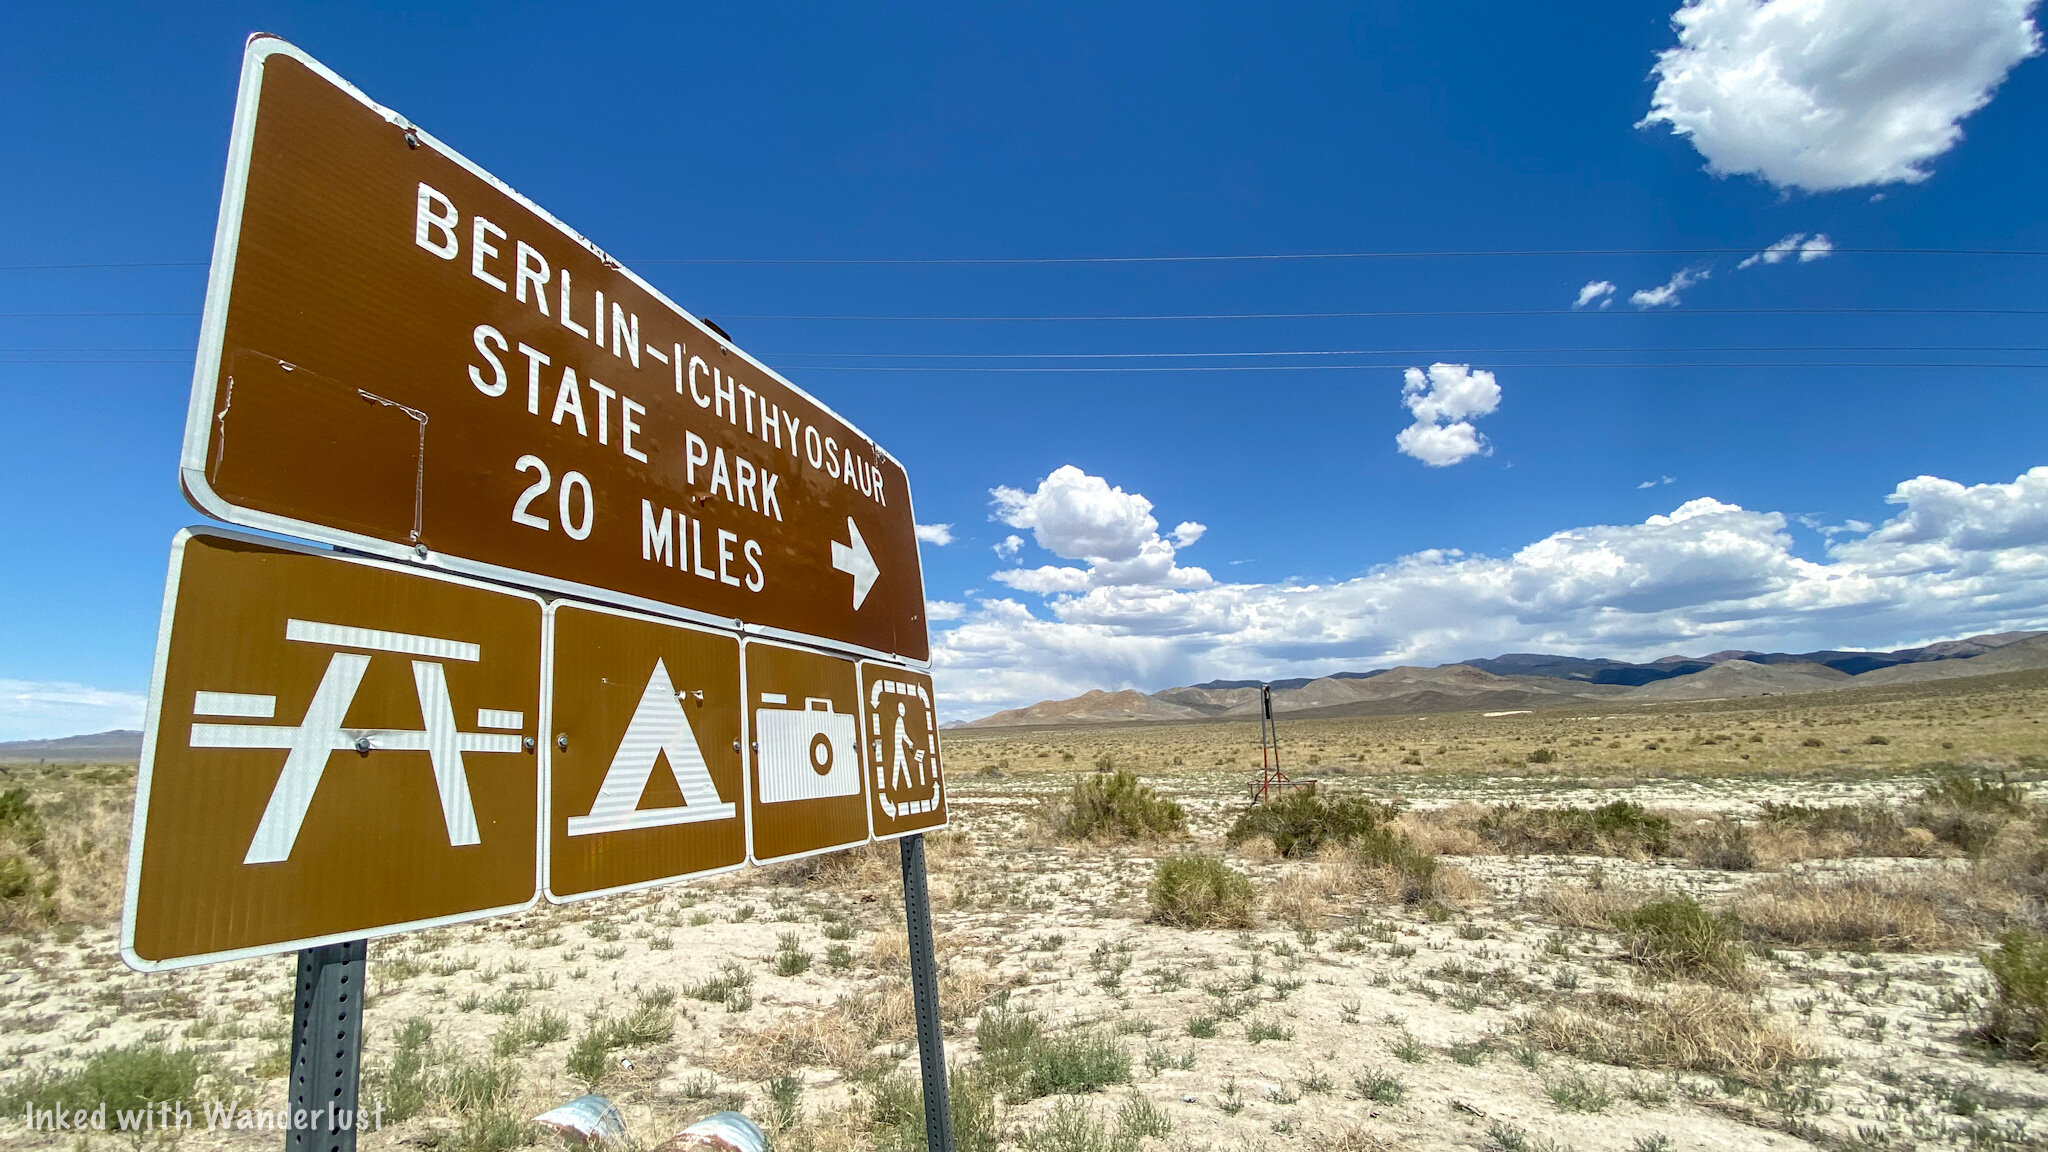
Berlin-Ichthyosaur State Park sign.
As stated above, Berlin is a bit out of the way and takes some effort to get to from either direction. It is located in Nye County and the nearest anything to it is the small, unincorporated town of Gabbs (population 155 as of this writing). If you’re coming from:
Reno: Take I-80 east towards Fernley. You’ll then take U.S 50 east for about 70 miles before turning right onto highway 361 and follow that for about 35 miles before finally arriving in Gabbs. From this direction, you’ll take a left on NV-844 east for 16 miles. This road will take you directly to Berlin.
Las Vegas: Make your way to U.S 95 north and follow that for roughly 215 miles. You’ll then veer right onto Route 89 to Gabbs and once there, you’ll follow the same directions above. The only difference is you’ll turn right on NV-844 to the park.
Salt Lake City: You’ll get onto I-80 west and follow that for 300 miles. You’ll then take the exit for NV-305 south heading for the town of Austin. Once in Austin, you’ll briefly turn left on the Lincoln Highway before exiting to NV-722 (you’ll pass the Austin airport). Then, turn left on NV-21 before turning right onto Forrest Developed Road 024 (this will be the back way into Berlin).

Berlin-Ichthyosaur State Park entrance.
As you can see, no matter which direction you are coming from, it’s going to be an adventure just getting to Berlin. So whichever way you’re coming from, be sure to stop at one of the bigger towns and fuel up before arriving in Gabbs or Berlin as there are no services in either. It also wouldn’t hurt to make sure your tires are properly inflated and all your fluids are good.
With the exception of the final few miles and coming in through the back way, all roads leading to Berlin are paved and well maintained. The last stretch is on a maintained gravel road. My Chevrolet Cruze made it up there perfectly fine. Potholes and dips were minimal. Keep in mind that if you’re using GPS, it may or may not have you go right at the split. Don’t. Keep to the left road and that will take you straight to the main entrance.
The Fossil House

The Fossil House.
It’s totally up to you on where you want to start. Once you’ve paid your entry fee, you’re free to enjoy the park at your leisure. However, we visited during the covid-19 crisis and one of the ways they were trying to prevent the spread at this particular location was to close the Fossil House. Thankfully, we were one of only two cars that came through this day so the Ranger was kind enough to open it up for us to check out. So we started our day here.
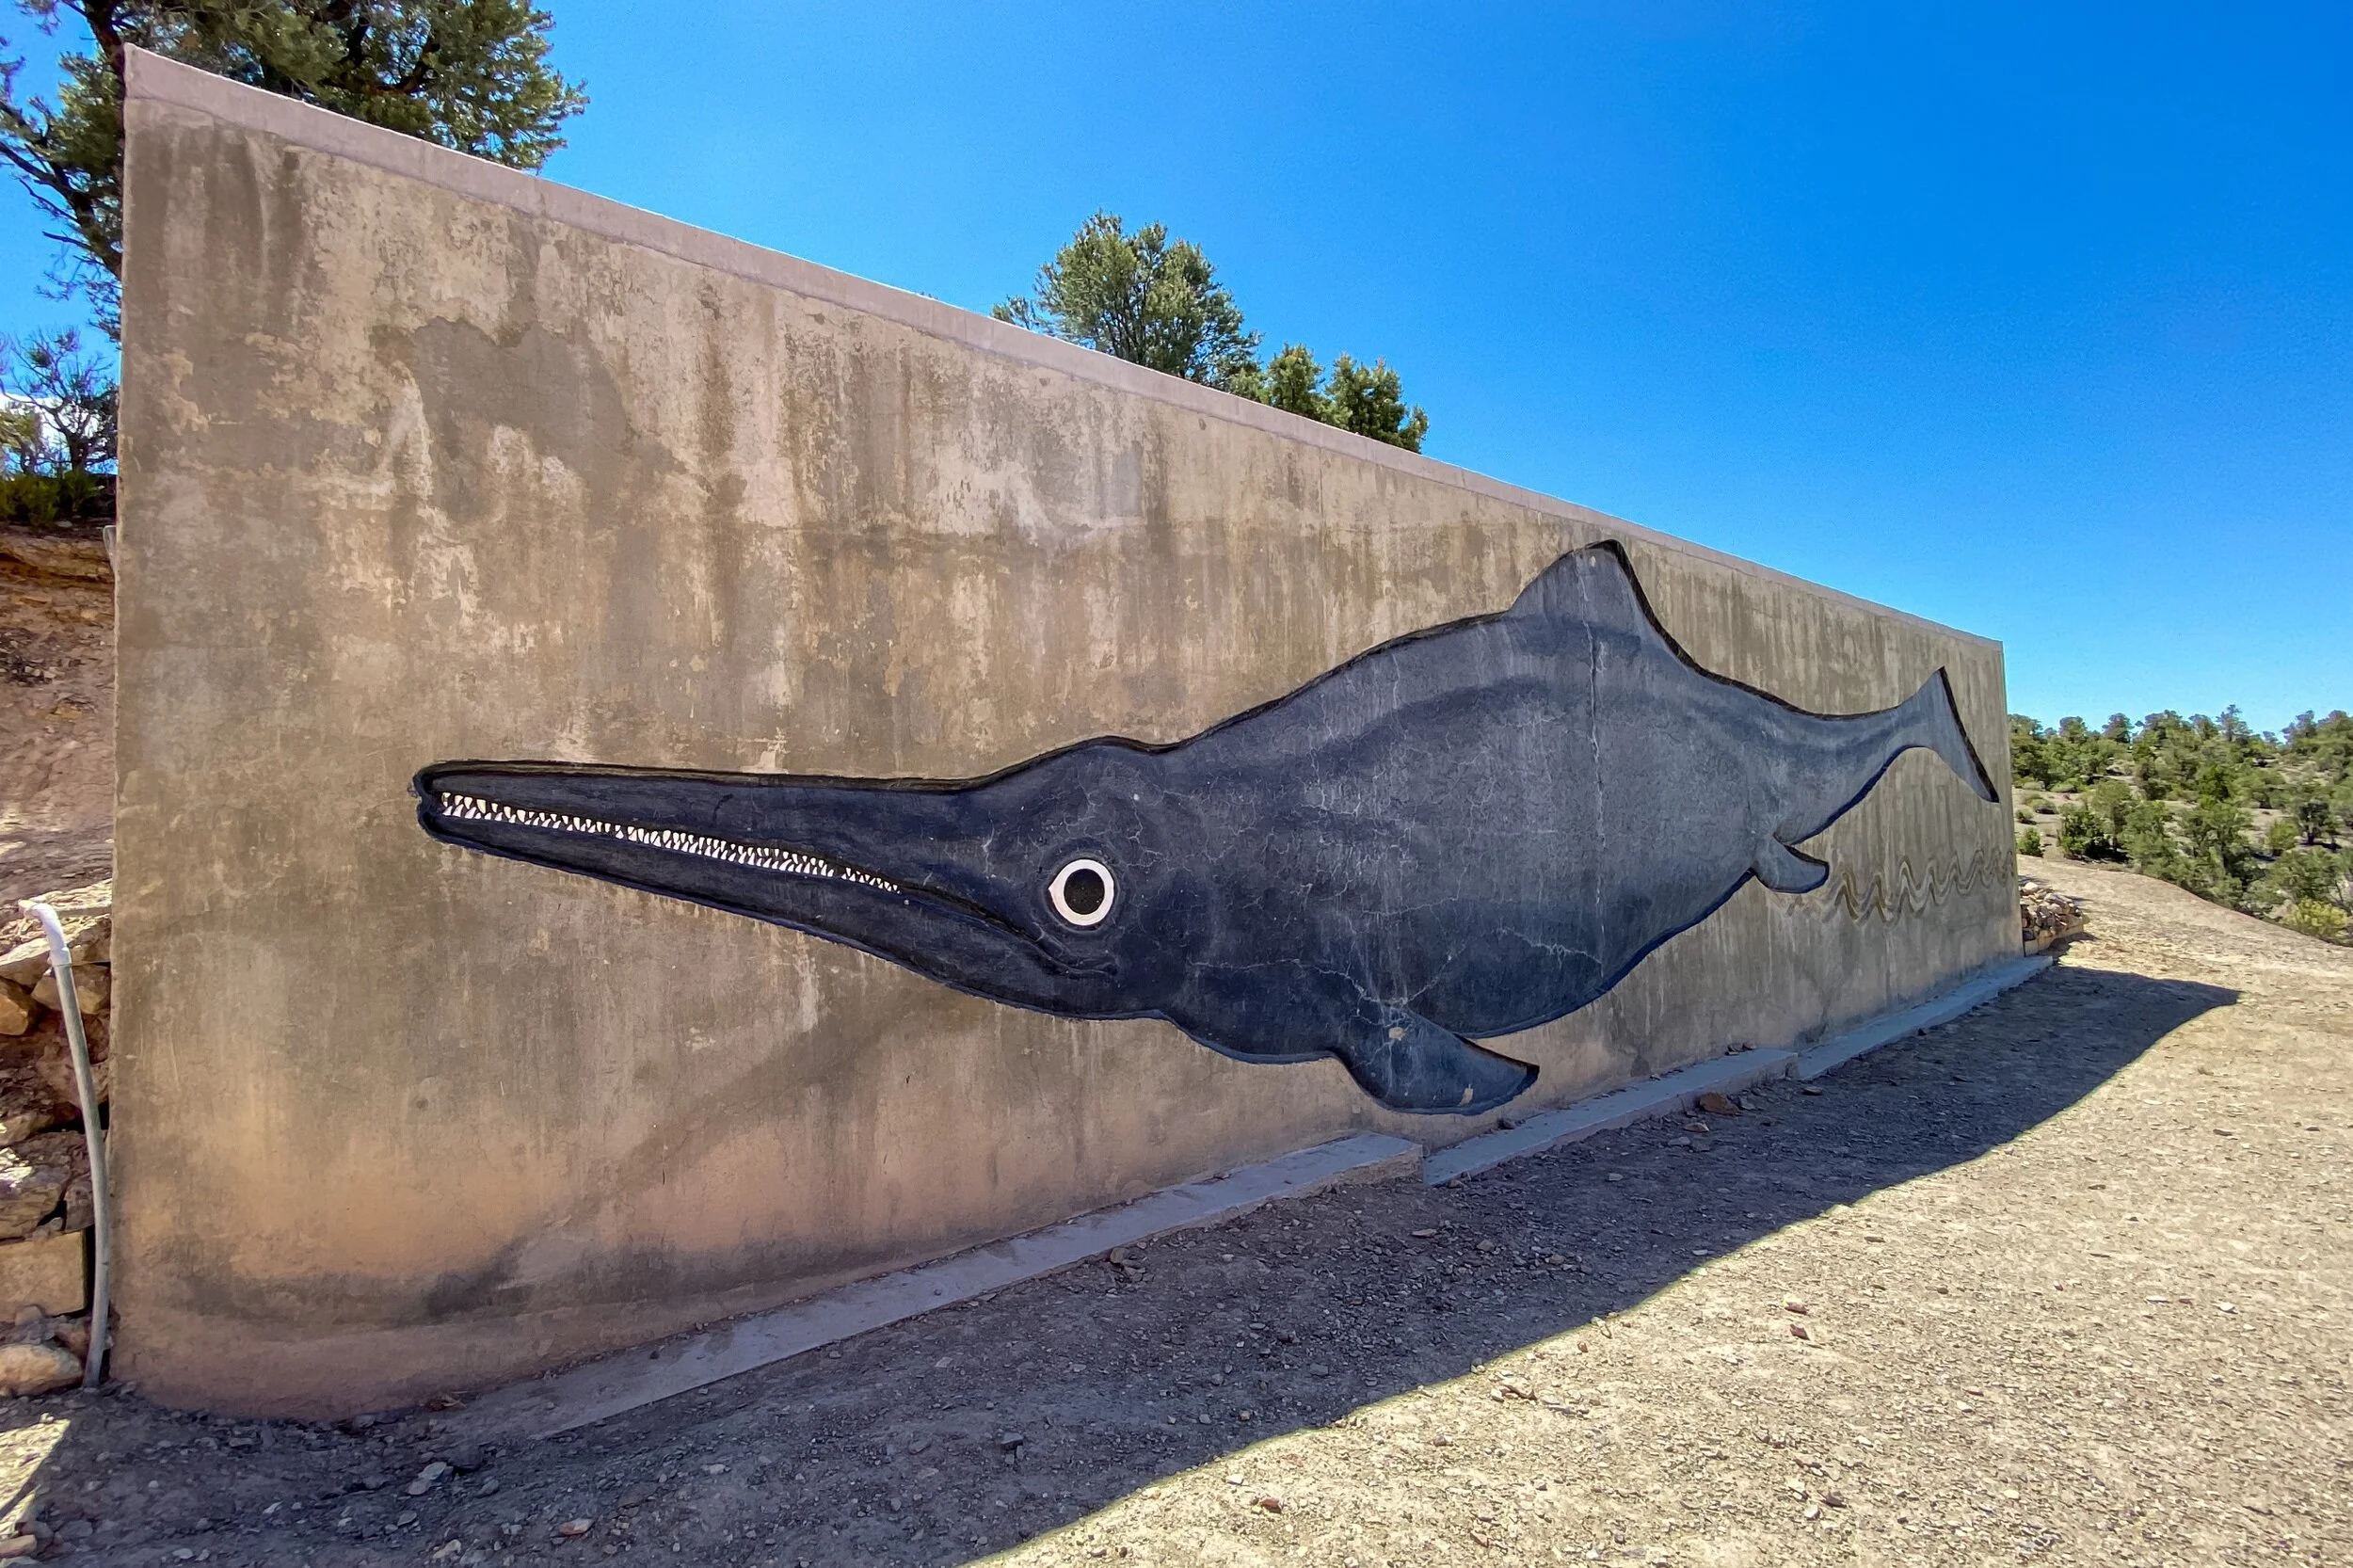
To get to the Fossil House, simply stick to the main road. You’ll eventually pass by the campground and will see a narrow road on your right with a sign pointing the way. Take this road. Be warned, this road is VERY narrow and there isn’t a whole lot of room for two vehicles to pass each other. At the top of the hill, you’ll come to the road’s terminus at the parking lot for the Fossil House. You’ll see a giant mural of an Ichthyosaur to the right of the lot to make it fairly obvious that you’re in the right spot. This mural represents the actual size of the largest, intact fossil inside the house.

Mural of an actual sized Ichthyosaur.
As you can see from the above photo, Ichthyosaurs were known to get huge. Some coming in at over fifty feet in length. The fossils found at this location were discovered in 1928 with excavations beginning in 1954 and running through the 1960’s. After it was all said and done, there were 40 near-complete Ichthyosaurs found at various locations throughout the park.
Tours of the Fossil House are 40 minutes in length and offered during the following times:
Daily, Memorial Day through Labor Day at 10am and 2pm with an additional noon tour offered on Saturdays and Sundays.
From March to Memorial Day and Labor Day to late November, there is no noon tour.
FOR THE REMAINDER OF 2020 AND UNTIL FURTHER NOTICE, TOURS OF THE FOSSIL HOUSE ARE CANCELED! I will update this once official information from park officials are provided. There are viewing windows at the Fossil House that you are free to use.
There is a fee to take this tour. It is $5.00 per person while kids 12 and under are free.

The excavation site inside the fossil house at Berlin State Park.
Inside the Fossil House, there’s a small loop trail and takes you around the excavation site with actual fossils in the middle of it. There are numbered, white markers next to certain sections of the fossil that explain which part of the Ichthyosaur you’re looking at. At first, it won’t make any sense but eventually you’ll see it and that “ah hah” moment will hit you.
I’m grateful to the Ranger that opened the house and allowed us to explore it at our leisure. Normally, as stated above, this is part of a tour. The Ranger gave us the booklet he uses during the tour that matches up to the markers on the fossils and explains everything. Once we were done, we chatted with him a bit and then left to explore Berlin proper.
To the Ranger that did this for us; If you’re reading this, thank you so much.
Berlin: A True Nevada Ghost Town

Berlin-Ichthyosaur State Park.
Once we got our fill of Ichthyosaurs, it was now time to explore the ghost town portion of the park. We drove back down to the town proper and found a small parking space near the visitor center and flag pole. In case you’re here during a particularly busy day, just know that parking can be a little scarce here. You may have to get creative.
Berlin was a true, turn-of-the-century mining town. The height of its peak ran from 1898 to its death in 1911. However, mining activity began in the area as early as 1863 when silver was discovered in Union Canyon resulting in the formation of the Union Mining District and included the towns of Berlin, Grantsville, Ione, and of course, Union. A few years later in 1896, the Berlin Mine was established.
By the time mining concluded in 1911, the estimated total production of Berlin was $849,000 with a price of $20 per ounce of gold. Around 250 people including Miners, Wood-Cutters, Charcoal Makers, a Doctor, Nurse, Forest Ranger, and Prostitute made up the town. The cool thing about this abandoned town is that not some, but MOST of the original buildings are still standing and there are even some original residents still buried in the town cemetery.
Here are a few of the highlights you’re able to check out on this self-guided tour:

The Machine Shop
This was what we know now to be a Maintenance Shop. Here, Blacksmiths and Mechanics worked to keep the machinery of the mine in working order.
Every so often, a passer-by would have his vehicle towed here to be worked on after breaking down.

The Assay Office
Here, samples of rock, ore, and concentrates from the mill would be sent for processing (assayed) to determine the values they contained.
The furnace used charcoal because it was the only clean burning fuel available locally. The night watchmen would use this office to keep warm and eat their meals.
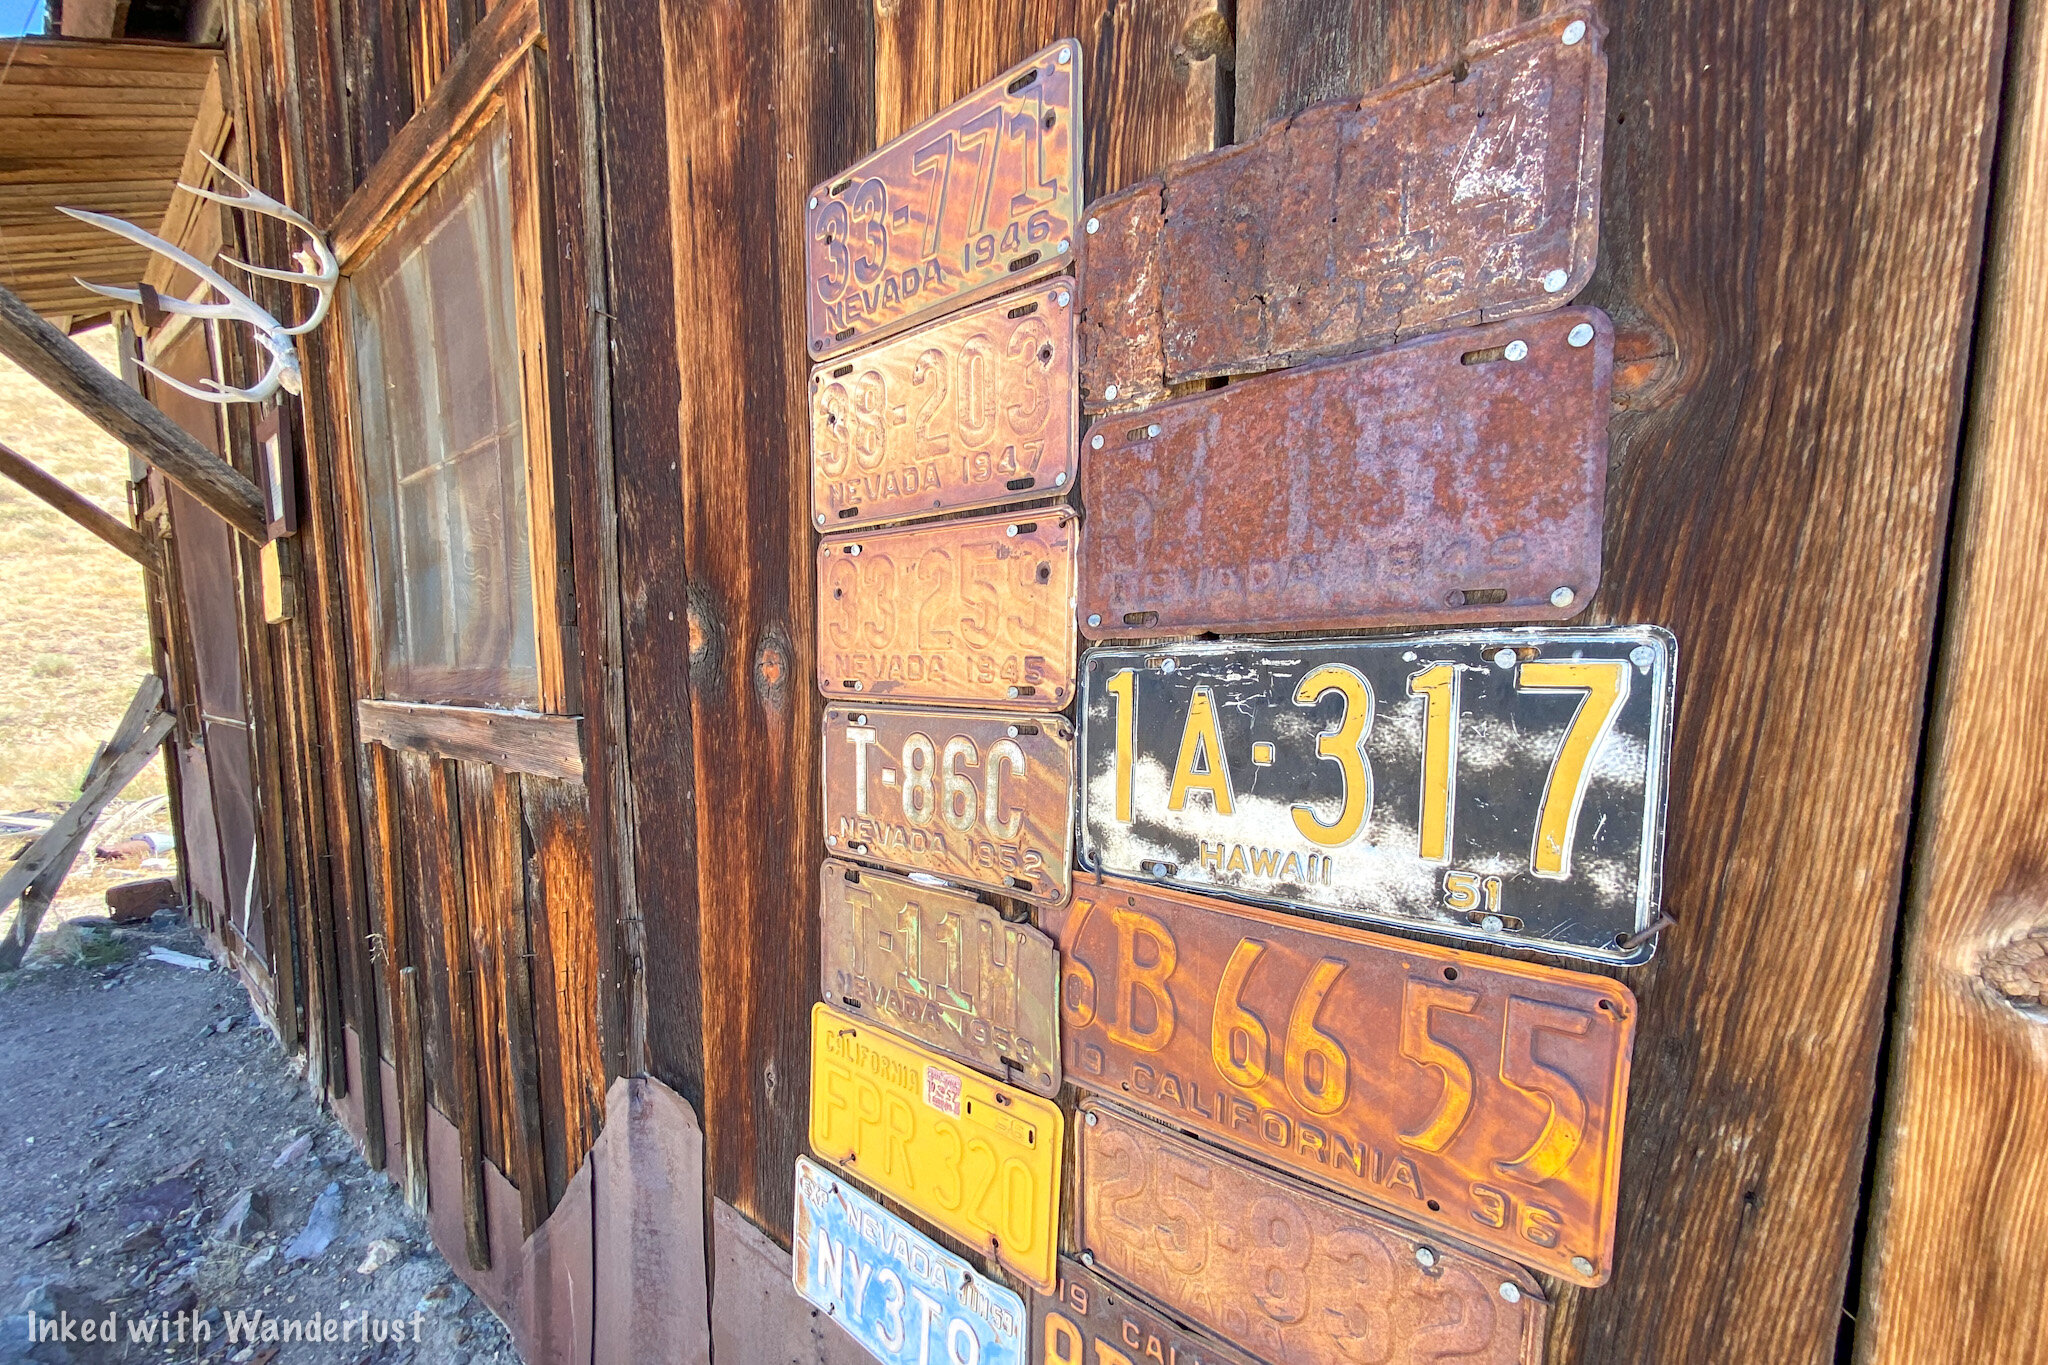
The Stage Station
This is where the stage driver and his horse would live…together. A partition inside separated the living quarters from the barn section of the building.
The men who drove stage during this time was John Mullin, Ed Dieringer, and Alex Dyer.

Company Store
There’s nothing much left now, but this was once the site of the company store. Here, they sold everything from mining equipment, clothing, groceries, and drugs to locals and workers.
During labor troubles in 1905, the store also served as a jail. The building you see in the background was a storage warehouse.

Superintendent Home
This was the home of the mine’s superintendent and now serves as a small welcome center.
During a labor strike in 1907 when the miners wanted a raise from $3.50 to $4.00 per day Mr. Bowen, the Super, shut the mine down.
To counter, the miners teamed up and forcefully escorted Mr. Bowen off property. He then drove to the town of Tonopah and brought back a Sheriff to help re-gain control.

The Berlin Mill
During the heyday of Berlin’s production, you’d see a beehive of activity here.
One man would be operating the crusher, another tended the 30 stamps and concentration tables, while another looked after the boilers and steam engines.
This is by no means an exhaustive list of features found in Berlin. Other cool things to check out include the town cemetery, mine foreman’s house, miner’s dugout, entrance to the Berlin mine, doctor’s house, and more! As you can see, you could easily spend a full day or more checking everything out in Berlin.
Lodging & Fees

The nearest hotels and/or Airbnb’s you’ll find are in the bigger towns nearby. These include Fallon, Austin, and Hawthorne. If you want to stay in the park, they have an established campground you could utilize. It contains 14 well-spaced units, some being able to accommodate RV’s up to 25 feet long. Each unit comes with a fire pit, BBQ grills, covered picnic tables, and drinking water (outside of winter). Restrooms and an RV dump station are located nearby.
The fee to camp is $15.00 per night with a 14 night maximum (30-day window). Keep in mind that this per night fee is in addition to your entry fees which are:
$5.00 per vehicle
$2.00 per bike (motorcycle)
When you arrive, someone may or may not be at the gate collecting entry fees. We arrived just before the Ranger was about to take off so he was kind enough to take our money and fill out the envelope for us. If there is no one there, simply stop at the gate to fill in the envelope and drop it into the red deposit pole (with your fee included, of course). Much like most Nevada State Parks, only cash is accepted for entry fees.
There are also no restaurants or vending machines in the park. So be sure to bring snacks and water with you. There is one restaurant in Gabbs (the gateway town to Berlin). It is called, “R&D’s Bar”, and serves up burgers, fries, hot dogs, chicken wings, and similar fare. Aside from that, you’ll need to get to the bigger towns listed above.
Directly adjacent to the pay station at the main entrance is a restroom of the pit toilet variety. I must admit that of all State and National Parks I’ve been to, Berlin had THE cleanest restroom of its kind. There is another restroom located near the campground.
Conclusion

Berlin Mill. Berlin-Ichthyosaur State Park.
Berlin is perhaps Nevada’s most intriguing and unique state park. The combination of an abandoned mining town and the discovery of a massive amount of Ichthyosaur fossils should put Berlin at or near the top of any traveler’s list of places to explore. It’s also a great place to shoot dark sky photographs if you have the gear. I highly recommend and encourage you to visit this amazing place for yourself. Thanks for reading!
Safe Travels.
Have you visited Berlin? Do you plan to? Tell me about it in the comment section below!
Support this site by sharing this article with your friends and family on your favorite social media page.
Visit Dayton State Park & Rock Point Mill
Established in 1977 and originally used as a Paiute fishing camp, Dayton State Park is 160 acres in size and located in the highly historic Nevada town of the same name. It features hiking trails
Established in 1977 and originally used as a Paiute fishing camp, Dayton State Park is 160 acres in size and located in the highly historic Nevada town of the same name. It features hiking trails, picnic areas, camping, fishing opportunities, and the remnants of the abandoned, “Rock Point Mill”.
Getting Here

Dayton State Park. Dayton, NV.
Dayton State Park is not too far from two of Nevada’s larger cities; Carson City and Reno. From Carson, you’ll travel east on Highway 50 for about 11 miles before turning right at the entrance.
From Reno, you’ll travel south on I-580 for 30 miles before joining US-50 east for, you guessed it, 11 miles before turning right into the park.
Things to Do

Hiking trail in Dayton State Park.
As mentioned at the beginning of this post, there are many activities for you to partake in. For starters, there are two hiking trails in the park. One begins near the campground and winds through the foliage as you make your way to the banks of the Carson River.
The other also begins near the campground but goes in the opposite direction and across the highway to the ruins of an old abandoned stamp mill (more on that later).

Picnic area. Dayton State Park.
There are several picnic areas located throughout the park proper and near the mill site. In addition, the group area provides shade and 10 picnic tables that you can reserve for birthday parties, reunions, etc.
You can also camp here. The campground is located near the entrance and contains 10 sites with fire rings, grills, and picnic tables. In addition to tent camping, each site can accommodate RV’s up to 34 feet in length. Dump stations and restrooms are located nearby.

Small garden. Dayton State Park.
Park fees are as follows:
$5.00 per vehicle for day use
$15.00 per night for camping (this is in addition to the day use fee)
Like most Nevada State Parks, fees getting collected are largely dependent on the honor system via self register. Both day use and camping fees are to be paid at the register station located at the entrance. Park Rangers do make regular checks throughout the day.
Rock Point Mill

Rock Point Mill. Dayton State Park.
For me and many others, the main attraction of this park is the opportunity to explore the remains of Rock Point Mill, an old stamp mill that first operated in 1861, was destroyed in a fire in 1909, was rebuilt in the same year, and closed for good in 1920.
Rock Point was built by Charles C. Stevenson (who from 1887 to 1890 was Governor of Nevada) at a cost of $75,000. There were originally 40 stamps that crushed silver and gold ore from the Virginia City and Gold Hill mines but was eventually expanded to 56 at its peak.
Rock Point Mill. Dayton State Park.
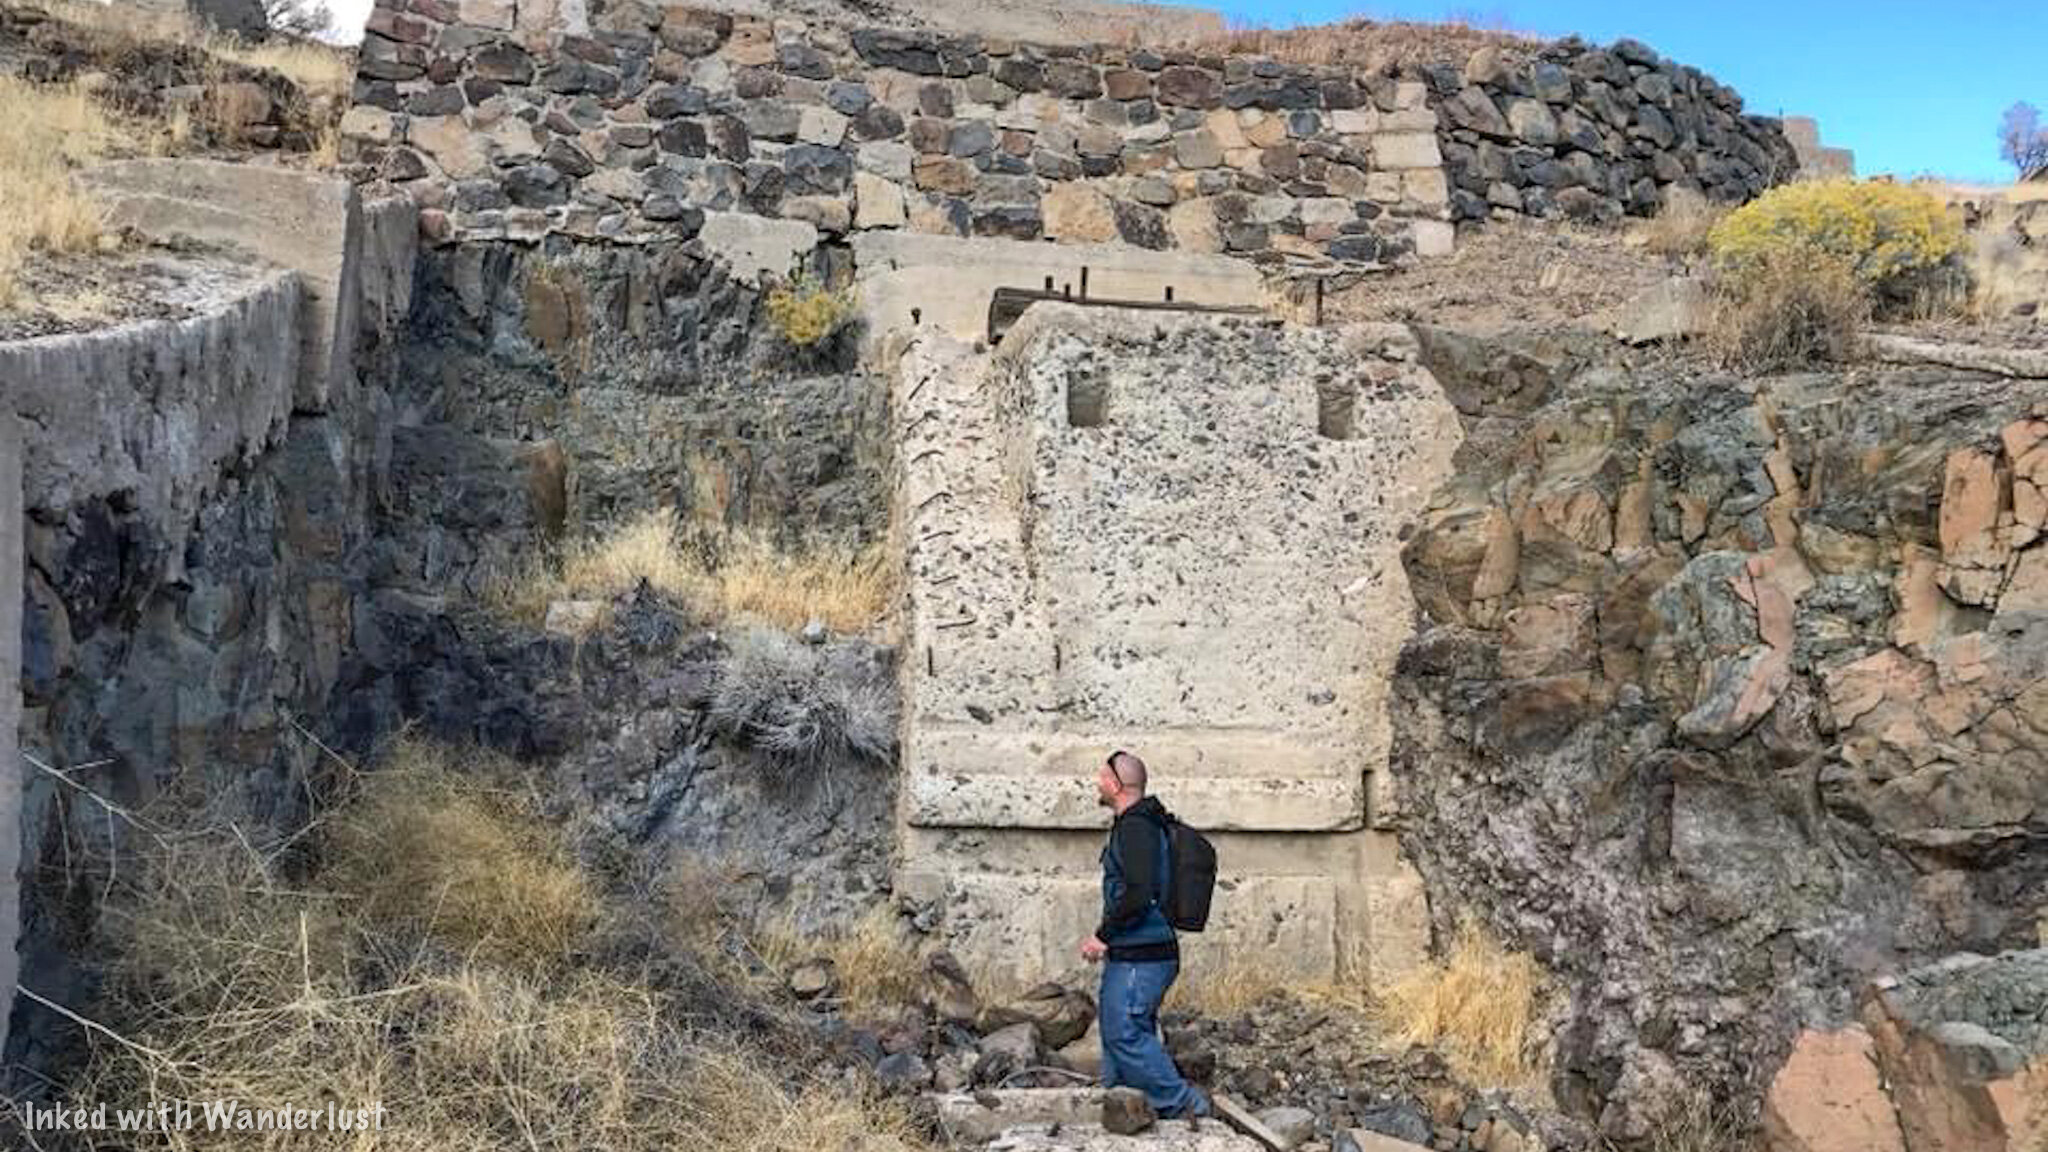
As mentioned earlier, Rock Point was destroyed by a huge fire in 1909 but was almost immediately rebuilt with galvanized iron. This new version of the mill (which are what most of the remains are from) ran until its permanent closure in 1920.
You’re free to wander about the ruins at your leisure. Here you’ll find the stamp remains, mill foundations, and a small rock hole cut out in the base of the mill. It’s not much (only around 5 feet), but it is cool to see.

Rock Point Mill. Dayton State Park.
There are two ways to reach the Rock Point ruins. One way is to utilize the trail that leaves from the campground in the state park proper that runs parallel along US-50. You’ll eventually reach a tunnel that goes underneath the highway and spits you out at the ruins.

The tunnel at Dayton State Park.
If you don’t feel like walking, your other option would be to hop in your car and drive there. You’ll turn left onto US-50 from the park exit and turn right into the Gold Ranch Casino parking lot. You’ll find the entrance to this section of the park to the right of the casino.

Rock Point Mill remains. Dayton State Park.
From your car, there will be a short stroll through cottonwoods and another picnic area before reaching the ruins. The whole walk will take you around 5 minutes or so.
When to Go

Fall colors at Dayton State Park.
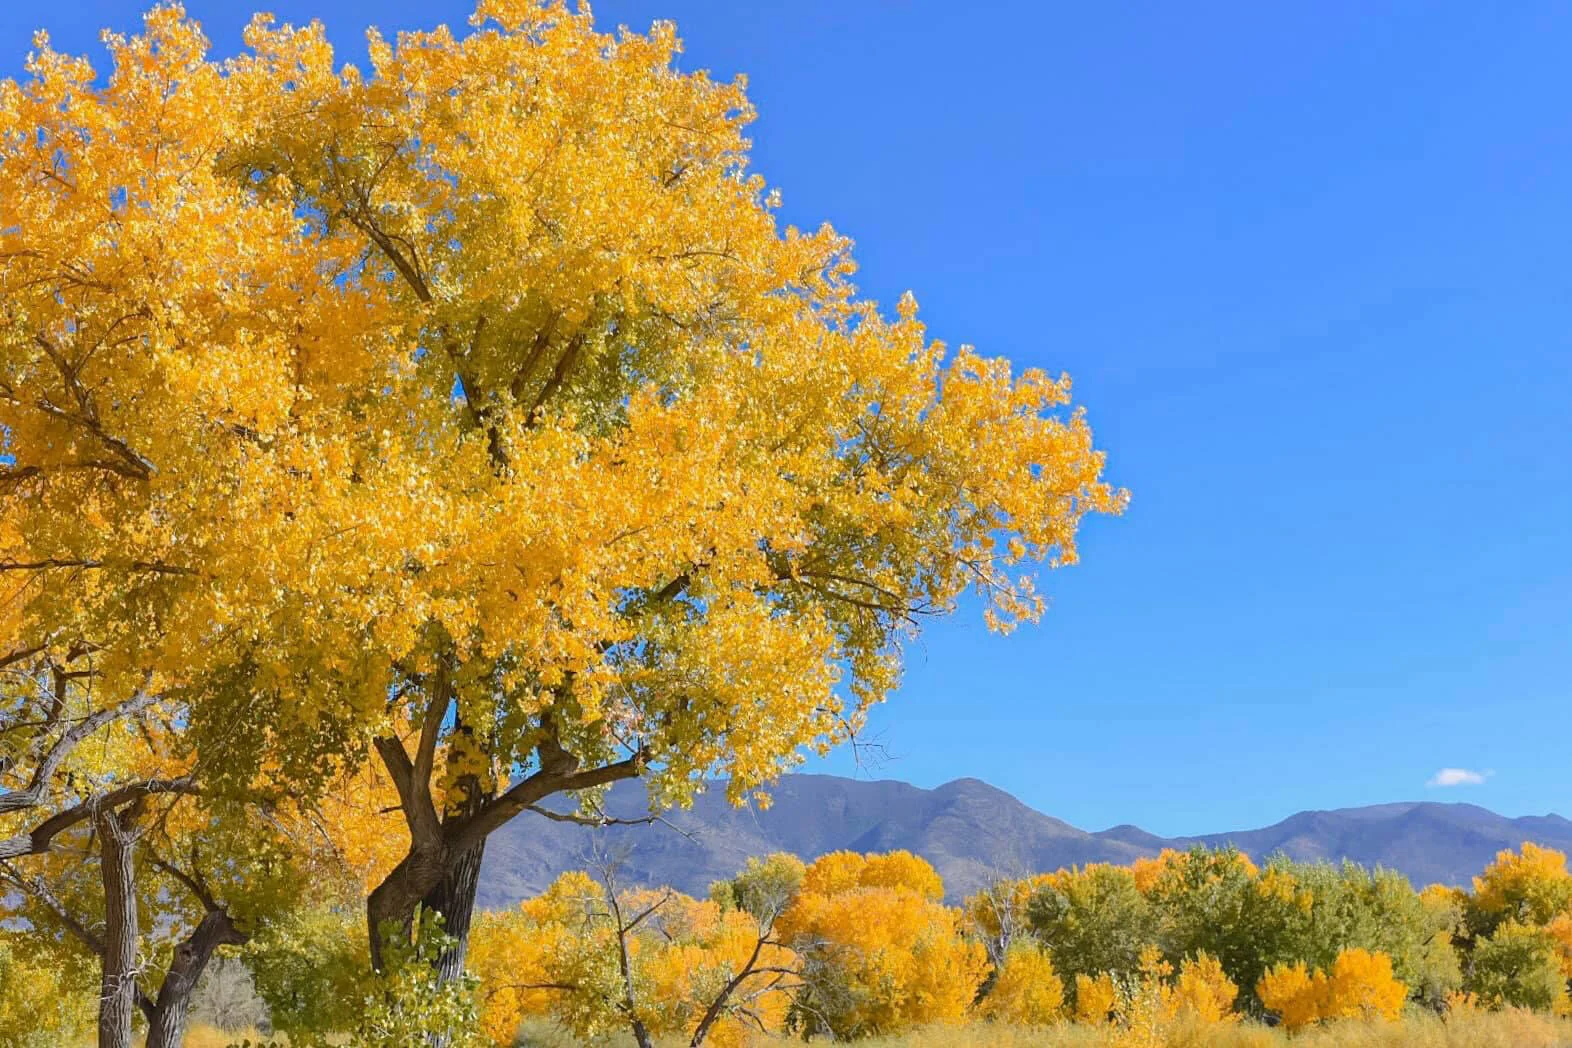
The park is open 365 days a year so really, anytime is a good time. However, if you’re asking my personal opinion, I would highly recommend you pay a visit in the fall. Specifically when the fall colors are at their peak (as you can see in the photo above).
Dayton State Park, as told to me by the Ranger, is on the list for the top 10 places in the entire state for fall colors and I won’t argue with him. If you arrive at peak time, it is drop dead gorgeous.
Summer, as always, will see the most amount of visitors but even then, the park doesn’t get very busy. Chances are good that no matter when you decide to visit, you’ll be able to snag yourself a campsite and enjoy the park with minimal crowds.

Safe travels & thanks for reading!
Please support this site by sharing this article with your friends and family on Pinterest, Facebook, or your favorite social media site.
Furthermore, you can show your support by reading one or more of the related articles above. Thank you.


5 Awesome Day Trips from Reno by Car
With 4.8 million visitors in 2019 and topping 5 million for the first time in 10 years in 2018, the Biggest Little City is relevant once again and is…
Disclosure: This post contains affiliate links. If you make a purchase through these links, I may earn a small commission at no additional cost to you. I only recommend products or services that I believe will add value to my readers.
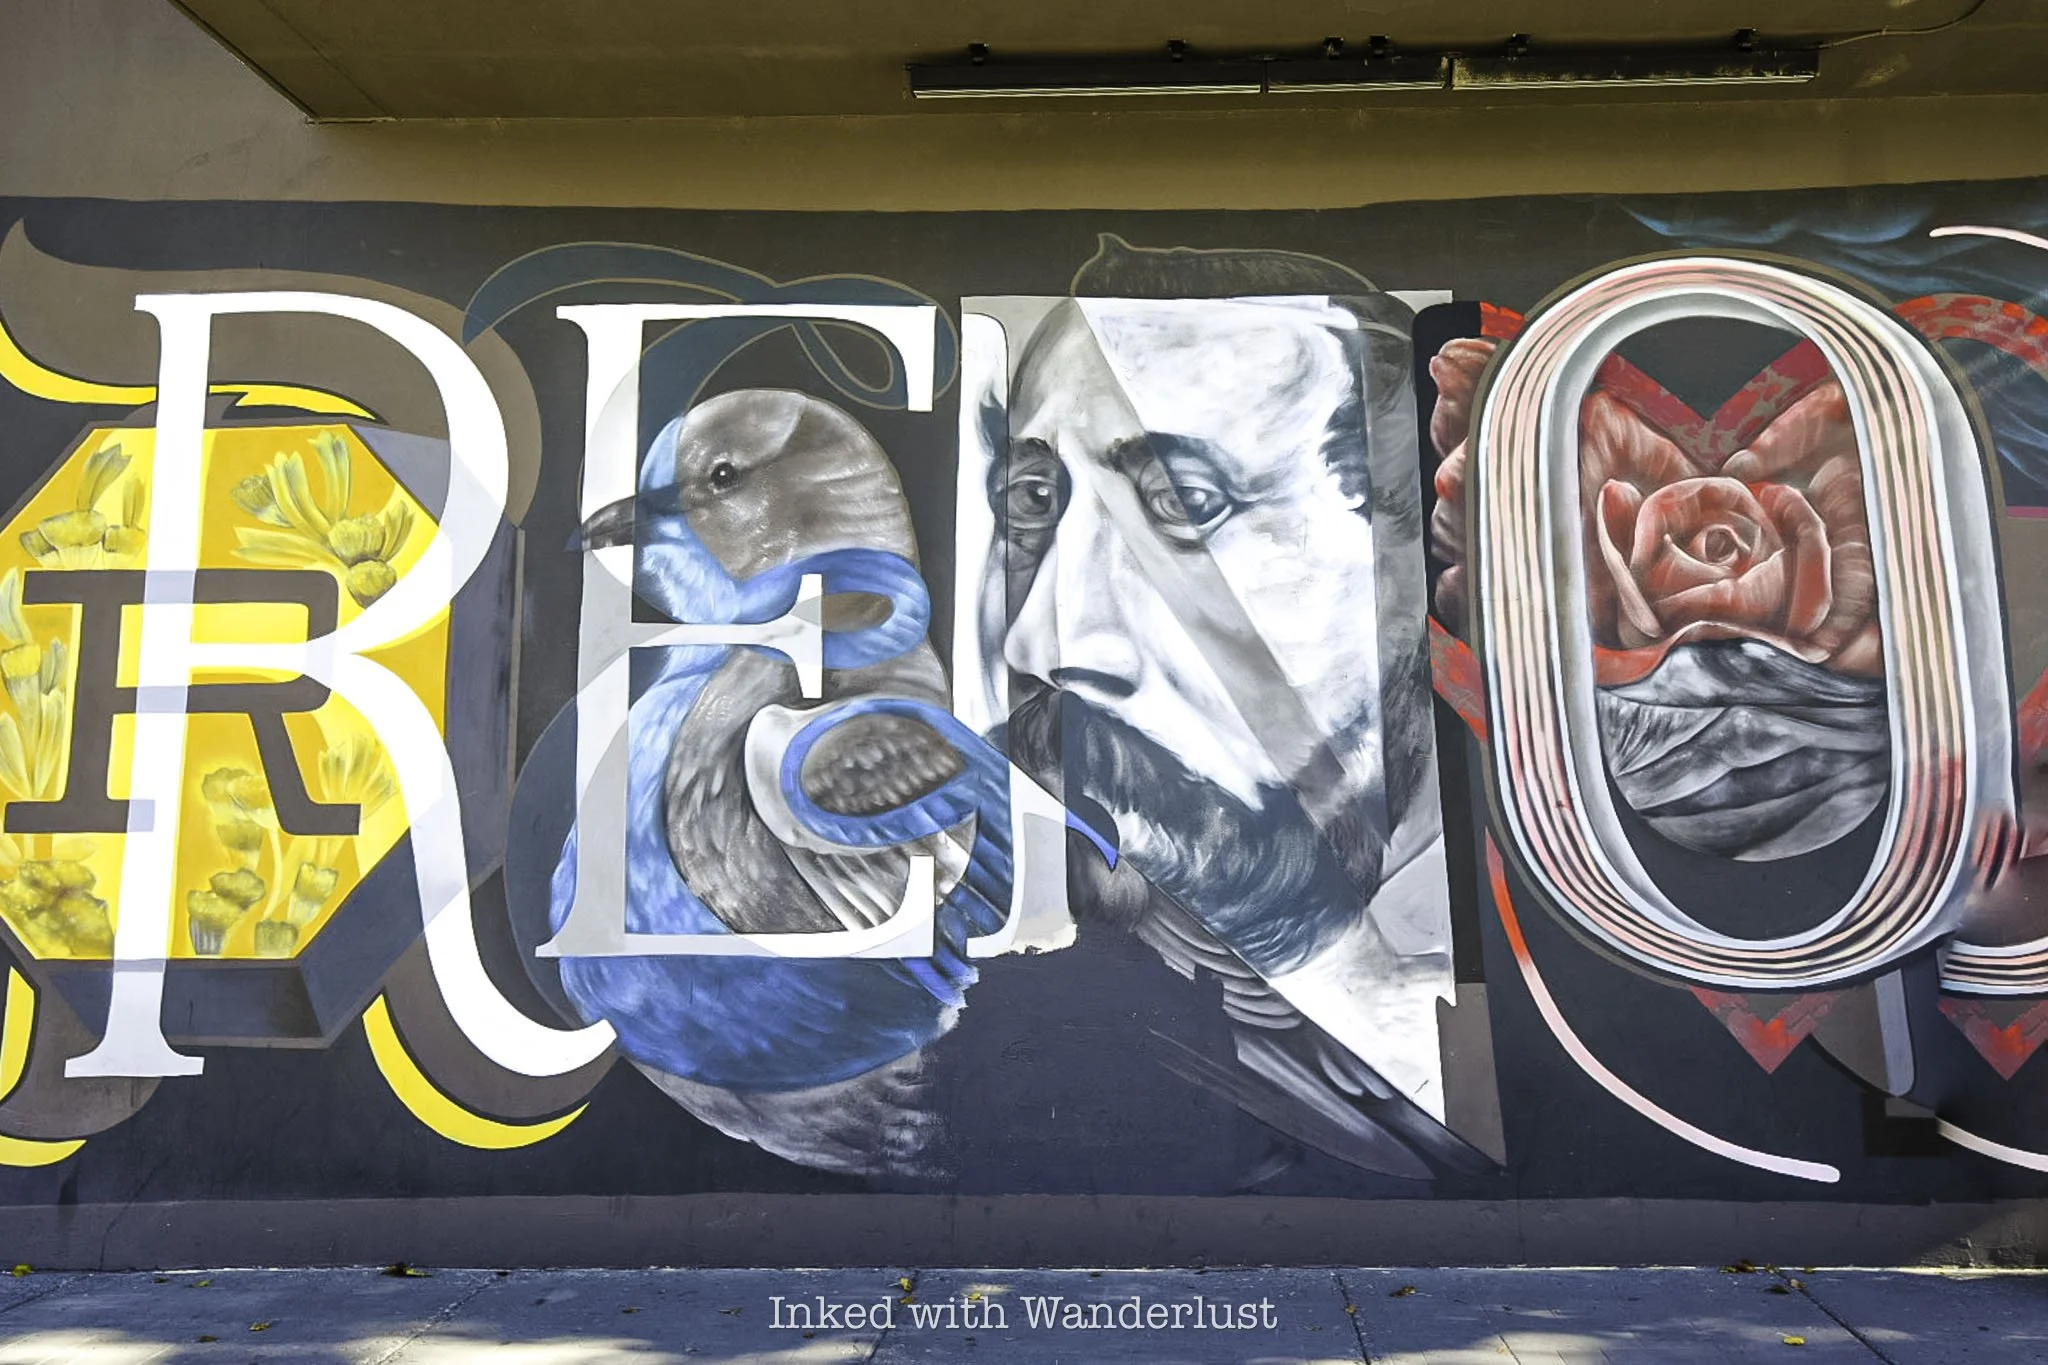
With Reno tourism on the incline year over year, the Biggest Little City is relevant once again re-claiming its reputation as a prime tourism hot spot. A plethora of hip and trendy restaurants, hiking trails, a river walk, bustling arts culture and evolving downtown, it’s never been a better time to visit Reno.
Despite there being many things to do and see in Reno, part of its appeal is its proximity to other cities and attractions. Many of which are an easy one hour or less drive from downtown. The list below is my pick of five day trips from Reno you can easily reach by car. Let’s get into it!
1) Lake Tahoe
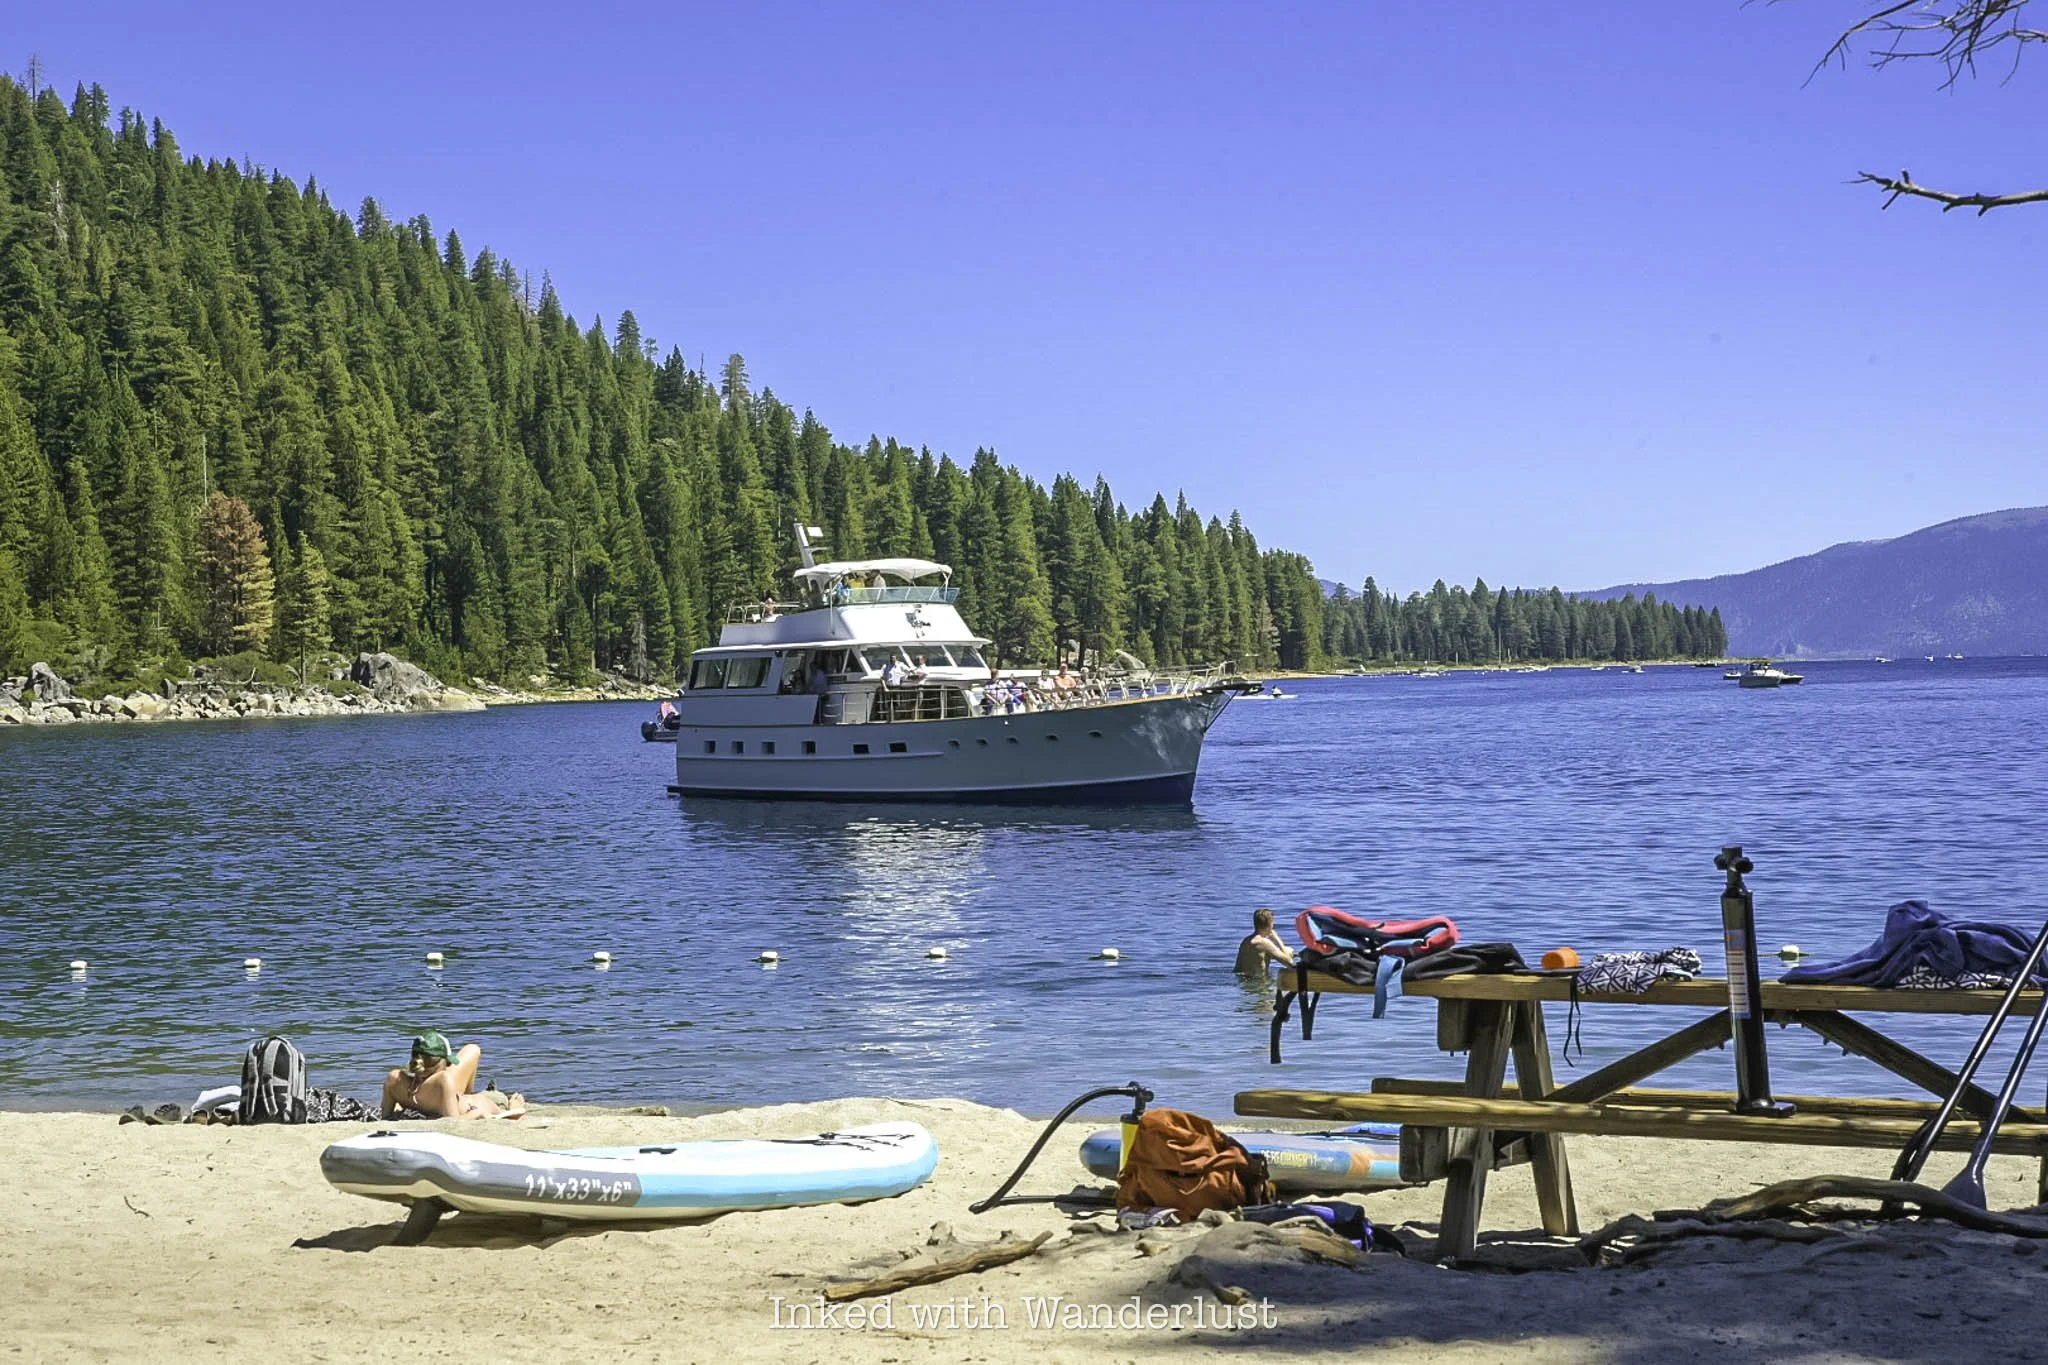
Distance from Reno: About 61 miles (or just over an hour drive away).
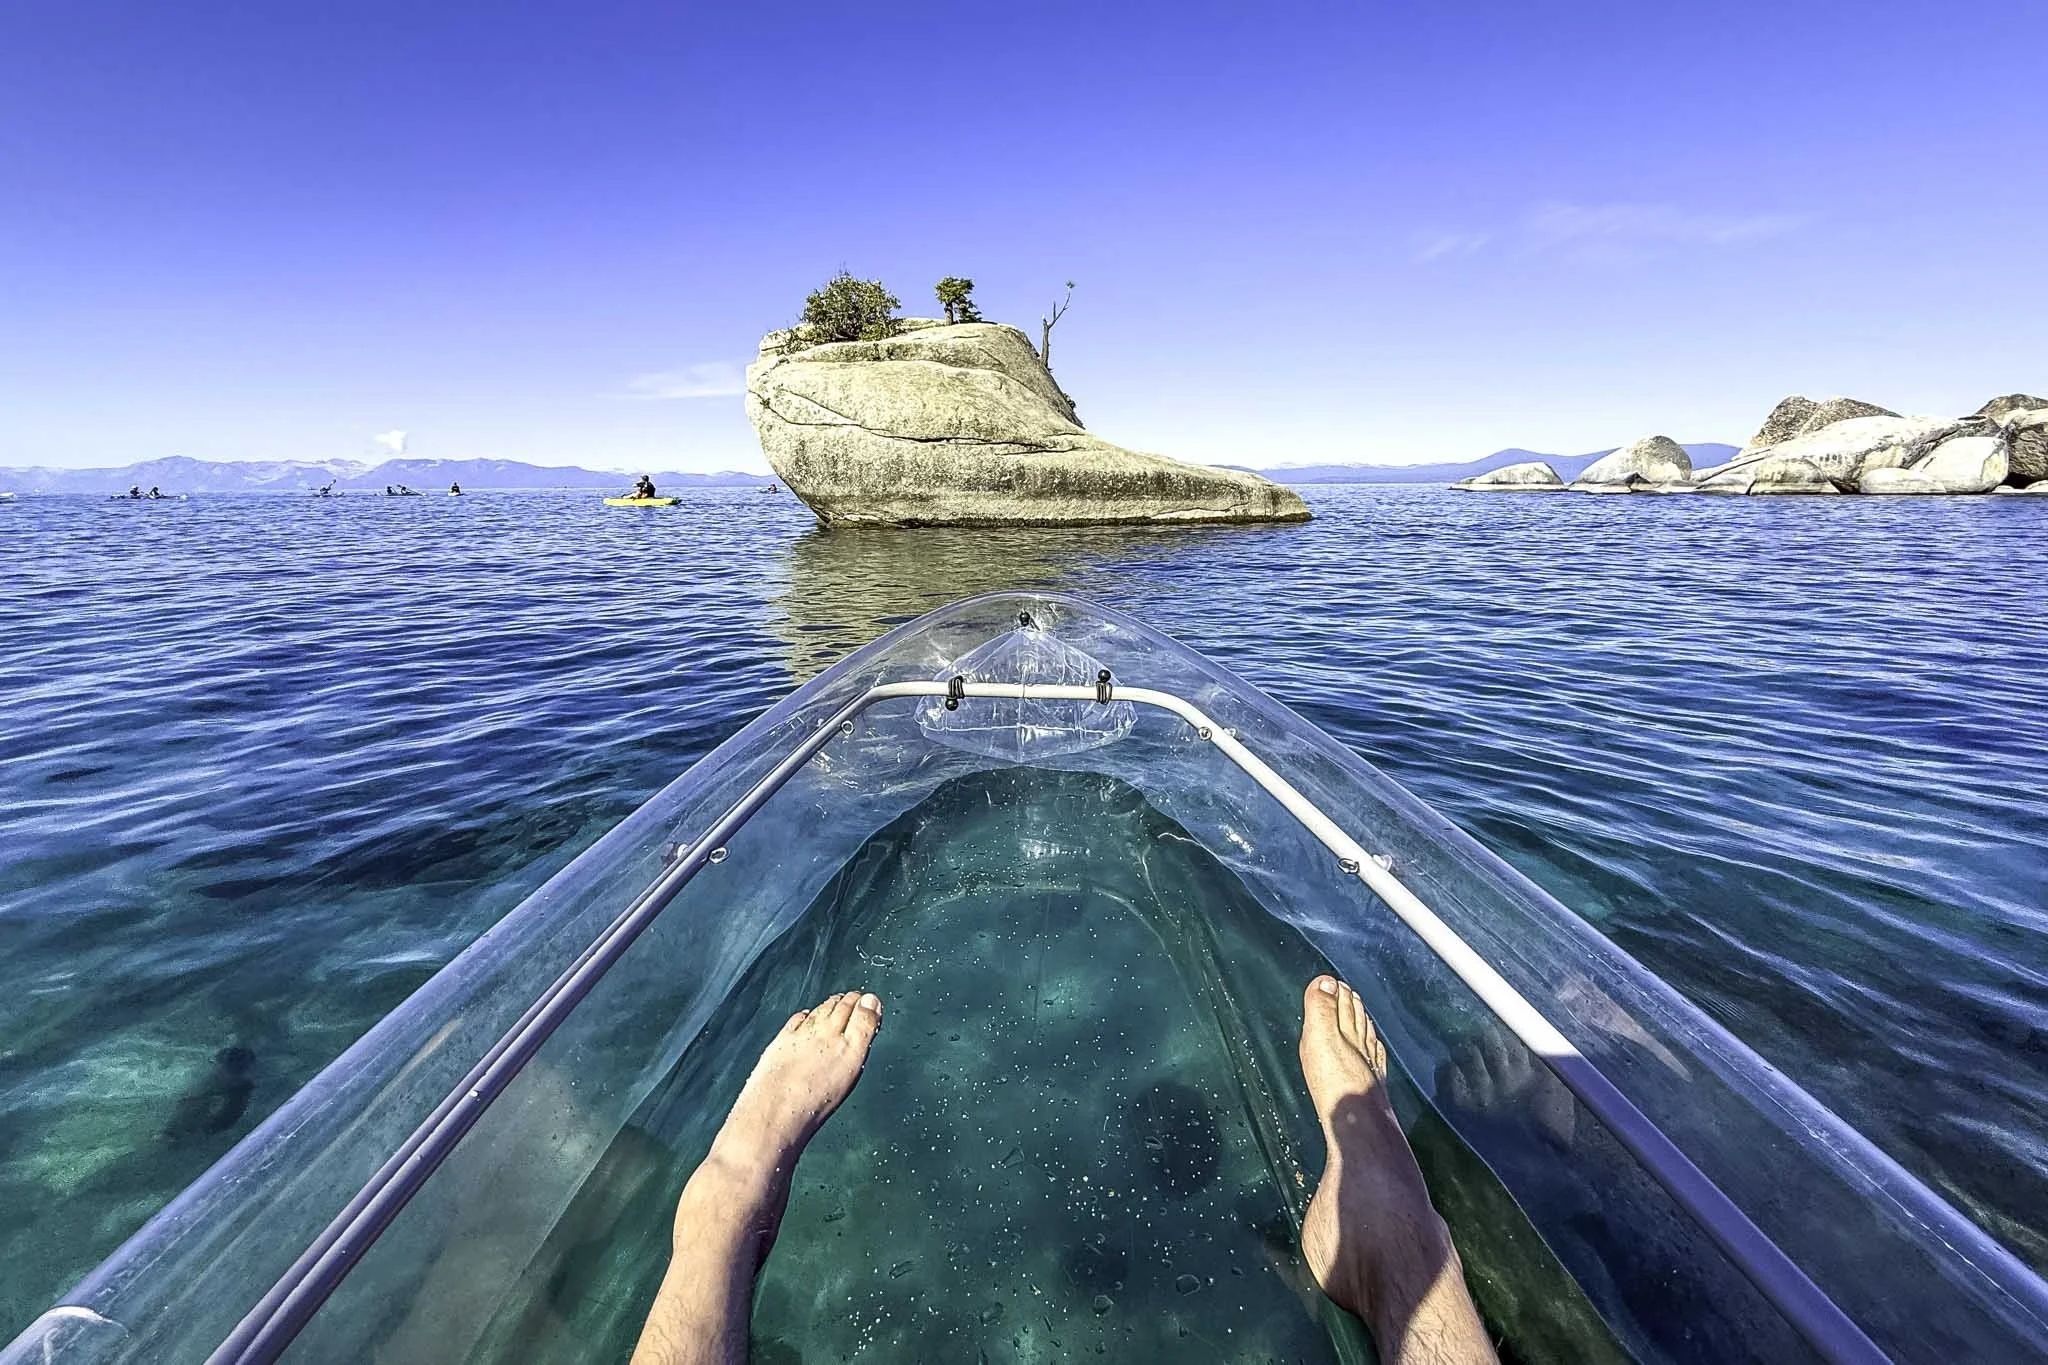
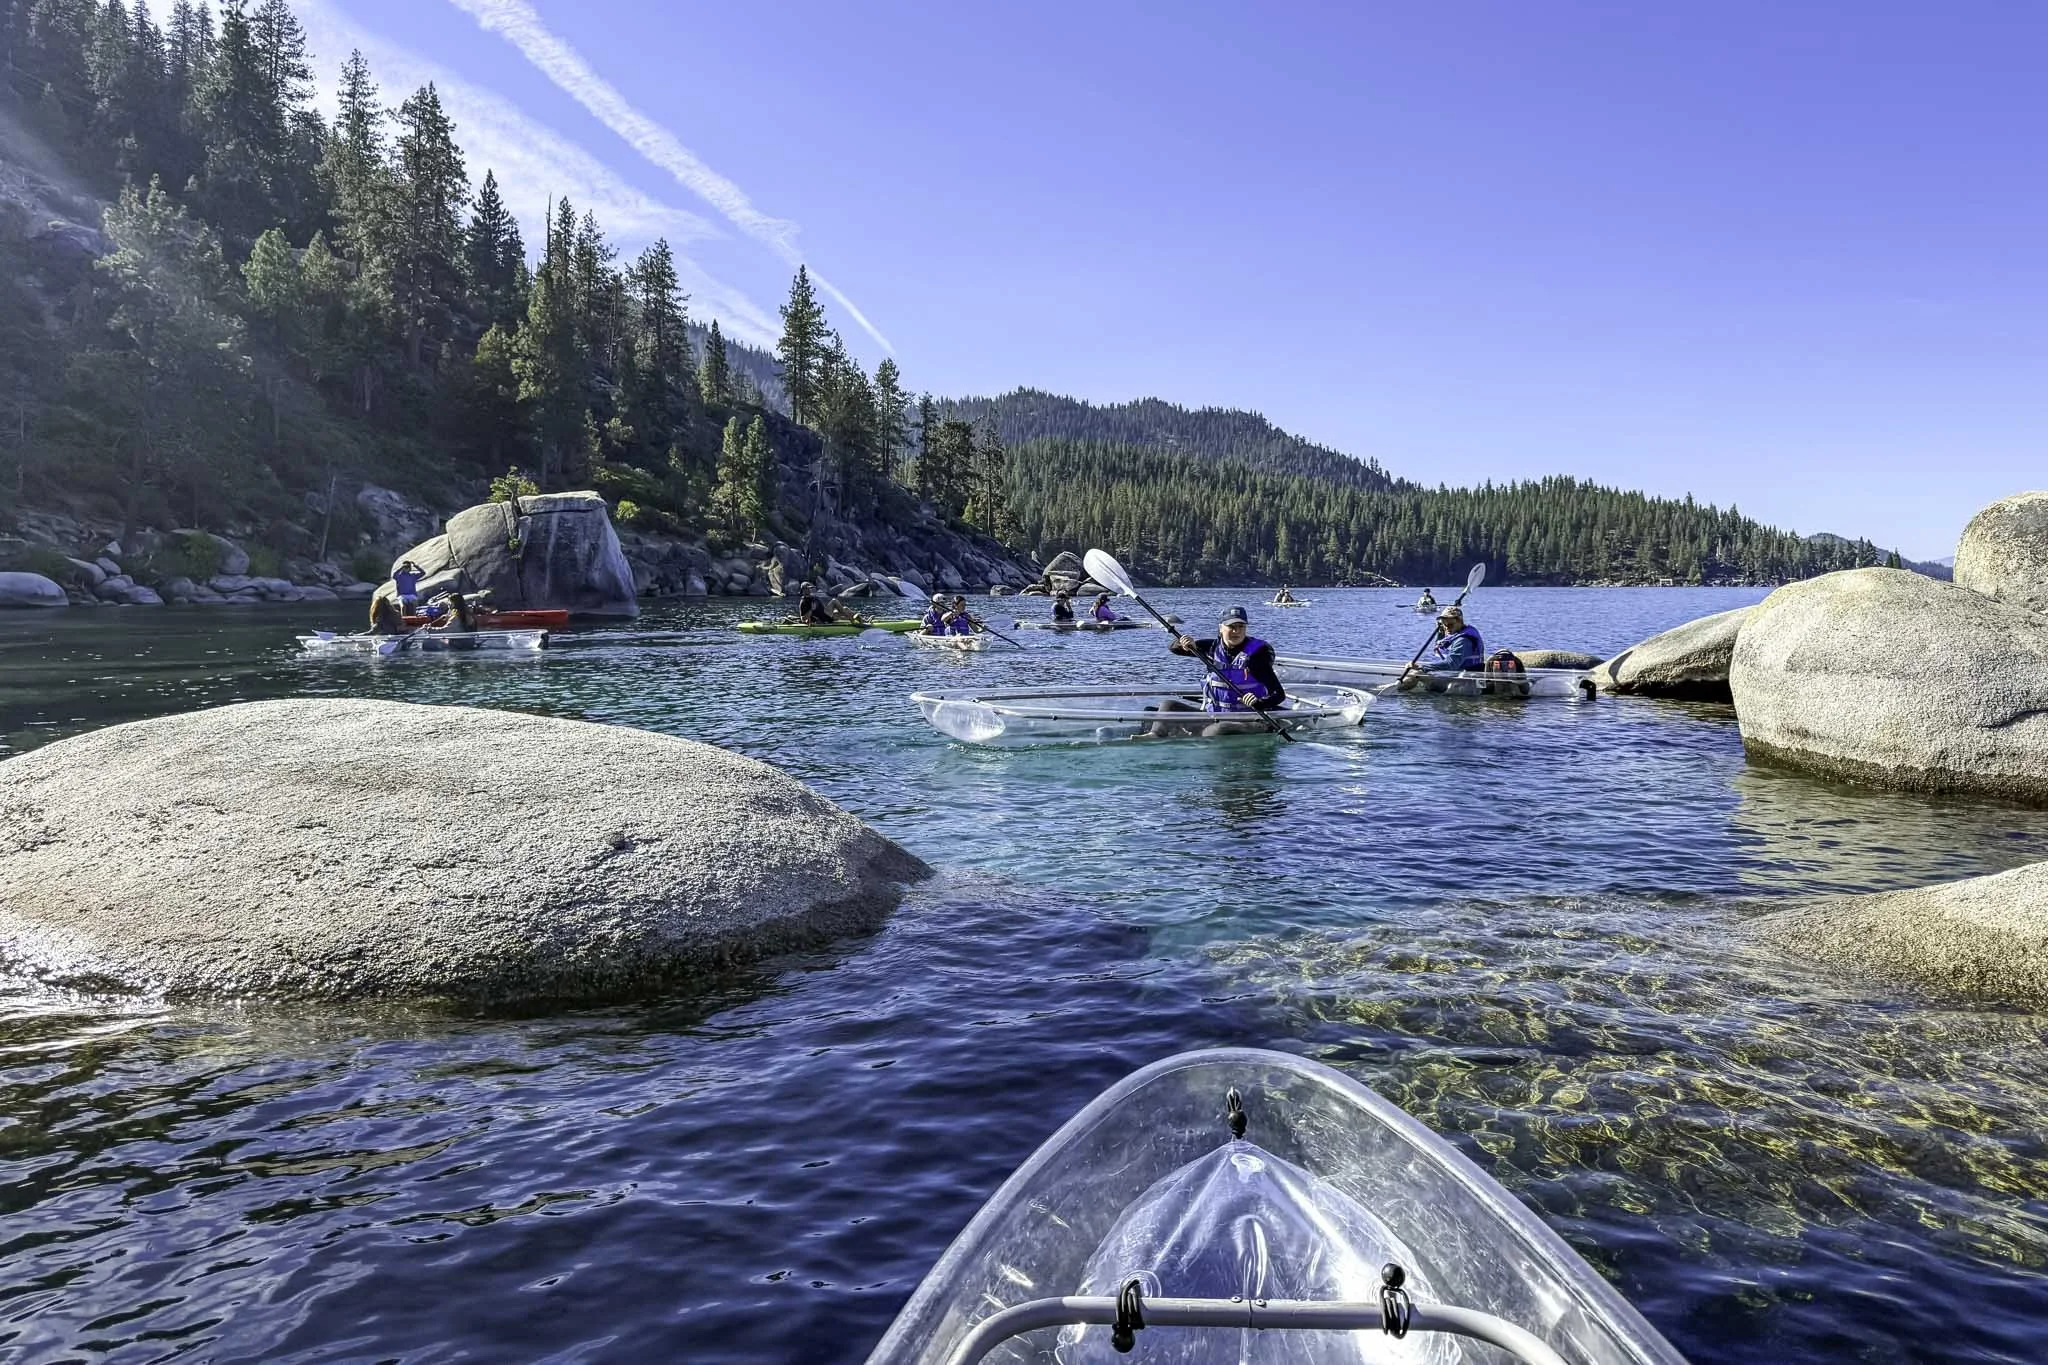
Lake Tahoe is a year round destination with plenty to do. There’s hiking, boating and kayaking in the summer months, with skiing taking over as the main activity in the winter. There’s the California side and Nevada side, both of which offer their own batch of activities and destinations.
Tahoe and Reno have always had a connection to one another and often share tourists. Frank Sinatra, back in the day, would often travel between them to perform, which helped bridge the gap between the two (it’s also worth mentioning that the mob had a hand in both as well).
Using Reno as your base to visiting Tahoe has its advantages as the hotels tend to be more affordable and when the weather gets bad in the winter in Tahoe, it usually isn’t as bad (or non-existent) in Reno.
A handful of my favorite destinations in Tahoe include Emerald Bay State Park, the Tahoe East Shore Trail and Round Hill Pines Beach, as well as the many beautiful waterfalls in the area.
2) Historic Downtown Truckee
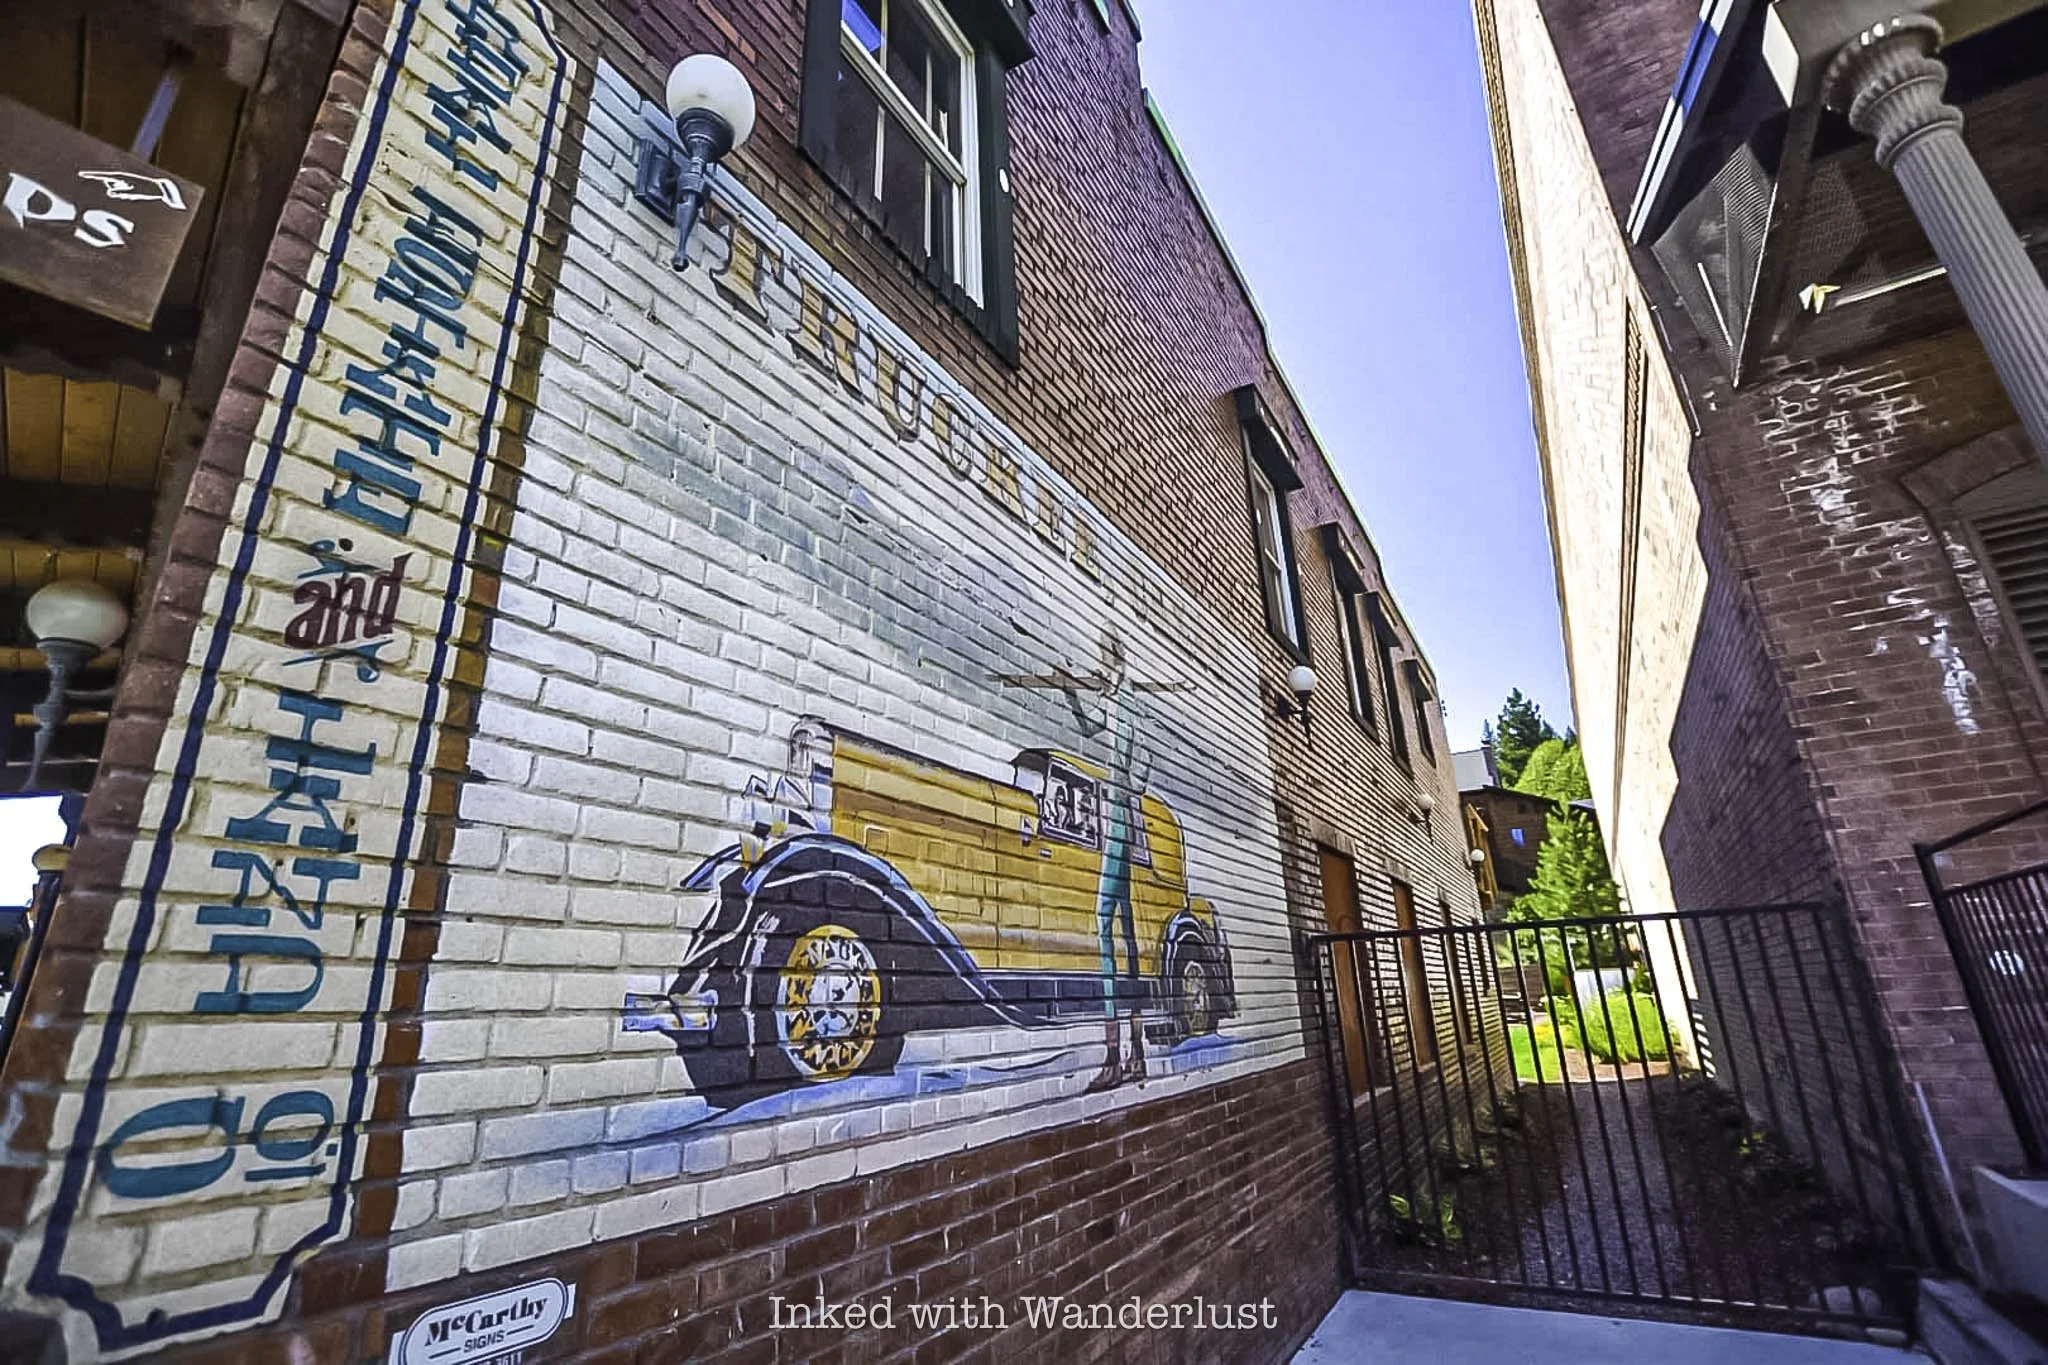
Distance from Reno: About 35 miles (or about a 40-minute drive away).
Also not far away is the historic gold-mining town of Truckee, California. Many are aloof to Truckee’s existence, often passing it by for its exceedingly more popular neighbor, Lake Tahoe. Despite that, Truckee has plenty to offer visitors all its own.
Nearby is Donner Memorial State Park and Donner Lake. The lake does get busy on certain days, but it doesn’t get nearly as bad as Tahoe. The state park proper has a visitor’s center detailing the history of the Donner Party, numerous hiking trails, Pioneer Monument and more.
The historic downtown area is the main feature, though. The area was transformed to accommodate tourists with local shops, restaurants, and the like. The historic jail is open for docent-led tours, there’s the free and historic (and still operating) train depot, and there’s a popular trail nearby where you hike through historic train tunnels!
3) Genoa, Nevada
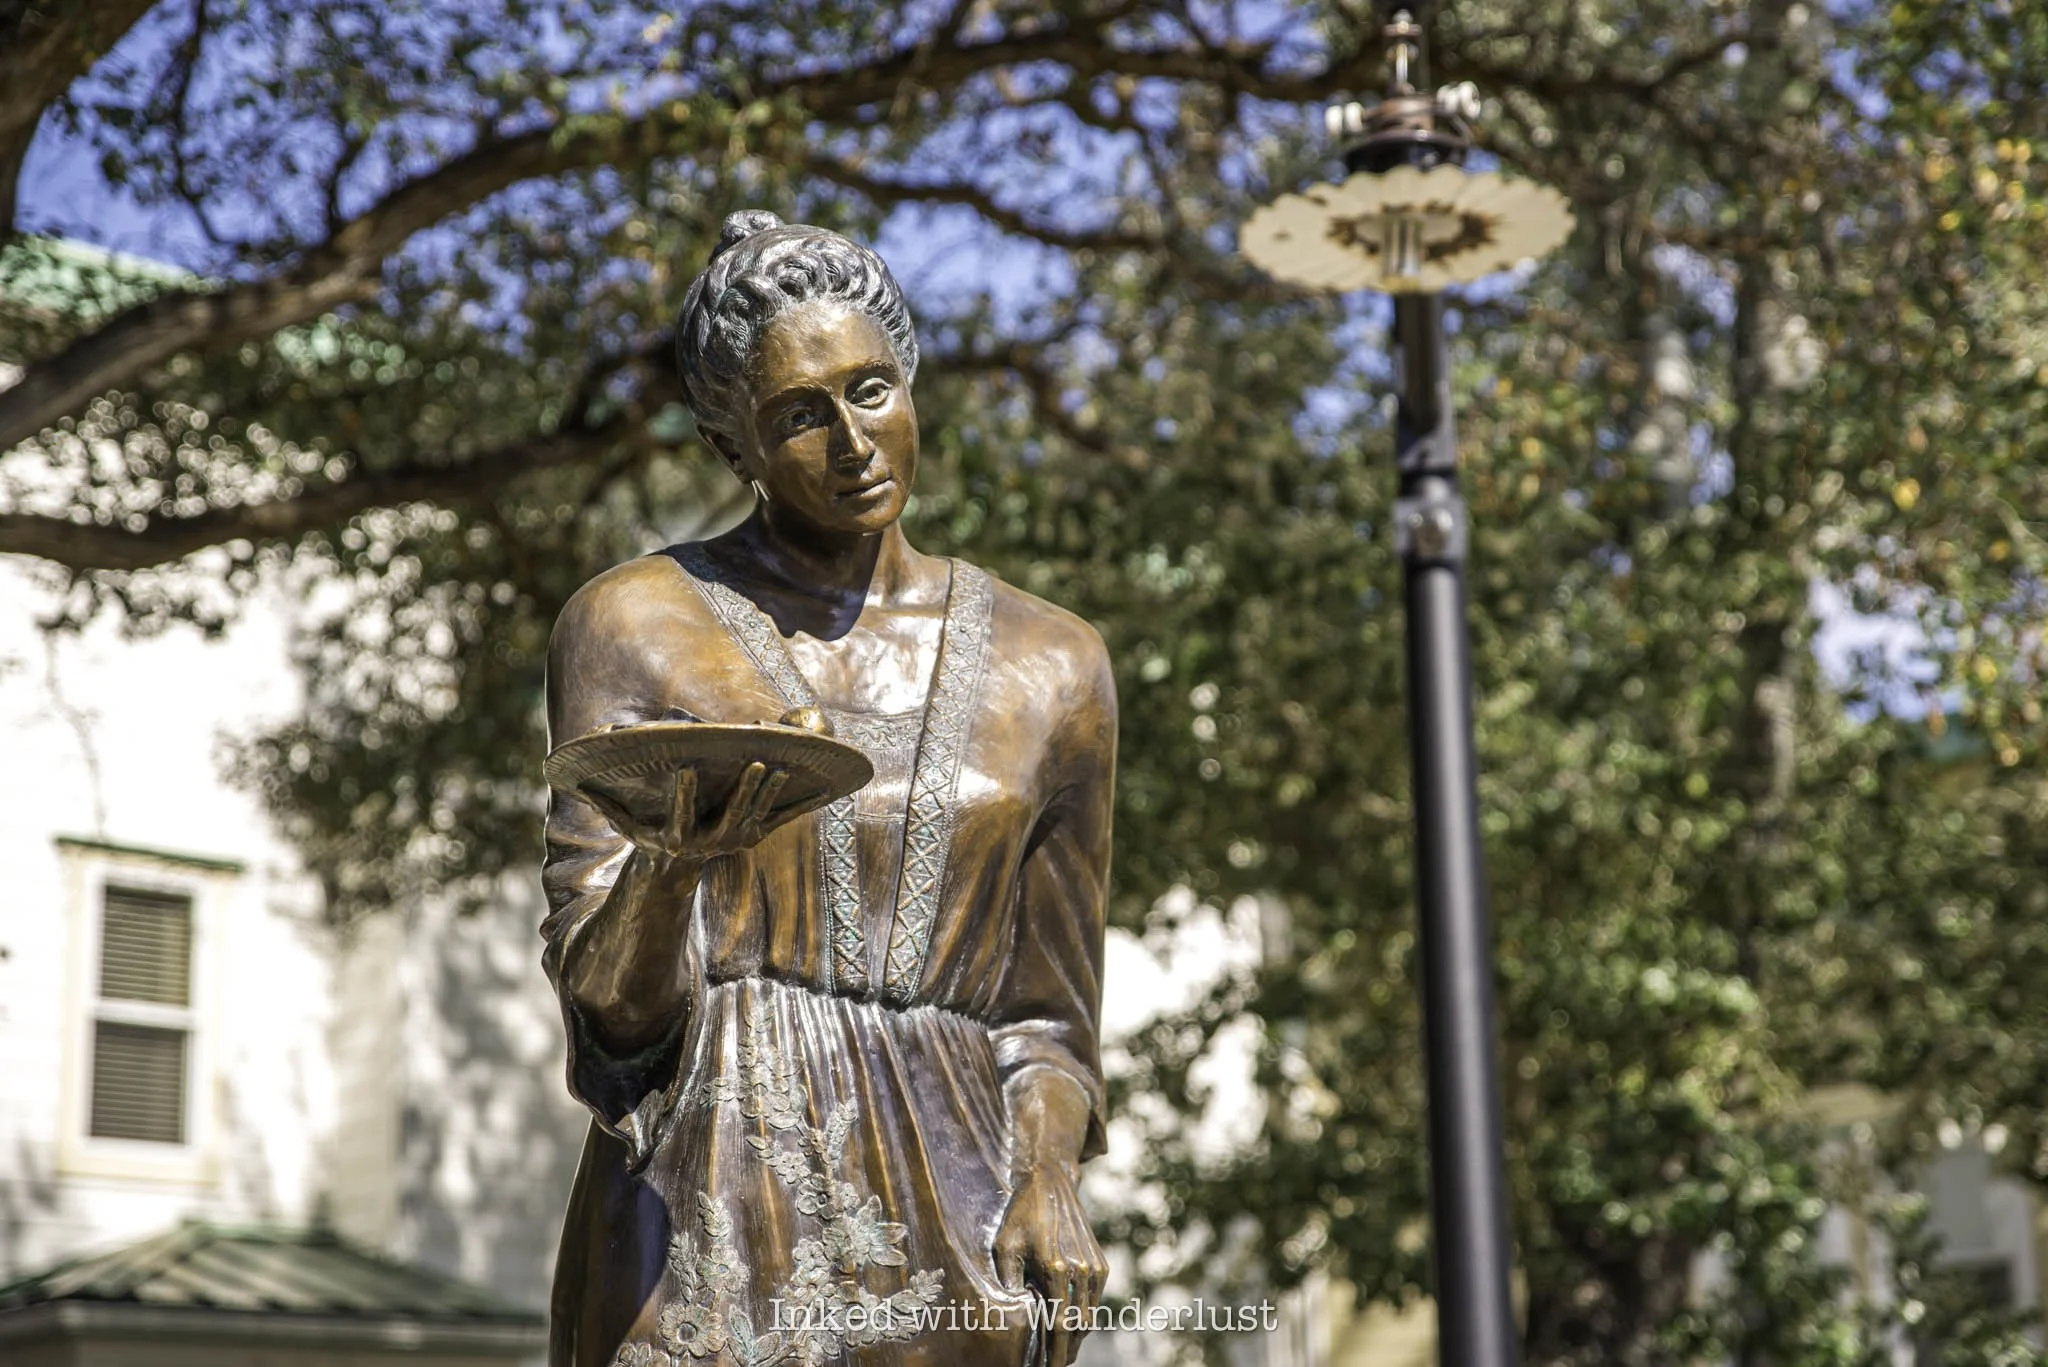
Distance from Reno: About 47 miles (or around a 50 minute drive).
Genoa is a quaint little town in Nevada is located in the beautiful Carson Valley and just a stones throw away from Tahoe. It was founded in 1851 and has the unique designation of being Nevada’s first pioneer settlement.
A man by the name of John Reese was the first to settle here. He built a trading post for the manny emigrants and trappers who were making their way through the area. It went on to become an important stop for those on their way to California.
The main attractions of the town include Mormon Station State Historic Park, the Genoa Courthouse Museum, Genoa Cemetery, and Genoa Bar, which is the oldest operating saloon in Nevada.
4) Fort Churchill State Park
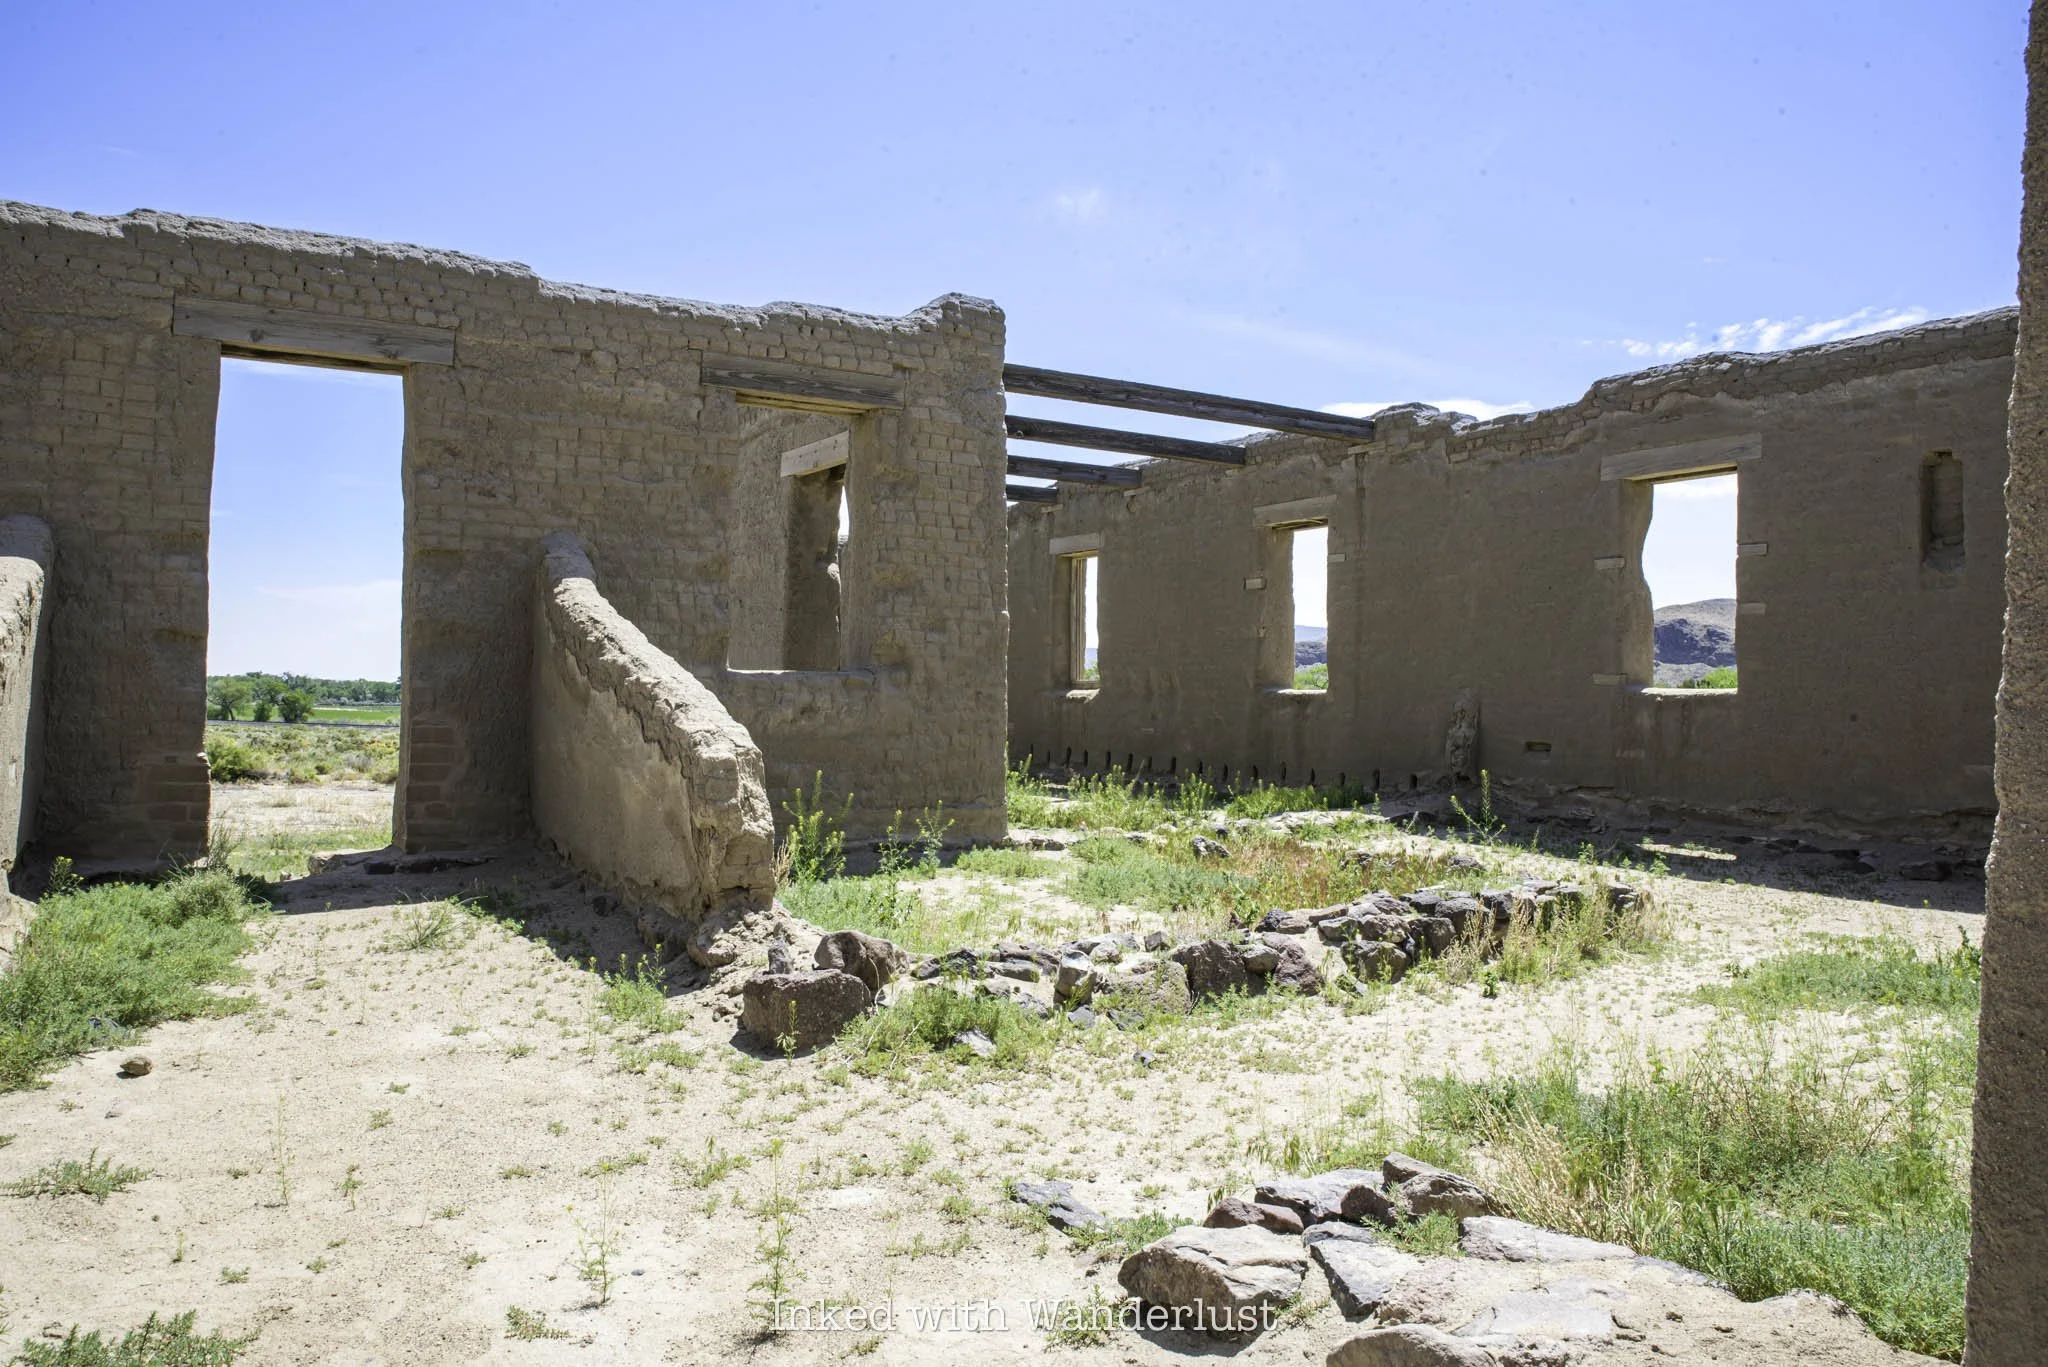
Distance from Reno: About 48 miles (or 50 minutes to one hour drive).
If you or a member of your family are history buffs, specifically military history, or you enjoy exploring abandoned places, you’ll want to add a trip to Fort Churchill to your plans. The park is located near the small town of Silver Springs and contains the remnants of an Army Post originally built in the mid 1800’s.
Another attraction nearby is Lake Lahontan State Recreation Area. Lahontan is an ancient lake that used to encompass nearly the entire state of Nevada and parts of California and Oregon. While it isn’t the gargantuan it used to be, it’s still worth checking out.
READ ALSO: Exploring Fort Churchill: An Abandoned Army Post in Nevada
5) Virginia City
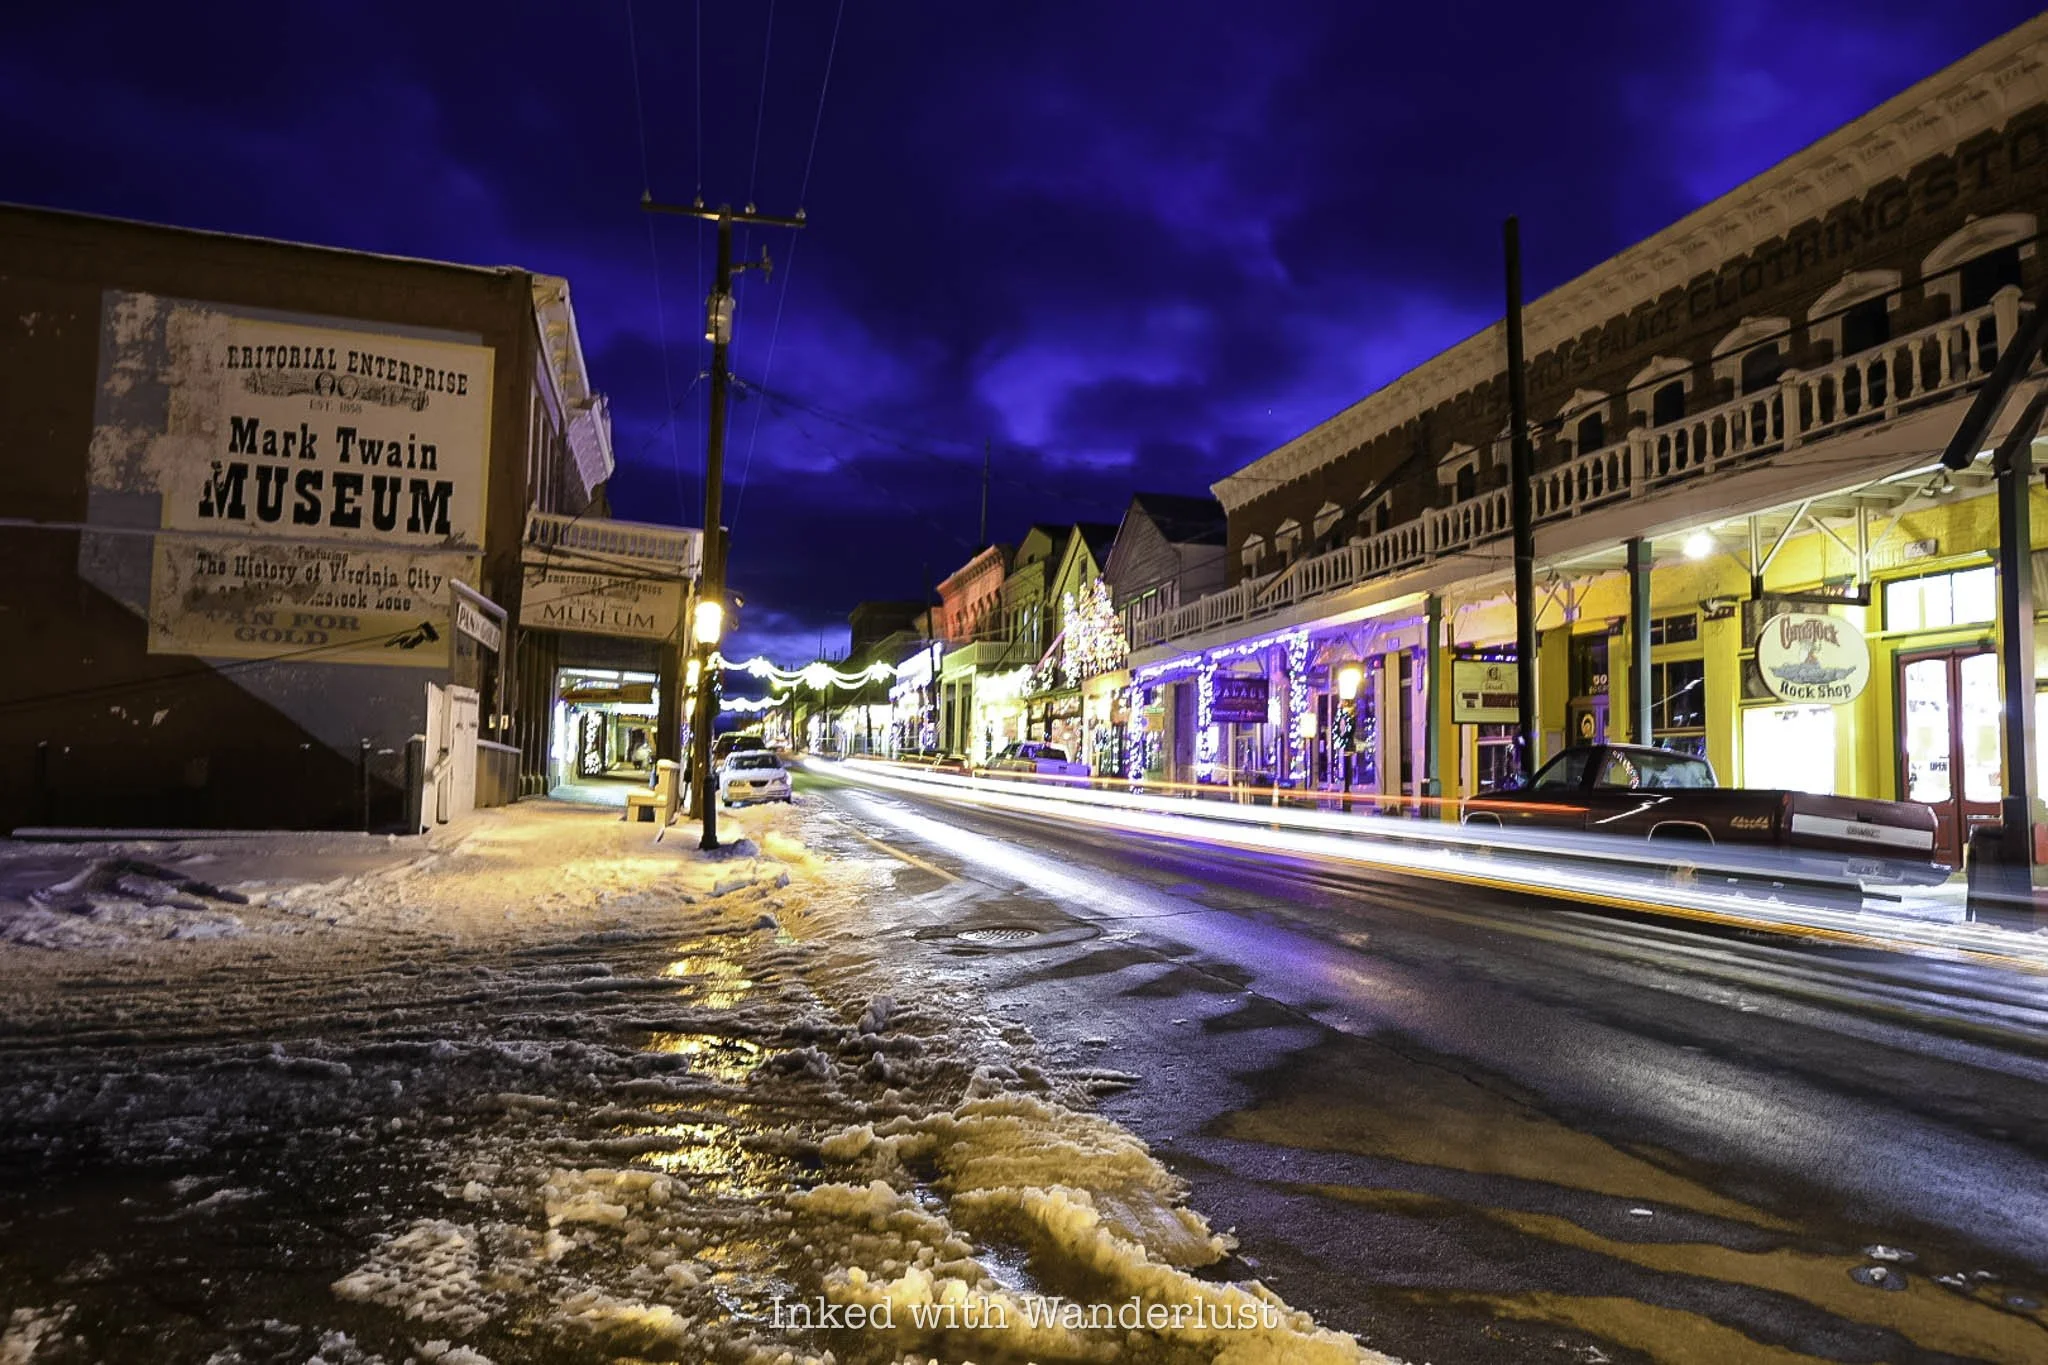
Distance from Reno: About 36 miles (or 35-40 minute drive).
Virginia City is bursting at the seams with history and is one of my favorite places to visit. One visit and I know you’ll love it too. There’s quirky shops, old town-style saloons, abandoned mine tours, a beautifully historic cemetery, historic hotels, gold panning and ghosts. Wait…what?
That’s right. Virginia City is renowned as the most haunted place in Nevada. While I’ve personally never seen one, I have had a couple of “weird” experiences that made me a believer. I’ve also been shown photographs from locals that were pretty convincing. You never know, you may end up having a spooky experience yourself.



This post was originally published in 2020 and was recently updated for accuracy.