Hiking Half Dome In Yosemite: My Journey In 30 Pictures
3 minute read | contains affiliate links
In 2020, when I launched this website, the very first published post was, “Half Dome: The Complete Guide To Yosemite’s Epic Day Hike”, and it’s the one i’m most proud of.
The reason for that is because hiking Half Dome was a goal of mine and accomplishing that goal is what gave me the confidence and drive to launch Inked with Wanderlust.
The original post contains a ton of information and I highly recommend giving it a read if you’re planning to hike Half Dome (especially if it’s your first time).
*PRO TIP: Bookmark both of these posts to your device so you can return to the information later
This post, however, will be the shorter, stripped down version. It’ll focus solely on the trail itself and nothing else. So you’ll quickly get an idea of what this hike is like.
It’ll also focus solely on the trailhead where most Half Dome hikers begin their journey; the Happy Isles trailhead and through the Mist Trail.
If reading this post gives you some inspiration to hike Half Dome yourself, check out our ultimate beginners guide here (opens a new window).
Quick Stats
Location: Yosemite Valley, California
Fee: $35 to enter Yosemite + applicable permit fees
Permit: Required when cables are up (typically between Memorial Day and Columbus Day)
Open: All year (cables are down during winter)
For: Hikers
Restroom: Five: 1) At the trailhead 2) At the Vernal Fall footbridge 3) Near the Emerald Pools at the top of Vernal 4) At the top of Nevada Fall 5) At Little Yosemite Valley campground
Parking: Large dirt lot a quarter-mile from the trailhead
EV Stations: None
Difficulty: Hard
Popularity: Extremely high
Mileage: 14.2 - 16.5 miles, RT (depending on which route you take back)
Time: Full day/Overnight
Elevation Gain: 4,800 feet
Condition: Maintained and easy to follow
Features: Two waterfalls and summiting Half Dome itself
Pets: Not allowed
Drones: Not allowed
Hazards: The slick stone steps of the Mist Trail and the potential for fatal falls
Our Visit(s): 2017
Half Dome Trailhead and Parking
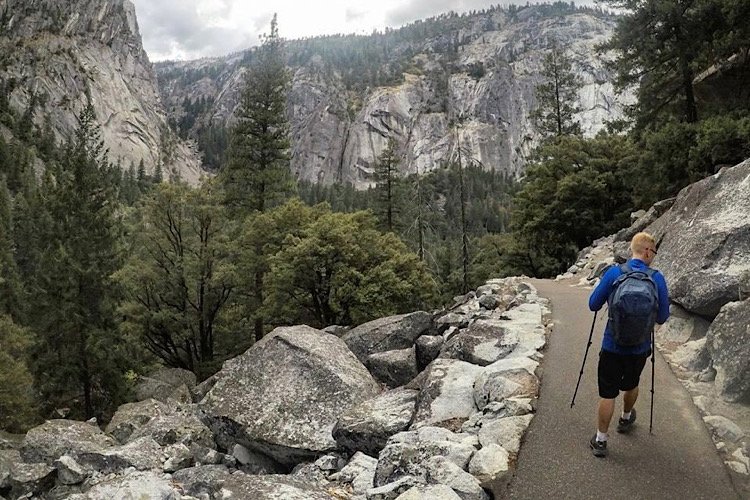
For most hikers, the official starting point for Half Dome is the Happy Isles trailhead. Which is also the trailhead for the Mist Trail and John Muir Trail.
There is no parking lot at Happy Isles itself. The nearest one is a large dirt lot located about a quarter-mile down the road (near Curry Village).
To get to it, look out for Curry Village signage and follow them. As you near Curry Village, you’ll see signage pointing the way to the parking lot.
The lot is known to fill quickly. Especially during the summer and spring season. Plan for an early start, pre-dawn preferably. I began my hike at 3am.
If full, you can always utilize the shuttle. It’ll drop you off near the trailhead. Keep in mind, though, that the shuttle doesn’t begin operations until 7:00am.
The Mist Trail
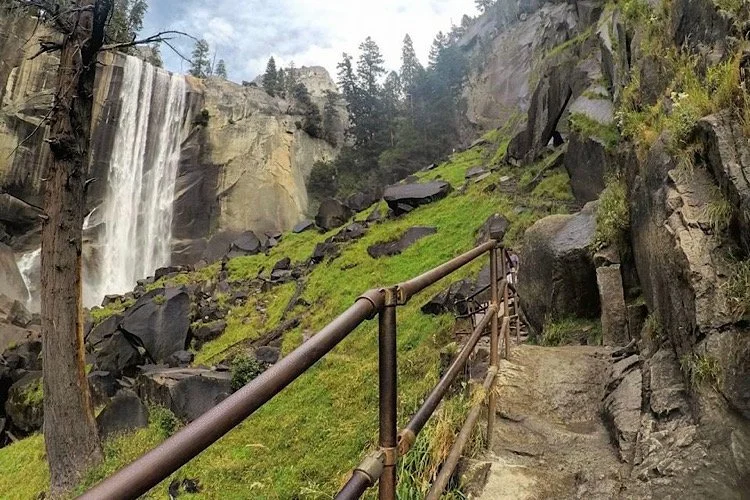
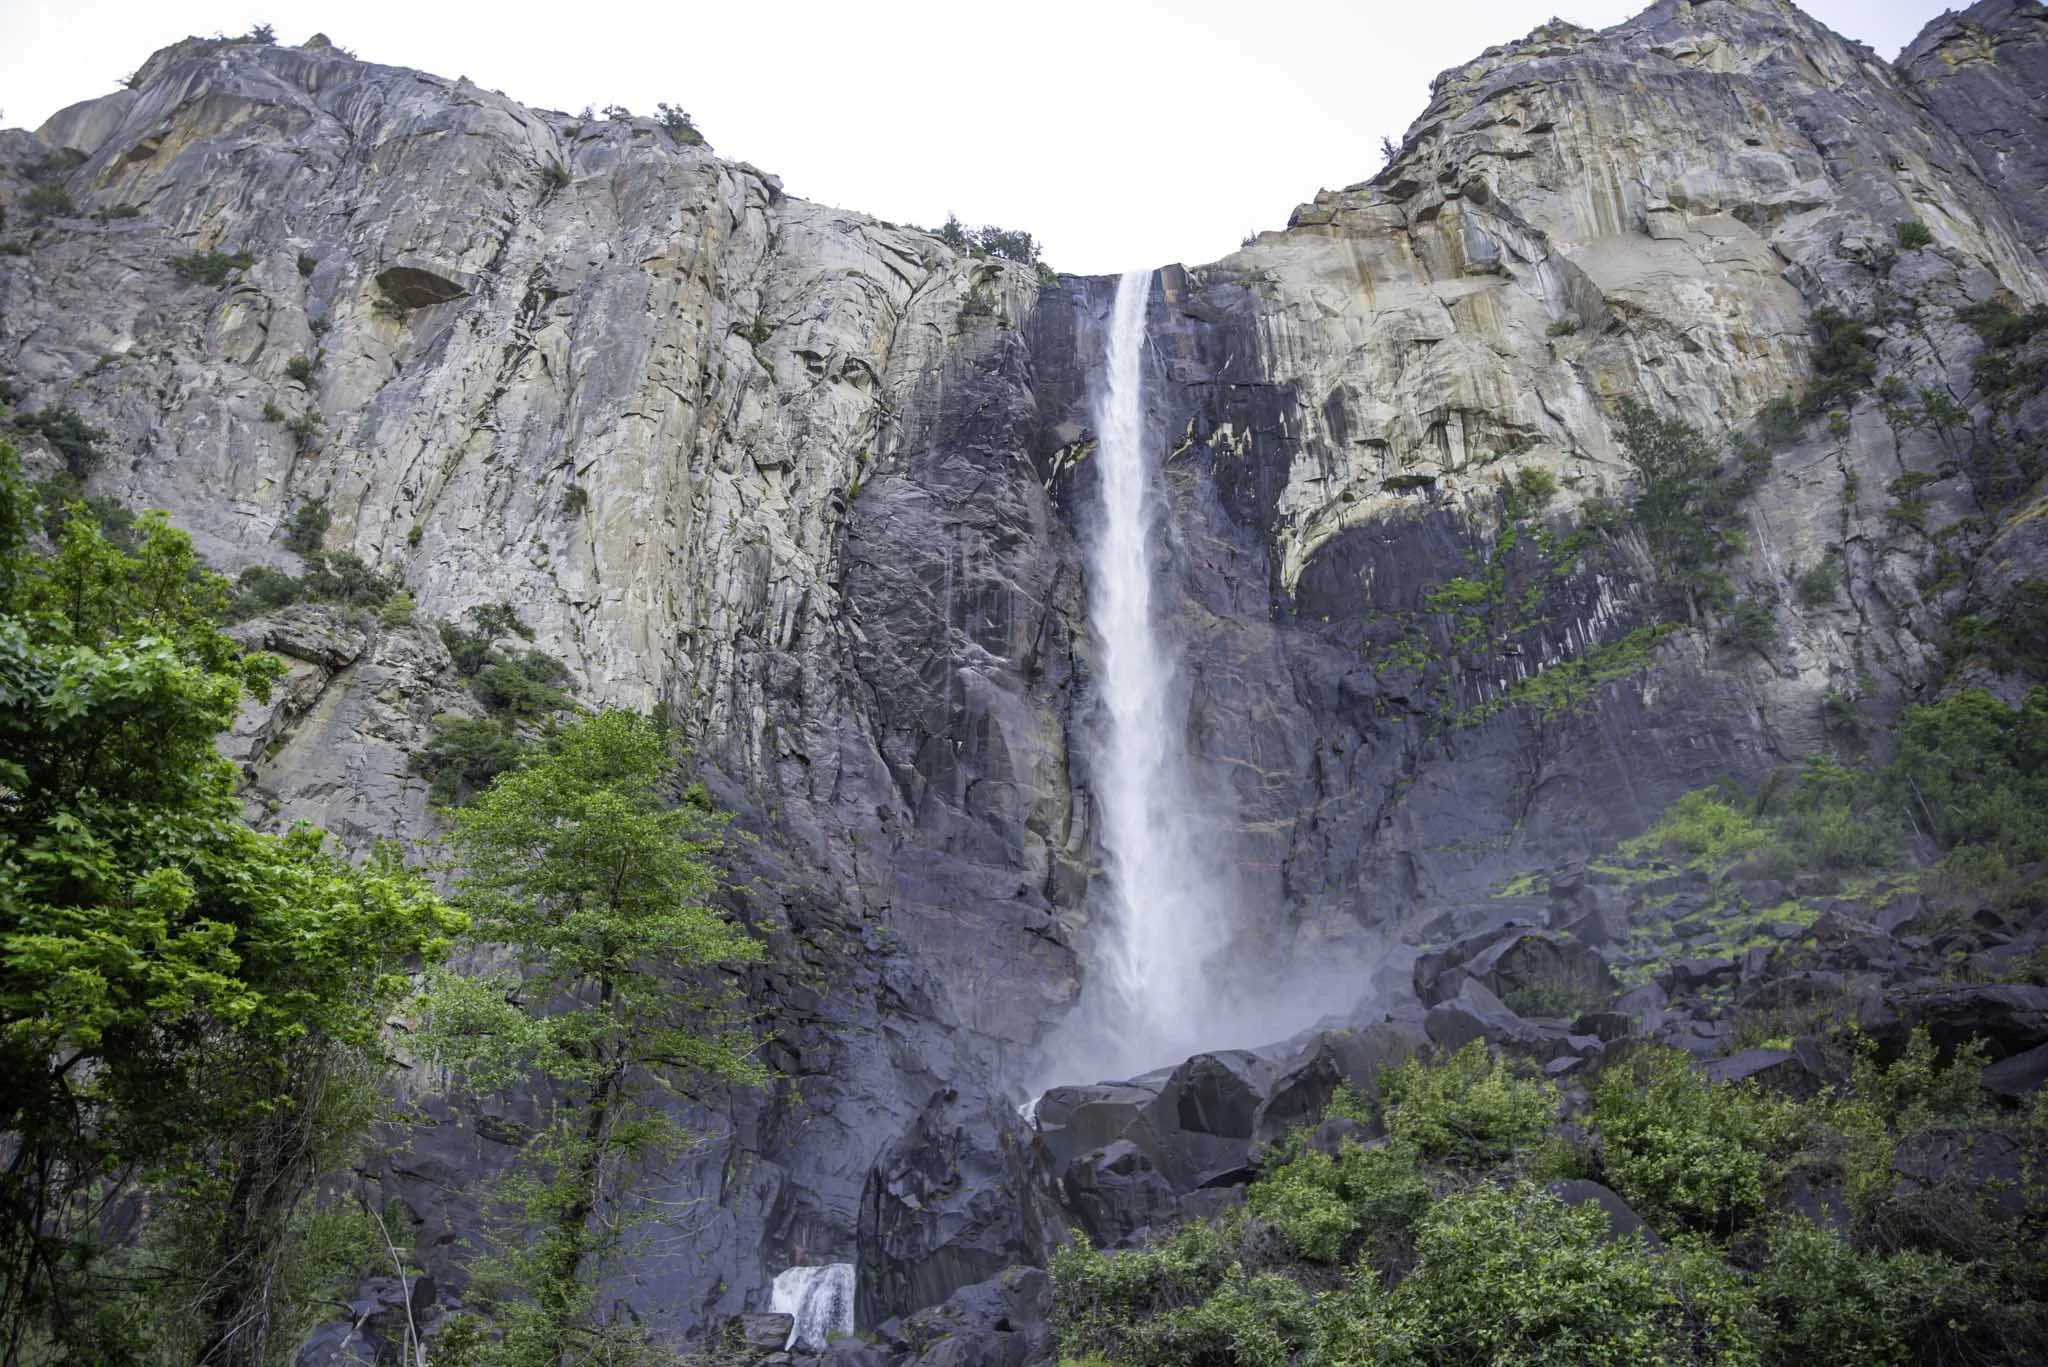
Aside from Half Dome, the Mist Trail is arguably the most popular trail in Yosemite. It features two beautiful waterfalls (Vernal and Nevada Falls) in a relatively short hike.
If you’re here in spring or early summer, prepare to get wet. They don’t call it the Mist Trail for nothing. Later in the season, it isn’t so dramatic as run-off is minimal.
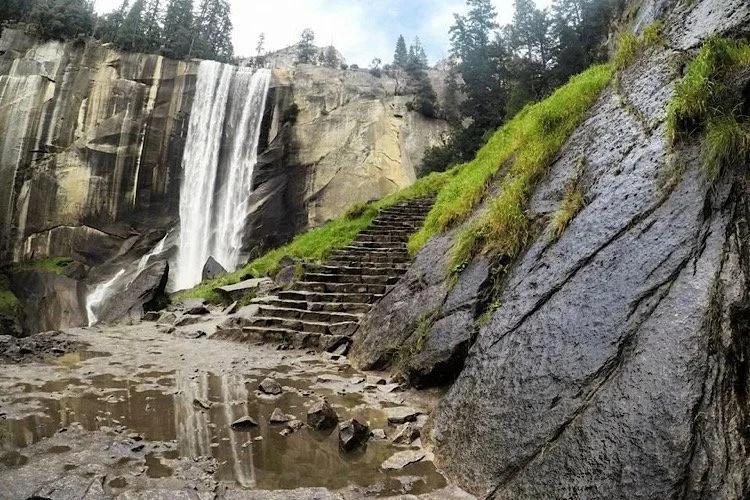
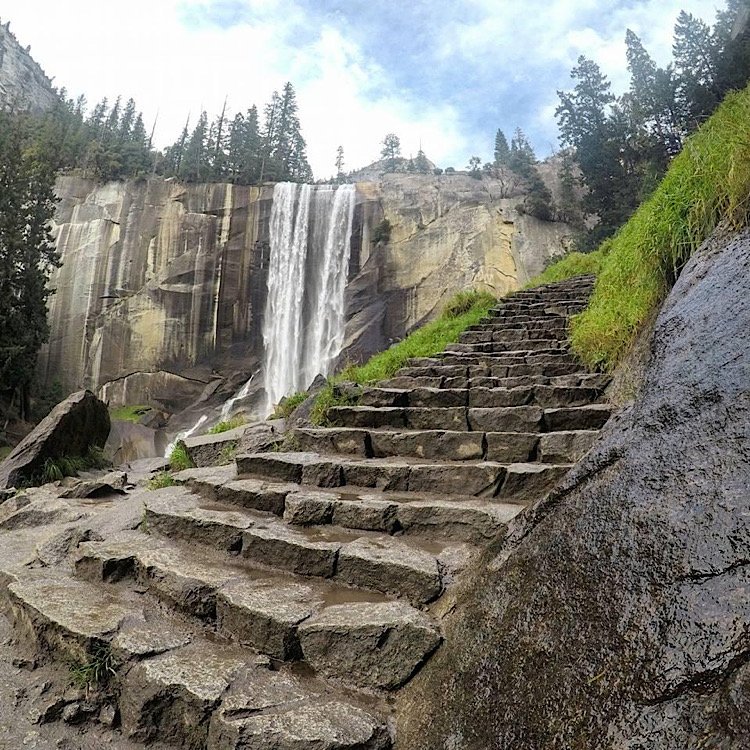

One danger you’ll need to be cognitive of are the stone steps. There are hundreds of them and they get incredibly slick from the constant mist.


From the trailhead, it’s 1.5-miles to Vernal Fall. By the time you’ve reached Nevada Fall, you’re about 3.5-miles in.


Between Vernal Fall and Nevada Fall you’ll get a reprieve from the stone steps as the trail turns to a traditional dirt path.
After crossing the footbridge near Nevada Fall, the stone steps return as you work your way to the top of the beautiful waterfall.


At the top of Nevada Fall is a restroom and a few benches/rocks scattered about to sit on. It makes a great spot to relax and gather yourself.
Little Yosemite Valley & Incline

After Nevada Fall, you’ll start on the one and only flat portion of the trail. Be sure to enjoy the reprieve because it won’t last long.
This stretch will take you through what’s known as Little Yosemite Valley (where a backcountry campground by the same name is located).


When you reach the campground, you’re right around the halfway mark to Half Dome. There, you’ll find your fifth and final opportunity to use a restroom.

Shortly after the campground is when you’ll again begin another relentless incline as you make your way to Sub-Dome.
You’ll make your way up the mountain via a series of switchbacks. They’re not difficult but if you’re not used to the elevation, you’ll feel it.
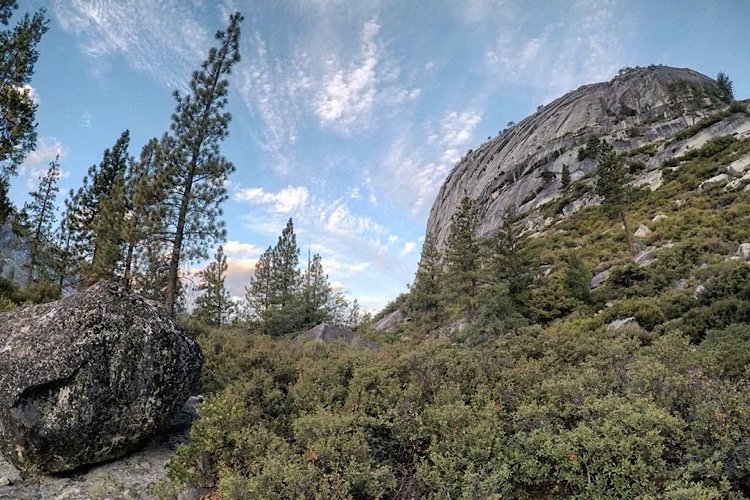
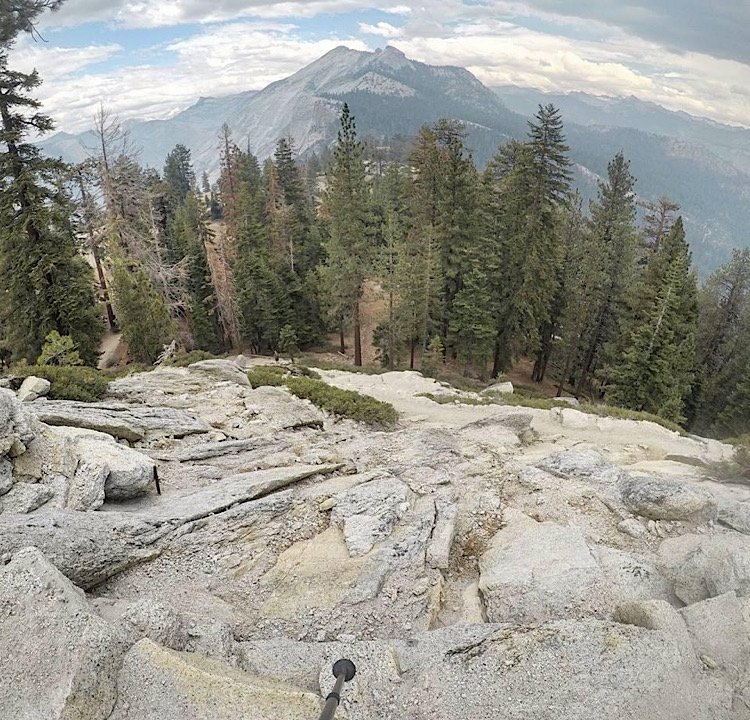
Sub-Dome
Sub-Dome is your final obstacle before reaching the cables. I believe Mother Nature designed it to do one thing; destroy whatever’s left of your legs.
It’s a mini granite-dome connected to the back half of Half Dome. A series of short switchbacks built into the granite take you to the top.
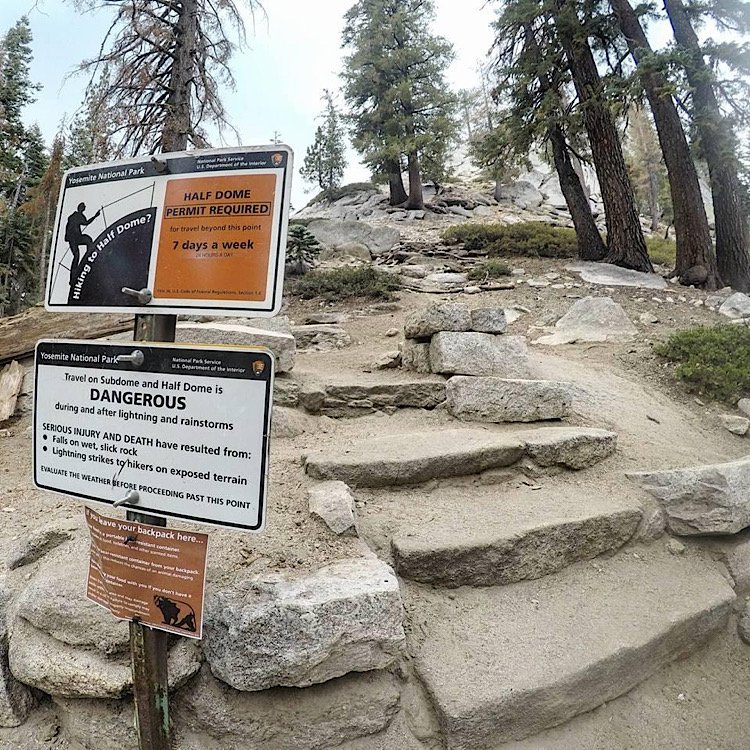
This is also the point in the hike where you’ll likely need to show your permit to a Ranger for inspection (if there’s one stationed there).
Sometimes the Ranger is stationed just before Sub-Dome, sometimes their stationed at the top. Don’t risk going through all that if you don’t have one.
READ ALSO: “Half Dome Permit: The Ultimate Permit Lottery Guide”
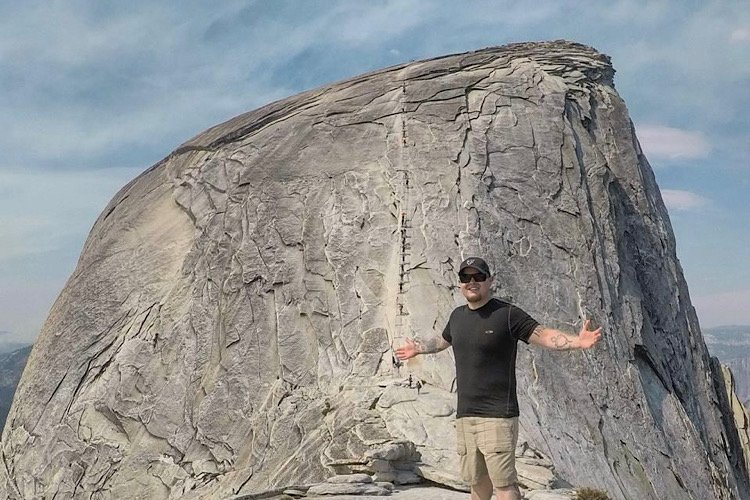
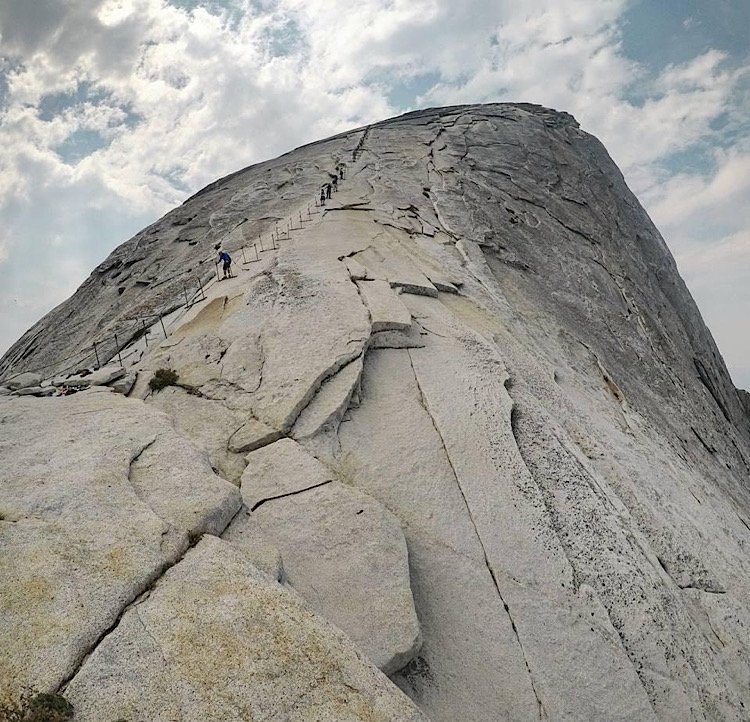
Half Dome Cables

From here, the only thing standing between you and the summit are the cables. The cables are there to assist you in reaching the top.
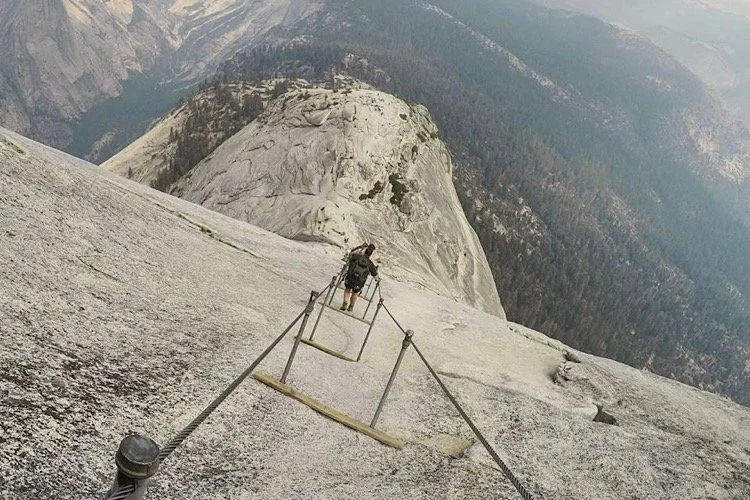
They’re placed in the granite and feature a wooden plank between two steel poles every six feet or so. Along the entire length are two elevated steel cables.
To use them, simply grab hold of the cable and hoist yourself upward to each wooden plank. My brother and I used those planks as resting points.
The space between the cables isn’t very wide and those going in both directions share the space. No matter your direction, stay to the right.
If you want to use a harness to secure yourself, you can. You’ll need to unhook/hook-up again at every pole so it will slow you down a bit.

If you feel like you need to take it slow, that’s perfectly fine. Just keep in mind that people behind you may want to go faster. If so, simply let them pass.
When I was on the cables, I was impressed by how cooperative and helpful everyone was to each other. There was no chaos or rudeness.
To me, the ascent wasn’t that bad. It looked much worse in pictures and video. Still, it gets near vertical the higher you go, so take precaution.
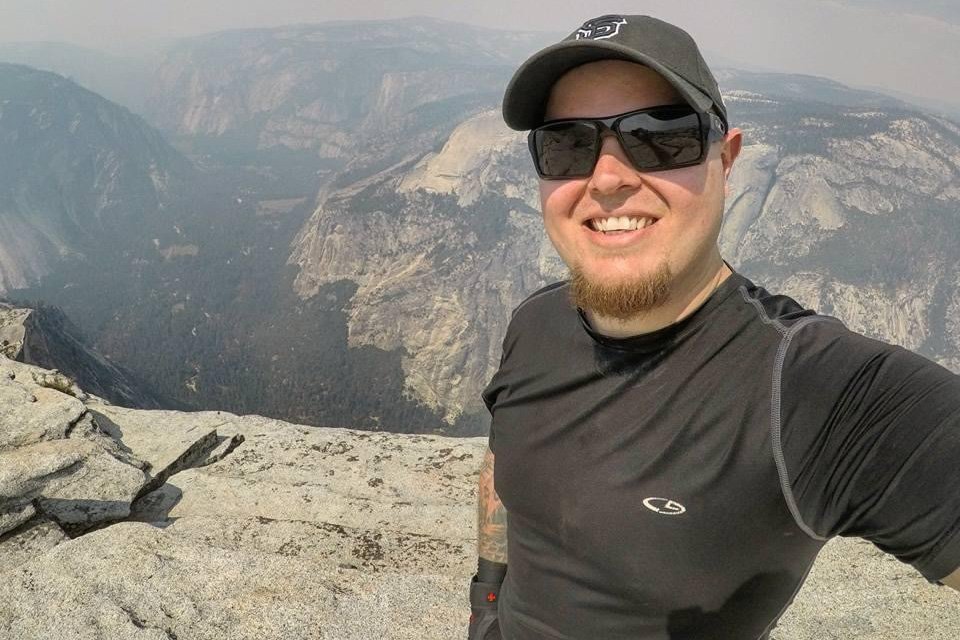
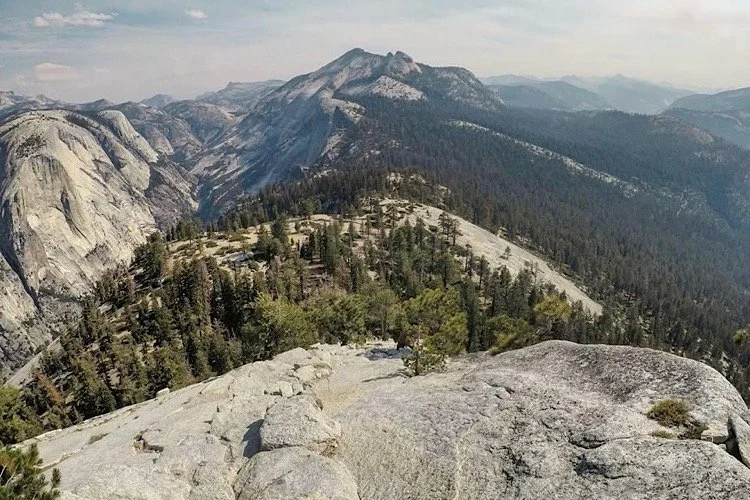
Half Dome Summit
Reaching the summit of Half Dome is quite the accomplishment for all who attempt it. For me, this was an “Everest” moment (cheesy, I know).
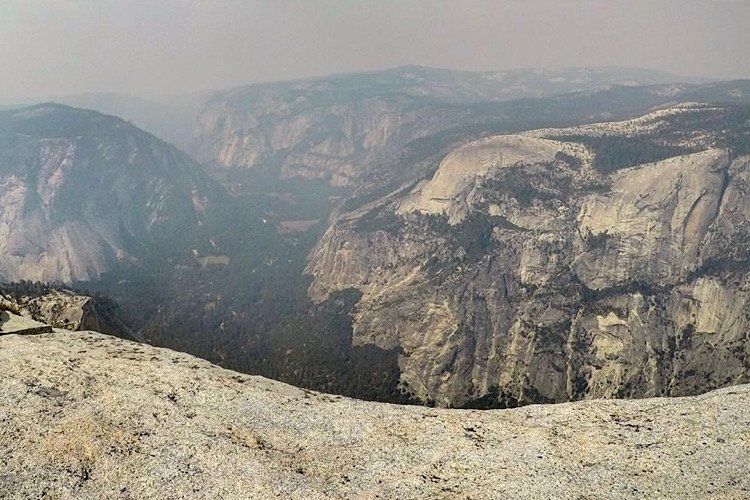
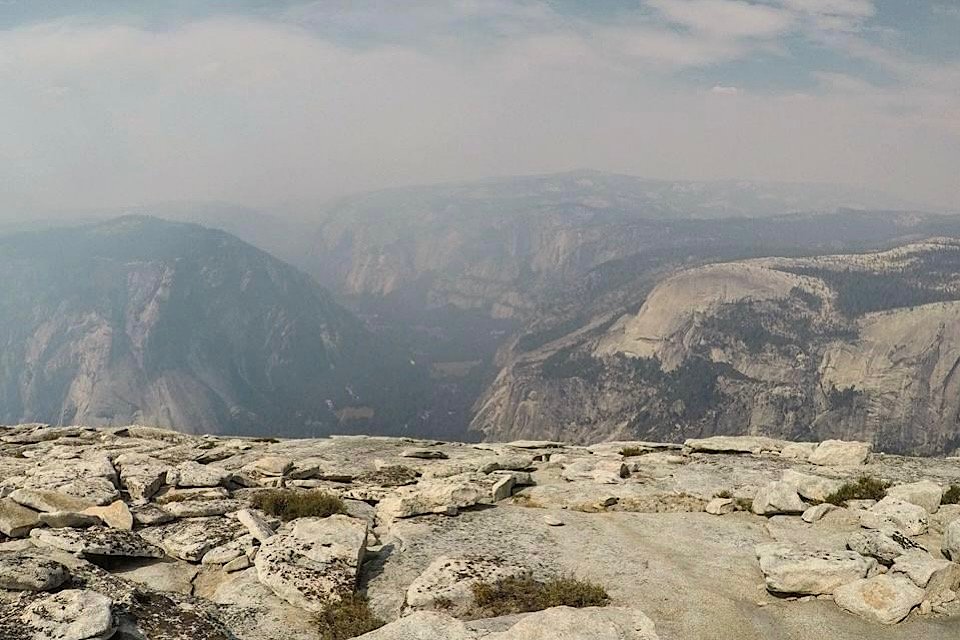
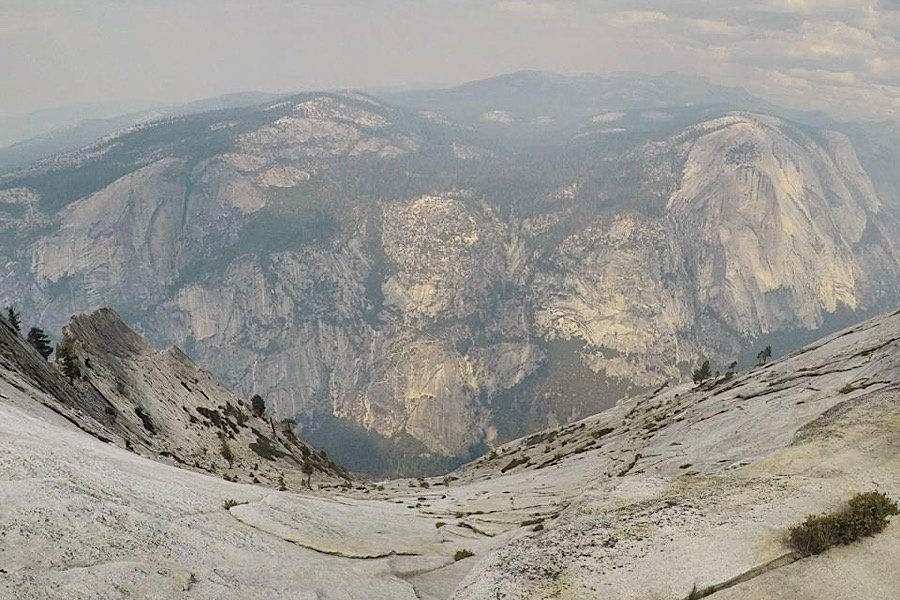
The views are astounding no matter which way you look. Walk straight (away from the cables) to the edge to get a commanding view of the valley.
Other points of interest visible from Half Dome are North Dome, Cloud’s Rest, Glacier Point, Tenaya Canyon and more. The views are simply unsurpassed.
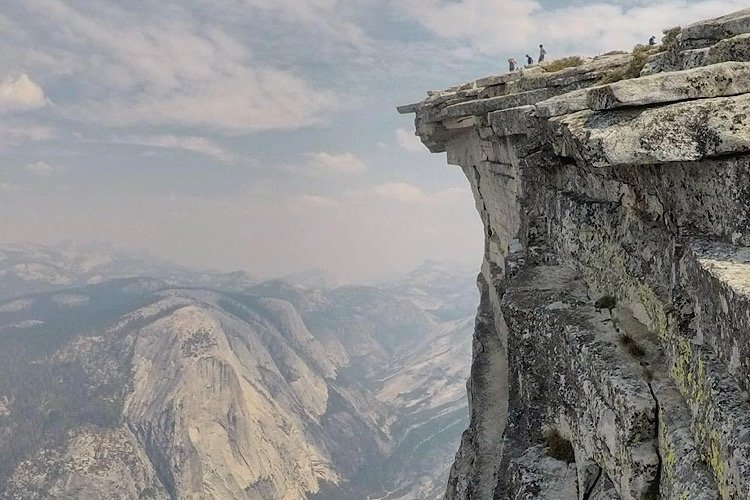
The summit is about the size of seven combined football fields, so there’s plenty room to walk about and explore. So take your time.
One thing I should mention - if you see dark clouds coming, head back down asap. You do not want to be stuck up there during a storm.
Heading Back
When you’re finished, simply head back the same way you came…with one exception. When you reach the top of Nevada Fall again, you’ll have two choices:
Head back down the Mist Trail (remember the slick, stone steps)
Take a detour down the John Muir Trail (JMT)
When I hiked it, we made the decision to hike back down the Mist Trail because on our way up, it was still dark and we didn't see much.
Trust me when I say that if there’s one aspect of our experience I regret, it’s not taking the JMT detour. My legs were jello and navigating those steps was miserable.
Taking the detour will add another mile or so to your hike BUT…you won’t have to contend with the steps. It’s a standard dirt path.
Your Thoughts…
I’d like to know your thoughts on hiking Half Dome and the cables themselves. Is this something you think you’d want to do?
Have you done it? If so, i’d like to hear your perspective. Perhaps it wasn’t that bad to you or maybe it was harder than you anticipated?
Let us know in the comment section below or send us a private message on our Instagram. We love hearing from our readers!
Also, don’t forget to check out our insanely detailed ultimate guide about Half Dome to get suggestions, advice, alternate routes and more!


Please support our website by subscribing to our newsletter below.
Thanks for reading.
CHECK OUT THESE OTHER AMAZING CALIFORNIA DESTINATIONS!