How To Hike Half Dome: The Complete First Timers Guide
Disclosure: This post contains affiliate links. If you make a purchase through these links, I may earn a small commission at no additional cost to you. I only recommend products or services that I believe will add value to my readers.

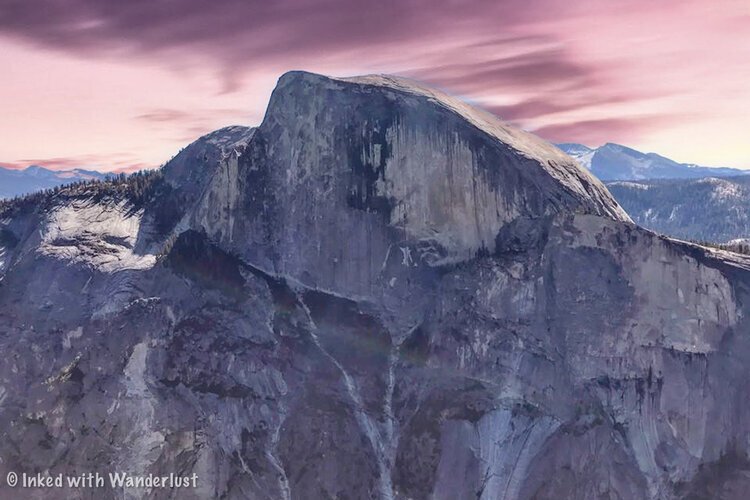
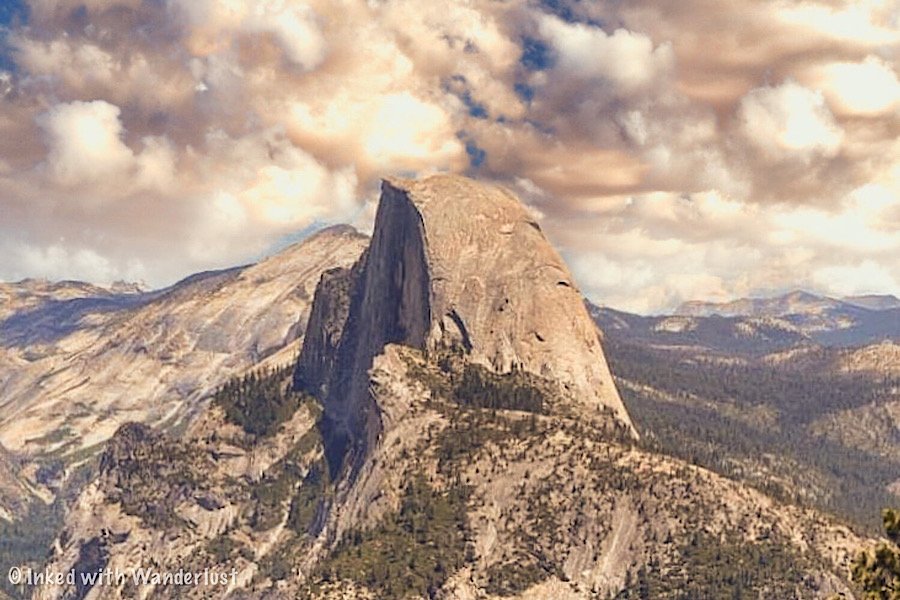
Towering nearly 5,000 feet above the valley, Half Dome is considered one of the top day hikes in the country. In 1865 it was considered, “perfectly inaccessible”.
In 1875 a man by the name of George Anderson proved that theory wrong. Not only did he reach the summit, but he installed the predecessor to what we now know as the cables.
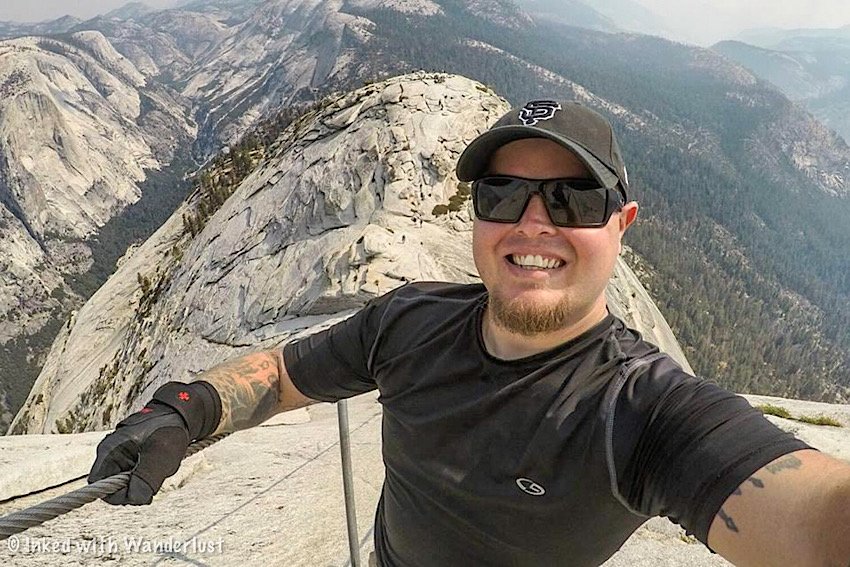
These days, you’ll see hundreds of people summiting Half Dome on a daily basis and it can be viewed prominently at various locations throughout the park. I hiked Half Dome on September 11th, 2017. It’s a day that will live in my memory forever because even to this day, it was my most rewarding experience.
If you’re considering hiking Half Dome, this guide will provide you with everything you’ll need to know.
READ ALSO: “Hiking Half Dome In Yosemite: My Journey In 30 Pictures”
2026 Half Dome Permit
Before hiking Half Dome, you’ll first need to apply for and win a permit. The extreme popularity of this hike has made it a necessary evil. The NPS limits the amount of permits issued for the season to 300 per day, with 225 going to day hikers and the remaining 75 to backpackers.
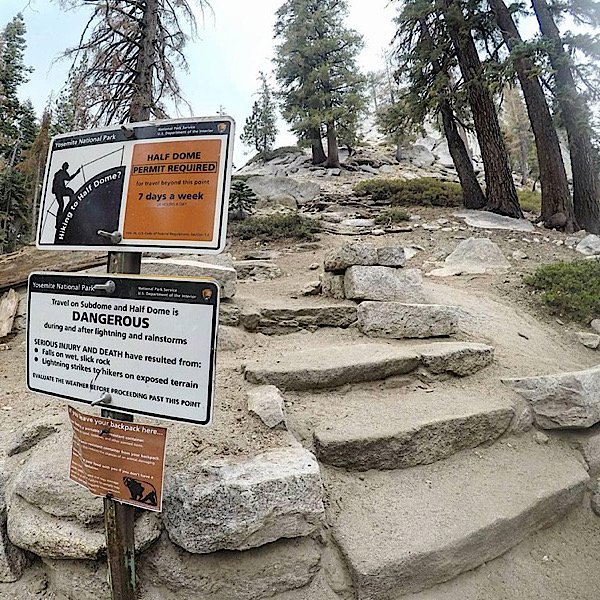
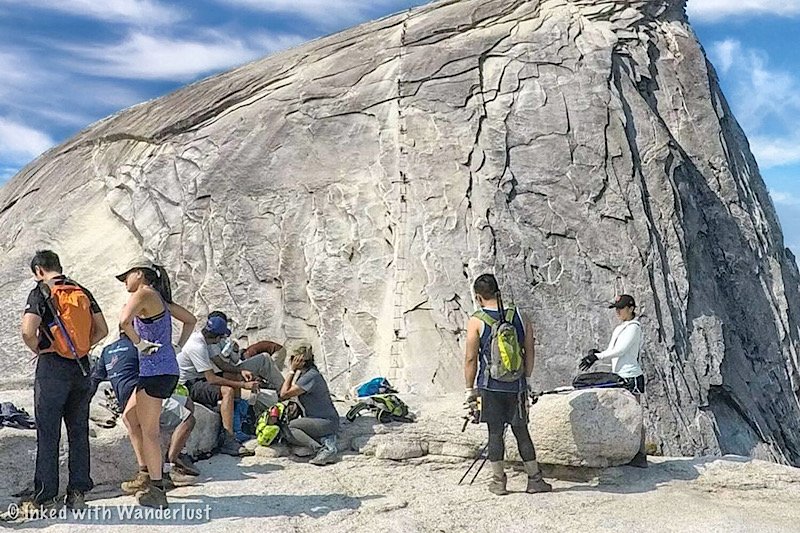
I can’t speak from experience exactly how your permit is checked as when I hiked it, there was no one checking. What I do know is you can hike without a permit up until (at least) the sign just before the start of Sub Dome (pictured above).
From what I hear, there is usually a ranger either on Sub Dome or just below it checking permits. If you do not have one, you will be turned around.
READ ALSO: “Half Dome Permit: The Ultimate 2026 Permit Lottery Guide”
Begin at Happy Isles Trailhead
Depending on your starting point, the miles you hike will vary greatly. This guide covers the Happy Isles trailhead as it’s the starting point for most hikers. Starting at Happy Isles, your milage will be 16.2 miles, round trip. Your elevation gain will be 4800 feet and it will be a strenuous, full-day hike. Plan for 8-12 hours.
You can find parking in the Yosemite Valley Trailhead lot just past Curry Village. From there, it’s a quarter mile from the trailhead. You should seriously consider beginning your hike as early. Pre-dawn is ideal. The reason for this is because you will be racing to beat the afternoon storms and crowds.
If your plan is to utilize the shuttle, keep in mind that they do not start running until 7am. Also, the parking lot is known to fill quickly.
The Mist Trail
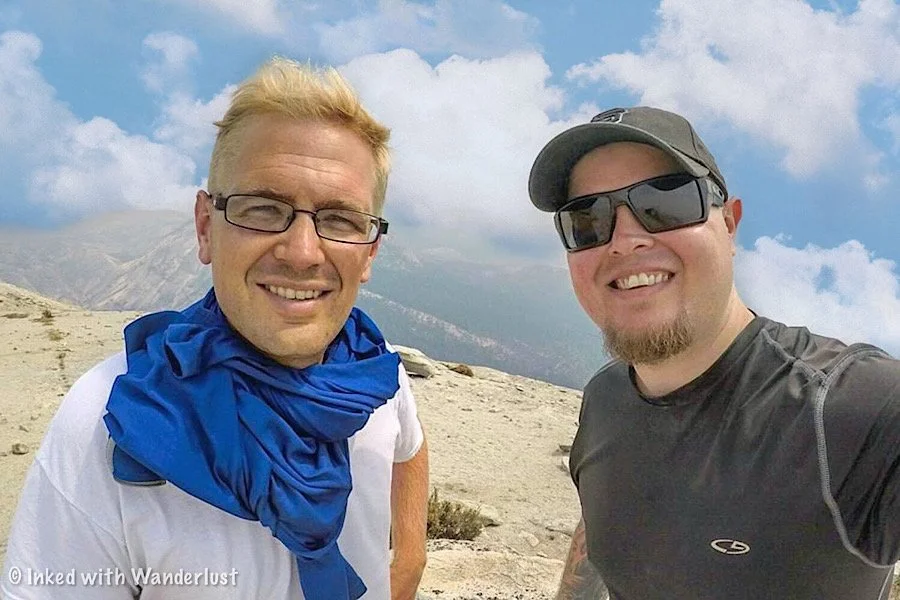
My brother and I arrived to a fairly empty parking lot at 2:45am, ate a super quick breakfast and were at the trailhead by 3am. You’ll start out on a paved path that works its way to Vernal Falls. From the trailhead, it’s just 1.5 miles to Vernal but don’t underestimate it, because it is steep.
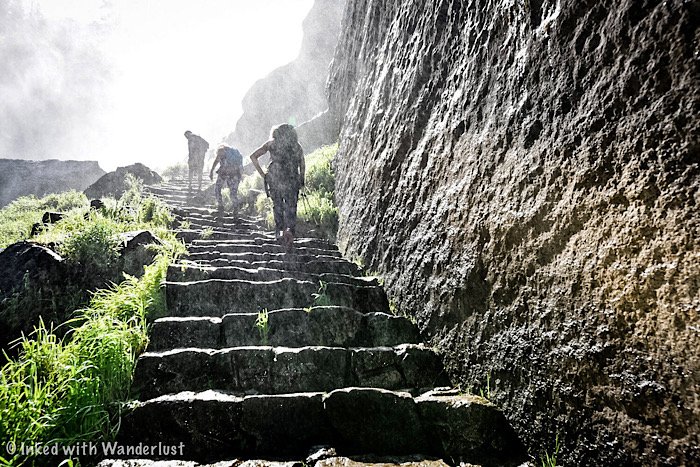
As you arrive to the Vernal Fall footbridge, you’ll see a restroom and water fountain (the one source of filtered water on this trail). Past the footbridge, the trail again climbs steeply and is also where you are introduced to the brutal, stone steps that lead to Vernal and beyond.
Vernal Falls

Here is where you’ll receive the first fruit of your labor. The chance to stare in awe and amazement at Vernal Falls. When I got to Vernal it was still pitch black. Once my eyes adjusted, the view of Vernal with stars sparkling above was breathtaking.
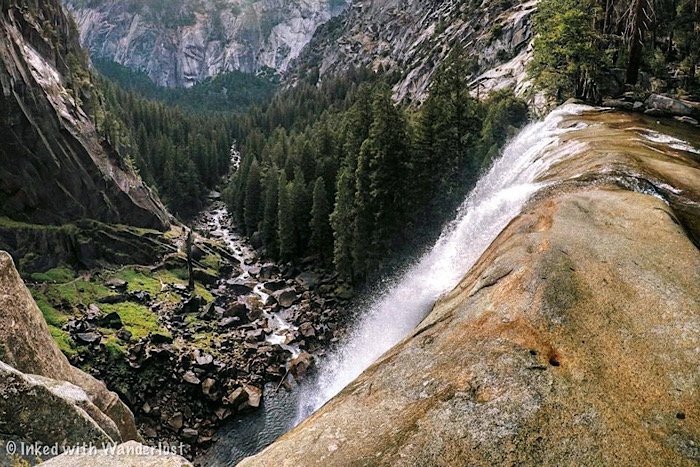
The time of year you do this hike will determine how “misty” it will be. Early in the season, it isn’t unusual to see hikers donning ponchos. Be sure to take pictures but don’t spend too much time as you still have hundreds of steps to climb to get to the top of Vernal. Once there, you’ll get a commanding view.
Nevada Falls
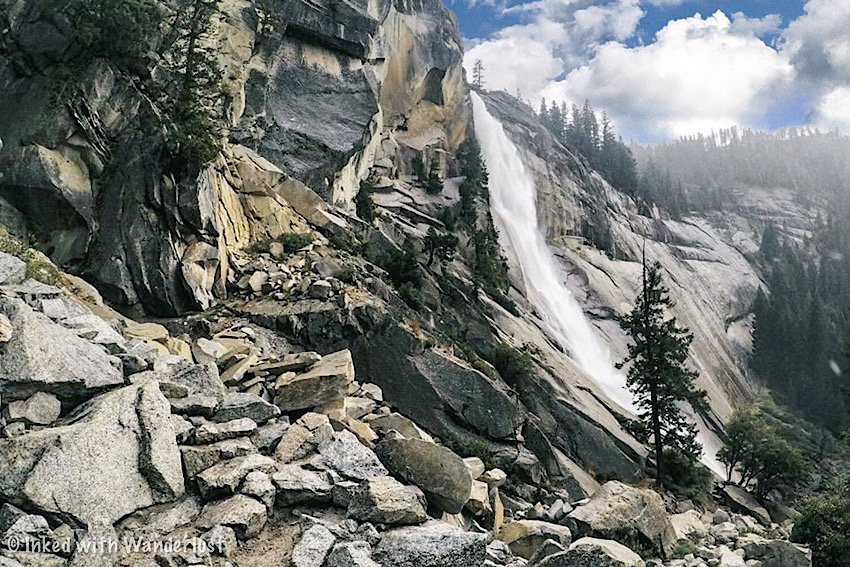
From the top of Vernal, you have another 1.5 miles or so to the top of Nevada Falls and the official end of the Mist Trail. You initially start out on relatively flat terrain through shady pines along the Merced. Soon, it’ll transition into another series of rocky switchbacks.
As you make your approach you’ll come across another footbridge and take notice of, “Liberty Cap”, A large piece of granite that is often mistaken for Half Dome. As you reach the base, you’ll work your way up the switchbacks mentioned above. Once there, you’ve reached the end of the Mist Trail and the first milestone of your hike.
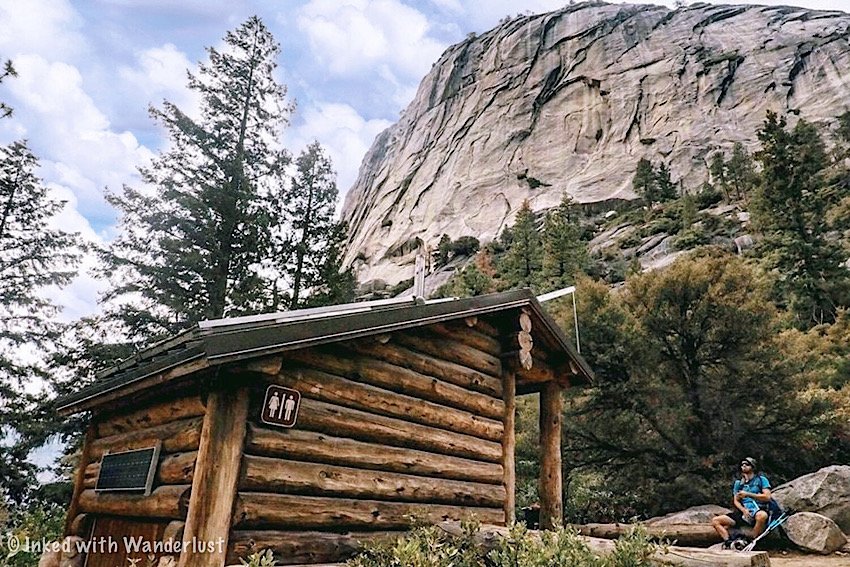
Here, you will find an opportunity to use the provided facilities and take advantage of the many logs/rocks to sit on while enjoying a snack (or two). You could also detour to the right (away from the restrooms) for 0.2 miles to see the top of Nevada Fall from yet another footbridge.
READ ALSO: “The Mist Trail: Hike One Of Yosemite’s Most Beautiful Trails”
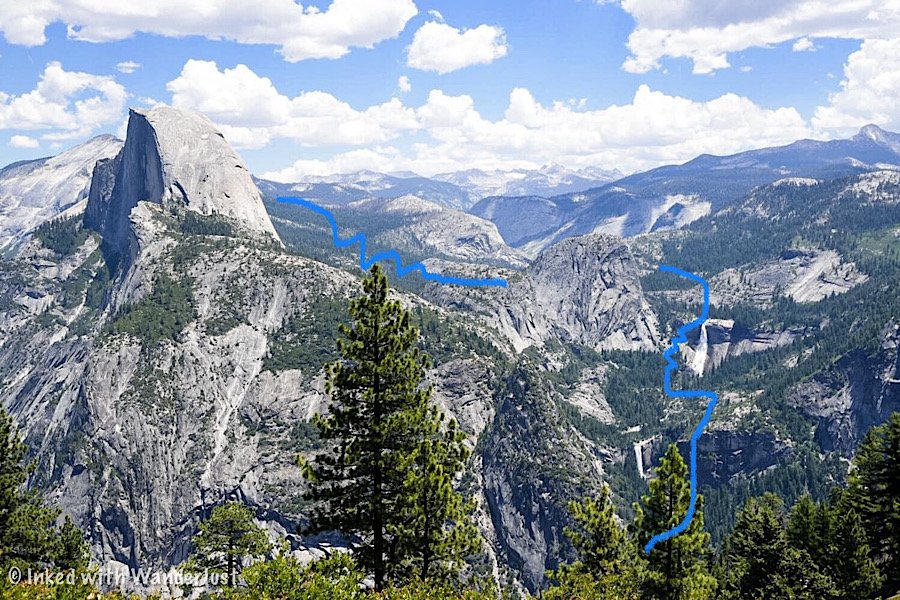
Onward to Half Dome
Once you’ve taken in the sights at Nevada Fall and feel rested enough, it’s time to continue your journey. From here, you’ll enjoy a brief flat section of trail. The next point of interest you’ll reach is Little Yosemite Valley (and a backcountry campground of the same name).
Securing a spot here allows you to break your hike up into two or more days. To do this, you’ll need a wilderness permit in addition to your Half Dome permit. I highly recommend going this route to get the most out of your experience.
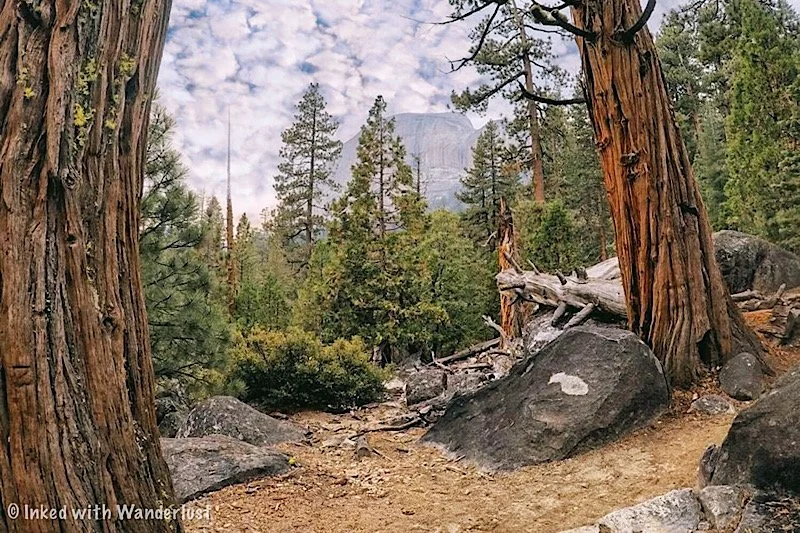
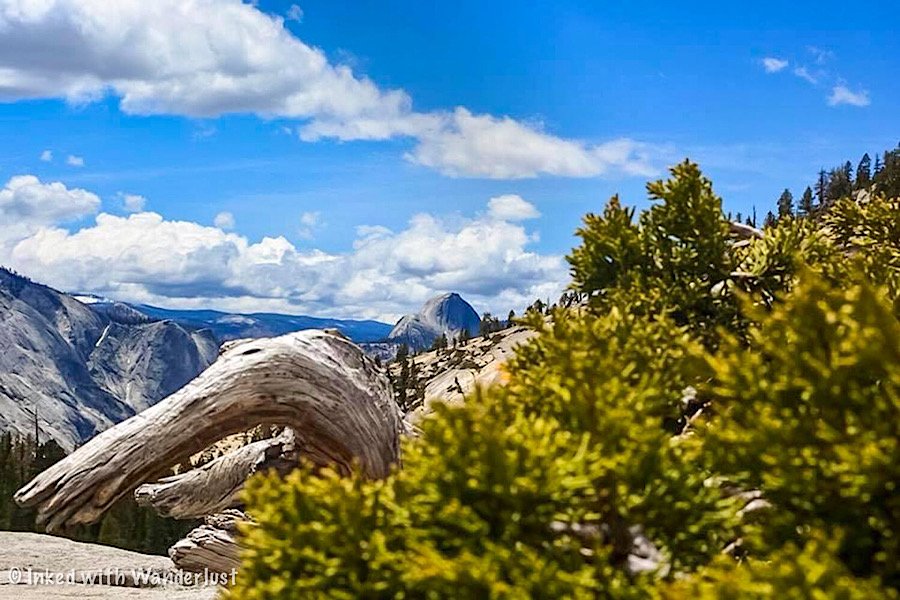
After passing through Little Yosemite Valley, the trail begins to climb again. Tall sequoias provide shade from the sun as you work your way up the mountain. This climb isn’t overly difficult, but it is constant and steady. Occasionally, you’ll get sneak peaks of Half Dome between the trees.
Sub-Dome
I fully believe that Sub-Dome’s sole purpose is to wreck whatever’s left of your legs. At this point, you’re at 8,000+ feet and just hiked for nearly 8 miles. Half Dome’s base is within reach and Sub-Dome will make you question how badly you actually want to do this.
Take your time and pace yourself here. Not only is Sub-Dome difficult to ascend, but it could also be dangerous as there’s little room for error. You’ll know you’re near the top when you see the lone tree sticking out of the granite, providing the only shade on this section.
Once you get over the hump just beyond this tree, the cables are just a short distance ahead of you.
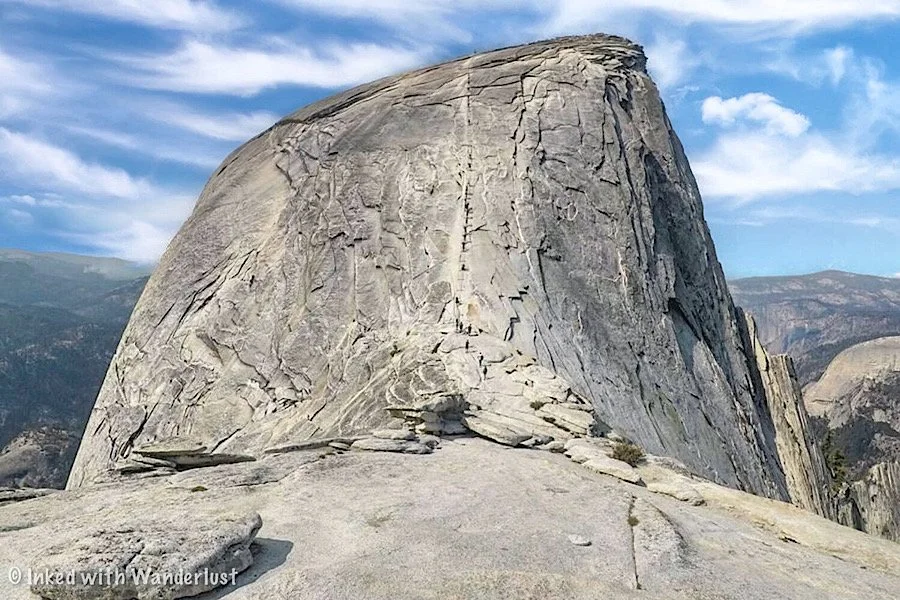
The Half Dome Cables
Two steel poles are placed (not exactly secured) into the granite rock, roughly six feet apart (length wise) with a wooden plank between each pair. Running the length of the dome from top to bottom are two steel cables running parallel to one another.
As stated above, the poles are not secured. Hikers have accidentally pulled them out. If that happens, don’t panic, just place it back in. As you work your way up, you’ll notice it get steeper with each step. From my perspective, it wasn’t that bad. In fact, I felt it to be fairly simple and straight forward.
Keep a firm grip on the cables and use the wooden planks as a goal to work towards. Once you get to each plank, use them as a resting point if you need to. While on the planks, keep your fellow hikers in mind and consider their speed. If someone behind you wants to pass, let them.
From the base to the top, you’ll climb a total of 400 feet. It took me around 20 minutes to do it. That’s with stopping to rest and taking a few pictures. The granite is slick from the thousands of hiking boots that have traversed it over the years, so sturdy hiking boots with excellent tread are a must!
The Summit
To reach the summit, you would’ve hiked 8+ miles, gone up several hundred stone steps, inclined nearly the entire way, felt the pain of subdome and completed a fear inducing 400 foot climb.
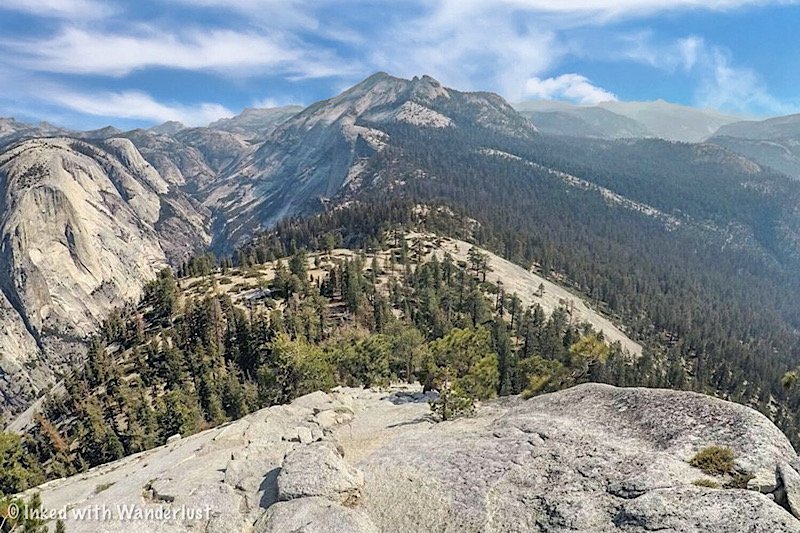
The area of the summit is roughly the same size as seven combined football fields. There’s plenty of room for everyone to explore. The views from Half Dome’s summit are unsurpassed. You can see Yosemite Valley, Tenaya Canyon, North Dome, Cloud’s Rest and more.
It’s important to note that if you see storm clouds in the area, it’s best to head back down asap. Trying to navigate the cables in the rain is dangerous. To me, going down was more difficult for me than going up was. I tried both forward and backwards. In my opinion, descending backwards was easier.
When you’re back the base, collect your packs, take a few more pictures and start your way back.
Decide Which Route To Take Back
Once you’ve made it back to the top of Nevada Fall, you’ll now have to decide which direction you want to go. Your options are:
Back down the Mist Trail: This option is just you going down the same way you came up. The drawback are the steep, slick steps that make the process of going down a slow one.
Take the John Muir Trail: This option will add a mile and a half to your decent but will allow you to skip the steps on a relatively smooth path.
My brother and I chose the Mist Trail because it was pitch black during our way up and we wanted to see the waterfalls. However, the rain made me regret that decision.
Those steps were now ultra slick and forced us to move painfully slow. Suddenly, dealing with more mileage but smoother terrain felt like the better option. By the time we made it back to the car my legs were jello, my shoulders were screaming and I was dehydrated (I didn’t bring nearly enough water).
Despite all that, it was an epic adventure and I would do all over again in a heartbeat.
Alternate Routes To Consider
Happy Isles is just one of a few starting points for Half Dome. Other trailheads include:
Tenaya Lake: You’re looking at 23 miles round trip. Next time I hike Half Dome, this is where I plan to leave from.
Glacier Point: You’re looking at 20 miles round trip. Essentially, you’ll work your way down the Panorama Trail to Nevada Fall, then from there to Half Dome (on the way out, you could simply exit at Happy Isles instead of going back up to Glacier Point. That’ll save you some milage).
Little Yosemite Valley: This is the backcountry campground I mentioned earlier. You’ll hike 4.3 miles from the Mist Trail to here, then 7 miles round trip from Little Yosemite to Half Dome and back.
Alternate Hikes In Yosemite
Half Dome isn’t for everyone. Thankfully, Yosemite is jam packed with incredible hikes you can do if you didn’t obtain a permit or if it’s too much for you.
Some of these include:
4-Mile Trail (Yosemite Valley/Glacier Point road)
Upper Yosemite Falls (Yosemite Valley)
The Mist Trail (Yosemite Valley)
Pohono Trail (Yosemite Valley/Glacier Point road)
Cathedral Lakes (Tioga road)
Cloud’s Rest (Tioga road)
Glen Aulin/Grand Canyon of the Tuolumne (Tioga road)
North Dome (Tioga road)
These are just a handful of the amazing hikes Yosemite has to offer. So if you didn’t get a permit, there’s no need to cancel your trip to Yosemite.
READ ALSO: “10 Awesome Things To Do In Yosemite Valley”
Stats And Additional Tips
Total mileage: 17 miles round trip if you utilize the Mist Trail (the most commonly used trailhead).
Length of time: This will vary from person to person and highly depends on your level of fitness. Typically, expect an 8-12 hour hike.
Location: Yosemite Valley.
Water intake: Bring more than what you think you’ll need. You’ll have an opportunity for more water at the Vernal Footbridge via the filtered fountain, but that’s it. 4-5 liters or more would be wise.
Permit required: As stated above, a permit is required for this hike. The only time a permit isn’t needed is when the cables are down during winter (not recommended).
Avoid weather: If you see dark clouds or if it’s activity raining or snowing, do not climb up the cables. It is not worth the risk!
READ ALSO: “15 Tips For Your First Time Hiking Half Dome”
Essential Gear To Bring
This depends on if you’re doing it as a day hike or over 2-3 days. For simplicity sake, I’m going to assume you’re like most people and doing it as a day hike. Some essential gear includes:
Daypack
Full-fingered gloves (to grip the cables)
Hiking boots/shoes with excellent tread
Hydration bladder insert (preferably 3+ liters)
Moisture wicking socks
Sunglasses and hat
Camera
Trekking poles
Sunscreen
Moleskin (for blisters)
Rain jacket/poncho


This post was originally published in 2020 and has been recently updated for accuracy.